Jump to . . .Step by Step | OS Map | Downloads | Gallery | Fly through
This walk can be considered to connect with at least two other Bentham Footpath Group walks: It physically shares part of the route of our Copplestone Gate and Conistone Pie walk, and although in a different part of the Yorkshire Dales, it shares much of the industrial heritage of the Gunnerside and Old Gang Smelt Mill walk.
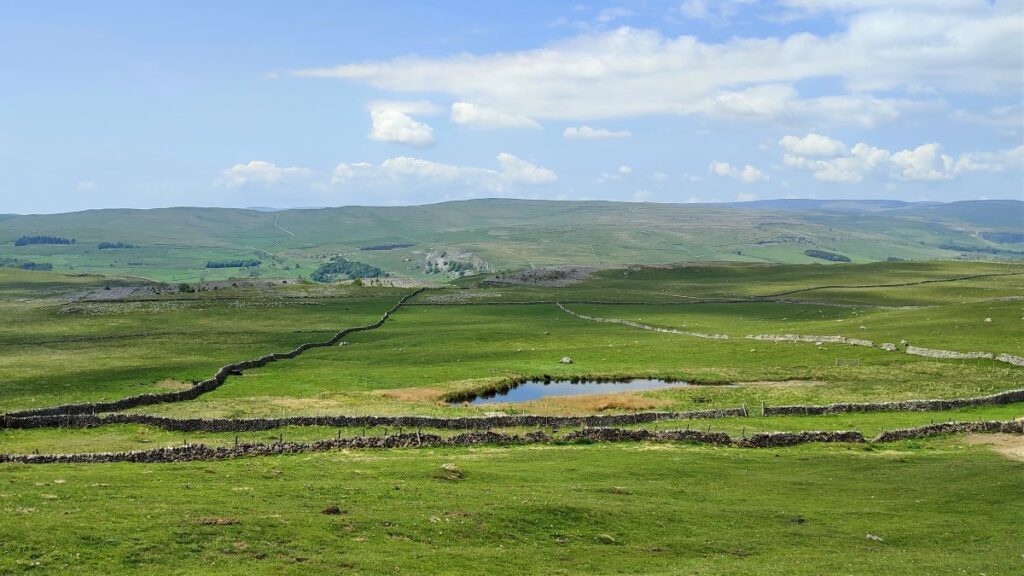
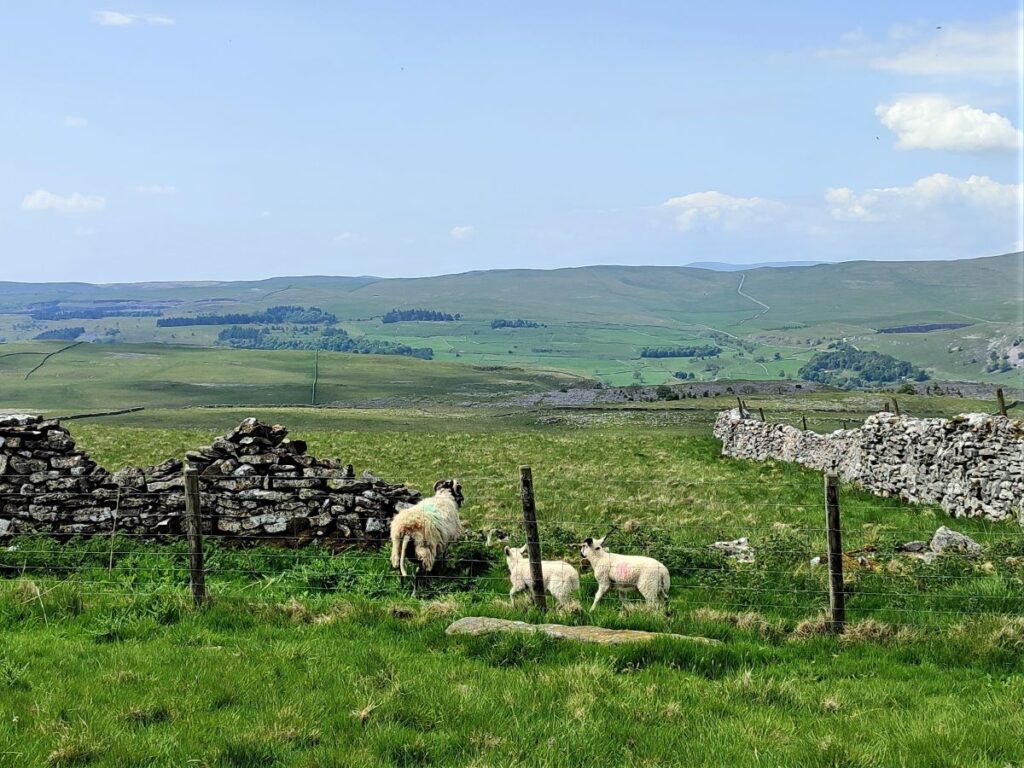
The first half of the walk heads across Downs Pasture to the top of the Dib at Conistone, with great views of the Wharfe Valley and as far South as Pendle Hill. From there we head up the Bycliffe Road to Kelber Gate and then on to Mossdale Scar. The return journey takes us over Grassington Moor and through increasingly bleak, but strangely beautiful lead mining spoils back to the mines at Yarnbury where we spend a while exploring the remnants of this once vast industry.
We rate this walk as Challenging mainly because it’s quite long. There are no particularly steep climbs and there are options to shorten the route if needed.
- Total distance 16.0 km (9.9 miles)
- Total ascent 333 m
- Challenging walk
Step-by-Step
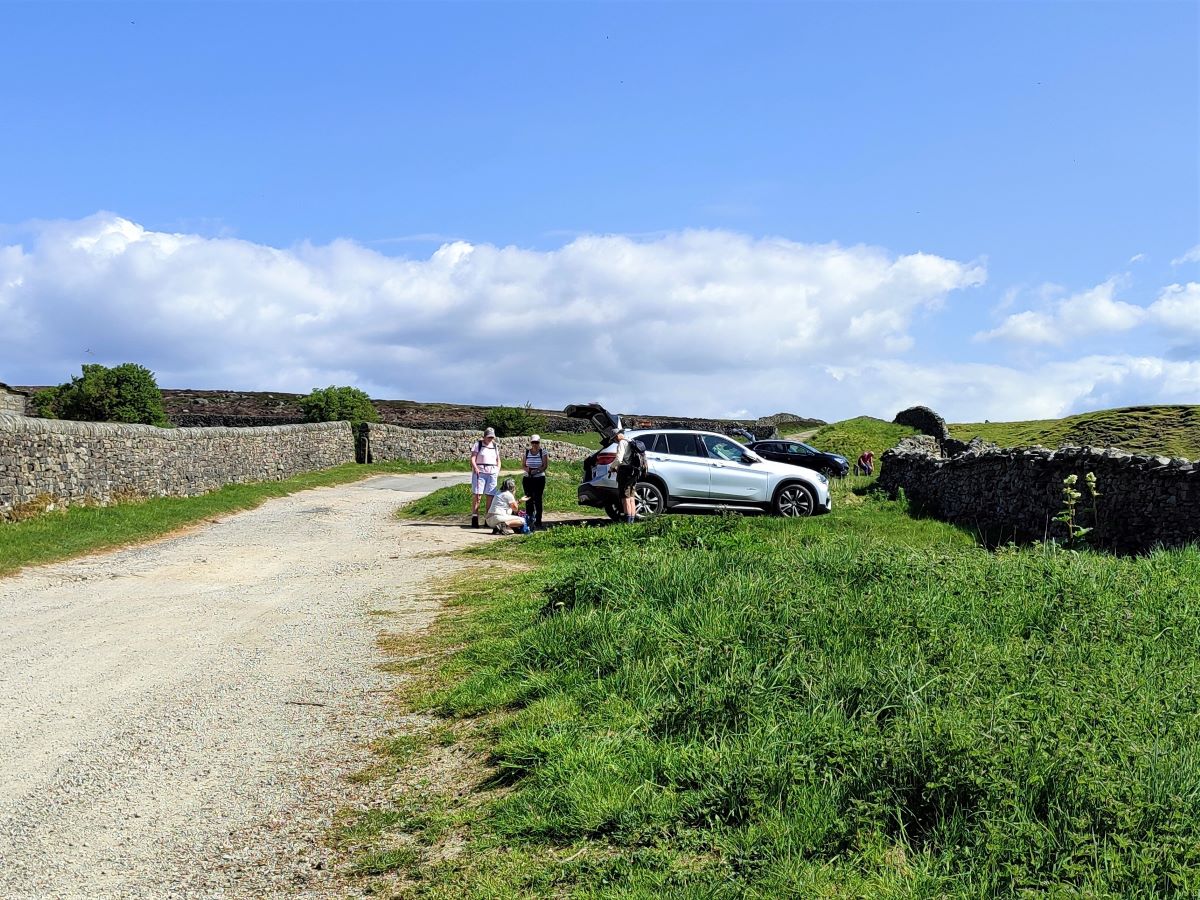
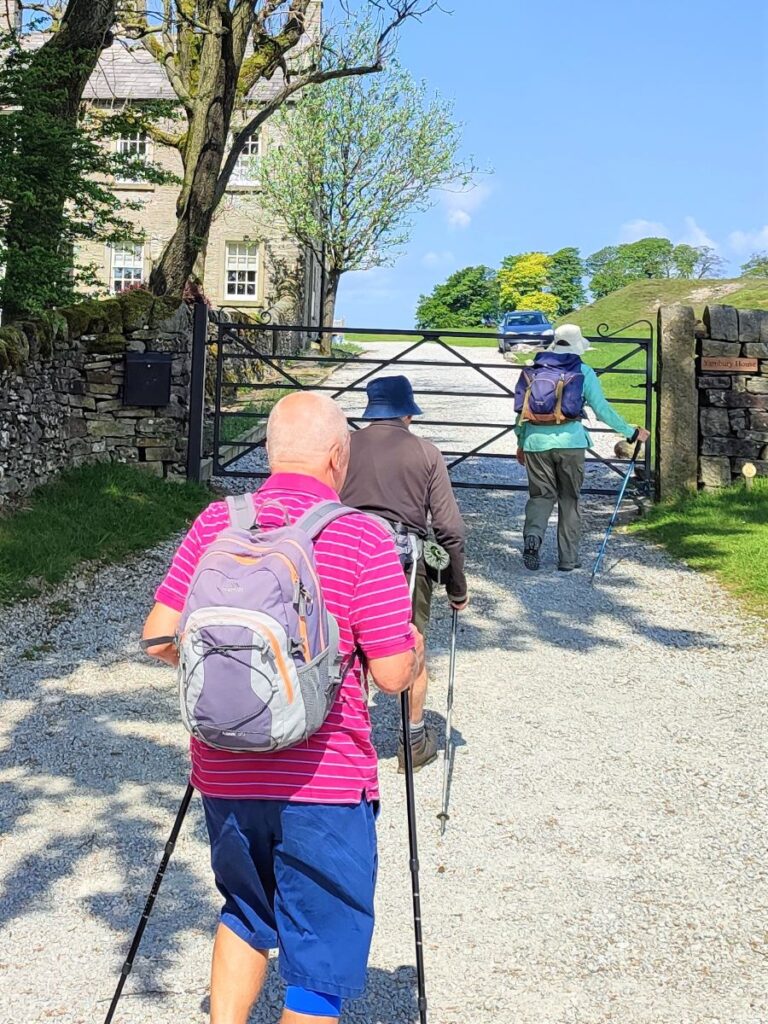
We start at Yarnbury. The only road access to Yarnbury is via Grassington, by driving up Main Street until it becomes Moor Lane, and then continuing until the metalled road ends. At this point you will see signage for the lead mines and can park at the roadside. The What-3-Words tag for the parking spaces is tiptoes.marathon.laminate, which corresponds to OS map reference SE01516588. If you are using Satnav to get there, then the address is Moor Lane Grassington, and the postcode BD23 5EQ relates to the house opposite the mines.
Having parked, you will notice an information board for the lead mines, and its tempting to enter the mine complex immediately. Hold that thought – because our walk goes over to Conistone Dib and Mossdale first, with the mines as the final step.
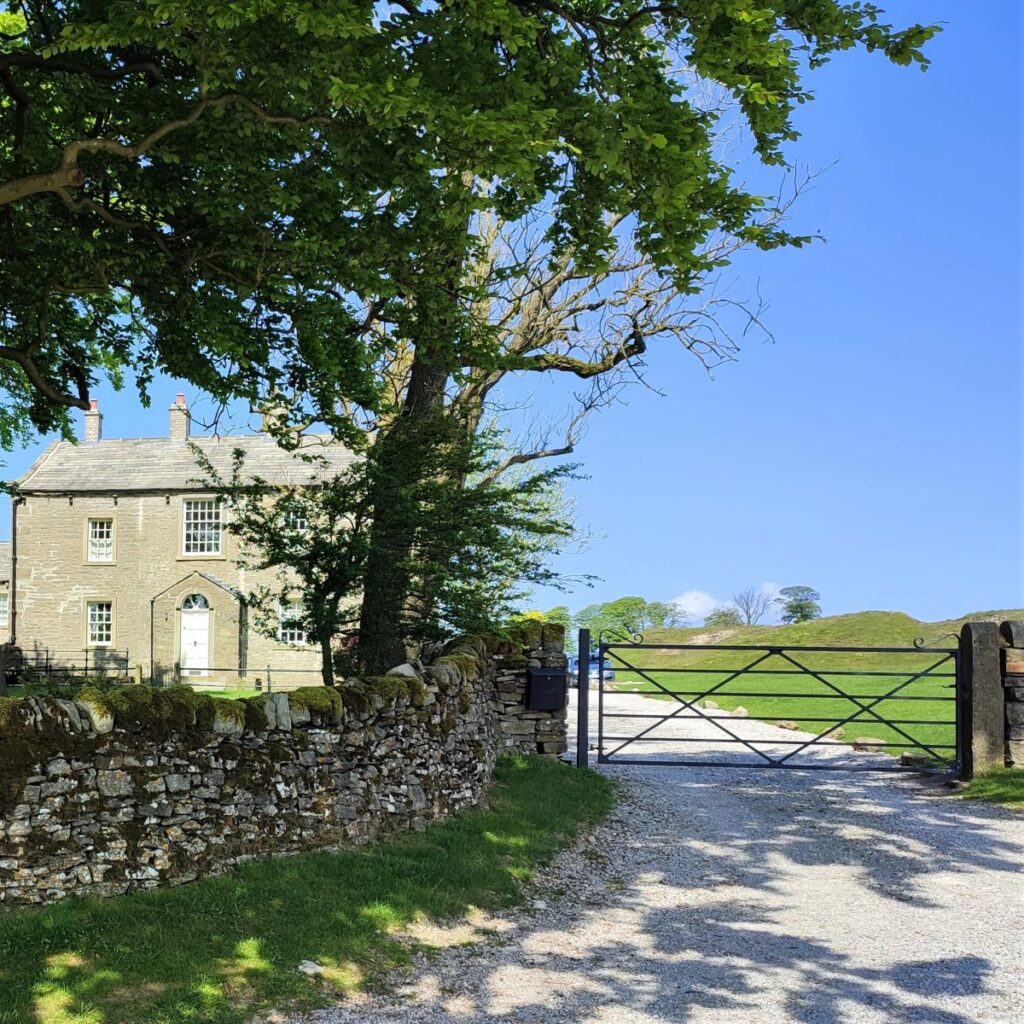
Opposite the mine site are two buildings – a rather grand house that was the office and living quarters for the Mineral Agent who ran the mines of behalf of the Duke of Devonshire – and a smithy / carpenter’s shop used to service the mine infrastructure. Both are private houses now so please respect the owner’s privacy whilst noting the Weigh House that stands in the garden of the Mineral Agent’s Office. This is where lead from the mine workings was weighed prior to shipping.


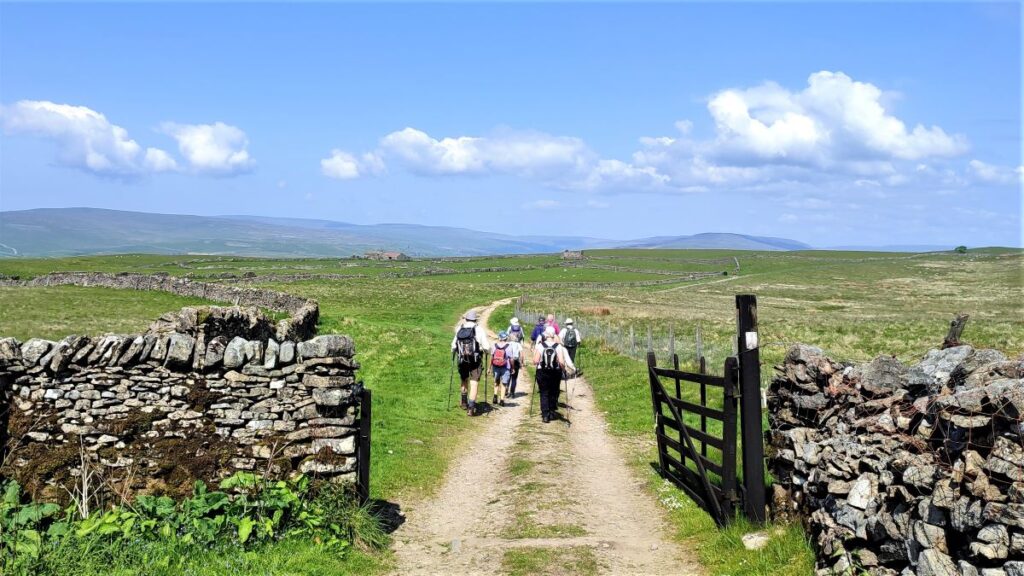
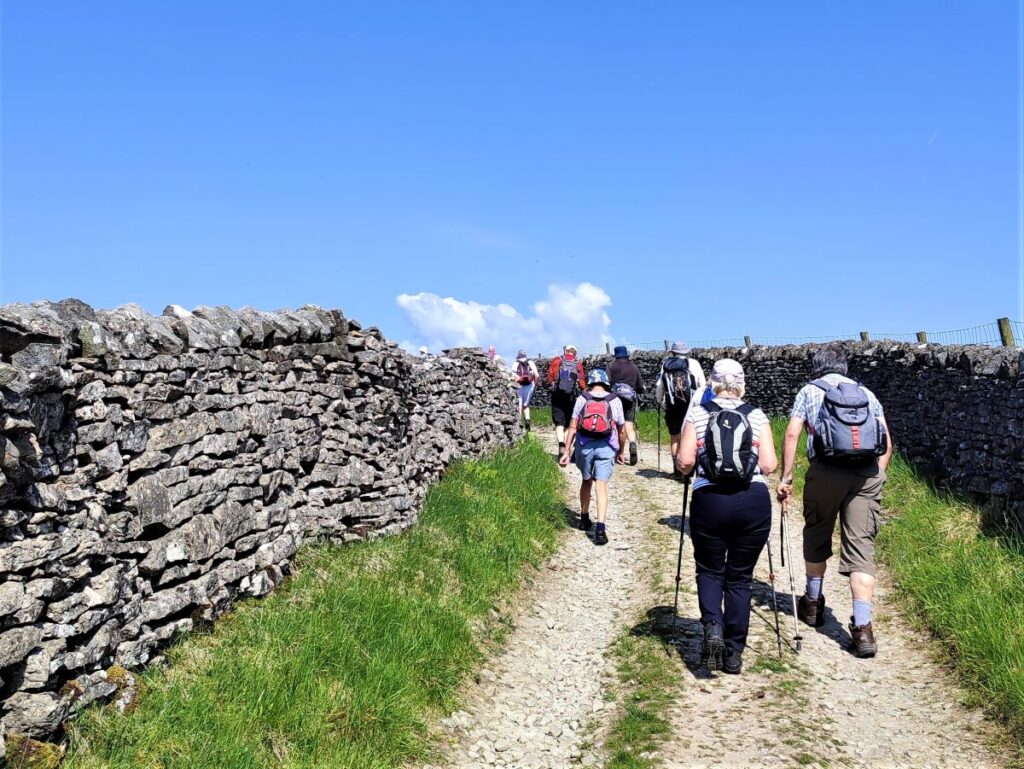
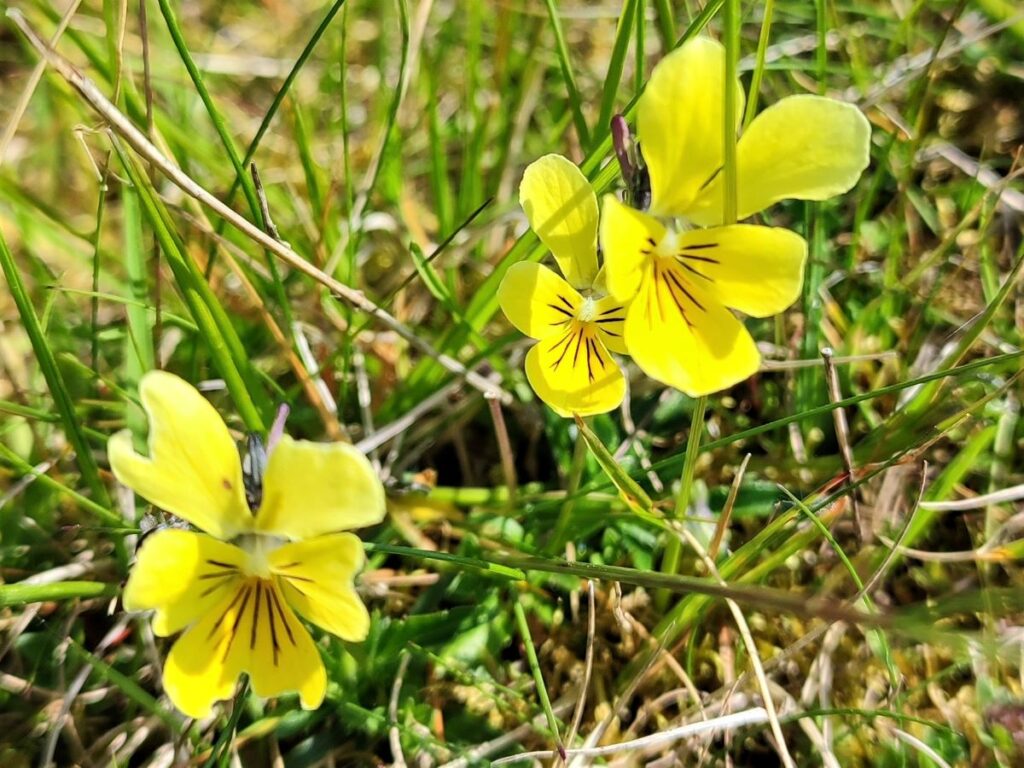
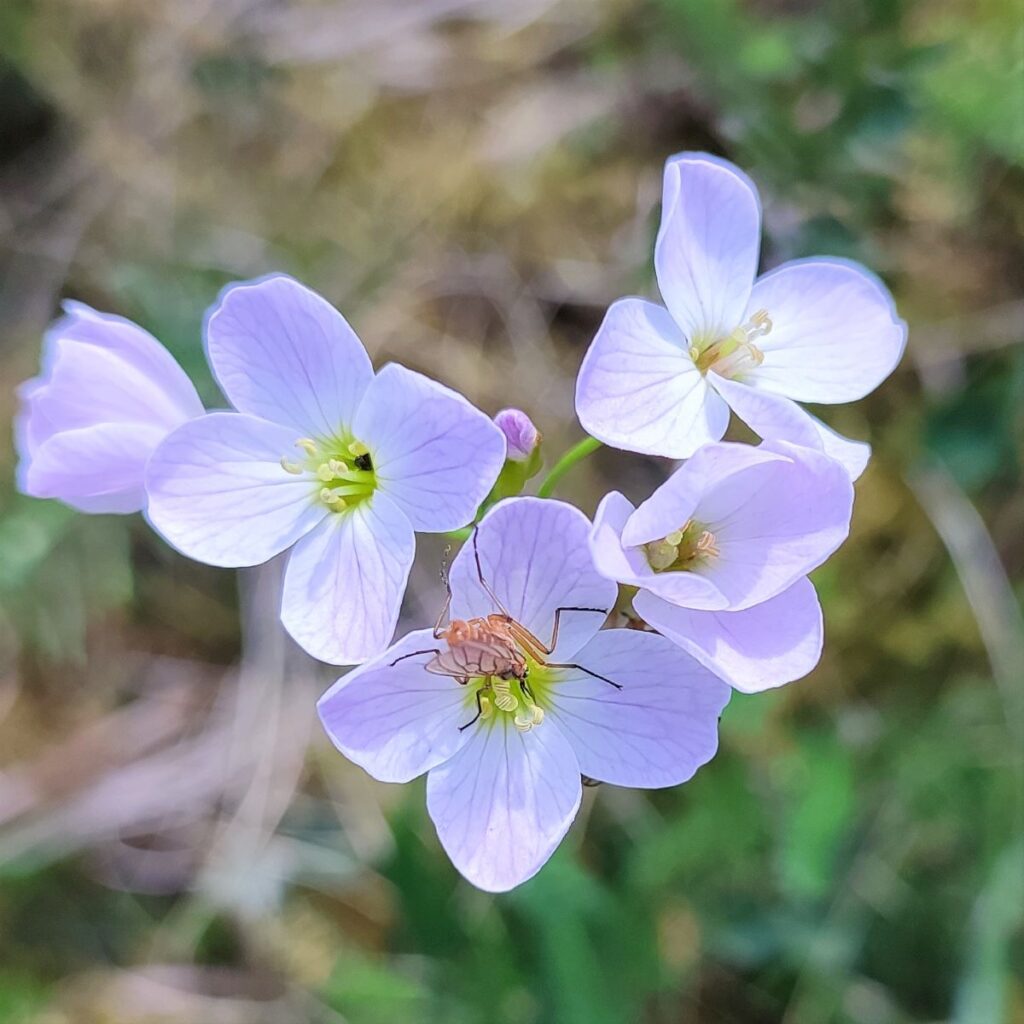
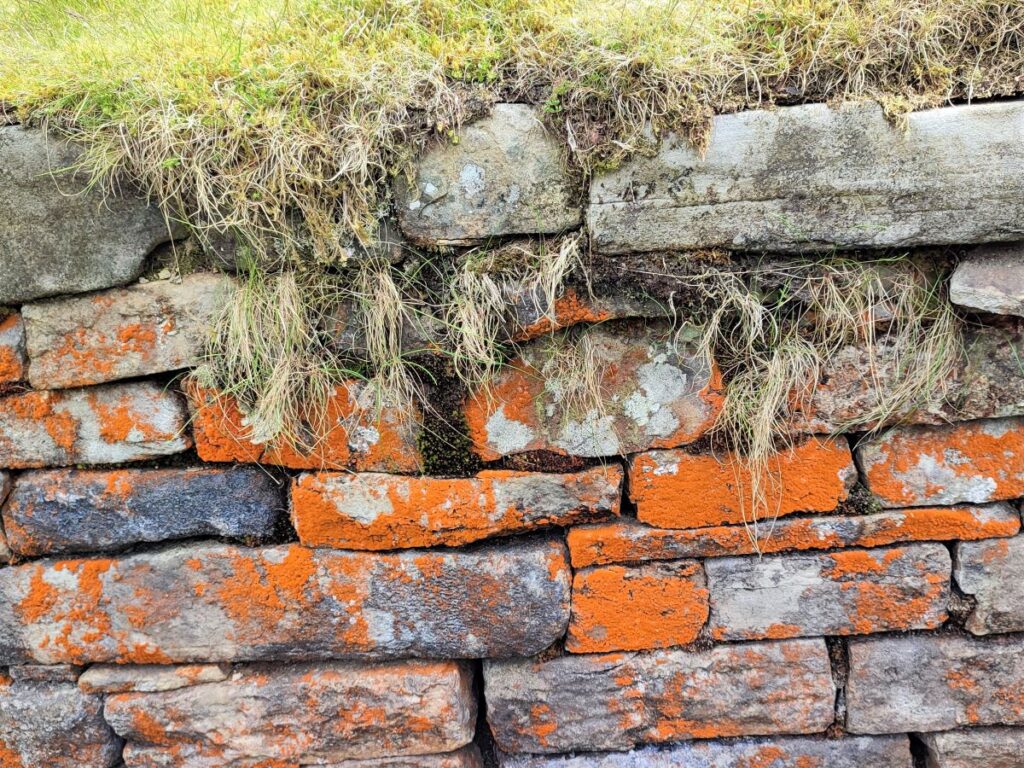
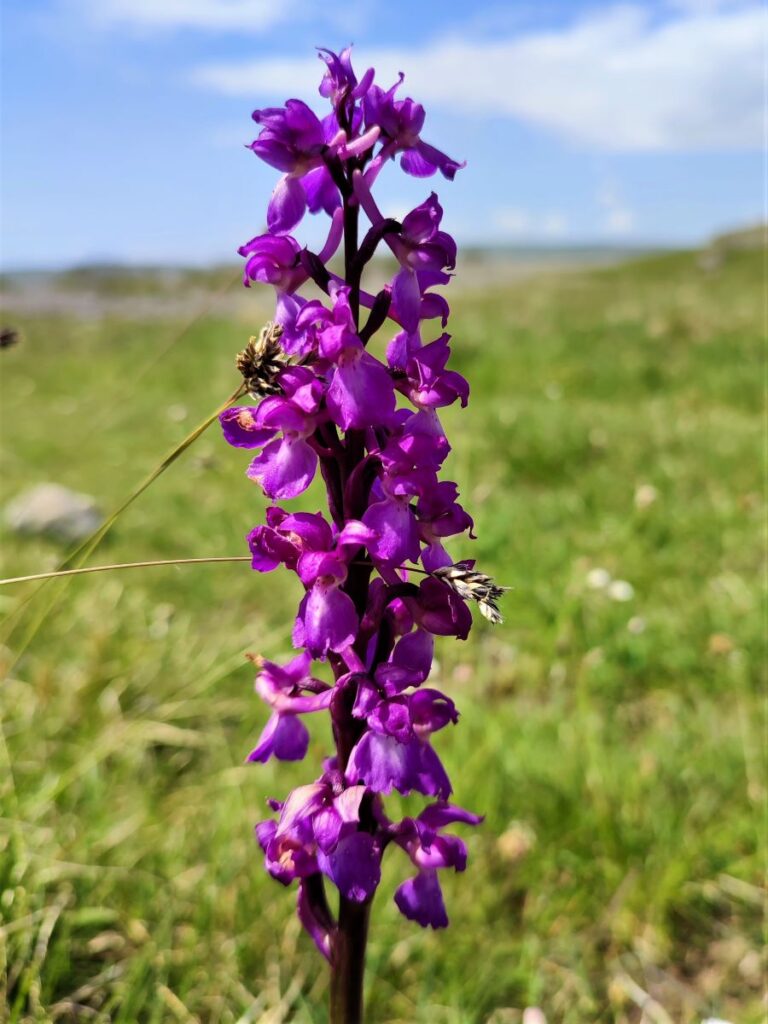
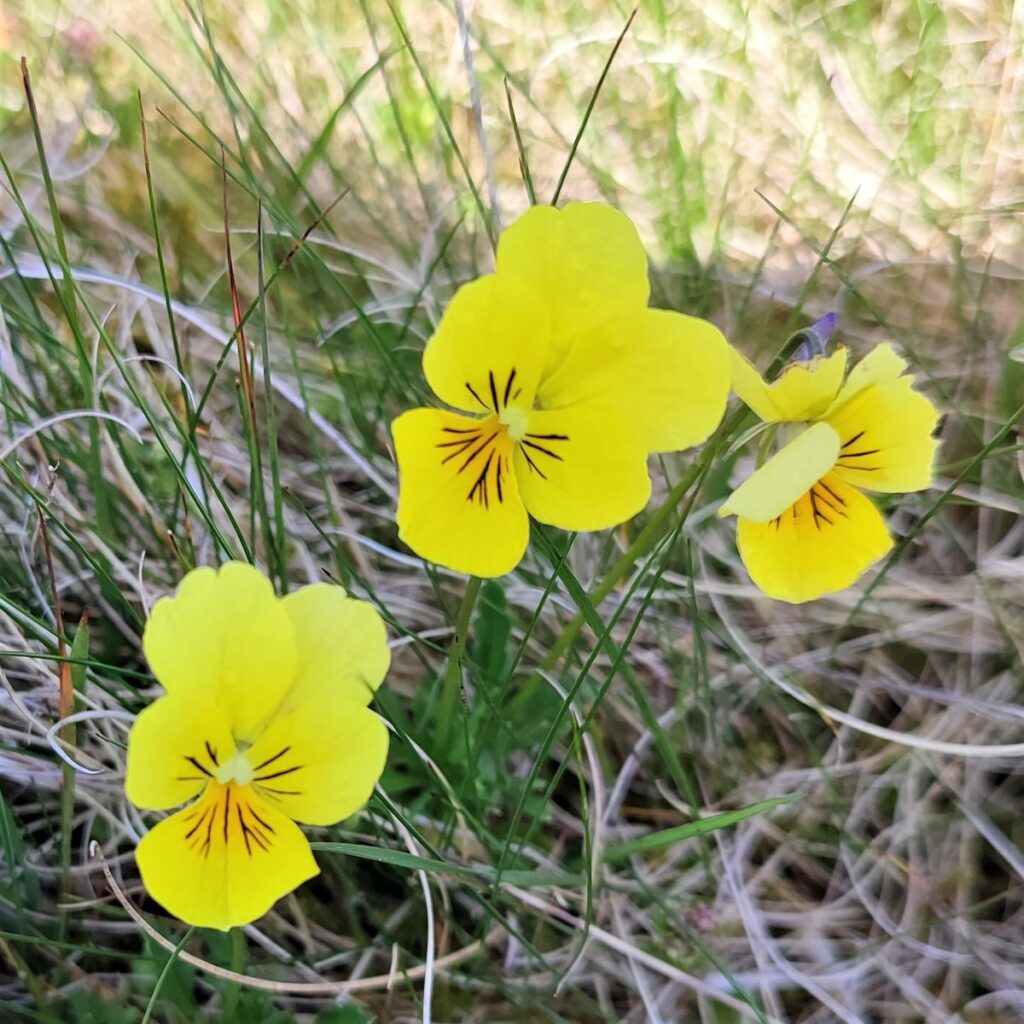
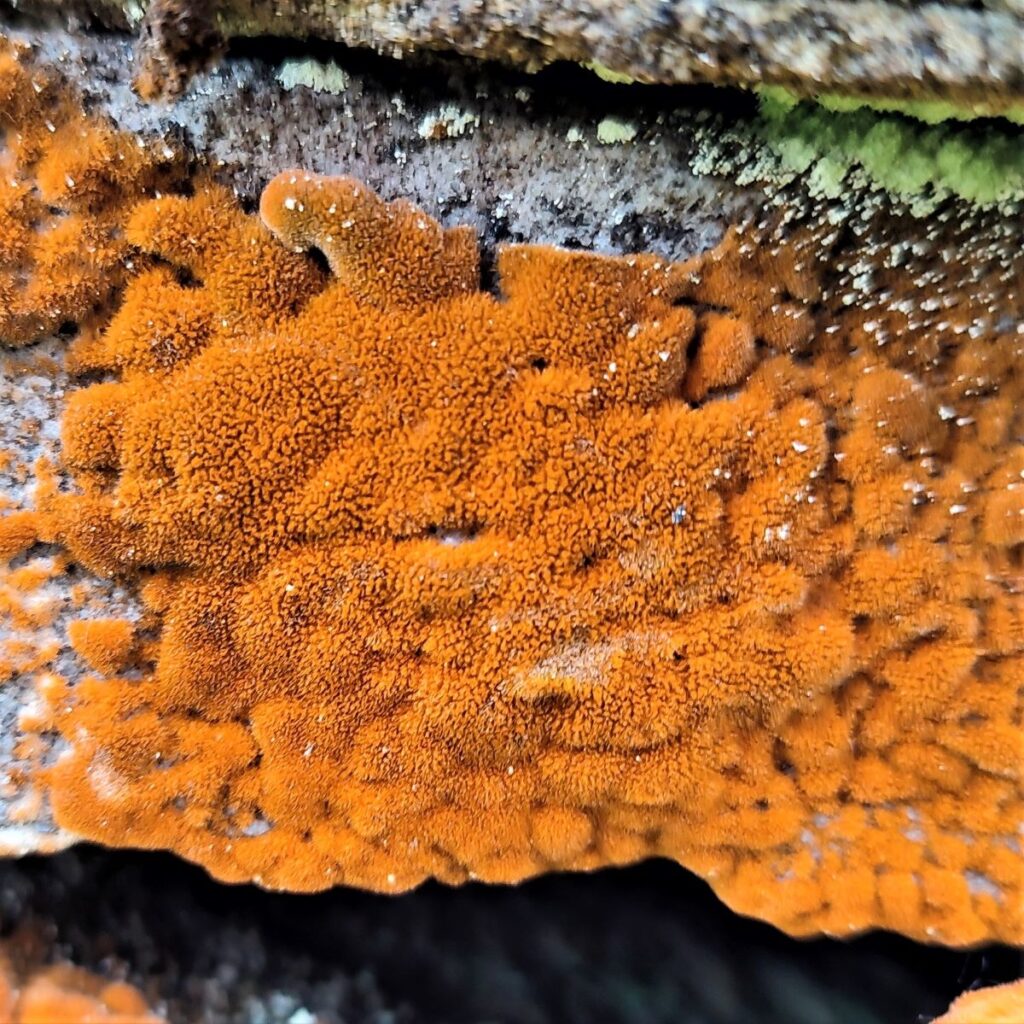
Notice the gate to the right of the house. The public footpath goes up here and passes to the right of the house before heading slightly right and uphill through the first of many spoil tips that we will see before the day is out. If you look at the structure of the spoil heaps, it is apparent that they were formed by digging simple holes and discarding the waste around the edge. This is an early and simple way of managing the mineral wealth of the site, and “Free miners” were given rights to dig on a “Meer” – a plot 30 x 7 ½ yards in size, with the lead ore then sold to the mine owner for processing. The remnants of this mining technique have now largely been reclaimed by nature, but the unique chemistry of the spoil means that the flora is not necessarily typical of the general area – viola, alpine pennycress and spring sandwort are often found. On our walk (at the end of May) there was an abundance of Mountain Pansies – Viola lutea.
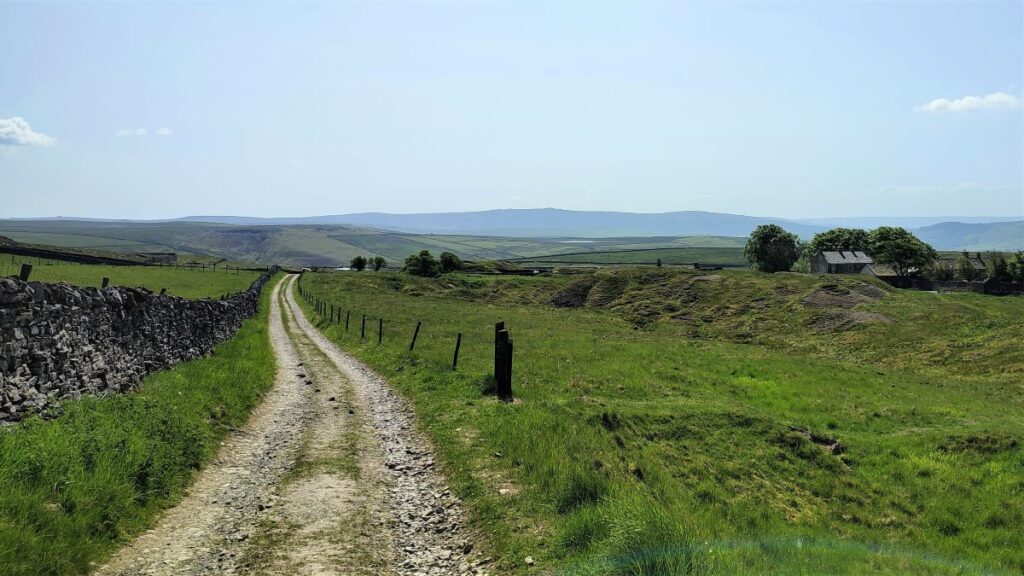
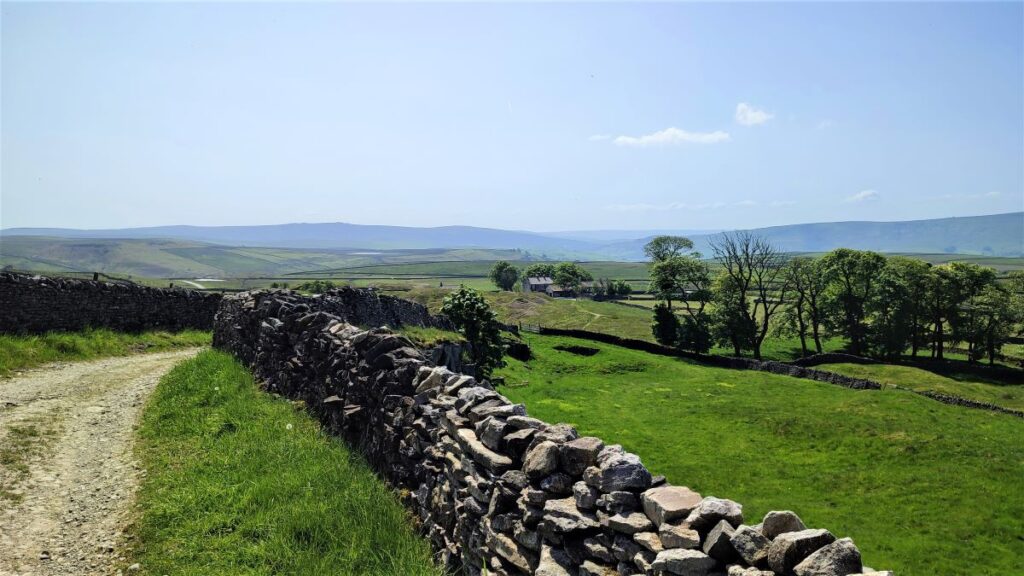
The path through the spoil heaps soon arrives at a rough lane, which we follow to the left. We are now heading Northwest toward Conistone. To the right of the lane is a Trig Point (395m), and down to the left are countless disused mine shafts and shallow pits. We follow the lane to High Barn where the track continues, though we bear left and head across a field to a disused barn with no roof. Note that if you were to continue along the path we initially followed, it continues North to the Cairn at Kelber, so this is a potential shortcut – either at the start to go straight to Mossdale, or on the way back to make this a short walk to Conistone Dib only.
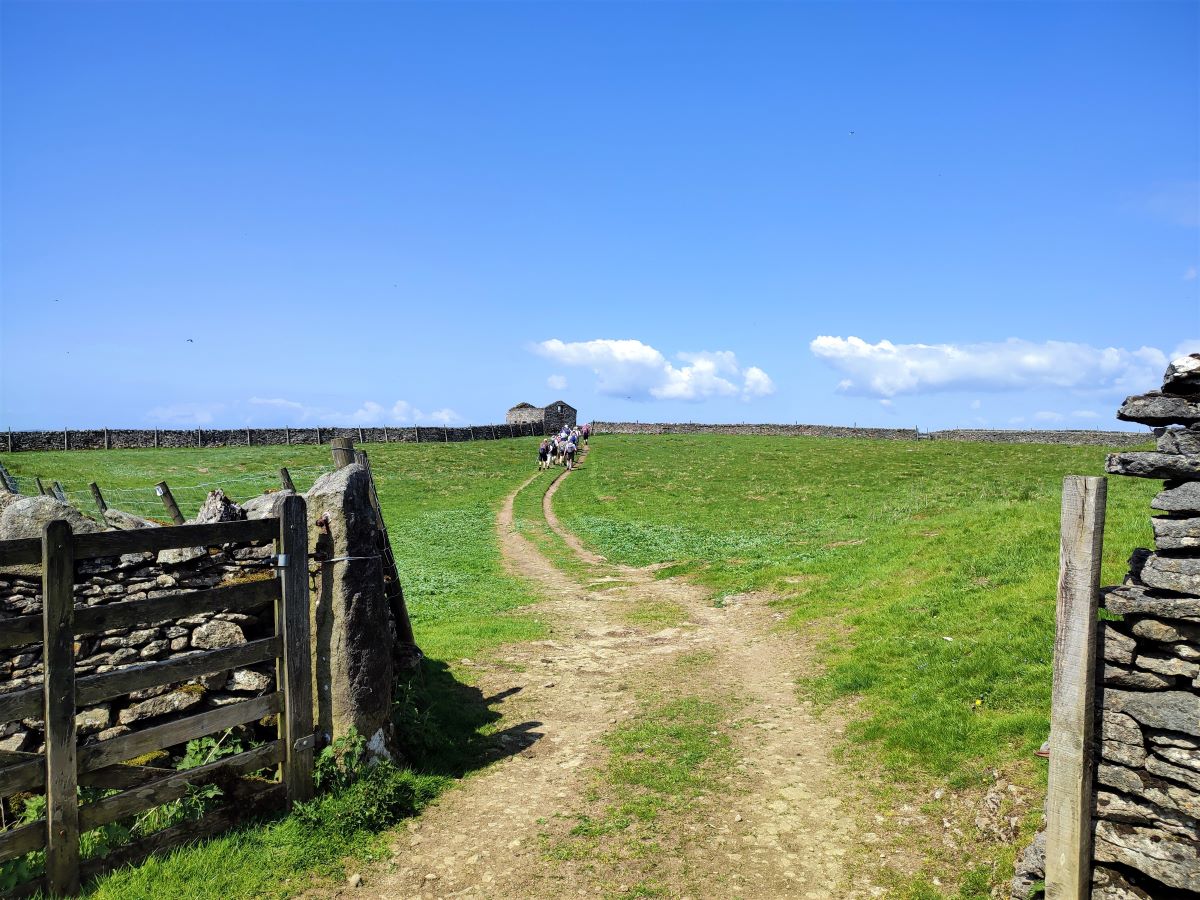
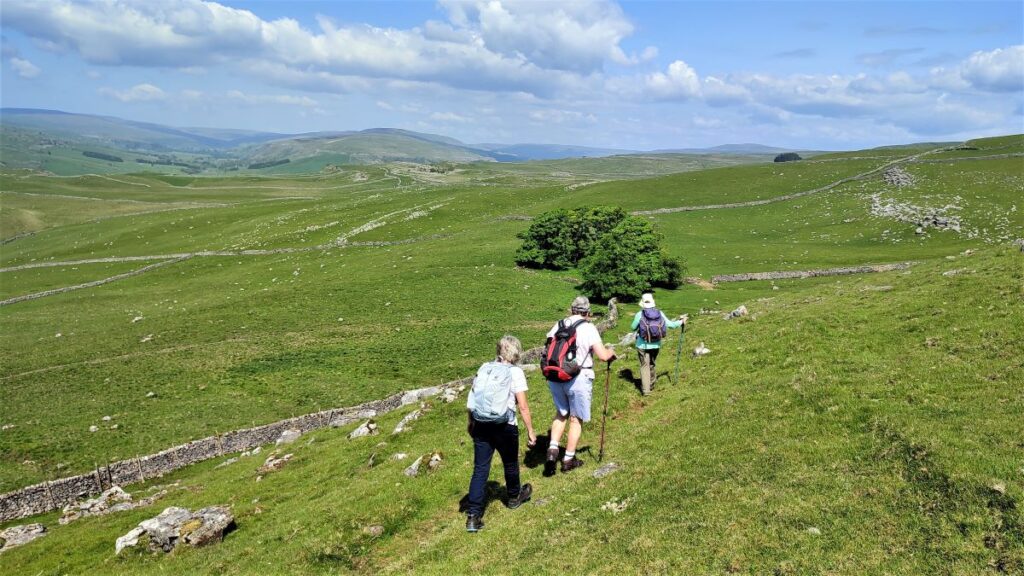
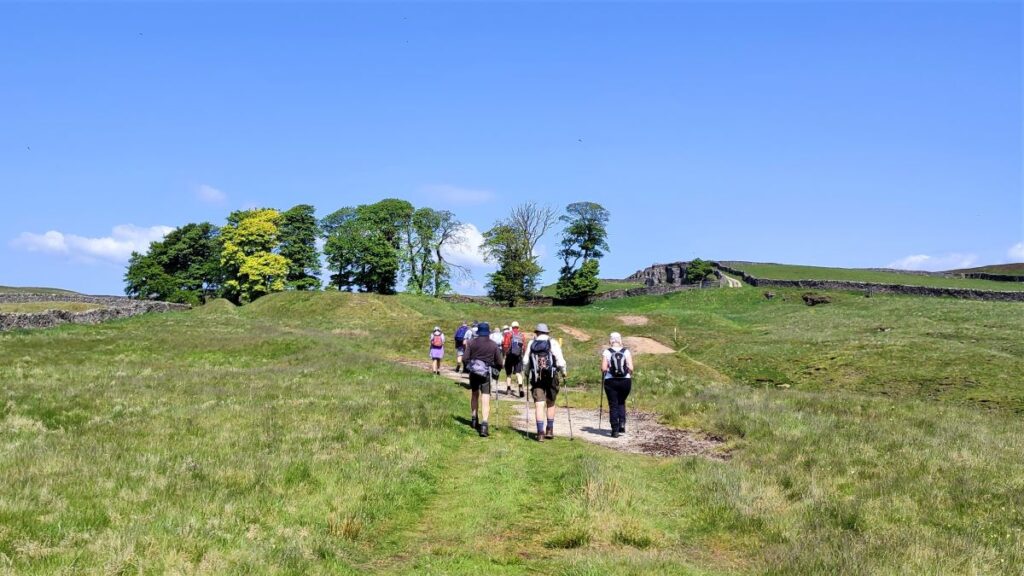
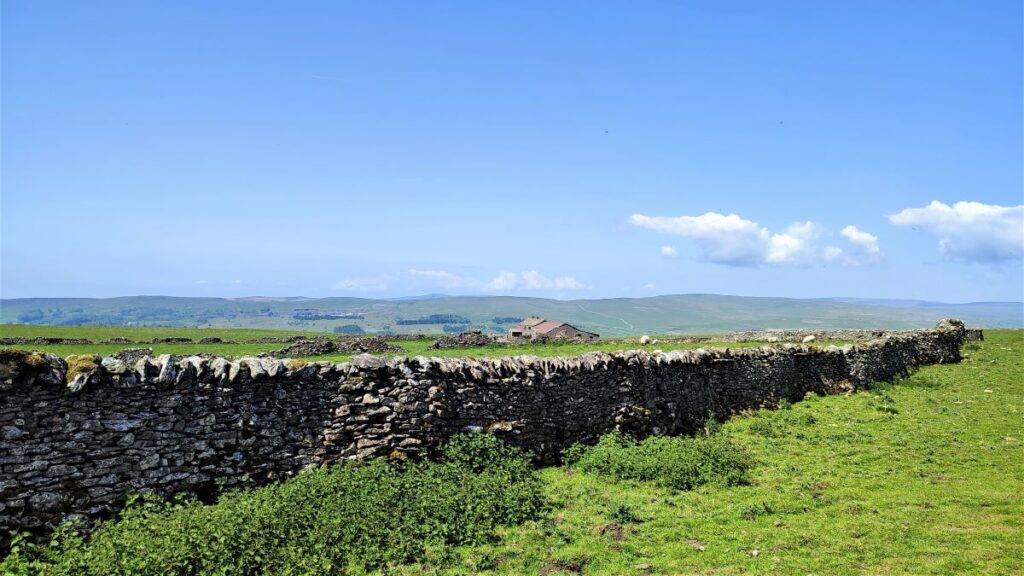
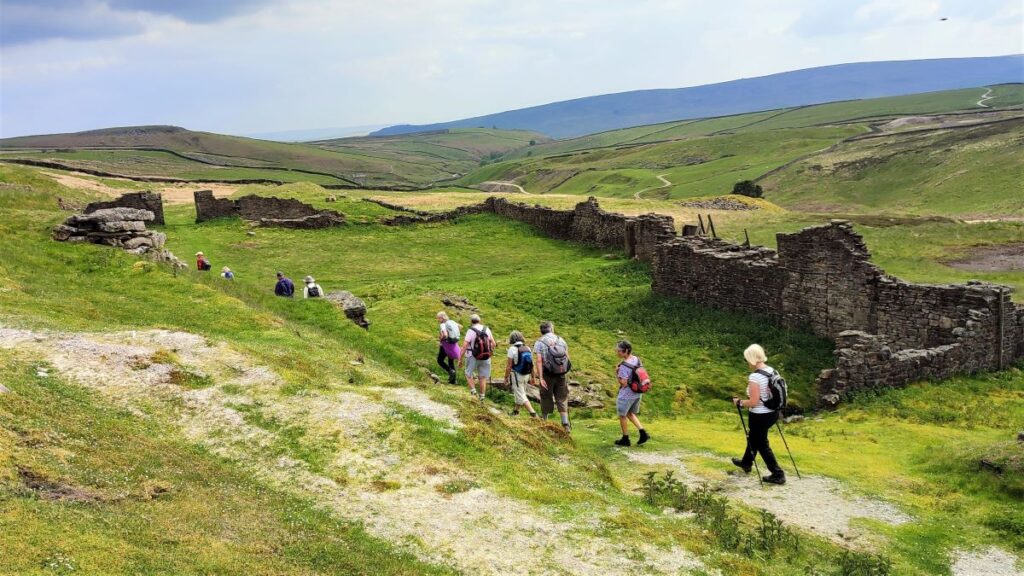
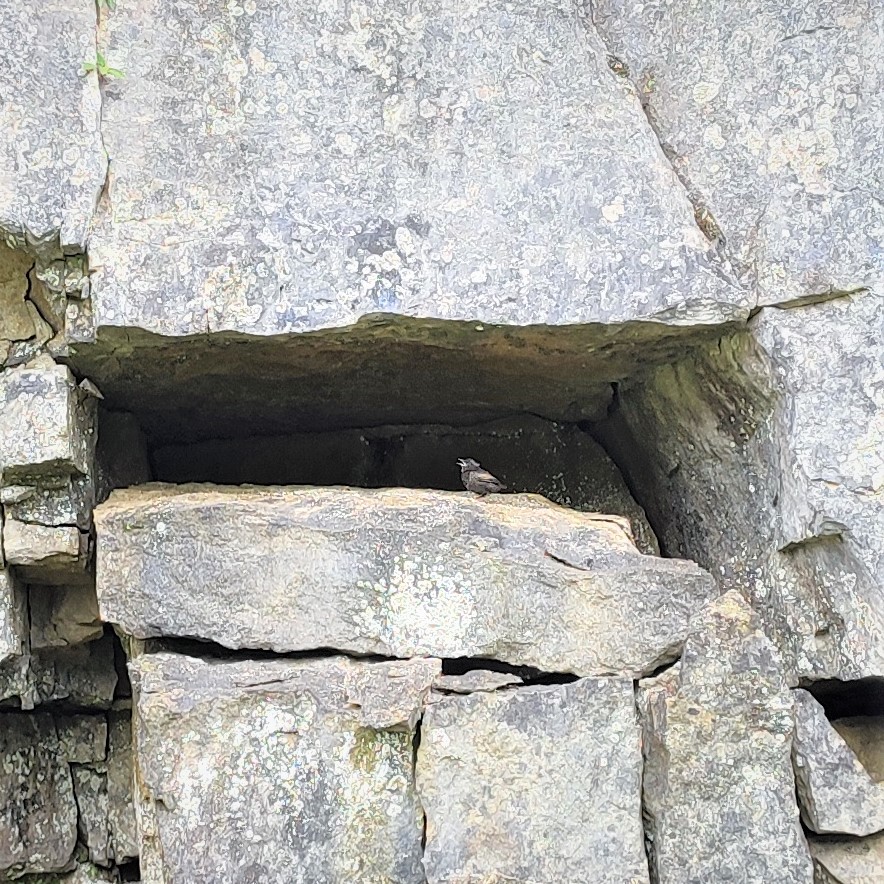
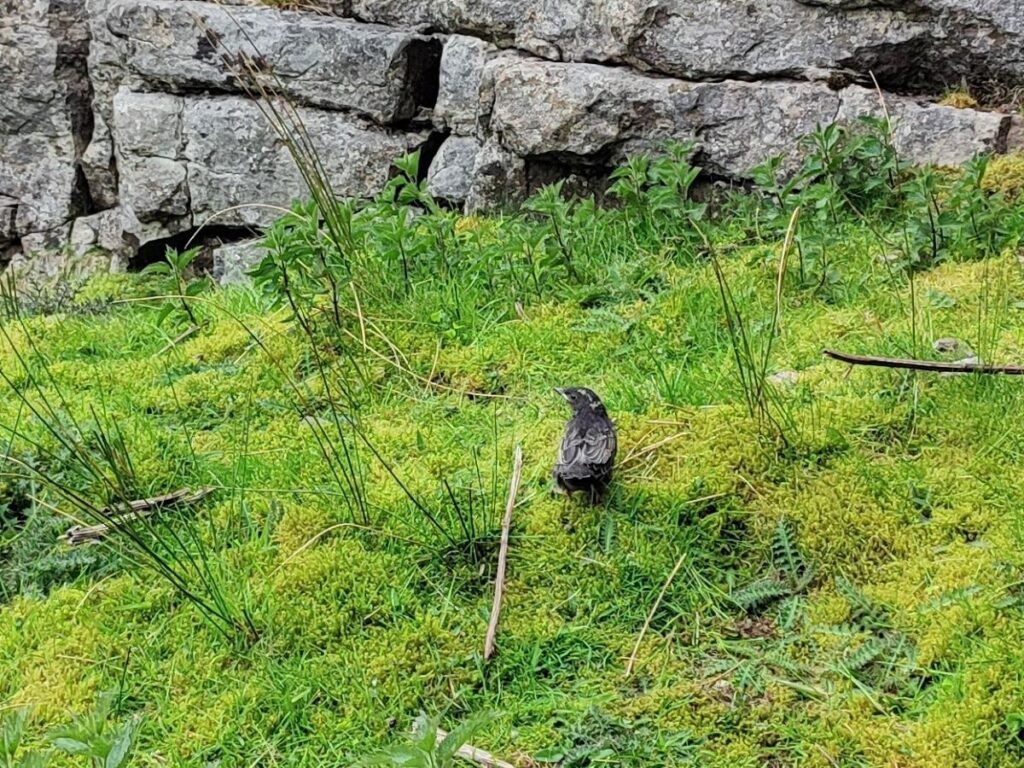
Passing the barn, we enter an open pasture and are likely to see and hear Curlew and Lapwing, as we head slightly downhill toward a disused farmhouse – Bare House. Once this comes into sight, the path bears slightly to the left and passes the front of the farm before heading downhill. By all means take a moment to look at the farm buildings, but don’t be tempted by the path through the farm which returns to Grassington.
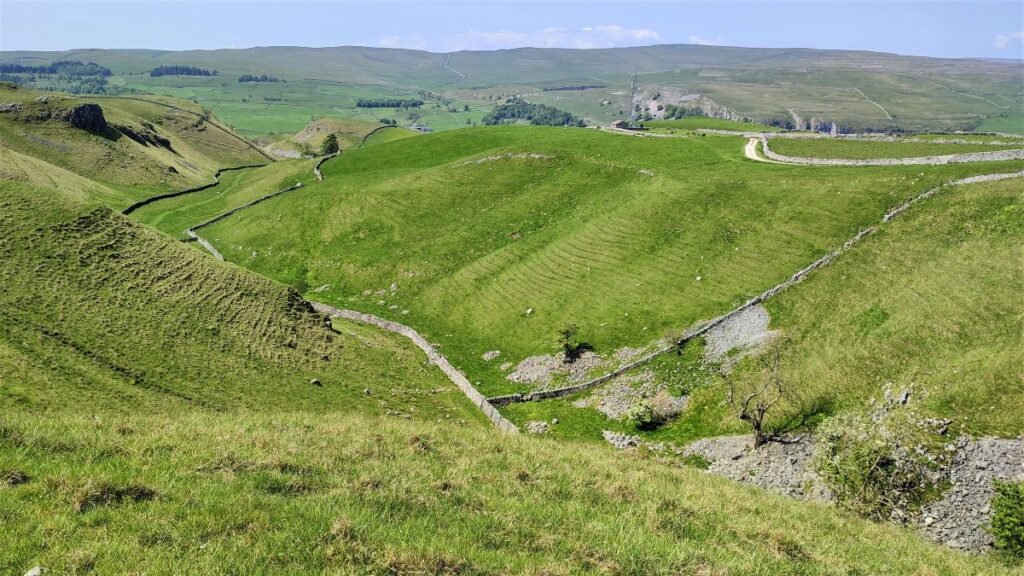
As the path heads downhill, it bends to the right, and very soon we have the radio mast on Scot Lane at Conistone Dib in view. We now head toward the mast along a path that whilst clear can be somewhat boggy after heavy rain, so be prepared for the occasional diversion to find a secure route.
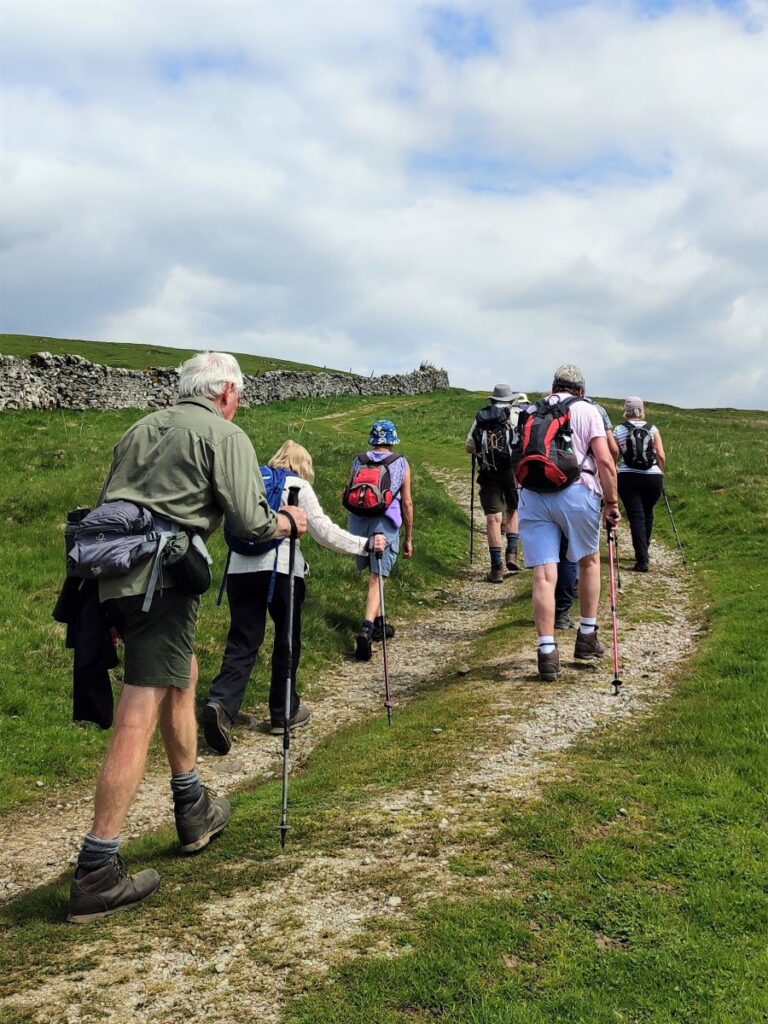
At the far bottom corner of the field, we go through a gate and then pick up the line of the wall to take us to the next gate where we enter an area with visible limestone pavement emerging through the thin soil. We maintain our Northwest direction toward the radio mast and ignore the temptation of the tracks made by the Farmer’s quad bike as they tend the sheep.
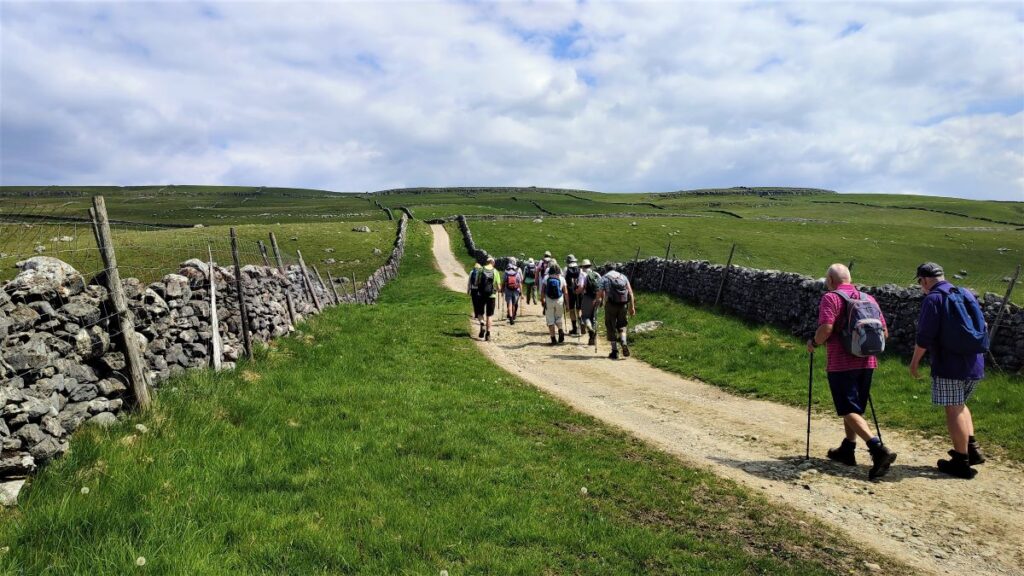
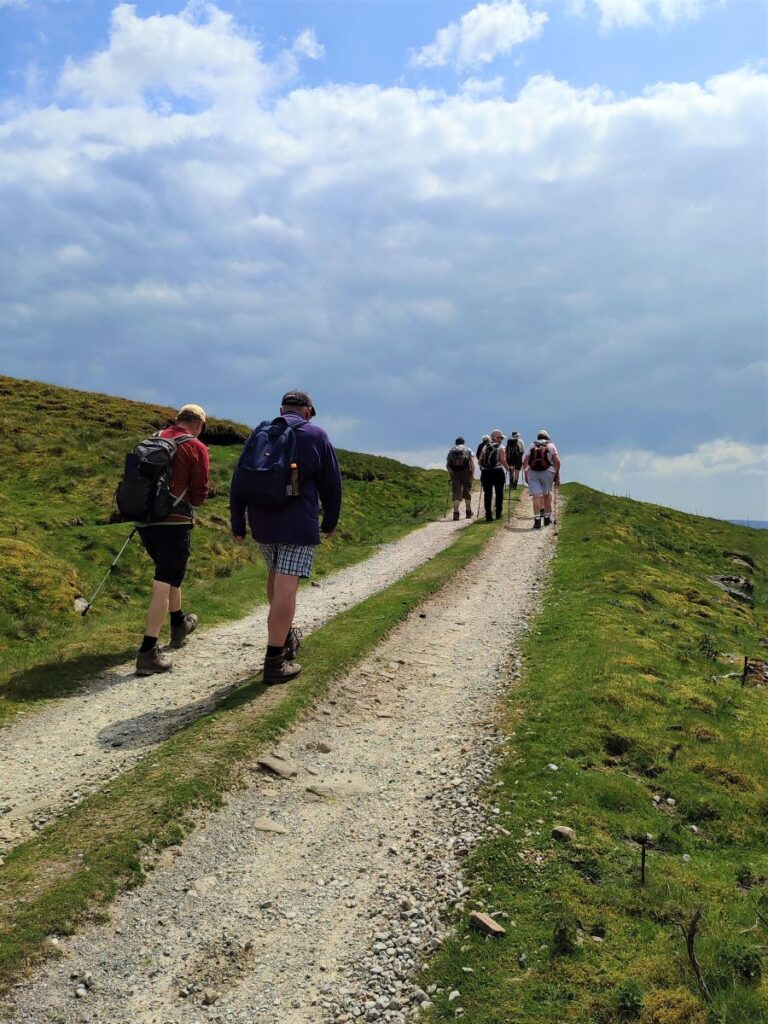
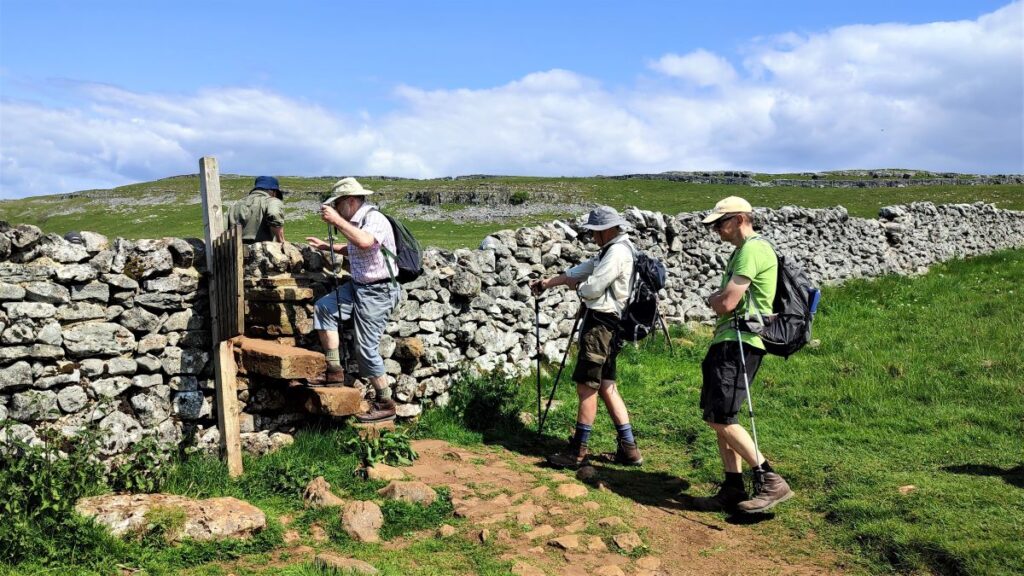
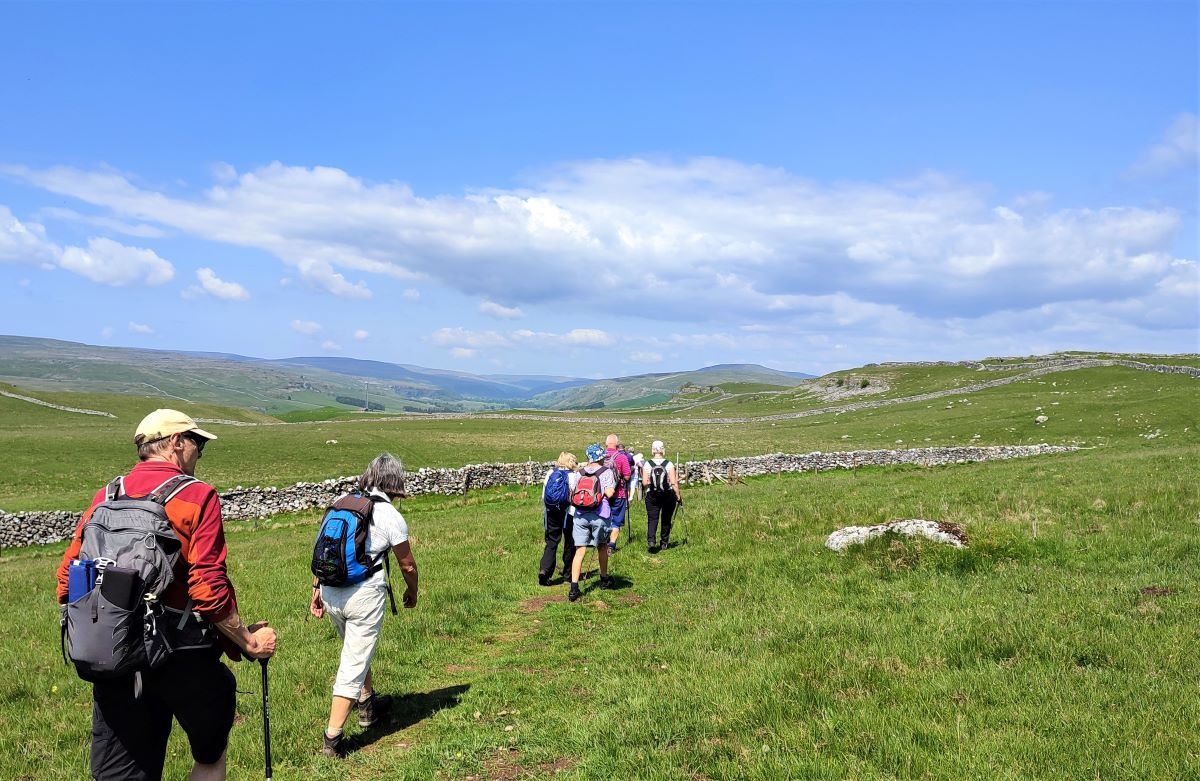
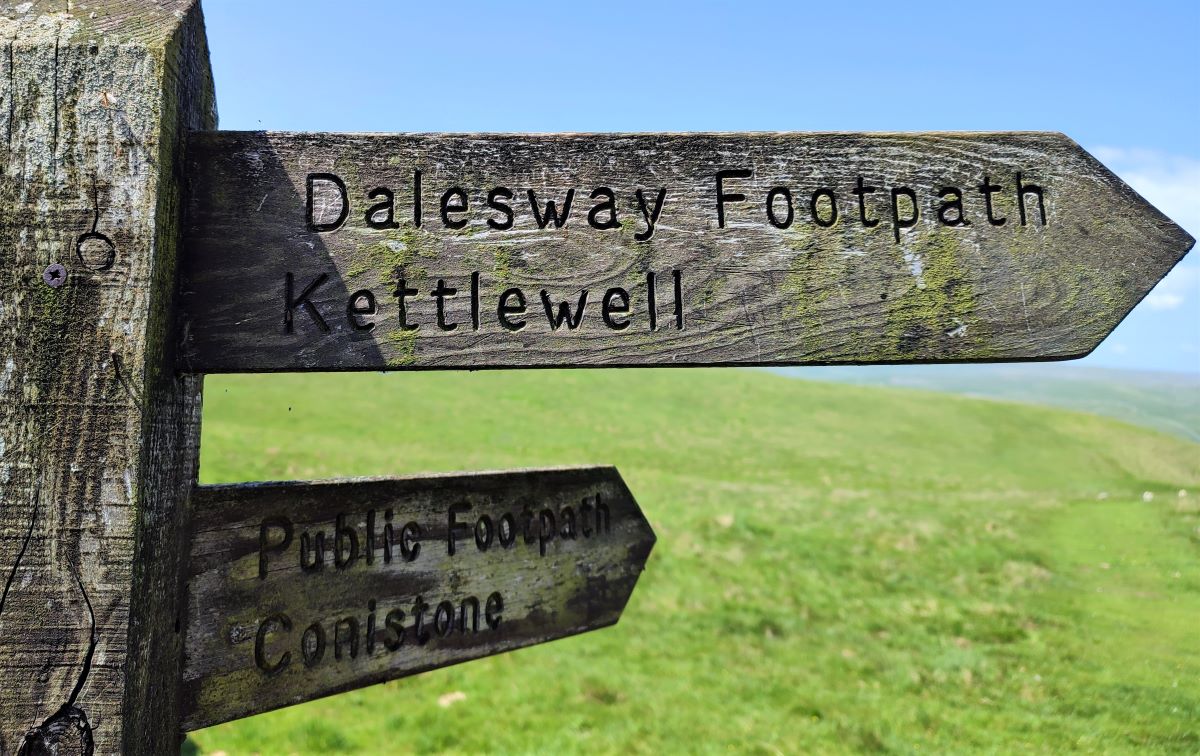
Our next landmark is a stile in the drystone wall at the opposite side of the field. As you approach this you are likely to see other walkers using a path that meets ours at the stile. They are on the popular Dales Way between Grassington and Kettlewell. On the far side of the stile, we find a way marker offering a choice of route – we take the rightmost option signed for Kettlewell and stay with the Dales Way for a little while.
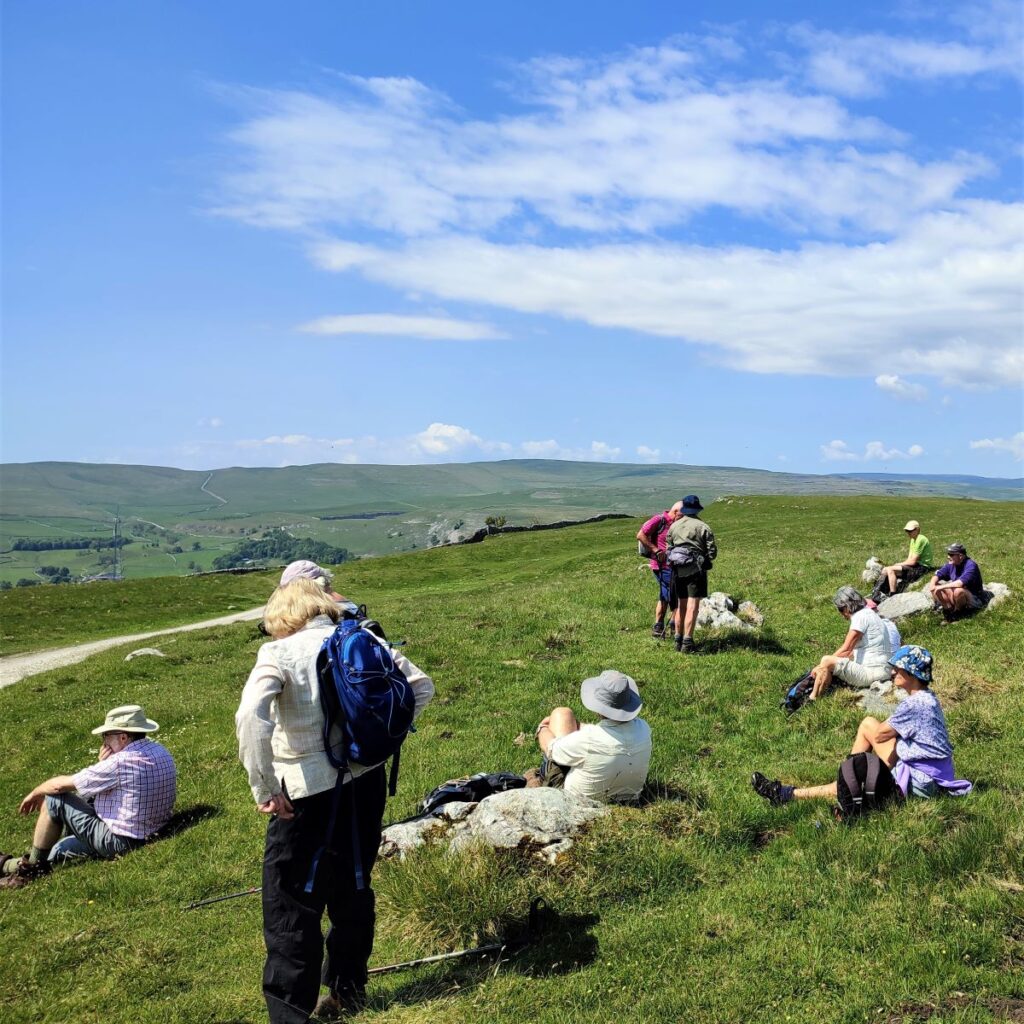
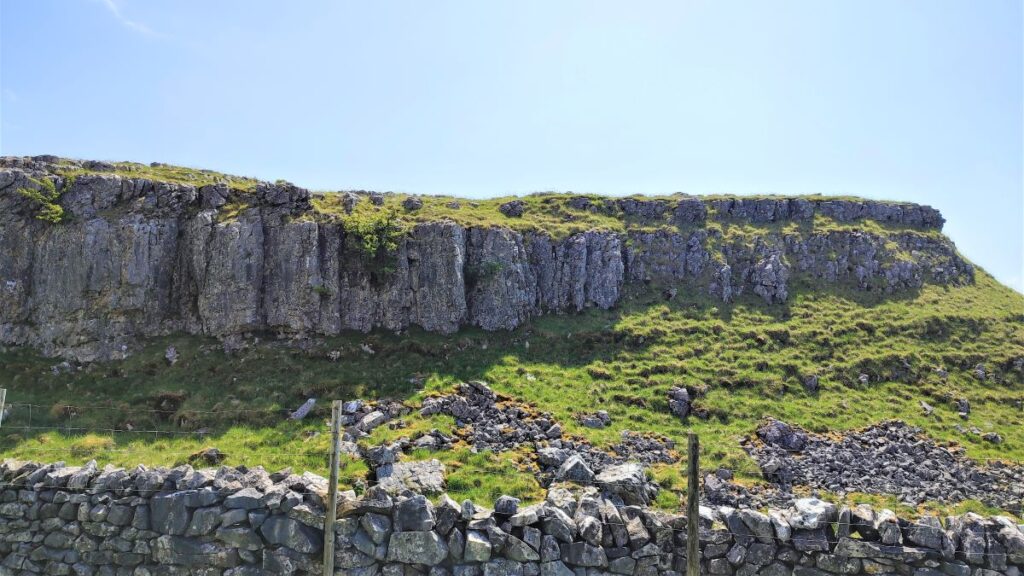
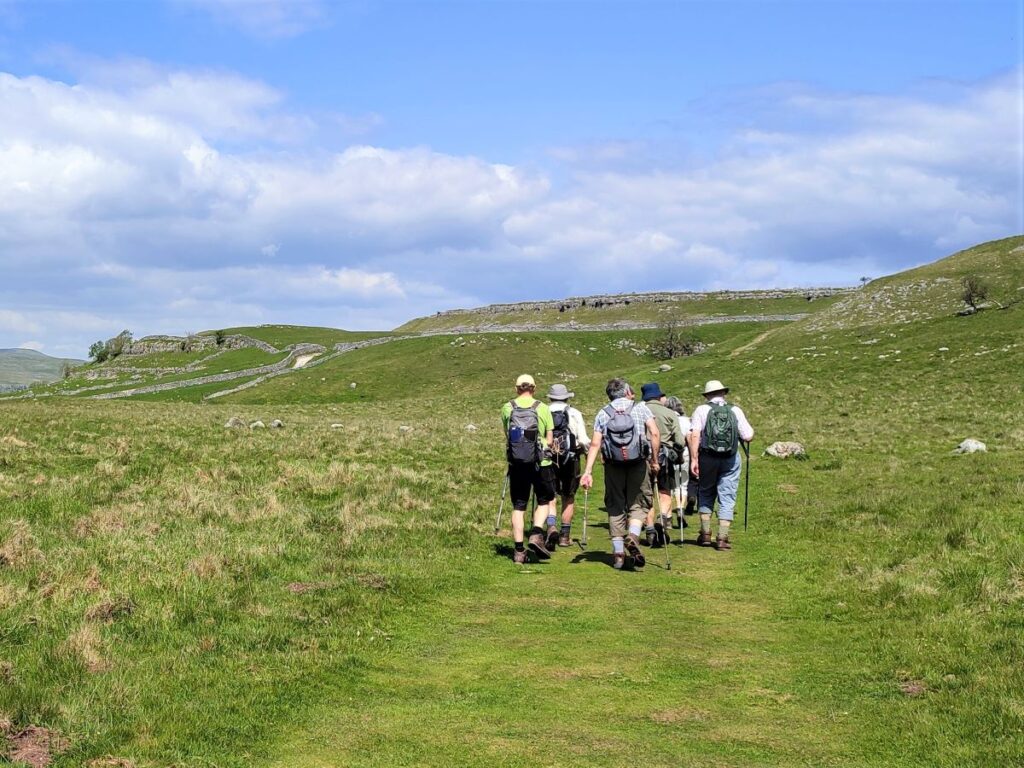
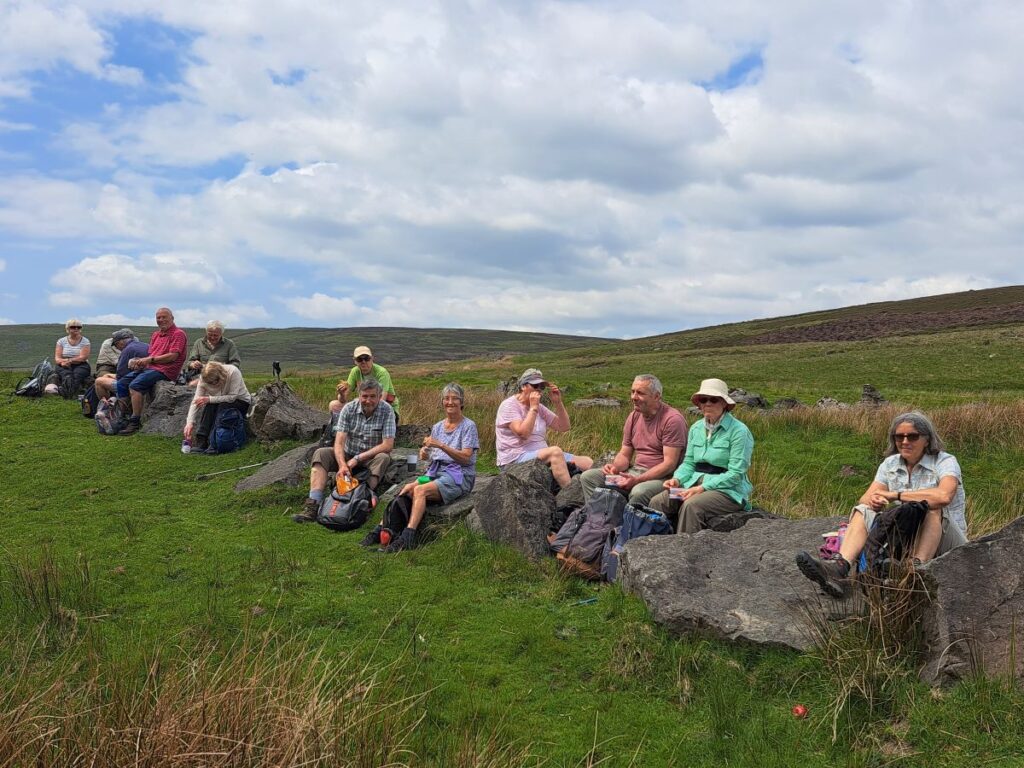
The path is very clear now, and heads uphill toward the top of Conistone Dib – an area we last visited on the Copplestone Gate and Conistone Pie walk. At the top of the Dib – an atmospheric limestone gorge – the path reaches a gate and a further way marker. We are heading right here, but before we do that, the rocky outcrops here are a great place to take a break and enjoy the views across the Wharfe Valley.
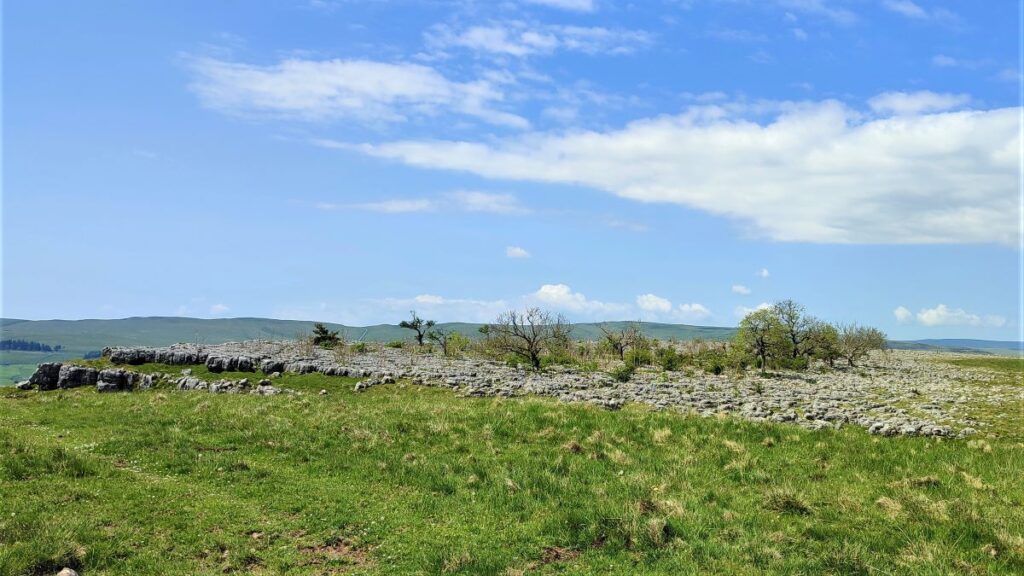
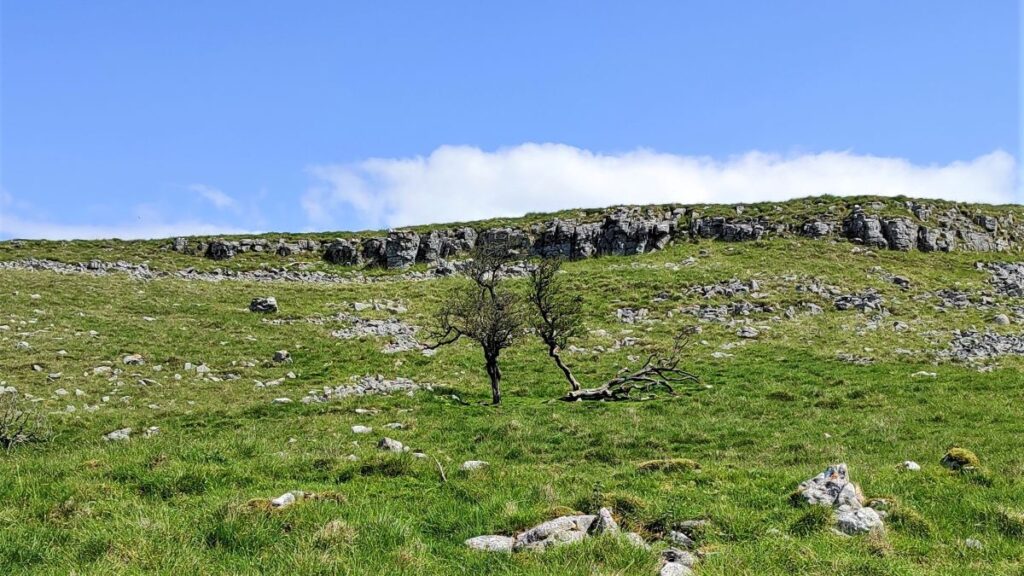
We now head right and uphill, along a clear track known as the Bycliffe Road, but don’t forget to look back and slightly to the right to see one of the best areas of limestone pavement anywhere in the Dales. This is less heavily walked than Malham, so trees have managed to establish root in the grikes, creating a rather ethereal landscape.
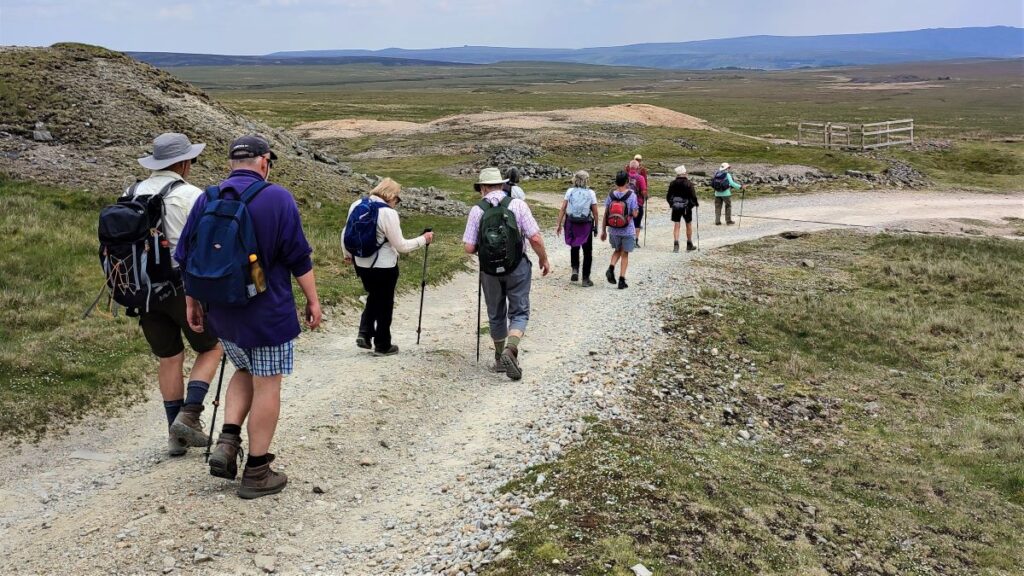
The Bycliffe Road continues Northeast for a while, until we arrive at a four way junction where we go right – still on the Bycliffe Road (the lane ahead soon ends and the smaller route to the left is known as the Conistone Turf Road – a path we have used before).
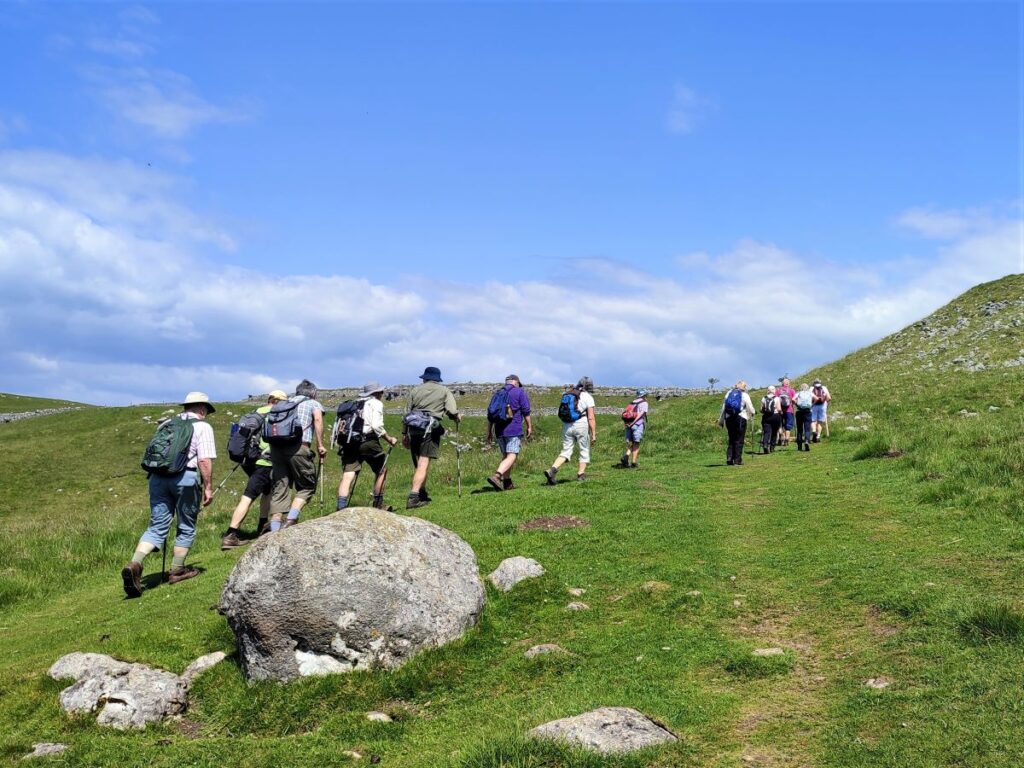
We continue uphill along the Bycliffe Road until we come to a gate where we enter a field which often has horses within. We cross the field, climbing to a further gate where we exit and head left, to follow the line of the drystone wall uphill. We are now at Kelber Gate.
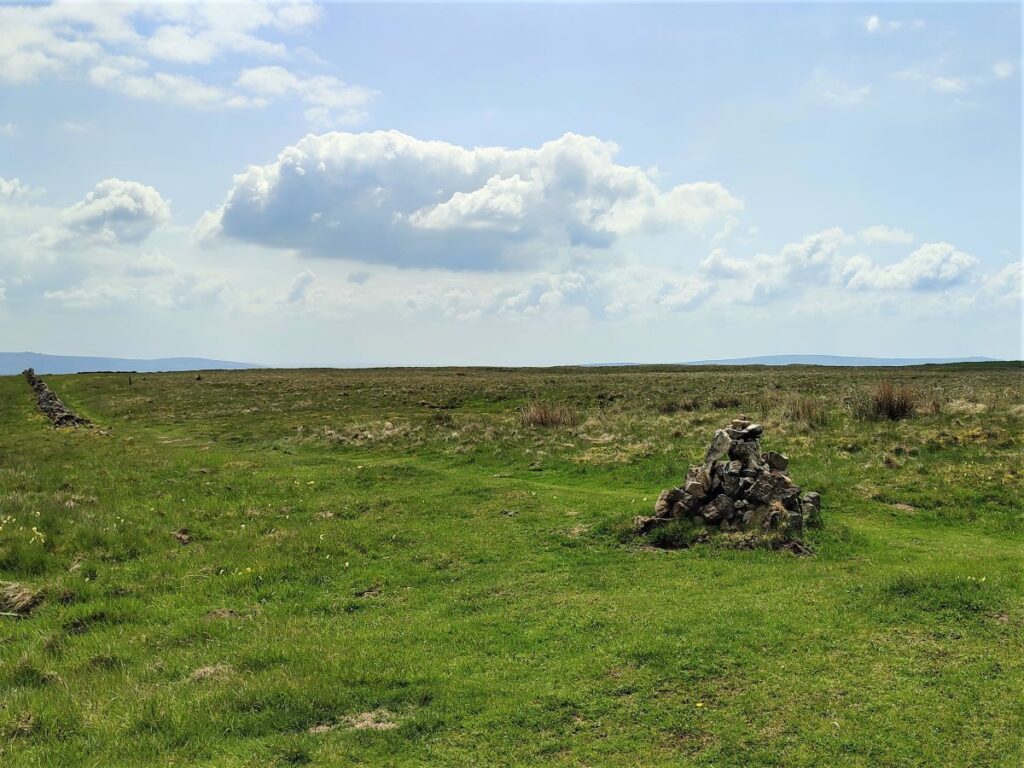
We follow the path which remains very clear for a while now. The moor to our right is Kelber, and before long we arrive at a small cairn on the right which marks a path which we could take back to High Barn.
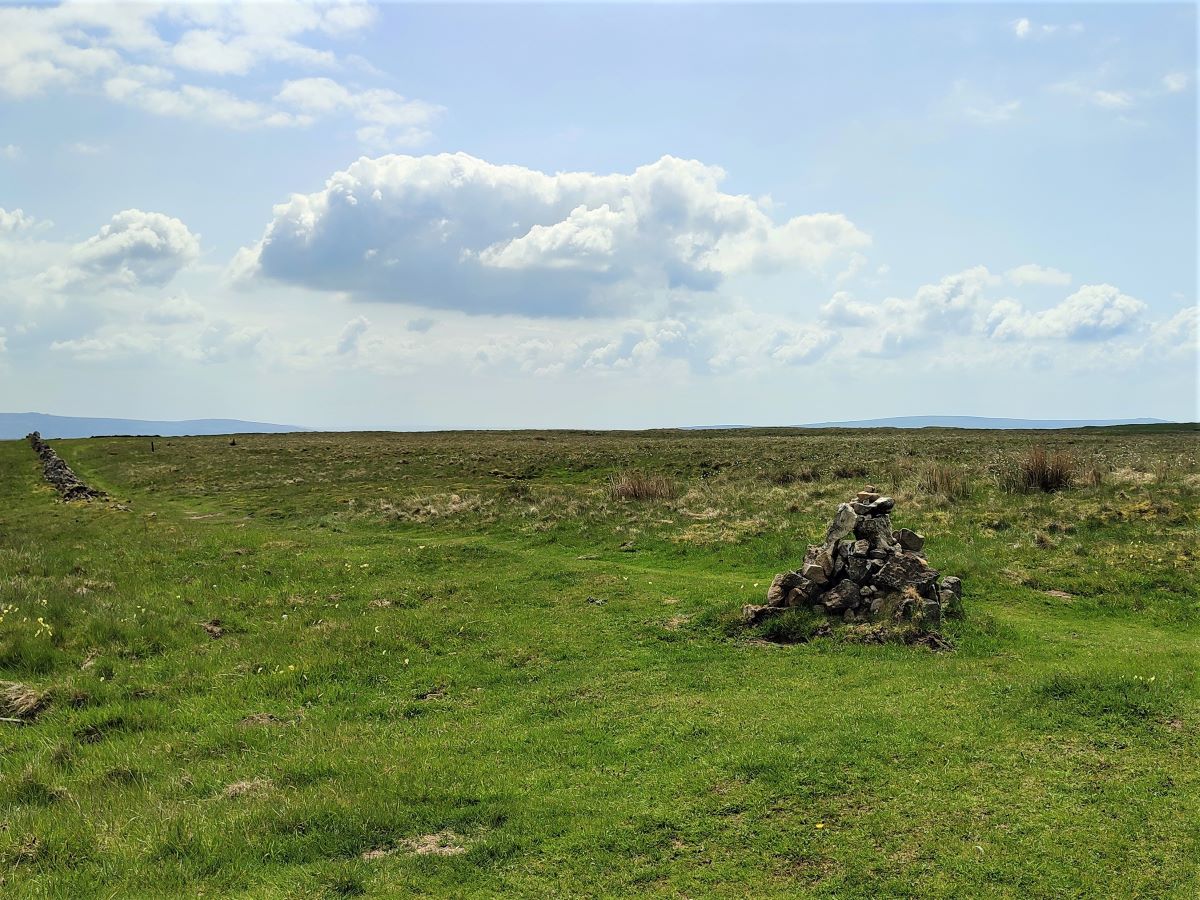
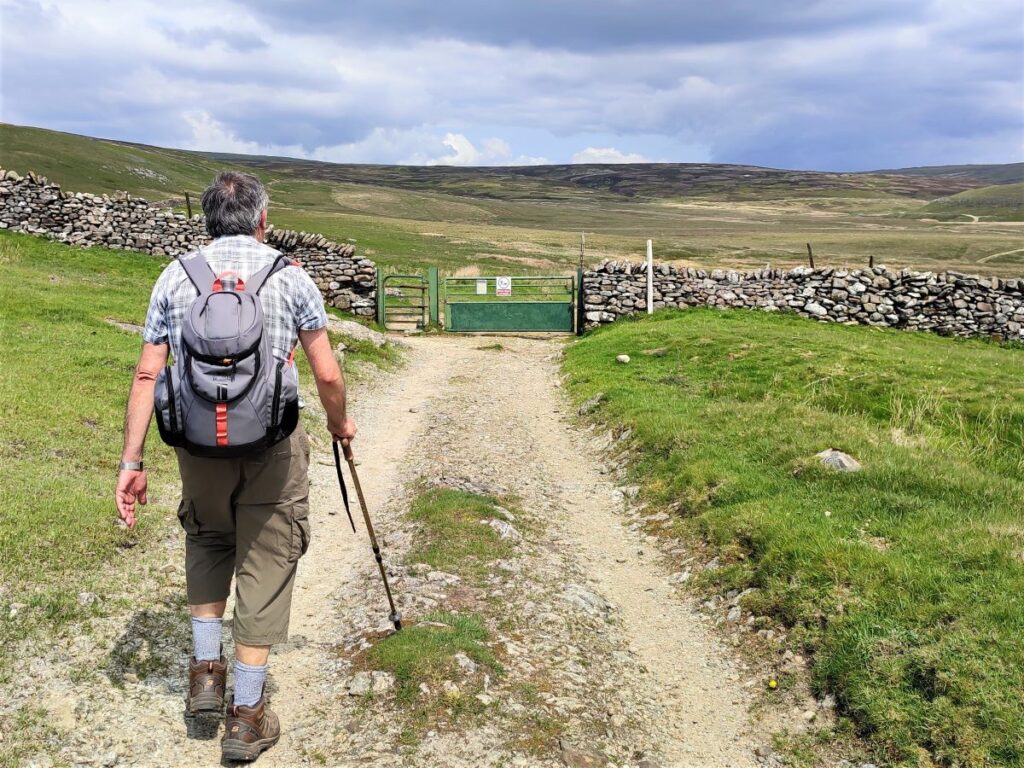
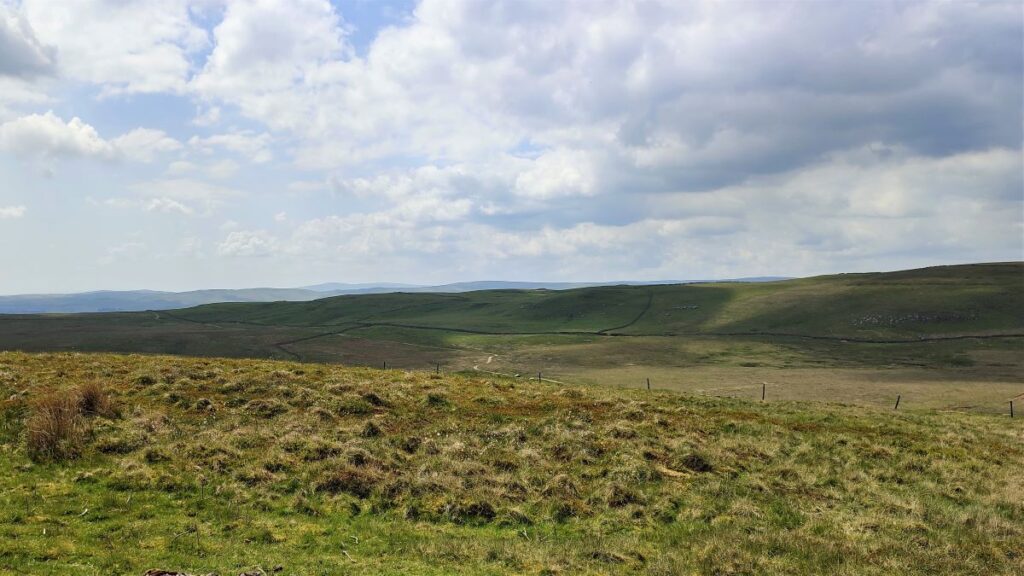
Our route continues straight on and approaches a green metal gate before winding onward through flat and boggy land at Bycliffe, and then on to a junction where we find an information board describing Grassington Moor.
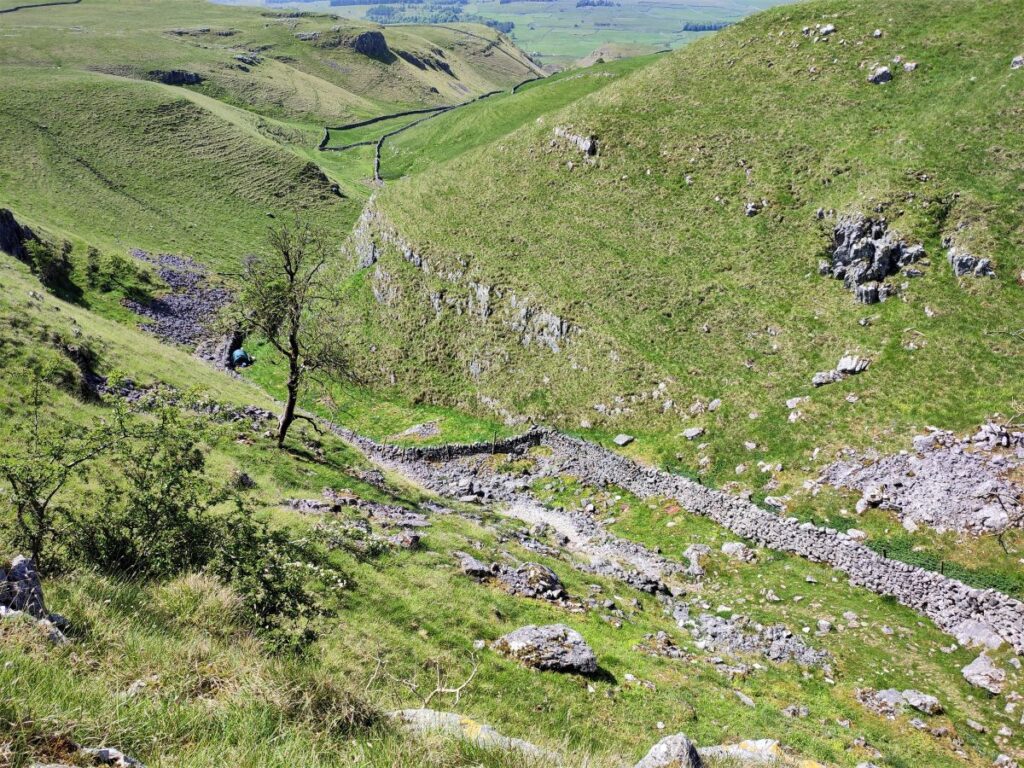
At this point, we see two options, a steep path rising to the right and a flat path straight on. We will eventually take the steep path as this is the way back to Yarnbury through the Lead Mines, but if you have the time and energy, it’s well worth taking a short diversion to Mossdale Scar.
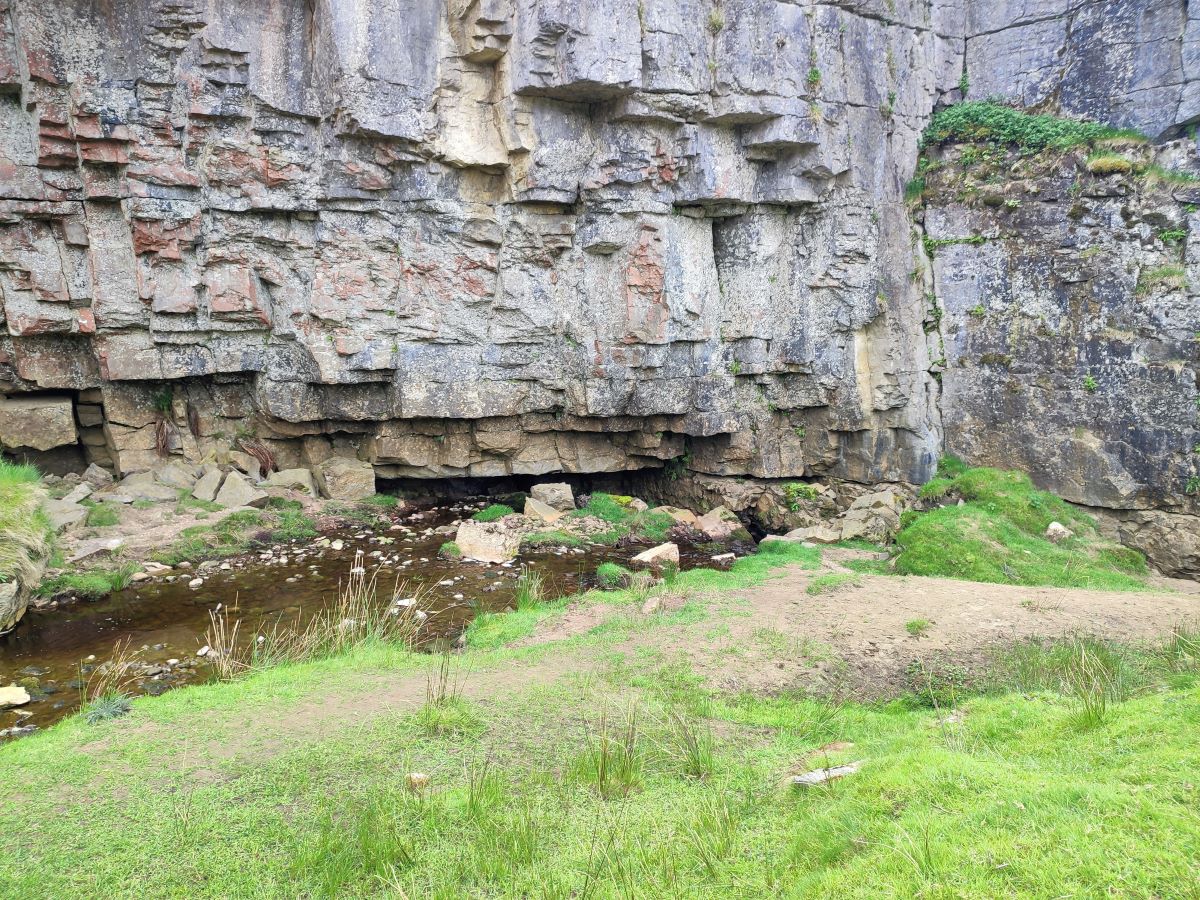
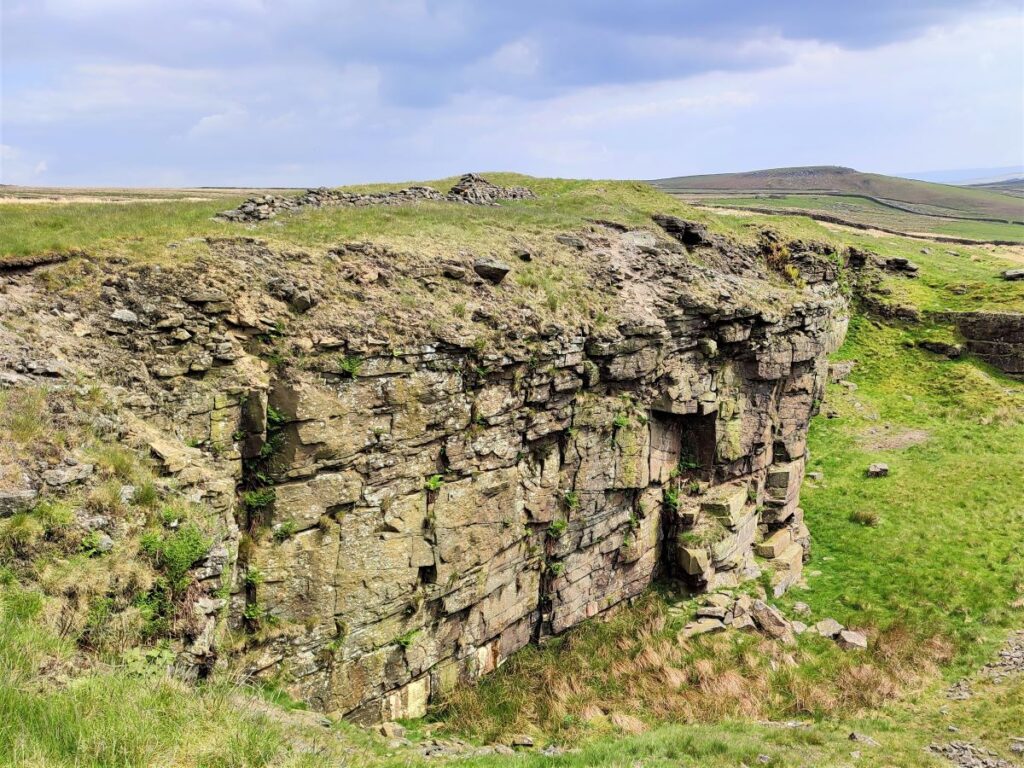
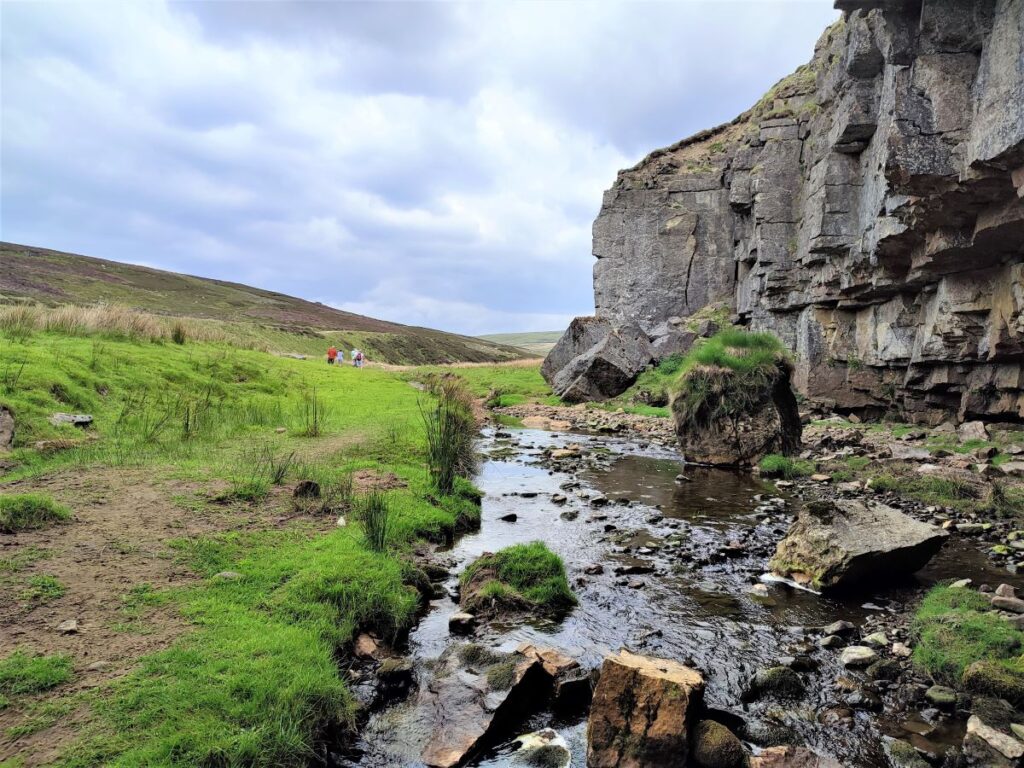
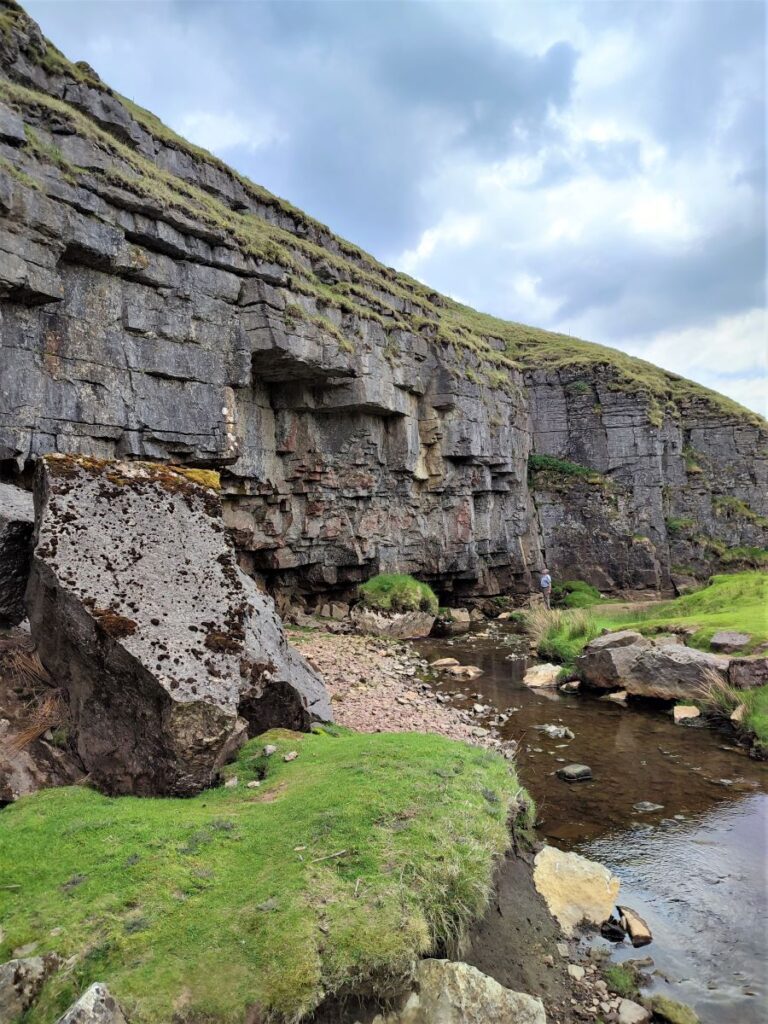
Mossdale Scar is an attractive landscape feature in its own right, but the real interest here relates to a tragedy that took place in 1967.
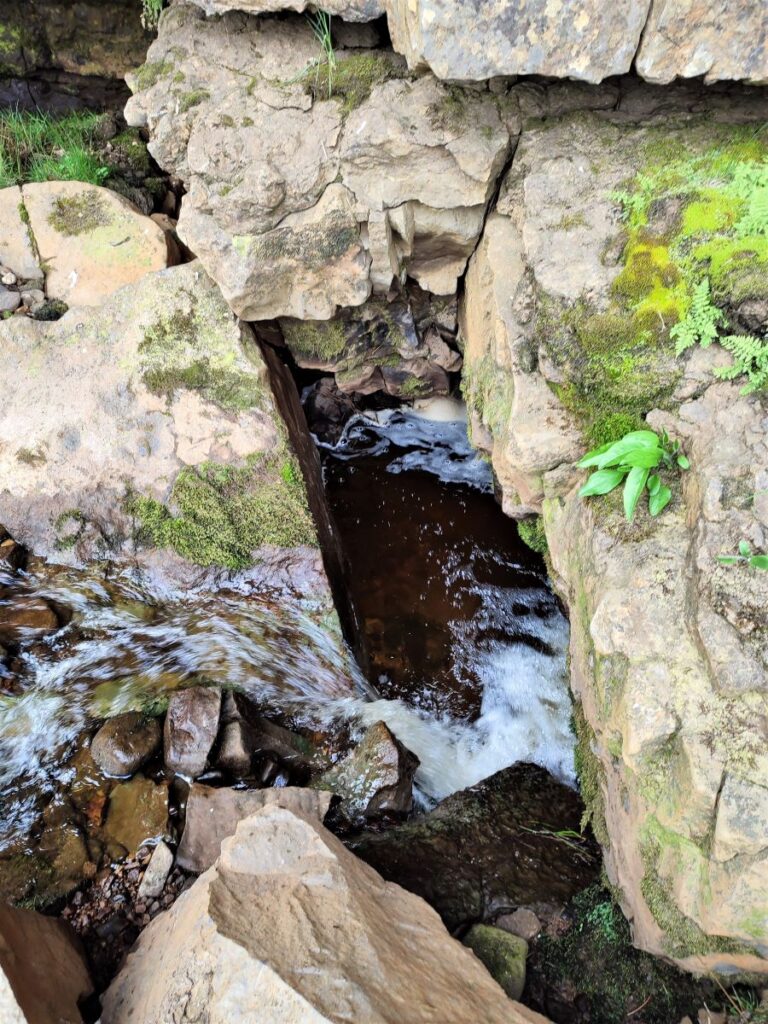
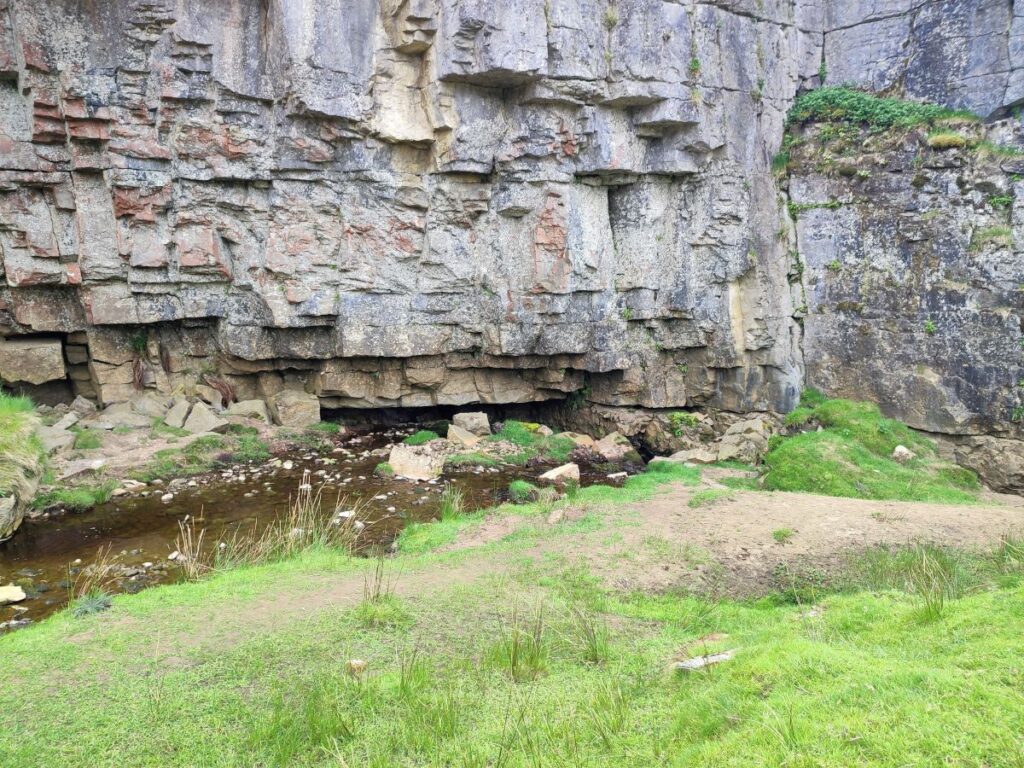
Beneath Mossdale Scar, where the Mossdale Beck disappears underground to re-emerge at Black Keld, some 4.4 kilometres away, lies a cave system. It was within these narrow and partially flooded caverns that a tragedy occurred on 24th June 1967. On that day, ten cavers entered the system. Three hours later, four members of the party decided not to continue and exited the cave system.
One of the four – Morag Forbes – returned to the entrance shortly afterwards, only to find it completely submerged due to recent rainfall having swollen Mossdale Beck. Realising immediately that the six cavers who remained inside the cave system were in danger, she ran 2.5 miles across the moor to raise the alarm.Cave rescue teams arrived at the scene, but the high water levels prevented access to the cave. The waters of Mossdale Beck had to be diverted away from the cave entrance by digging a trench and creating a dam. The remnants of these – particularly the drainage trench is still clearly visible.

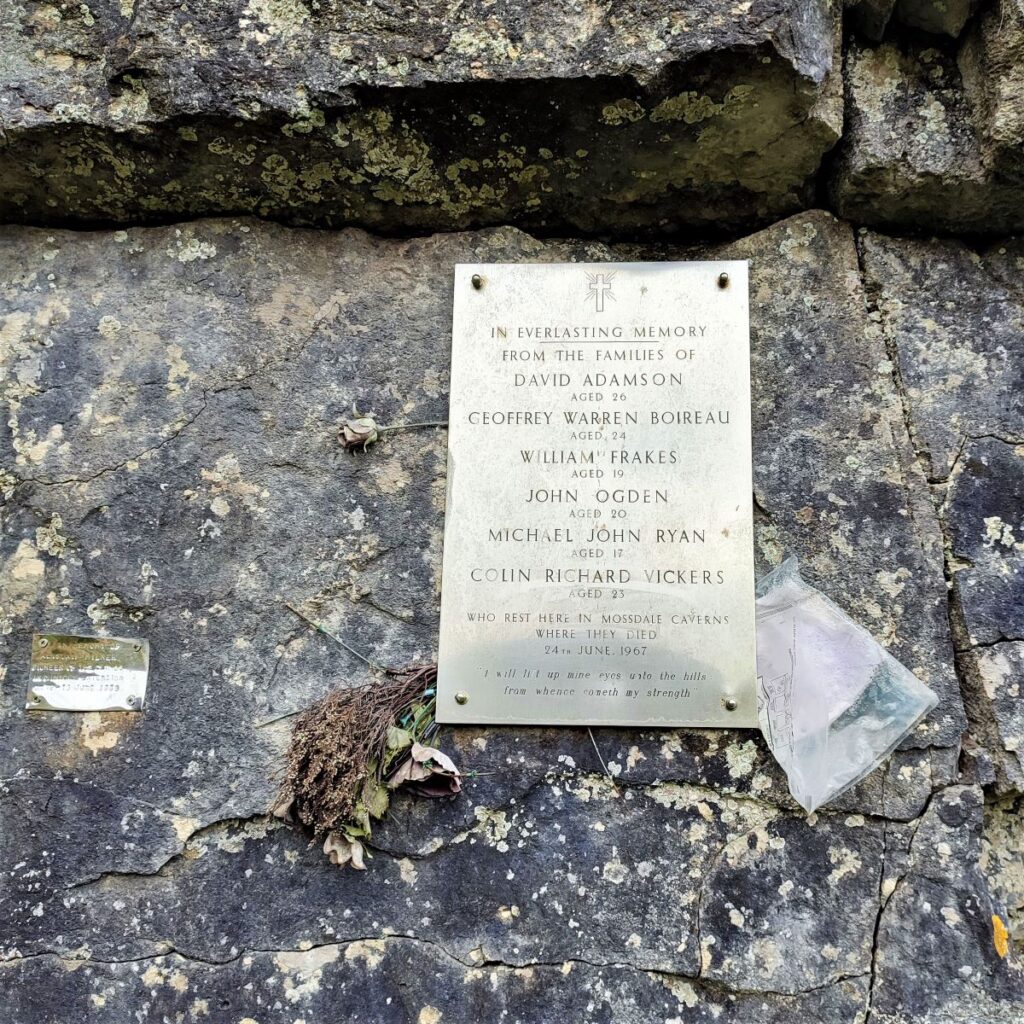
It was not until the following day that entry was possible. The rescue team found the bodies of five of the cavers in the Far Marathon Crawls. The sixth body was located the following day. Recovery of the bodies was not considered possible without risking further loss of life, and after consultation with the families of the deceased, the coroner decided to seal the cave, and concrete was poured down the only entrance.
This was later re-opened and in 1971, with the agreement of their families, the bodies were buried by their colleagues from the University of Leeds Speleological Society in “Mud Caverns”, a chamber at the far end of the system.
The tragic accident marked by a plaque on the face of the scar remains the most deadly incident in British caving.
We now return back along the track we arrived on – noting the drainage ditch on the right that was part of the rescue attempt, until we arrive back at the junction where we saw the information board. Here we head uphill along a very clear track, with the mines as our destination.
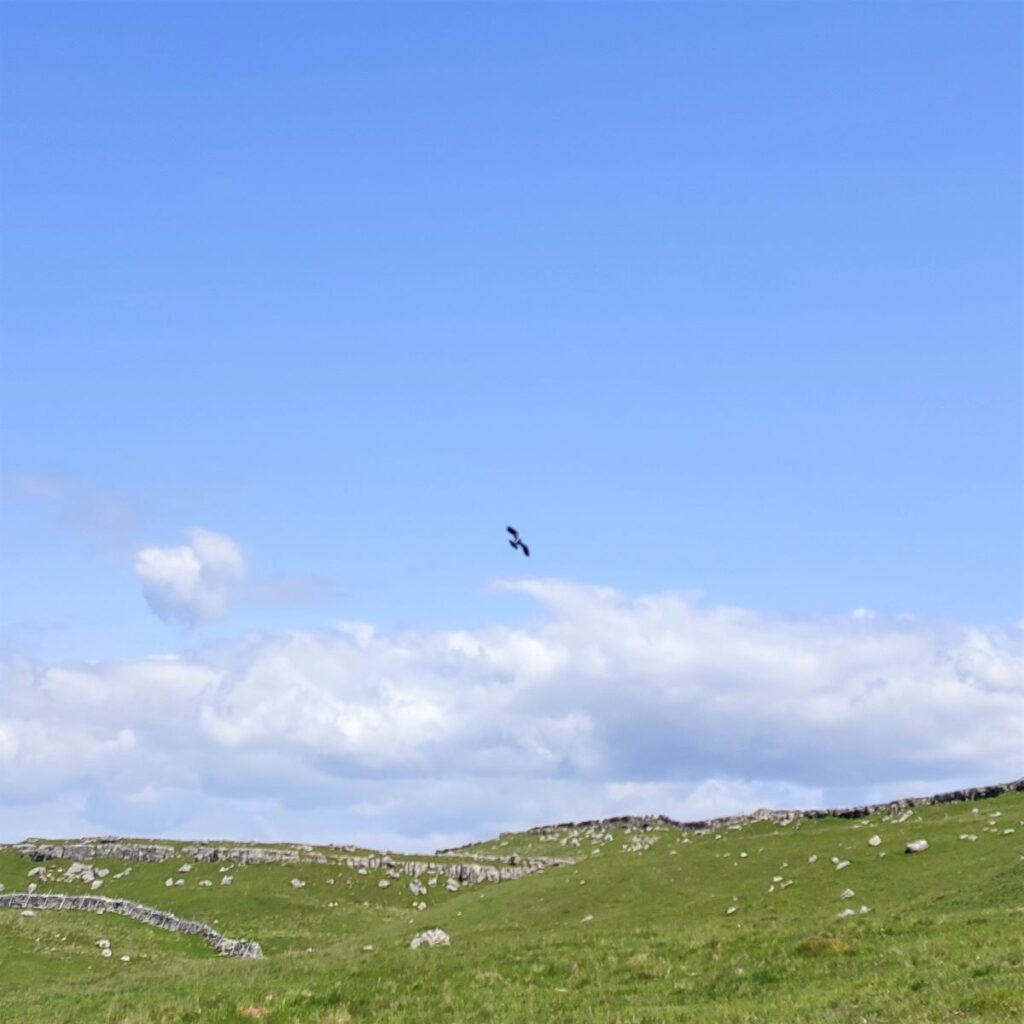
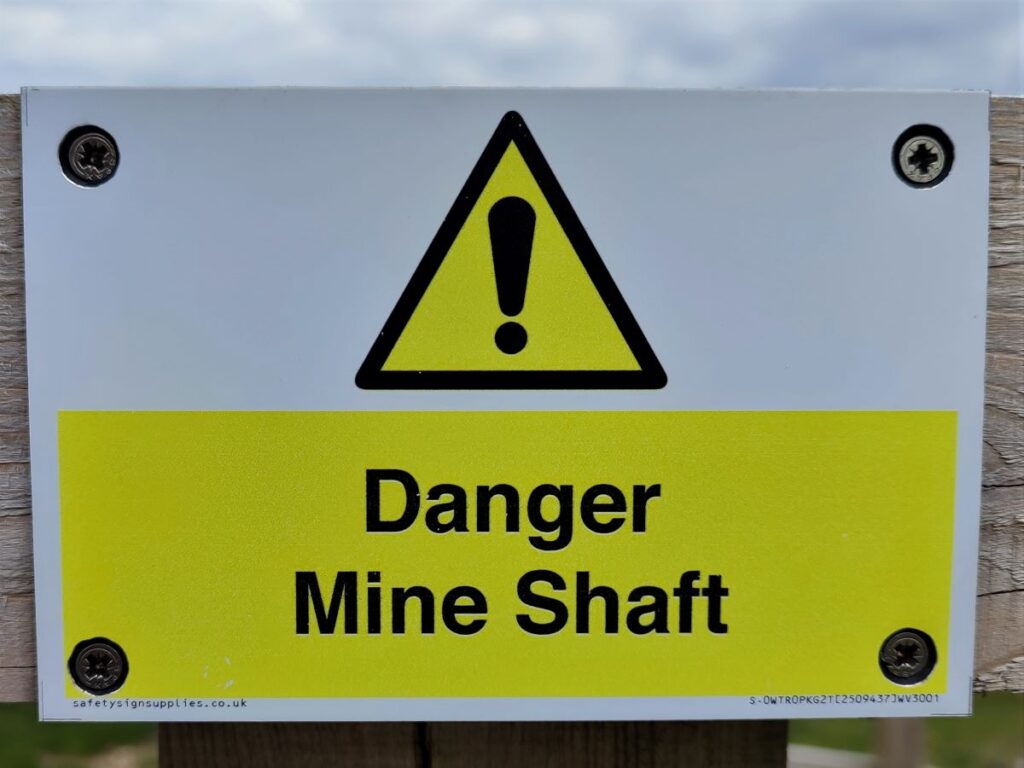
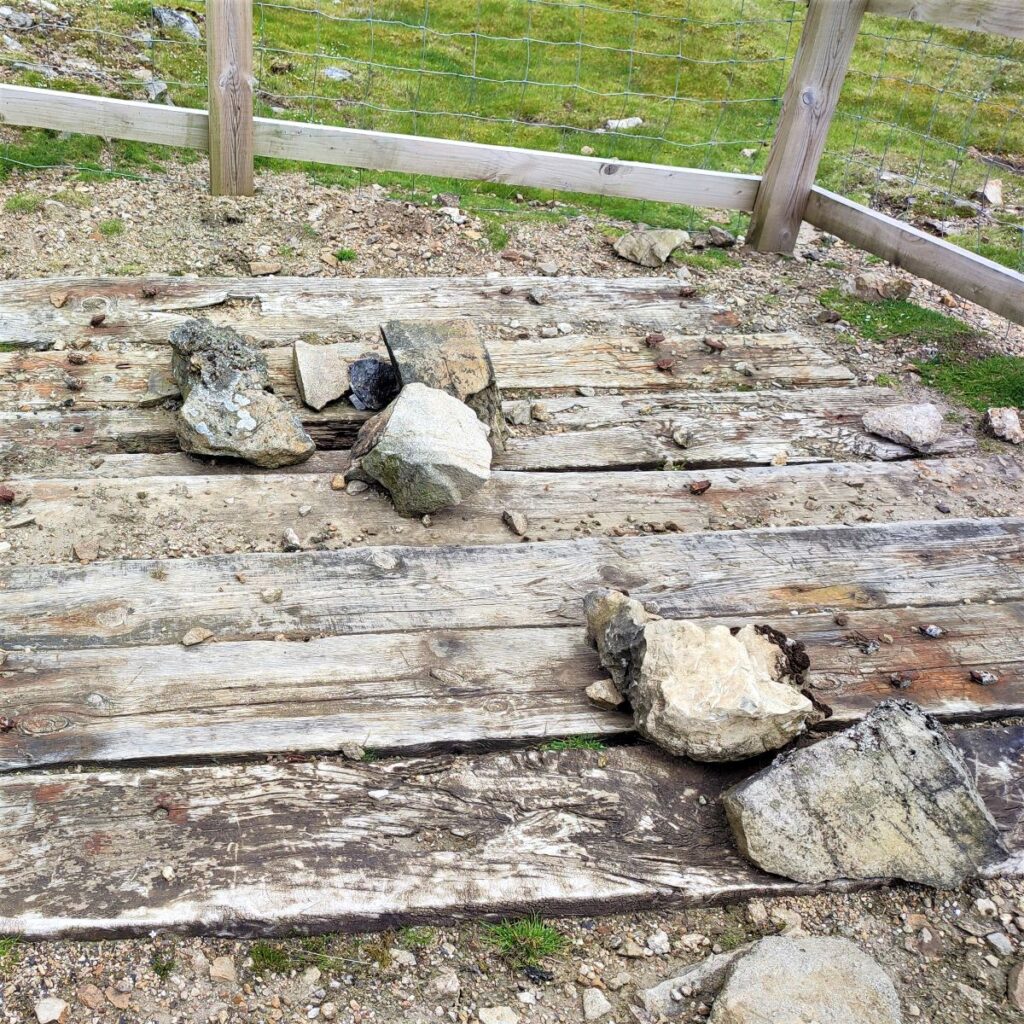
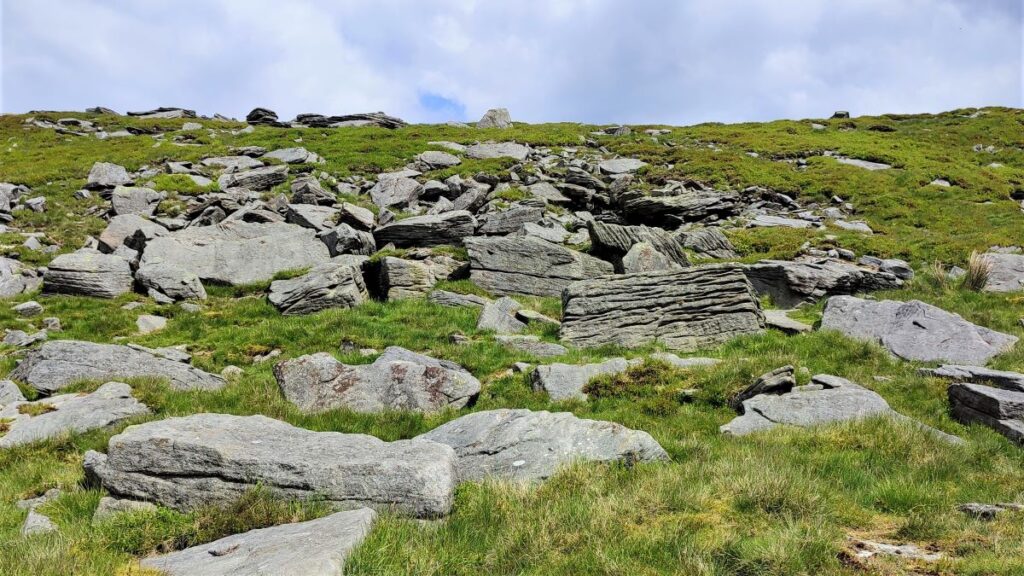
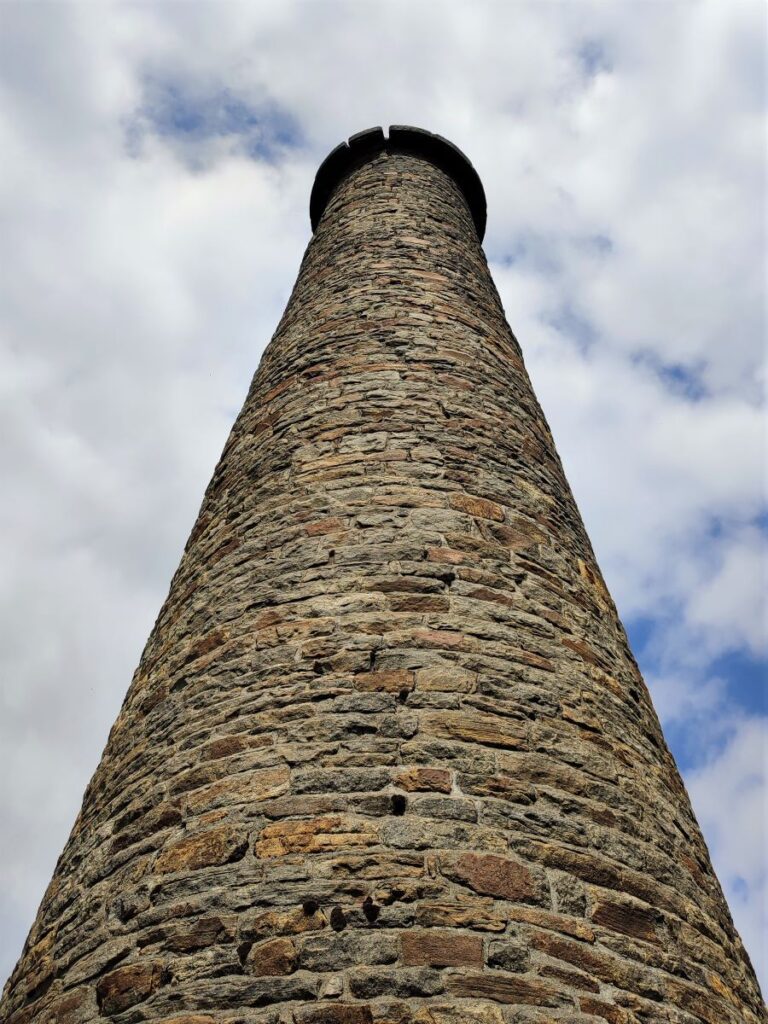
The track remains clear all the way back to the mines – initially there is little evidence of the industrial past, and we are likely to see Curlews, Lapwings, and Red Kites. The further we go though, the more evidence we see of mining spoil with a damaged but still attractive landscape. Eventually we start heading downhill and start to see an increasing number of spoil heaps and disused mine shafts – these are fenced off and covered with railway sleepers. Ahead, we see a large chimney, and we use this as a landmark as we follow the track down to the mines. There are good number of tracks through the mines; the one we are following is the largest and clearest, but if in doubt – head for the chimney.
As we near the chimney, we see the remains of buildings to our right. This is the site of an attempt to rework the spoil from the lead mining by The Dales Chemical Company between 1956 and 1963 to recover fluorspar for the production of hydrofluoric acid. This was used in manufacturing various fluorocarbon chemicals such as refrigerants, and high-performance plastics.
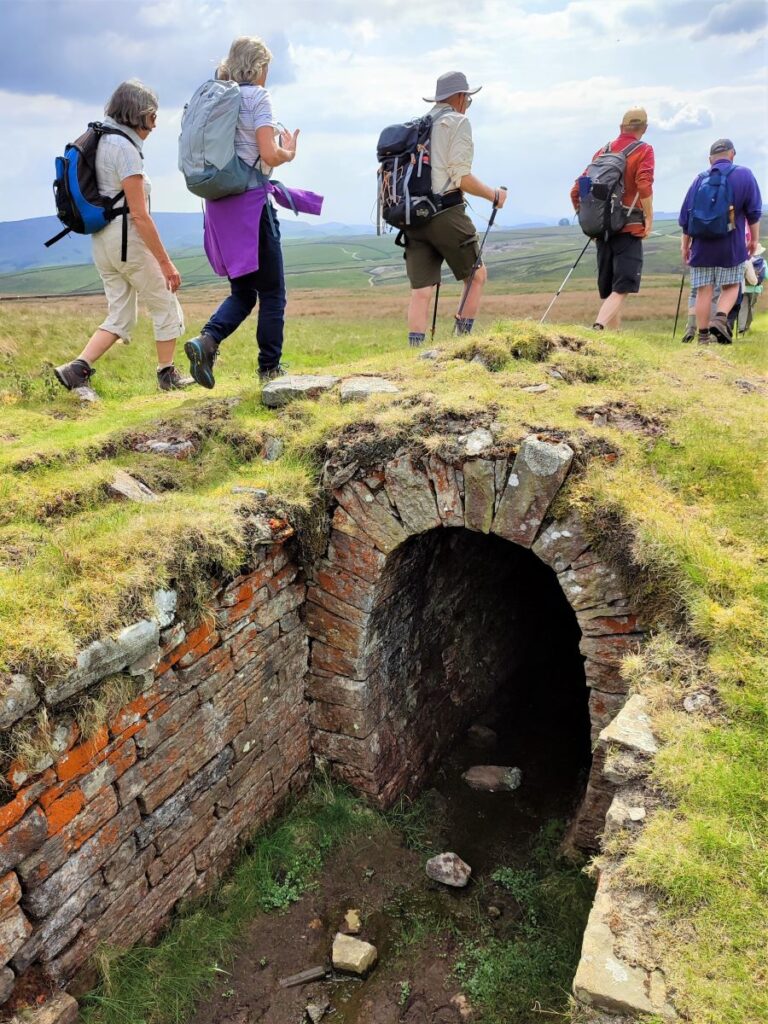
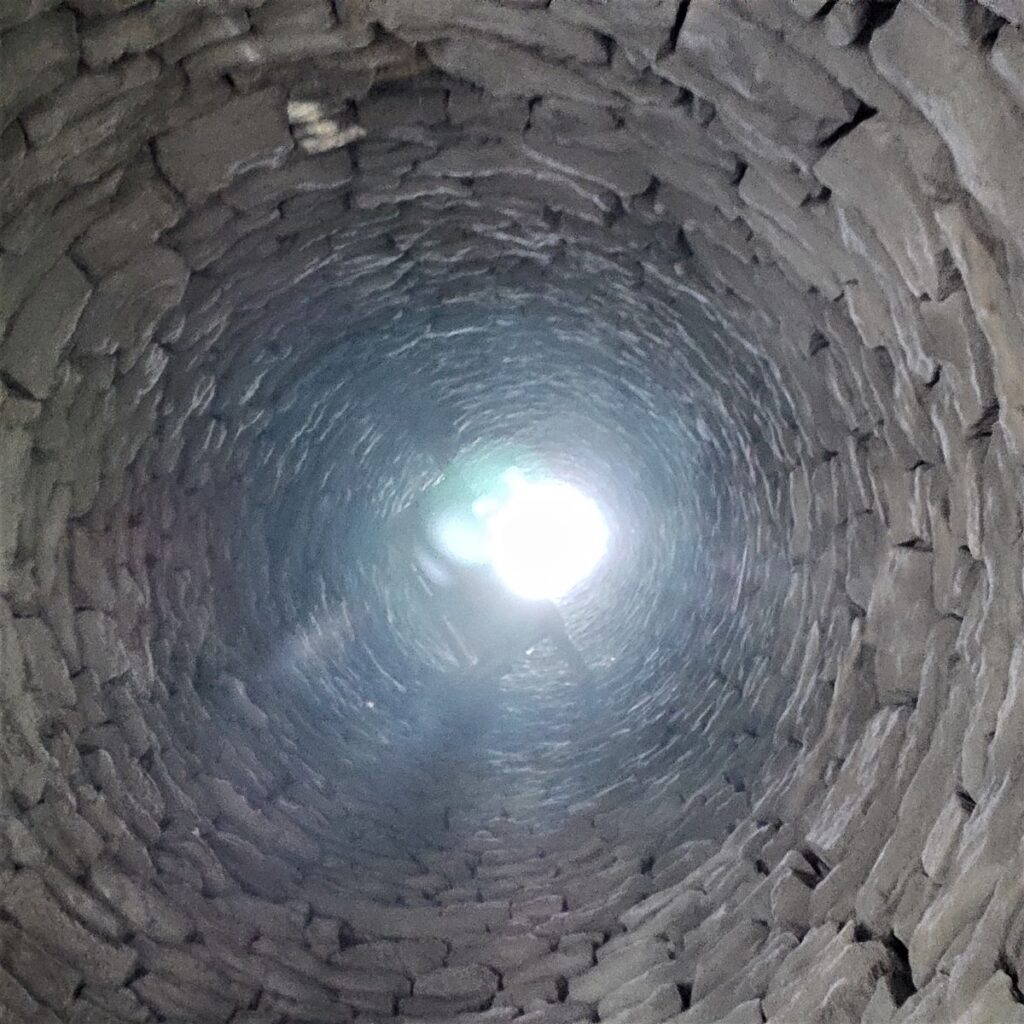
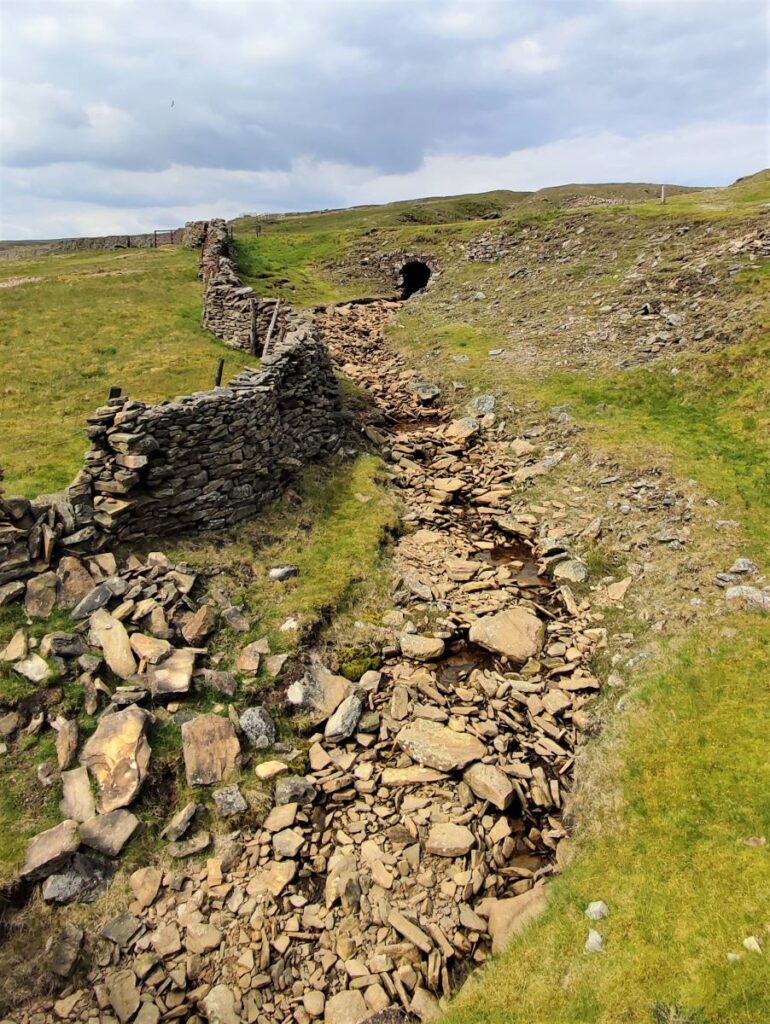
At this point we leave the track and head across the moor to the base of the chimney. Once there, it becomes apparent that the chimney was positioned at the end of a system of unusual ground level flues which connected at the other end to the smelters where the lead ore was processed. There are in total something like 1.7 km of flues serving the site.
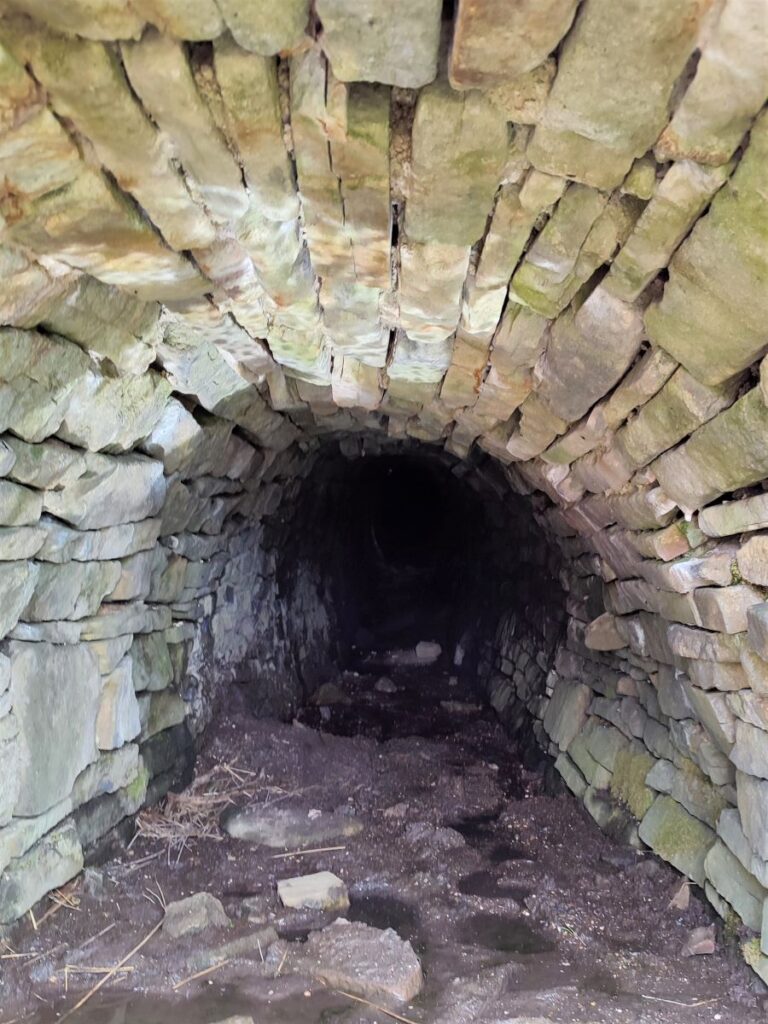
The use of long gently sloping flues was favoured because as the lead ore is smelted, a portion of the lead is lost in the exhaust gases from the smelter. Some of this is recovered in condenser houses, but much would still be lost if such long flues were not used. The flues allow the lead to deposit on the inner surface of the flue long before the exhaust gases reach the chimney. The flues were then backflushed with water from a number of reservoirs around the site with the lead rich water setting in ponds at the sides of the flue for later collection.
We head on down the central flue toward the remains of the condenser house. This structure was used in combination with the long near-horizontal flues to slow down the lead in the exhaust gases allowing it to condense and be collected.
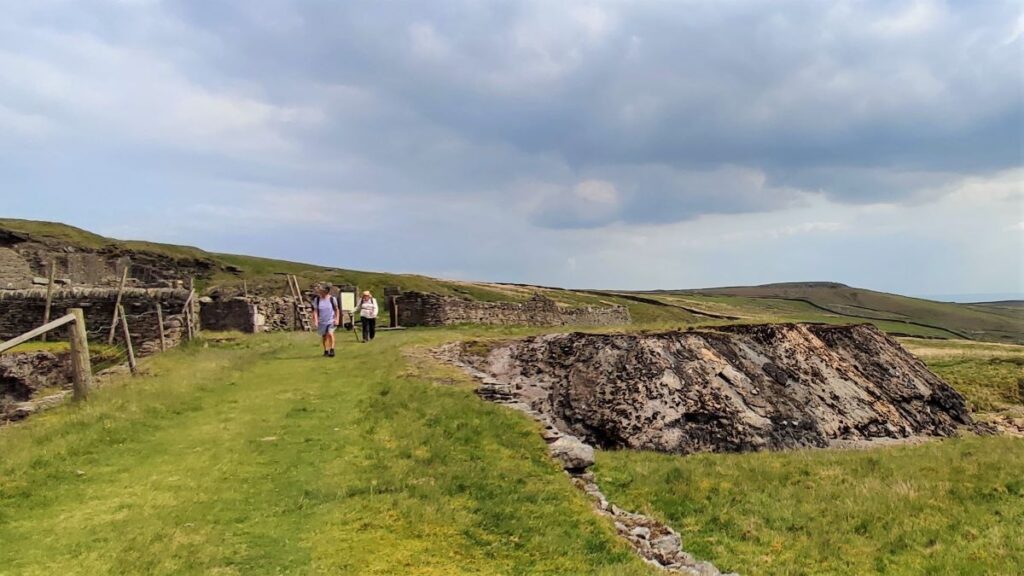
Following the flue still further we arrive at the smelters themselves these were referred to as “Cupola” smelters – the remains date from 1792. These were part of a significant modernisation of the mines with the new coal fired smelters achieving a far larger output than the previous peat and wood fired devices.
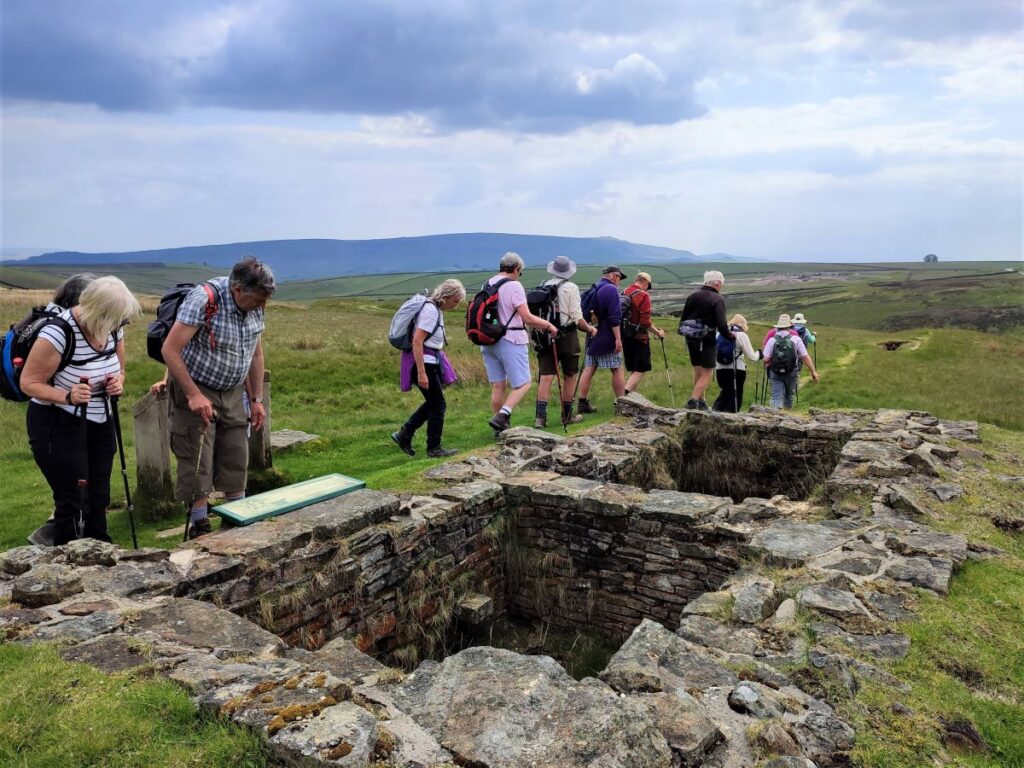

From the smelters we head over the remains of a tramway, with clear signs of a tip where the hot slag from the smelters was dumped toward an outbound track. This passed over a dam – used to feed water mills used in washing, crushing, and dressing the ore – note that to the right of the dam where the water was held the landscape is relatively smooth and undamaged whilst on the left where the water escapes it is heavily scarred. The dam has been drained to protect the structural integrity of the roadway.
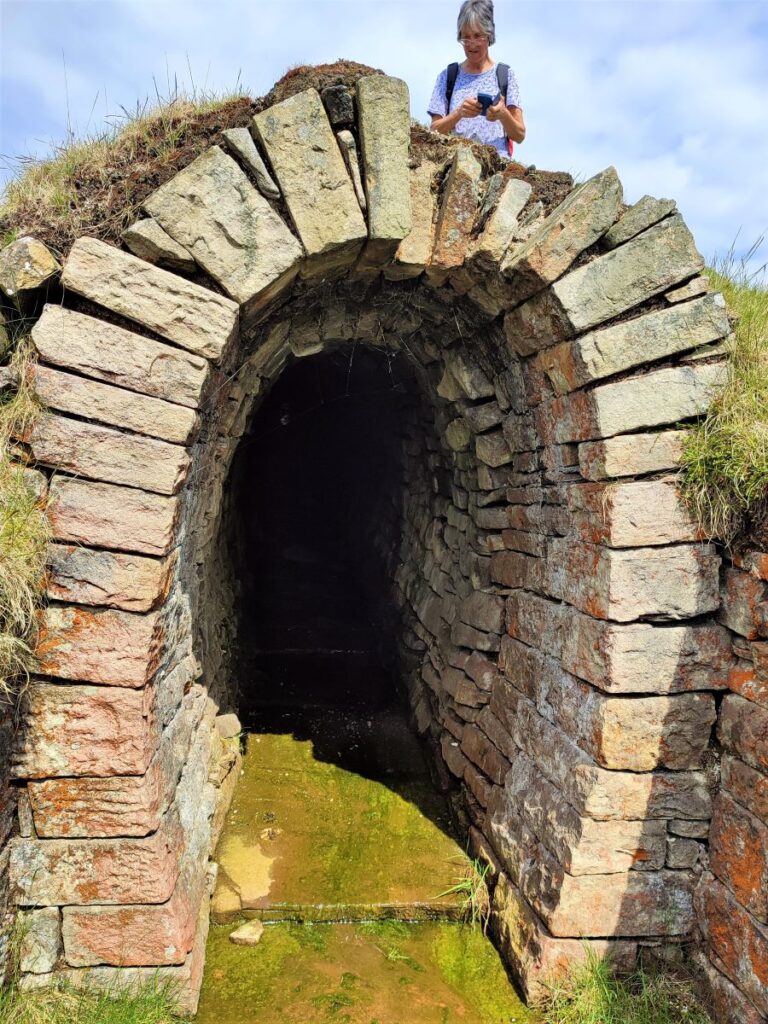
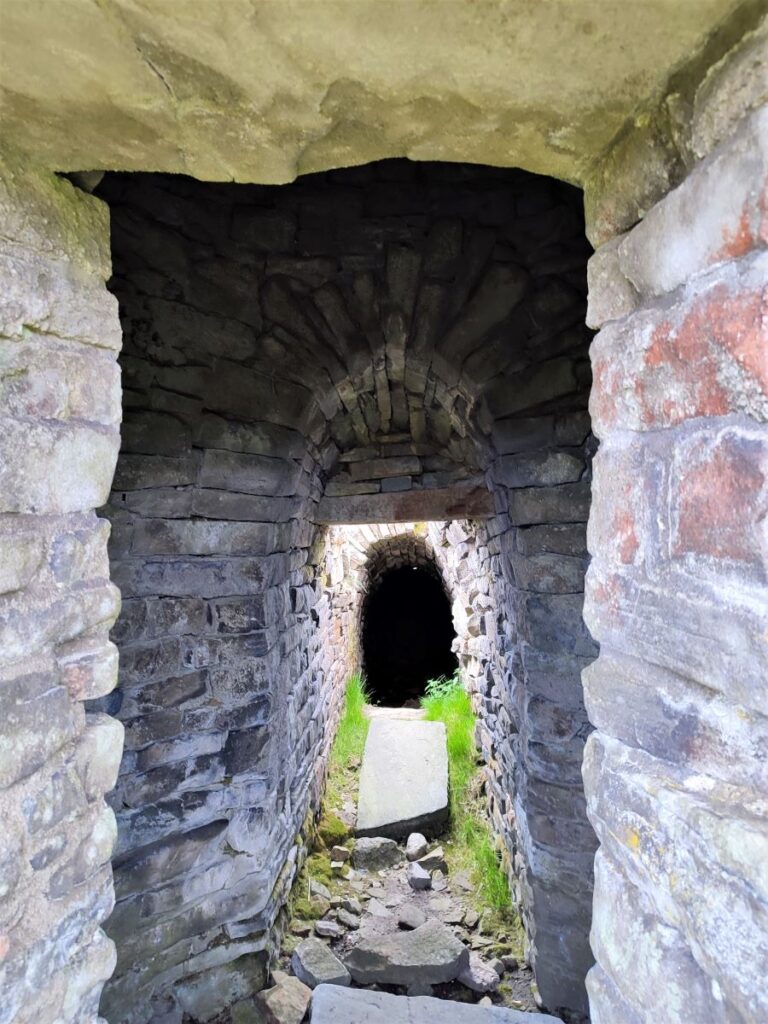
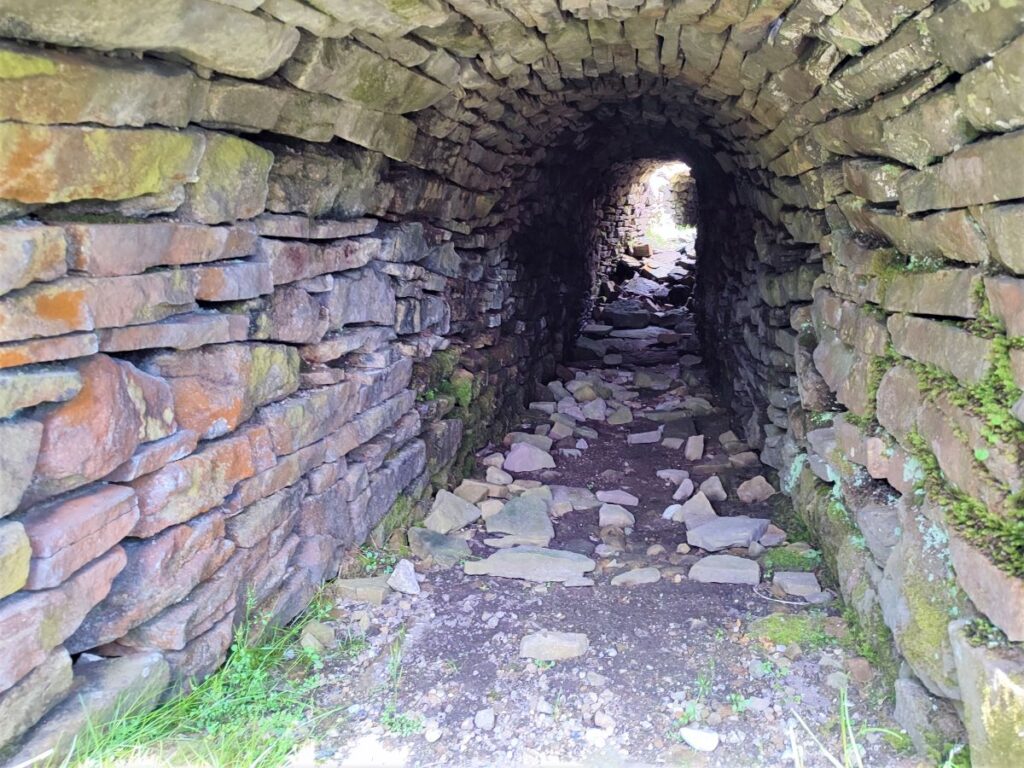
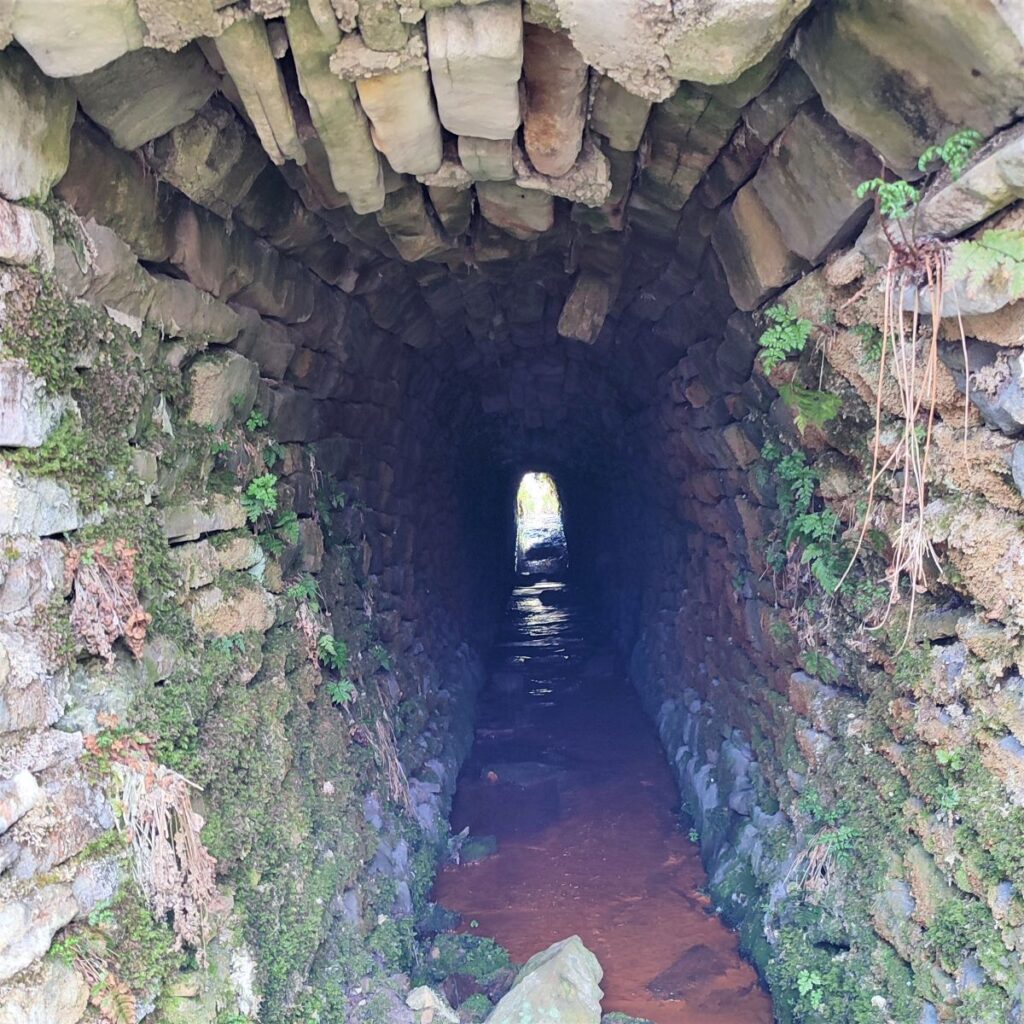
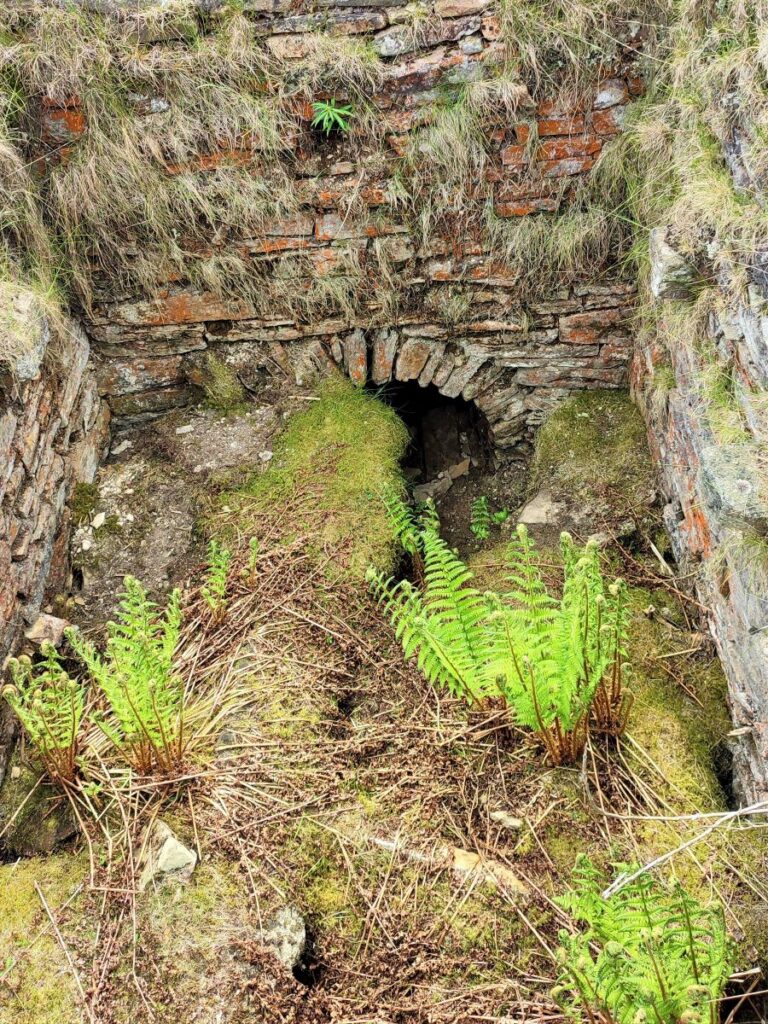
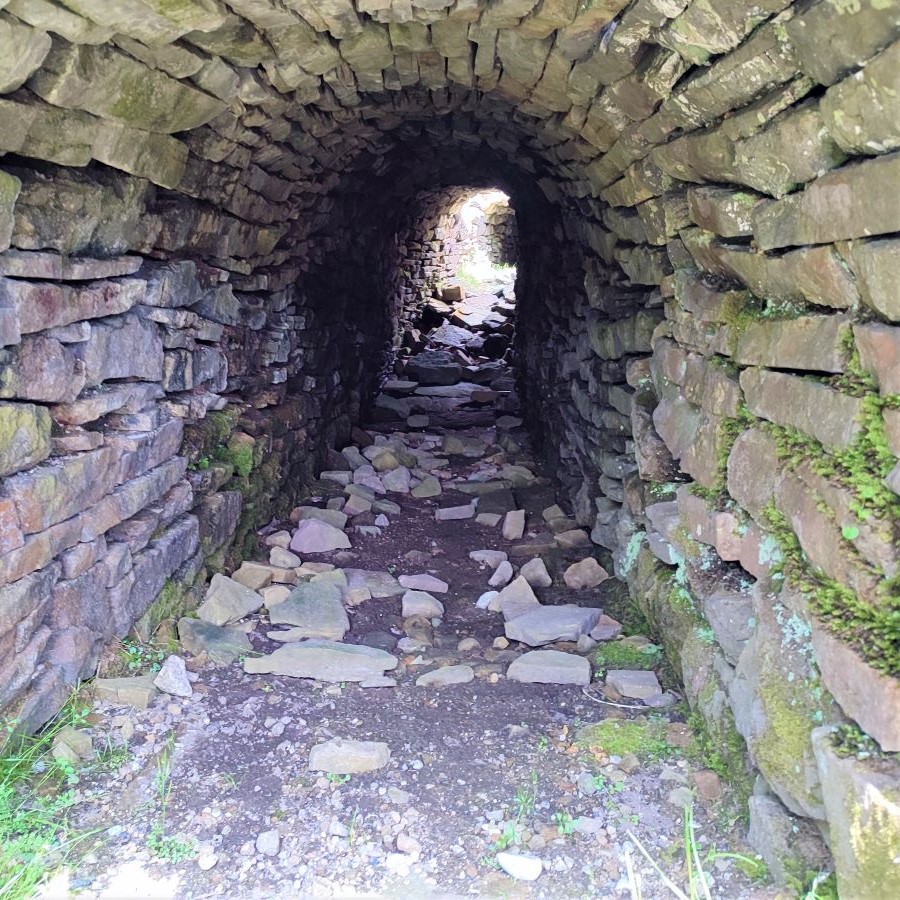
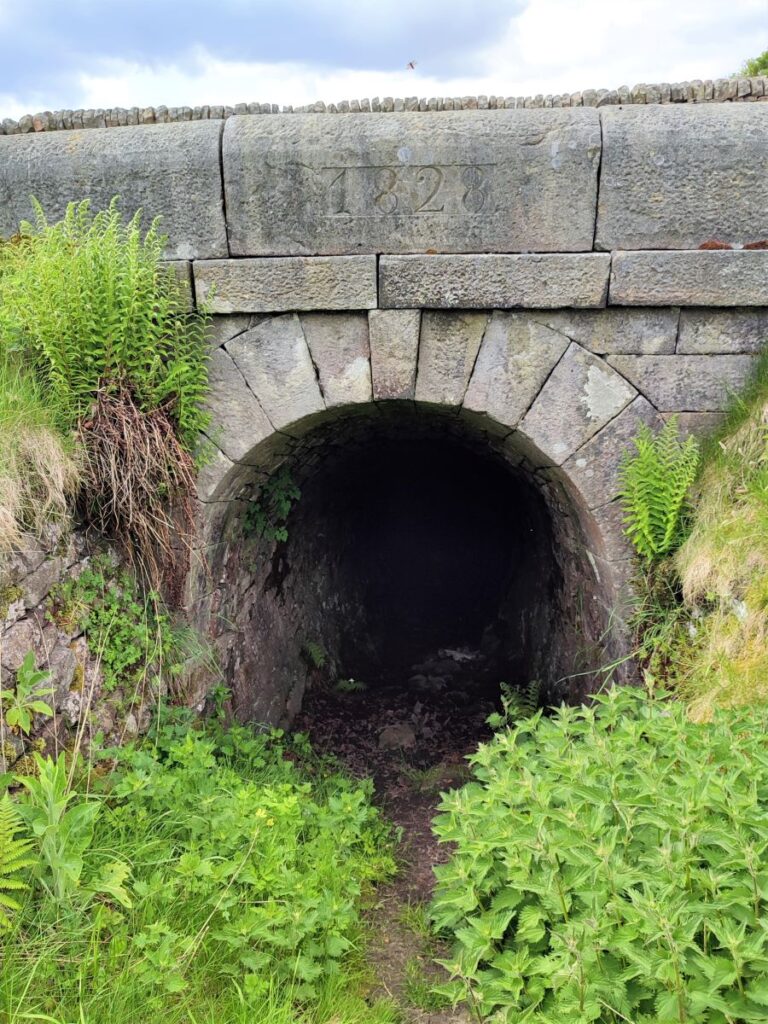
The track continues back to our starting point, with remnants of mine usage throughout. There are signs of early free mining pits, of horse drawn lifting gear, mills, and washing ponds, and tramways, and finally, and easily missed as we exit the site, there is a rather fine portal to a tunnel entering a mine shaft referred to as Barrett’s shaft.
There is much to see here – so much so that another visit surely beckons.
- Total distance 16.0 km (9.9 miles)
- Total ascent 333 m
- Challenging walk