Jump to . . .Step by Step | OS Map | Downloads | Gallery | Fly through
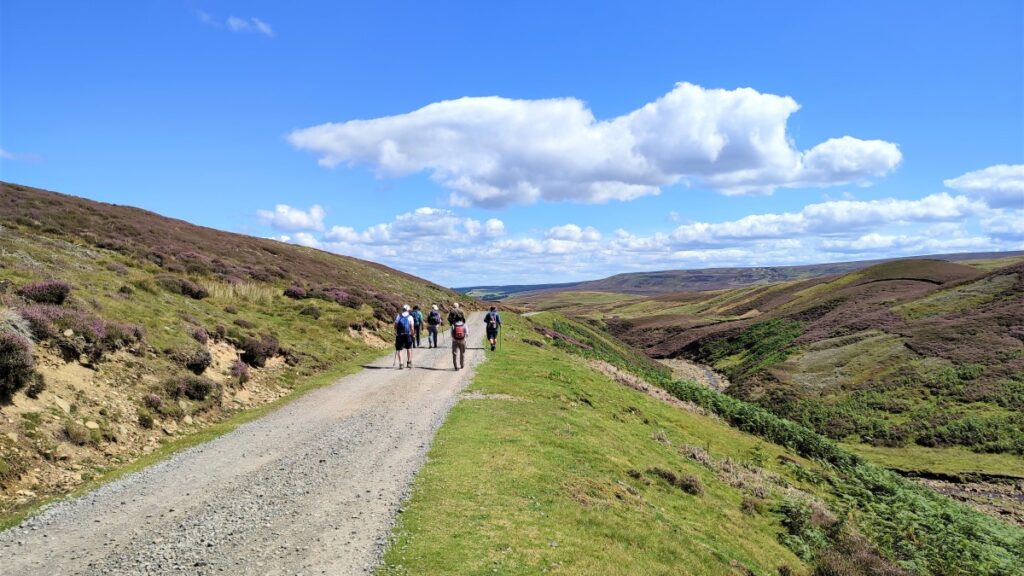
We tend to think of the Yorkshire Dales as a rural idyll, but there is also a great deal of industrial heritage to be found. This walk starts in the lovely village of Gunnerside in Swaledale and then heads up Gunnerside Gill into an area that from the 15th to 19th centuries was the centre of a vast lead mining industry.
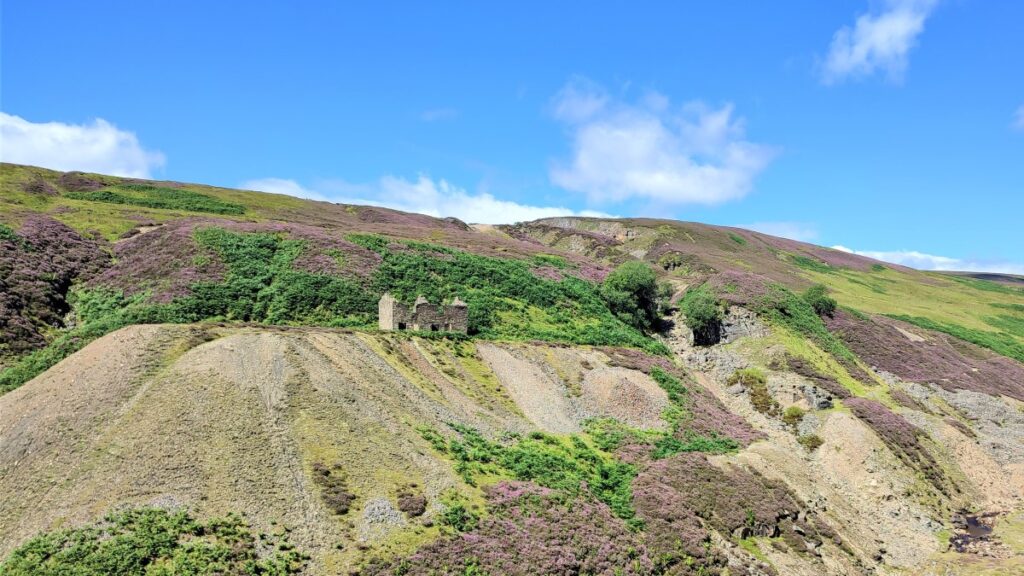
We explore remains of the lead mining sites – now mostly reclaimed by nature, before taking the steep scramble to cross Melbecks moor where we find an altogether bleaker and more damaged landscape –the result of lead smelting. This is where we find the Old Gang Smelt Mill, a much larger and toxic operation than the remains we saw at Gunnerside.
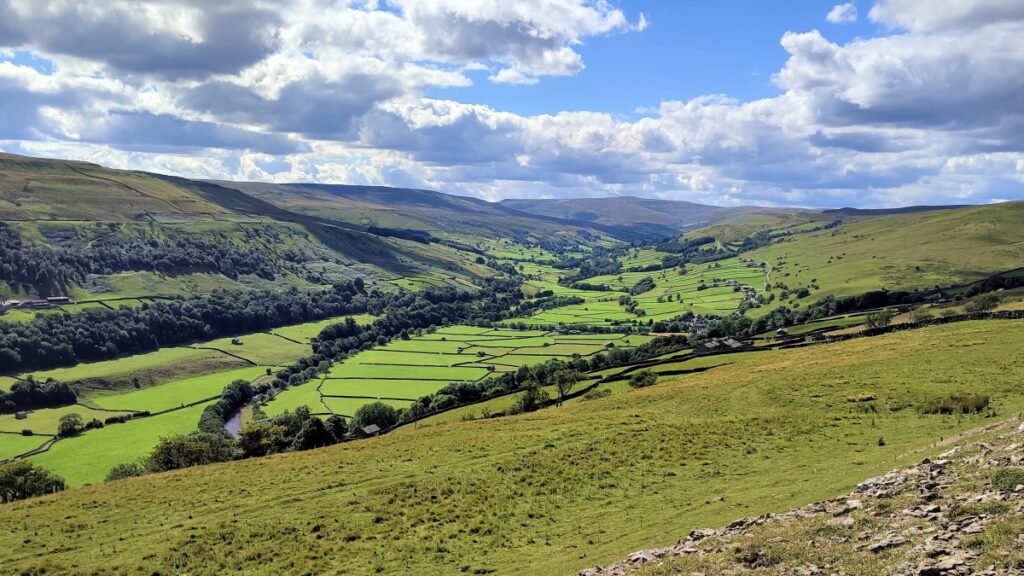
From there we walk down to Surrender bridge and then take a return route along the side of Swaledale with fantastic views up the valley to Muker and beyond or down toward Reeth and the North Yorks Moors.
- Total distance 16.7 km (10.4 miles)
- Total Ascent 927 m
- Challenging walk
Step-by-Step

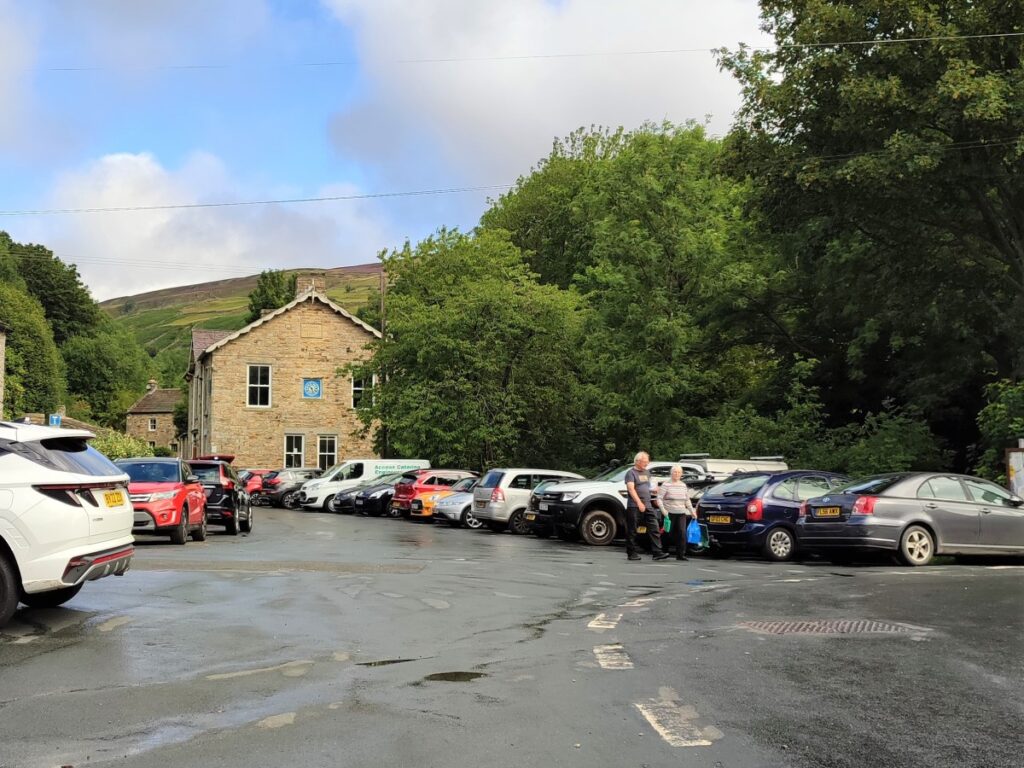
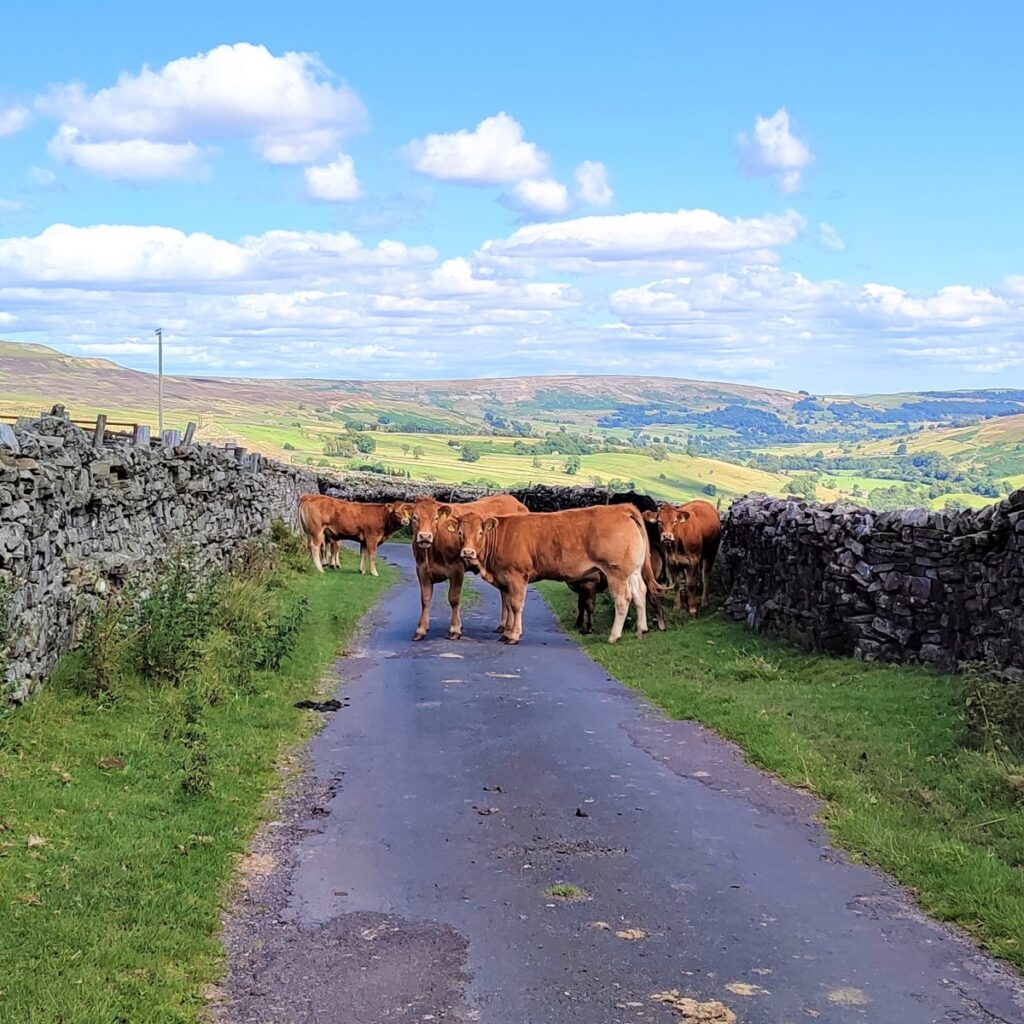
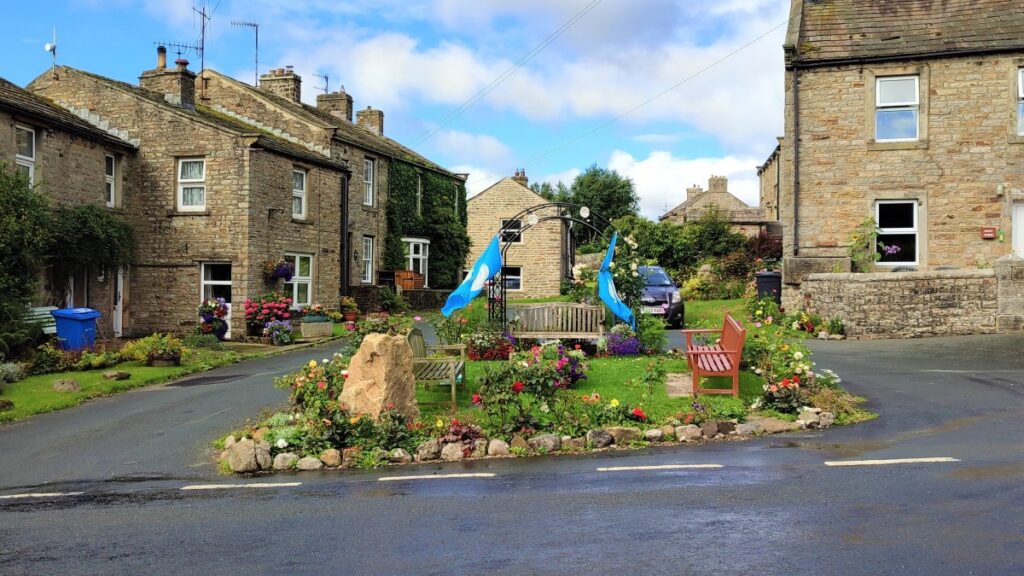
We start at the small car park in the centre of Gunnerside. This is a popular area, and there are not many spaces available, so an early start is recommended during peak season. The car park is next to the stone bridge over the Gunnerside Gill, just off the B6270 and is payable via an honesty box. Sat nav users can use the postcode DL11 6LE, whilst What-3-Words tag profile.scorch.revamped pinpoints the car park itself. Paper map users will find grid reference SD95089822 matches.
Public toilets are available just over the bridge.
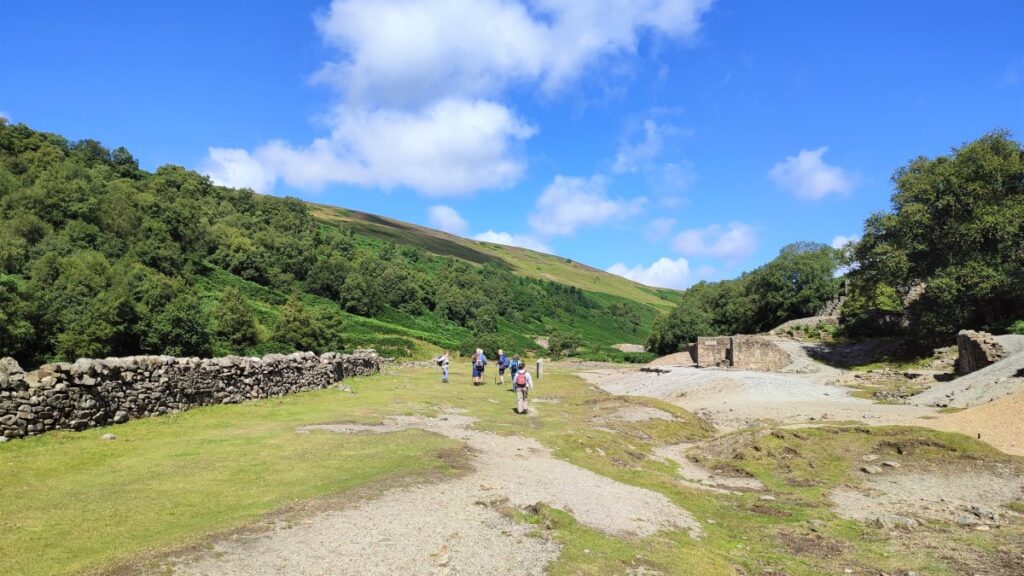
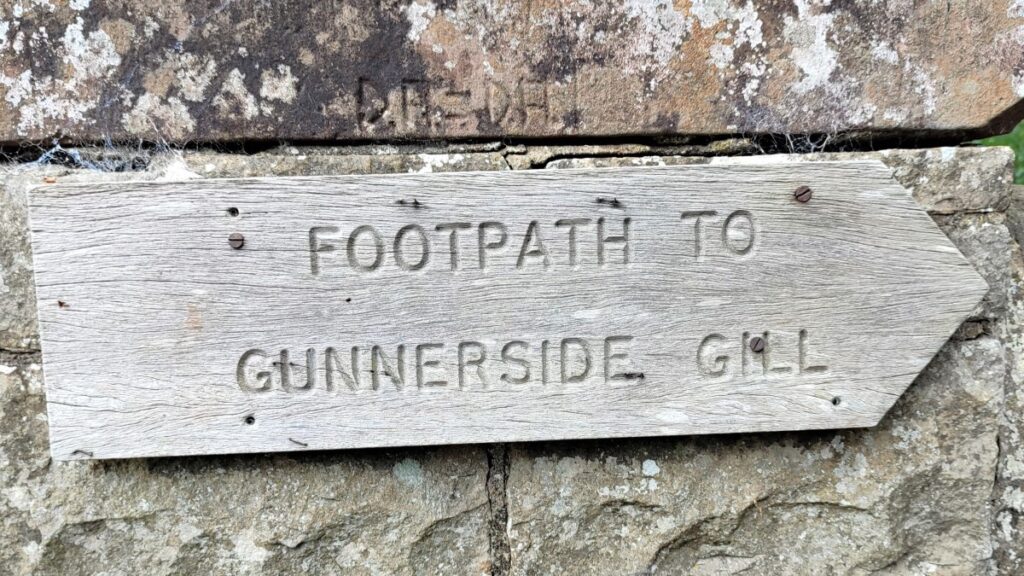
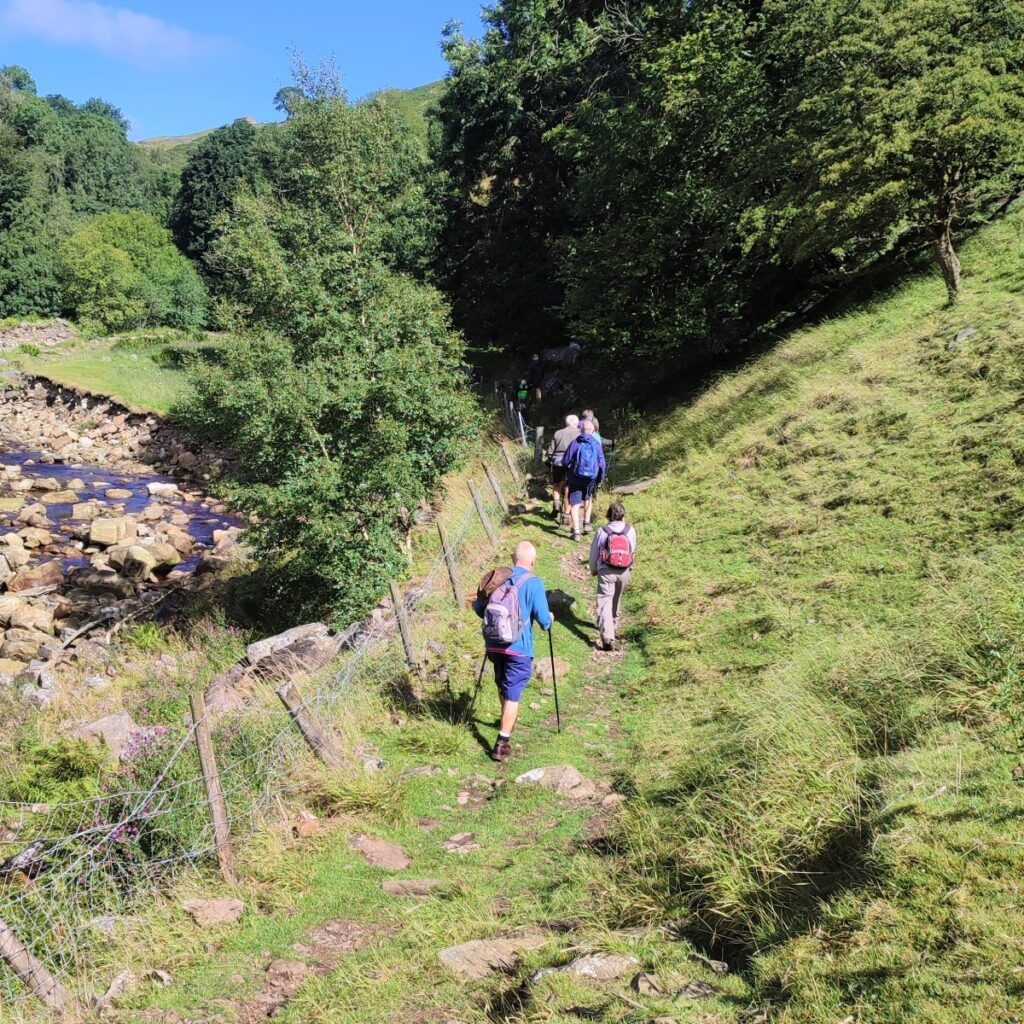
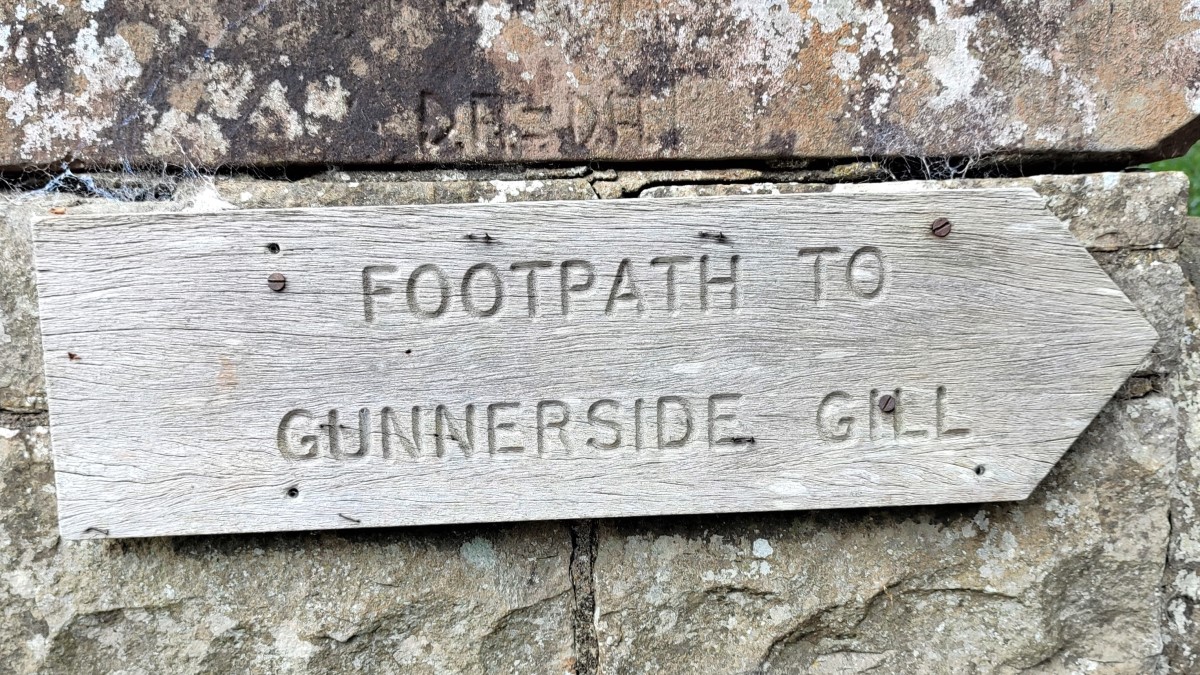
Having parked and paid, we head across the stone bridge over the Gunnerside Gill, as if heading out toward Reeth. Our path, clearly signposted, is immediately after the bridge on the left, heading uphill along the side of the Gill. We soon take a detour to the right up some steps to walk around the back of a house before continuing to follow the gill upstream.
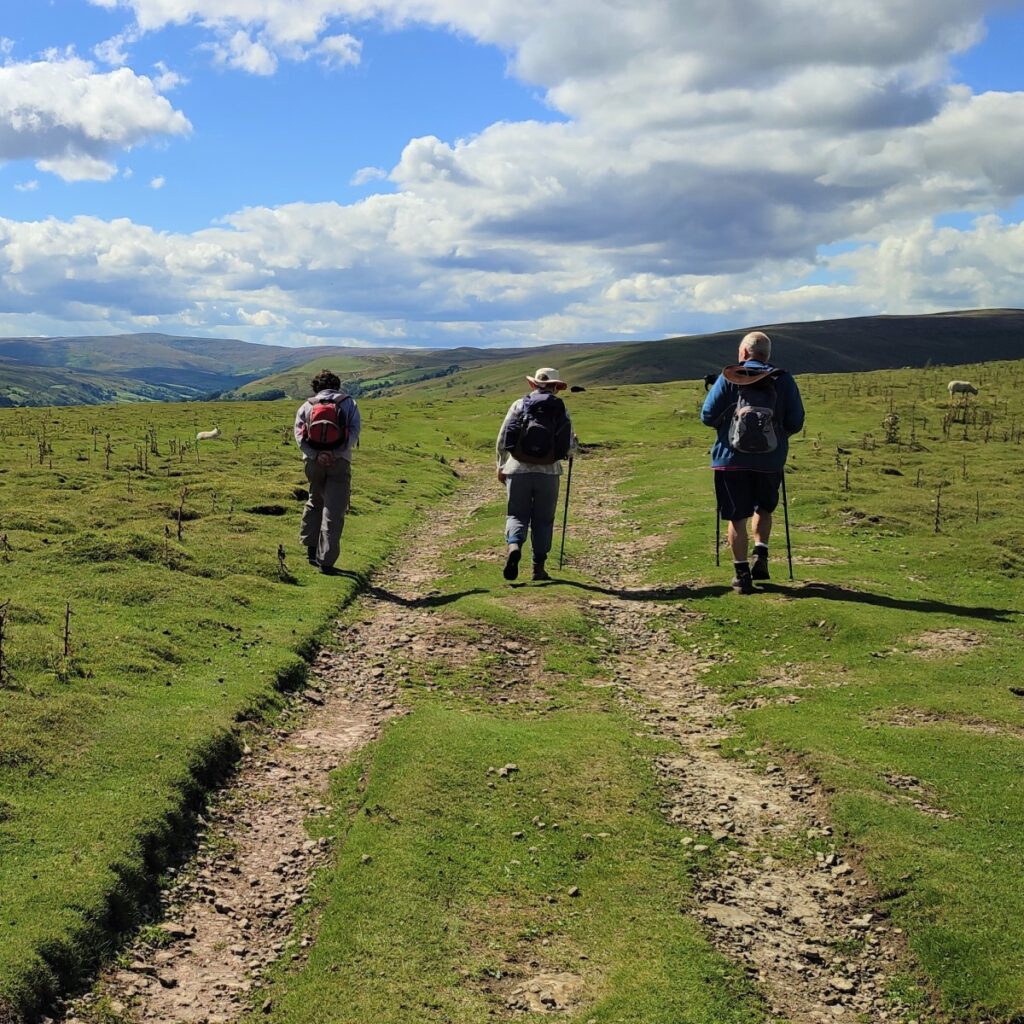
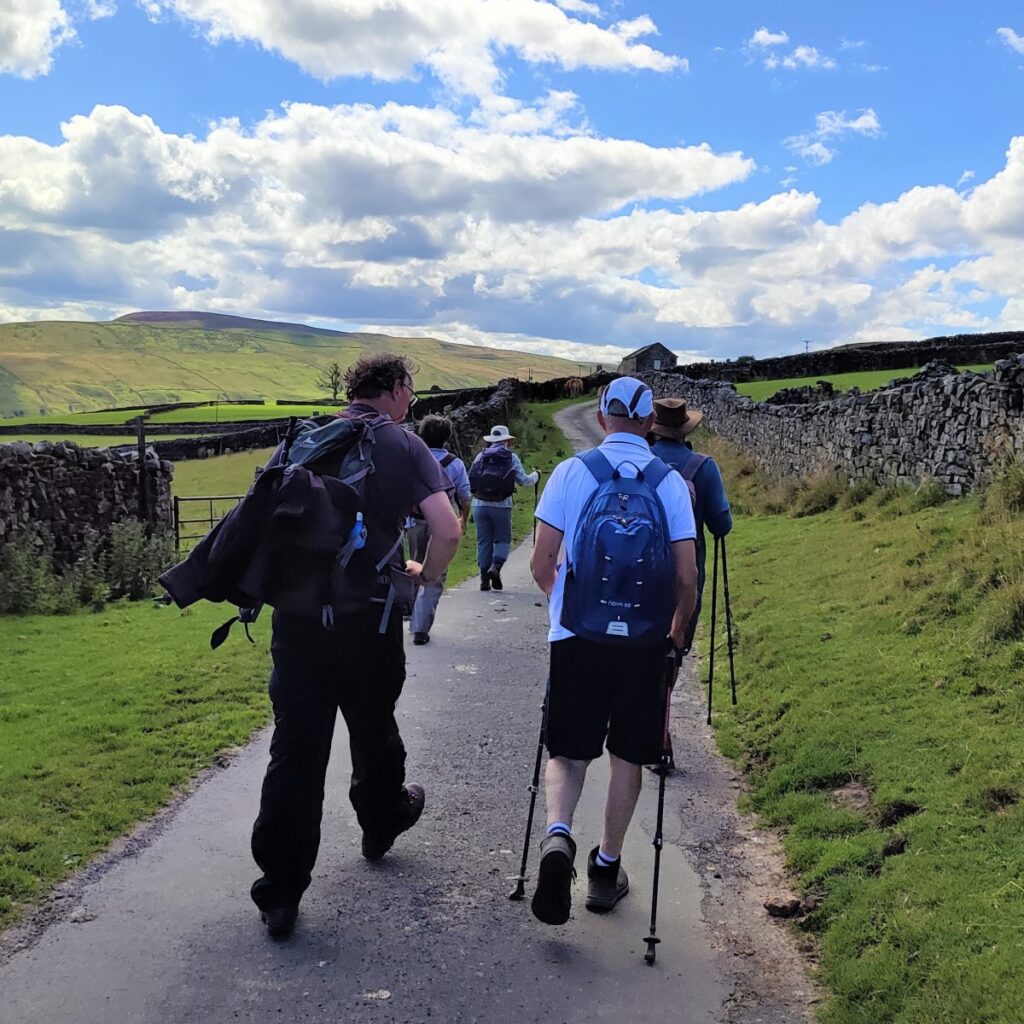
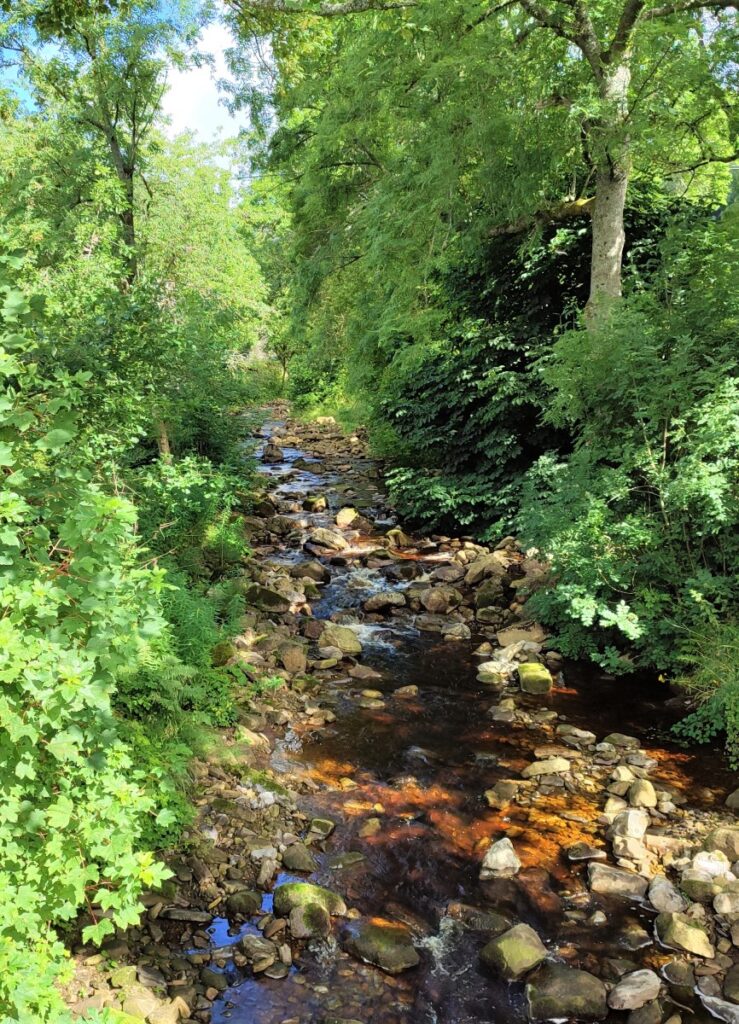
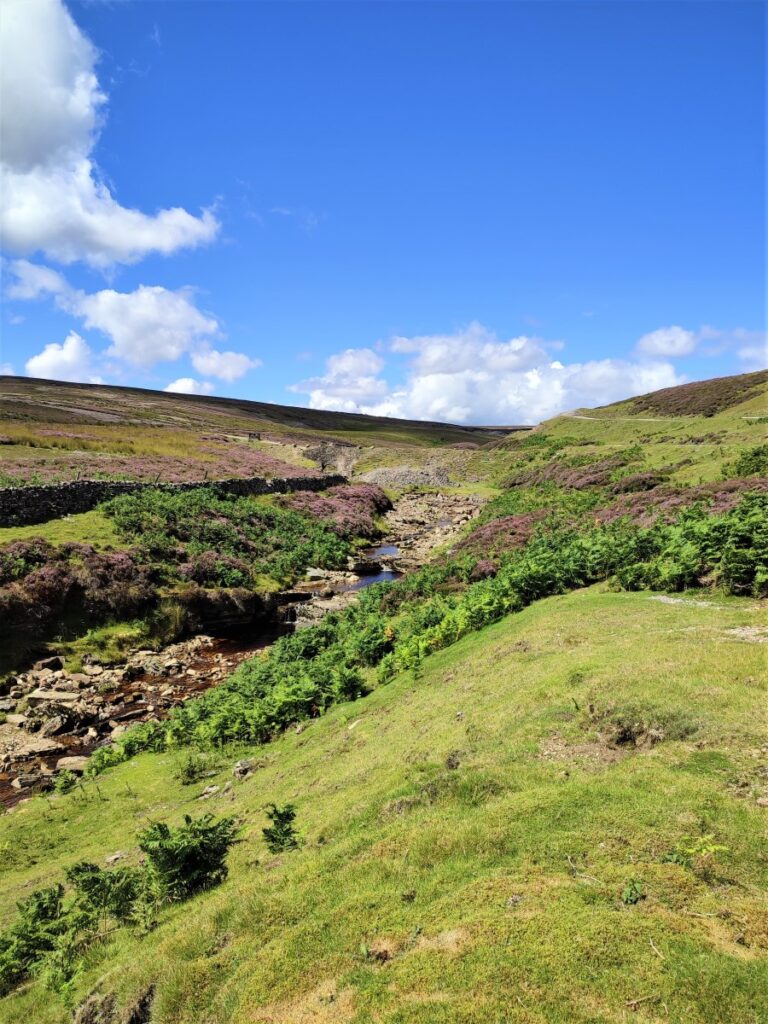
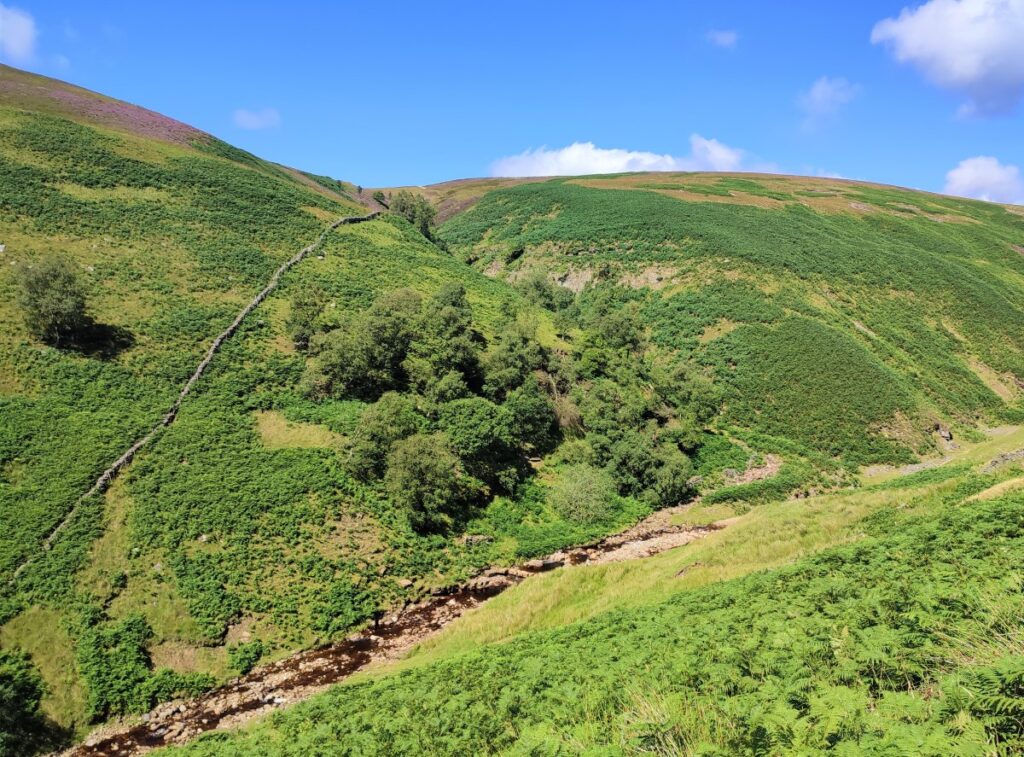
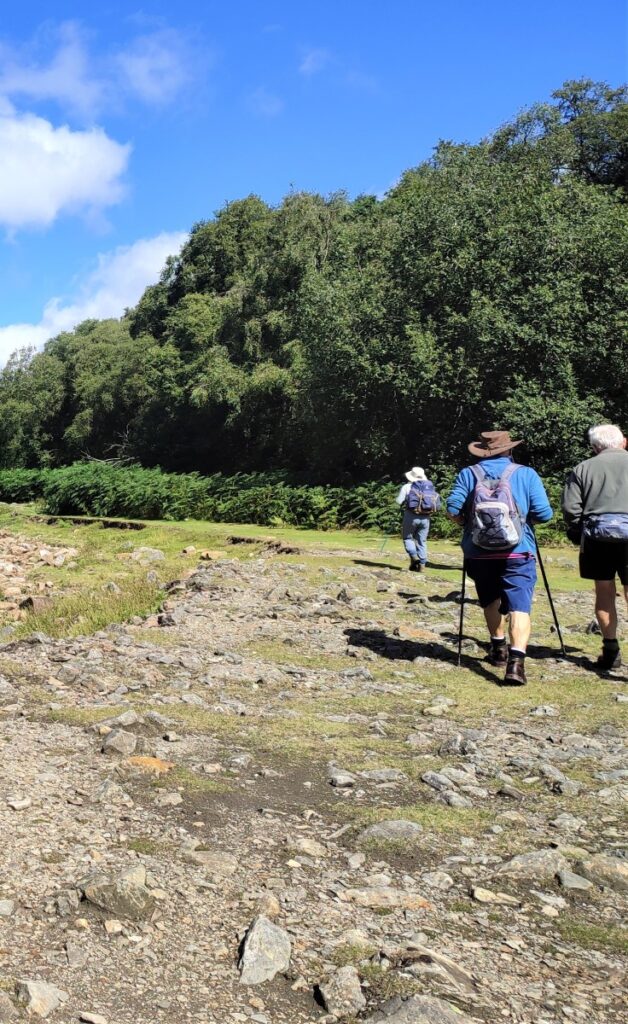
The path now heads North never far from the side of Gunnerside Gill, alternating between woodland and open pasture. At this stage, the climb is gentle, and there is relatively little to indicate that any industry ever existed.
After a short while, we arrive at a small wooden footbridge over a stream and then take a stile into a more open area of pasture – still next to Gunnerside Gill. This is Gunnerside Pasture, and opposite are Gunnerside Gill Woods, and further back beyond them is Elias’s Stot Woods. These woodlands are all that remain of a vast forested area that would once have been an important source of fuel for the lead smelting operations. Now that lead mining has finished, the woods need help recovering and a remedial program agreed between English Nature and the landowners has seen the replanting of native species. In order to enable the new planting to stabilise, the woods are not accessible to the public at present – please respect this.
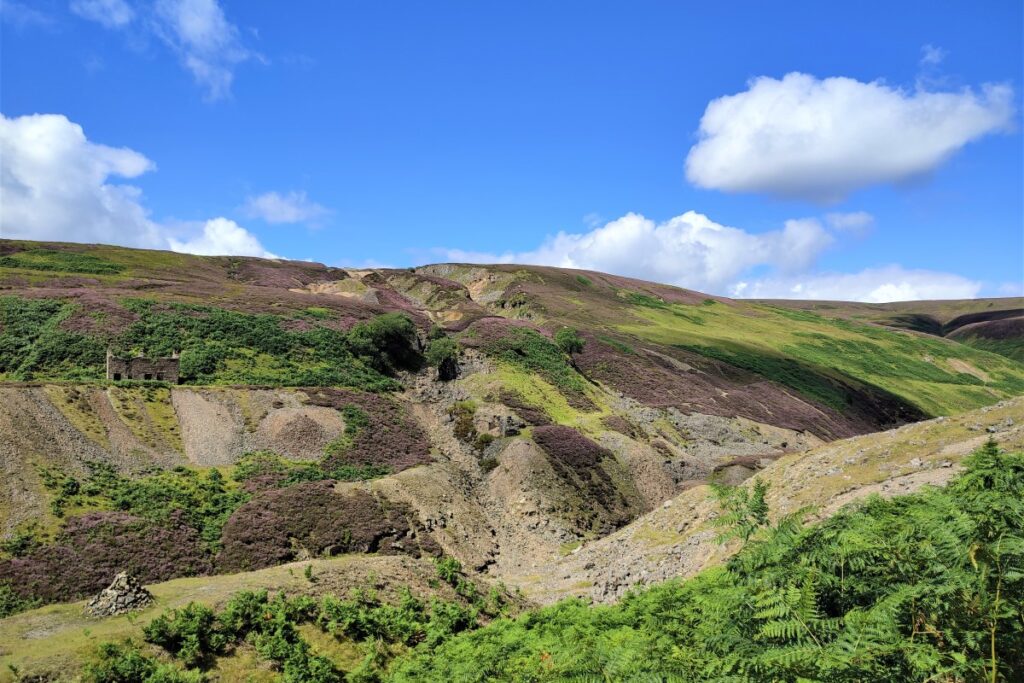
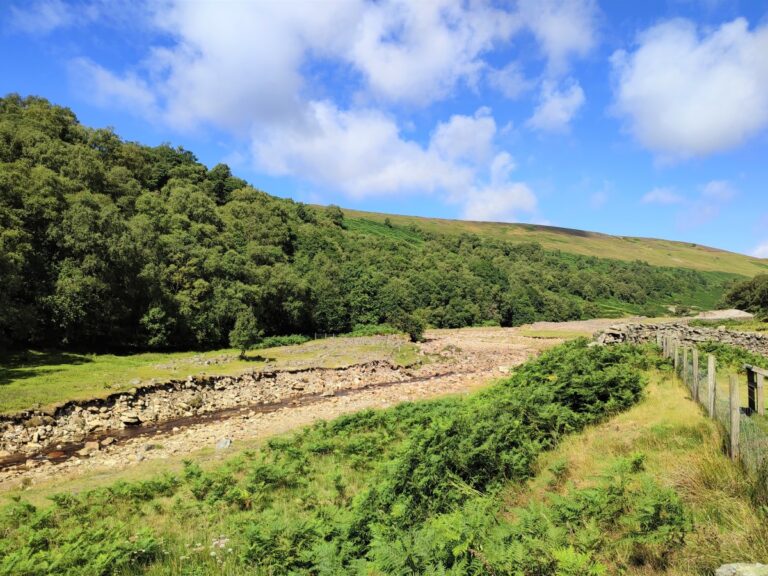
Our path remains clear and for now remains at the side of Gunnerside Gill. We head North for a while until we start to see the first signs of the industrial past: The Sir Francis Dressing Floor.
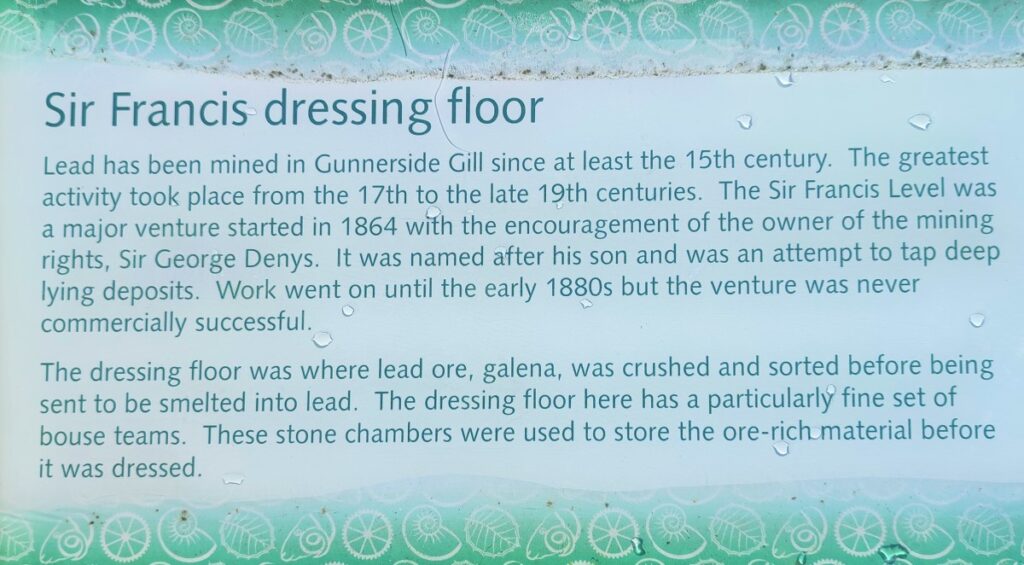
Although lead had been mined in Gunnerside, from as early as the 15th century, it wasn’t until 1864 that industrial scale mining in Gunnerside took place. The owner of the mineral rights, Sir George Denys created the mine called the Sir Francis Level mine. The name is interesting in itself – Sir Francis was Sir George’s son, and the word level indicates that the mine operated on a number of levels accessing a number of seams of the lead ore – which is Galena or Lead Sulphide.
Most of the digging operations took place on the opposite side of the valley with ore being brought to the dressing floor for sorting before transport to the smelting mill which we visit later in the walk. Smelting is a thermal process whereby metallic lead is extracted from the raw ore.
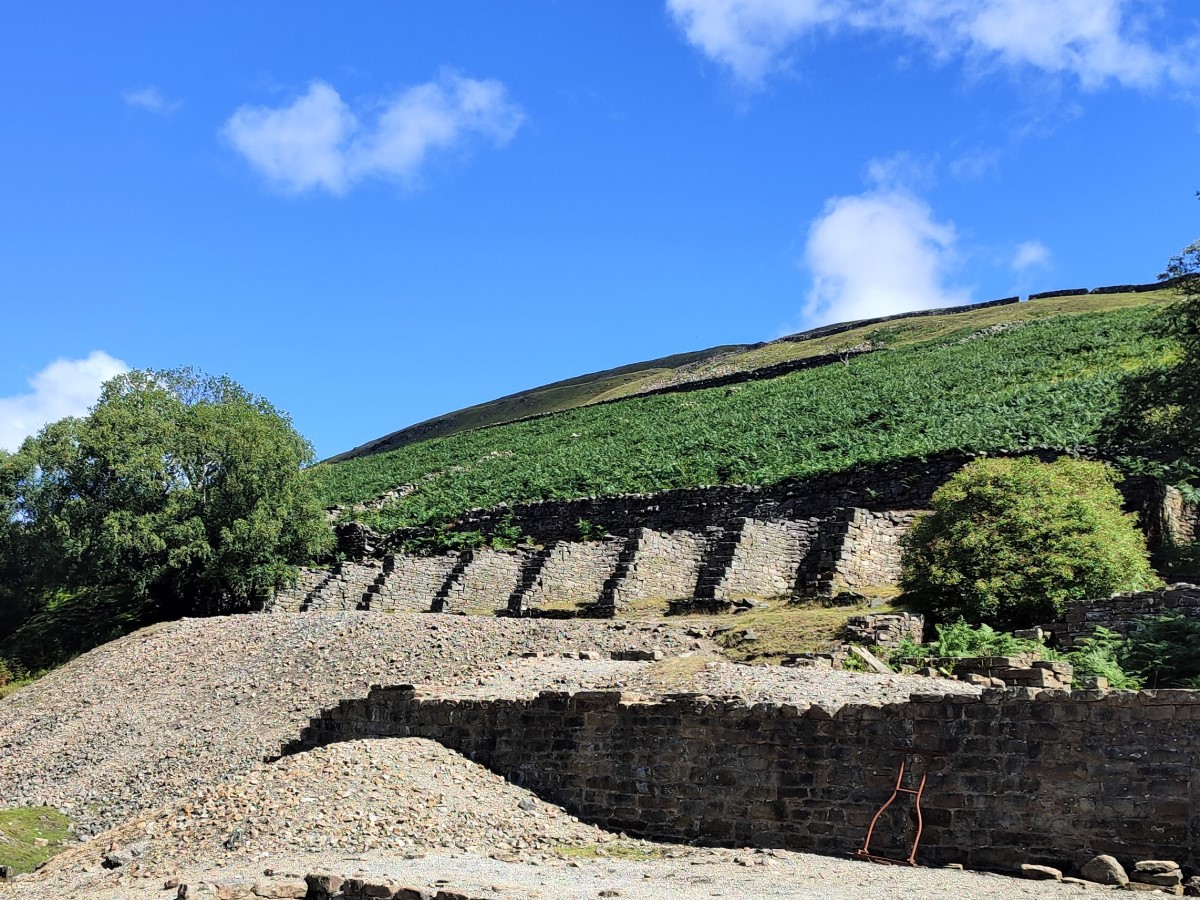
Sir Frances dressing floor features eleven bunkers – referred to as bouse teams, these were used to store raw ore before sorting and crushing prior to being transported underground for smelting at Old Gang Mill. The bouse teams are still intact and clearly visible, but the underground passages to the Old Gang smelt mill are not visible.
Much of what we know about the mines and the equipment used has been found by specialist exploration of the workings which are accessible via a locked manway on the west side of the valley. Work to create a 3D map of the mines using LIDAR surveying has taken place, and there are a number of films available on YouTube showing the results: Visit https://www.youtube.com/ and type “Sir Francis level mine Swaledale” into the search bar to see more, or
Click here to see the LIDAR 3D model.
Click here to see a 1974 TV documentary about the end of lead mining in Yorkshire

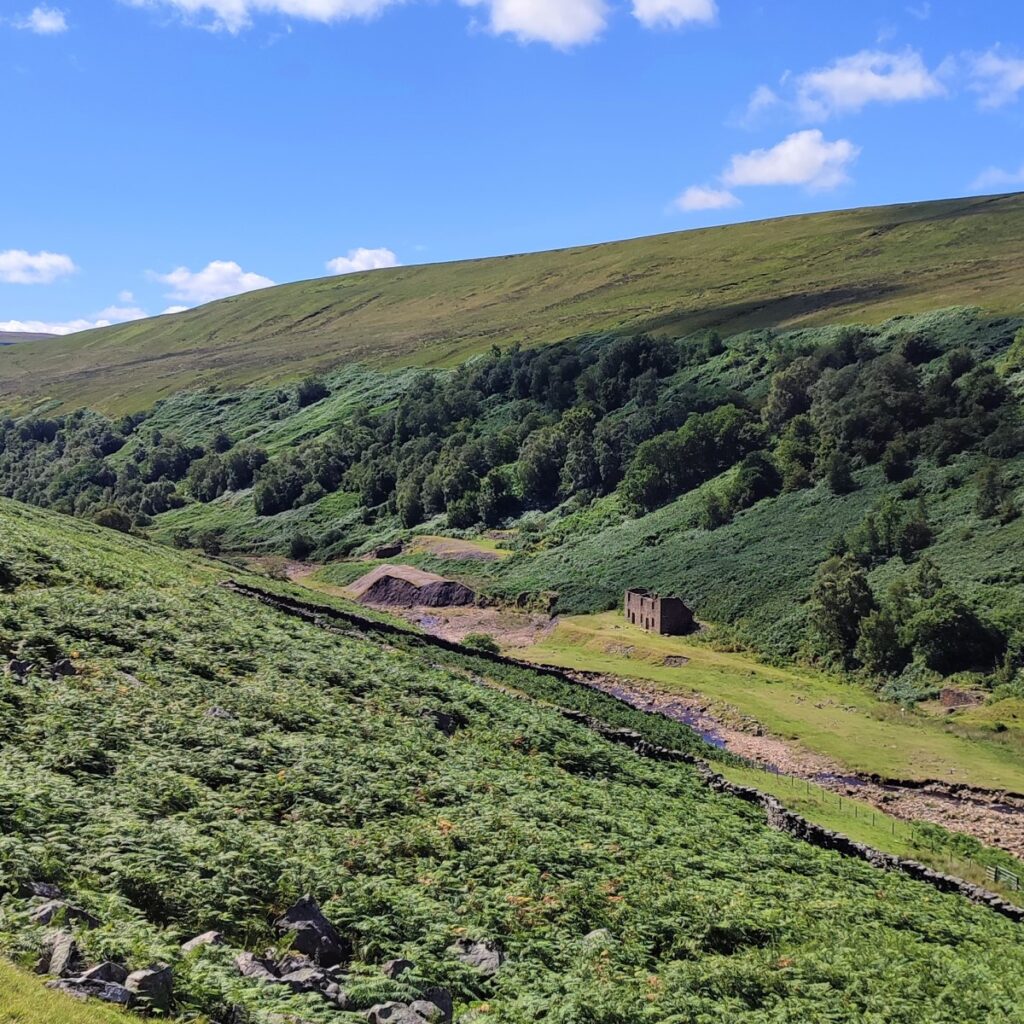
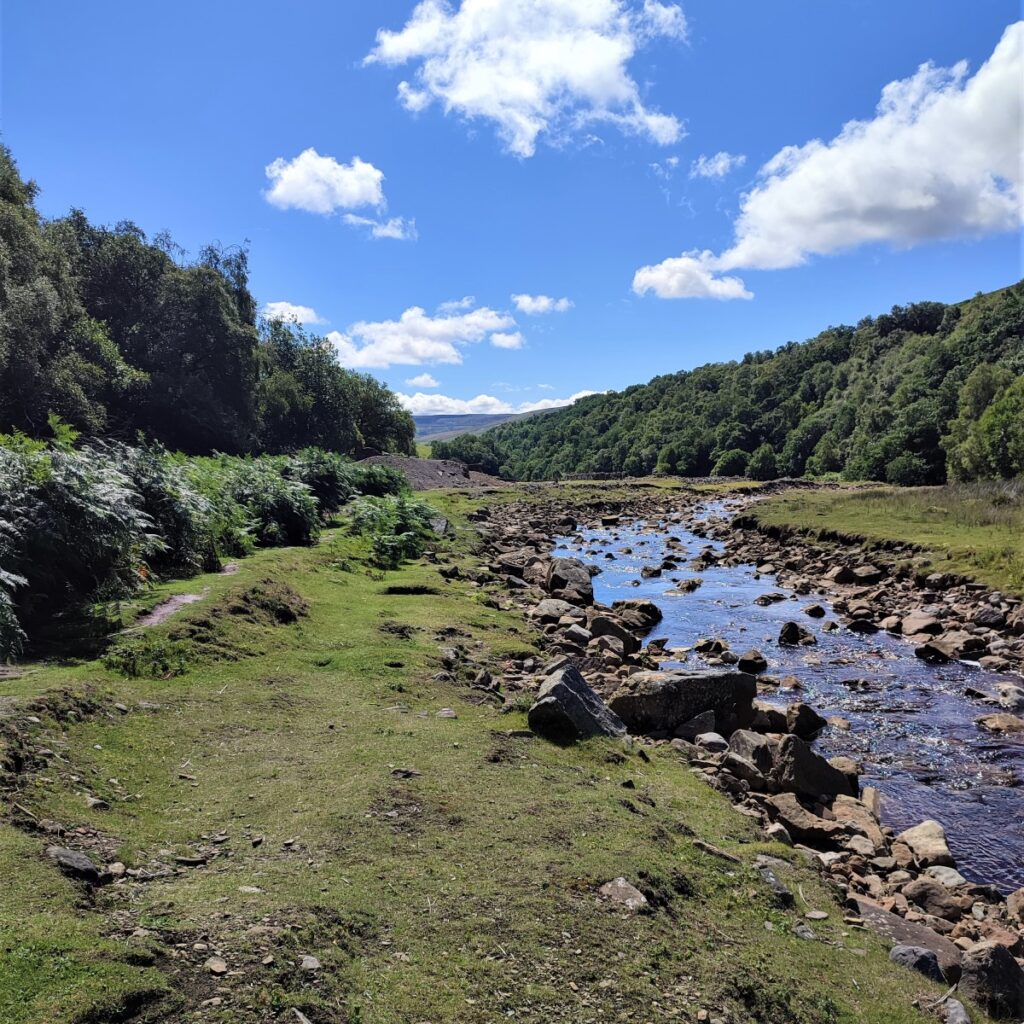
From the Dressing Floor, we continue up the valley along a clear path – gradually moving further up the side of the valley until we are a good deal higher than Gunnerside Gill.
Notice that despite all the industrial activity, nature has largely reclaimed this valley. This is probably because the activity here was extraction, which tends to leave relatively non-toxic spoil. As we shall see at Old Gang Smelt Mill, smelting itself is a very toxic operation, and recovery there is minimal.
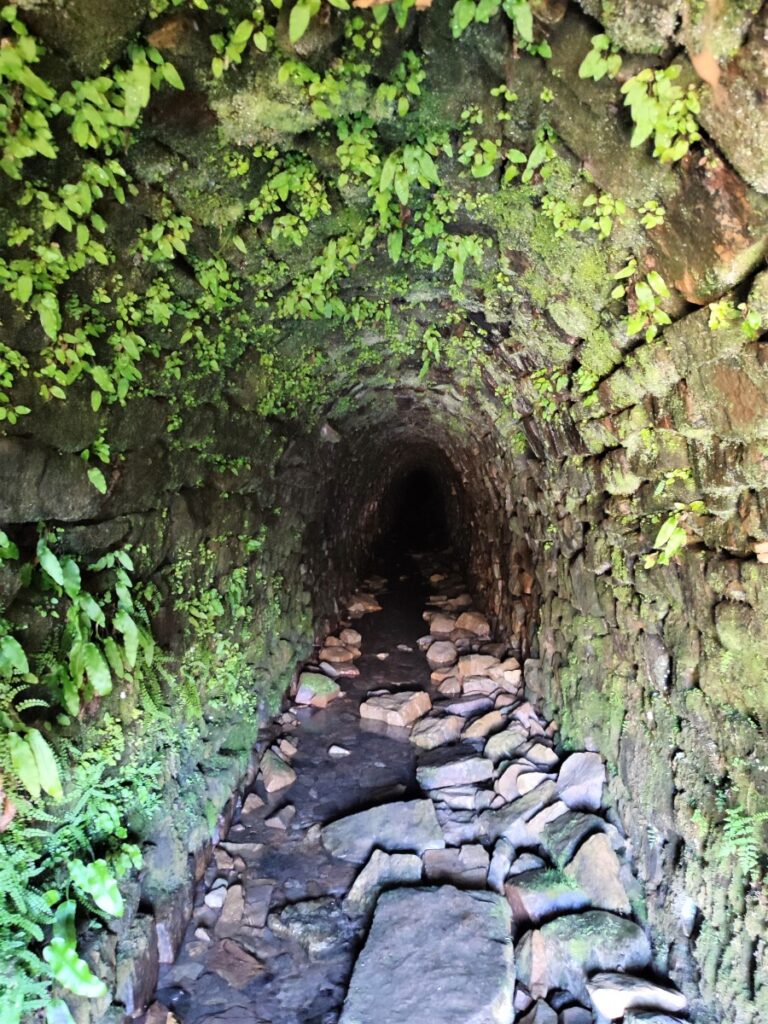
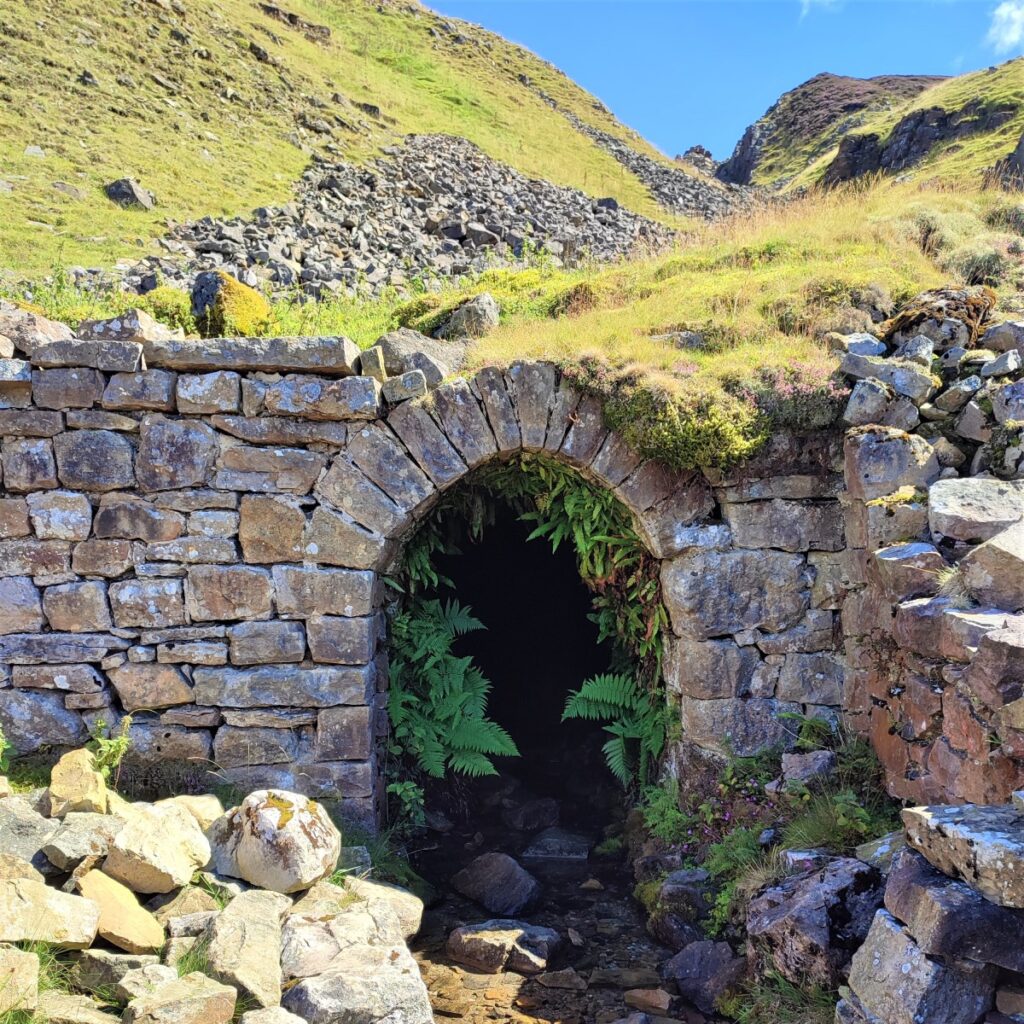
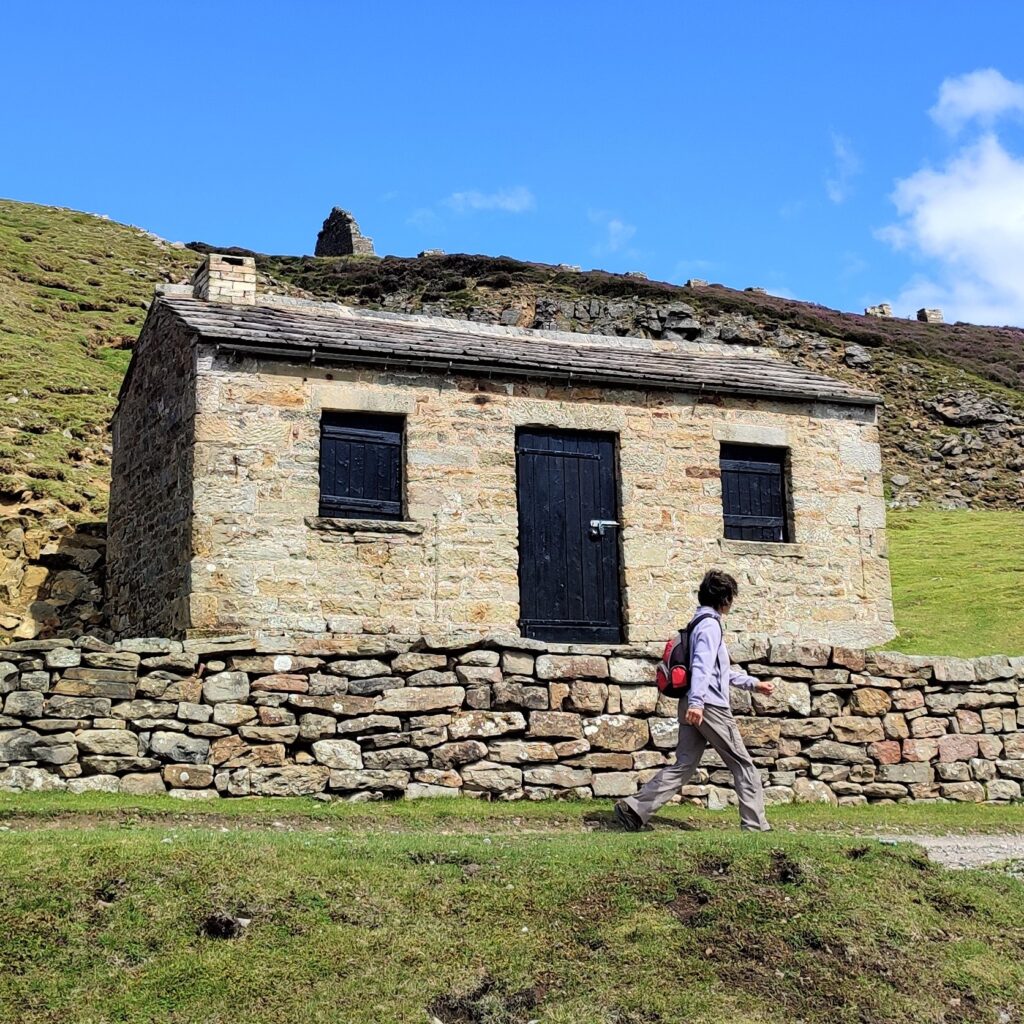
As we progress further up the valley, we arrive at another series of buildings, and an entrance into the mine workings. This takes the form of an open tunnel called the Bunting Level.
Bunting Level connects underground to Old Gang Smelt Mill, two miles east of here. The tunnel is (surprisingly) accessible, with no locked gates or any safety measures – but please do not enter, this is not a safe place to be.
The grassy space around the buildings is perfect for picnics, and the views over the valley to the mine workings opposite, including the remnants of the pipework for the hydraulic lifts, are worth seeing.


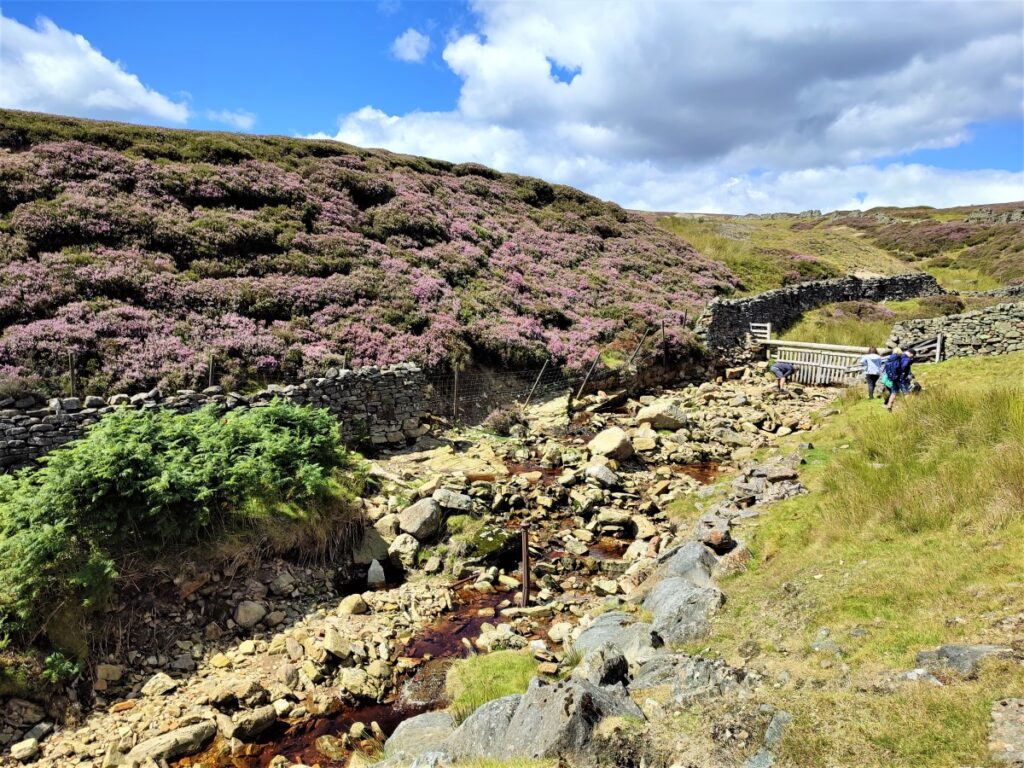
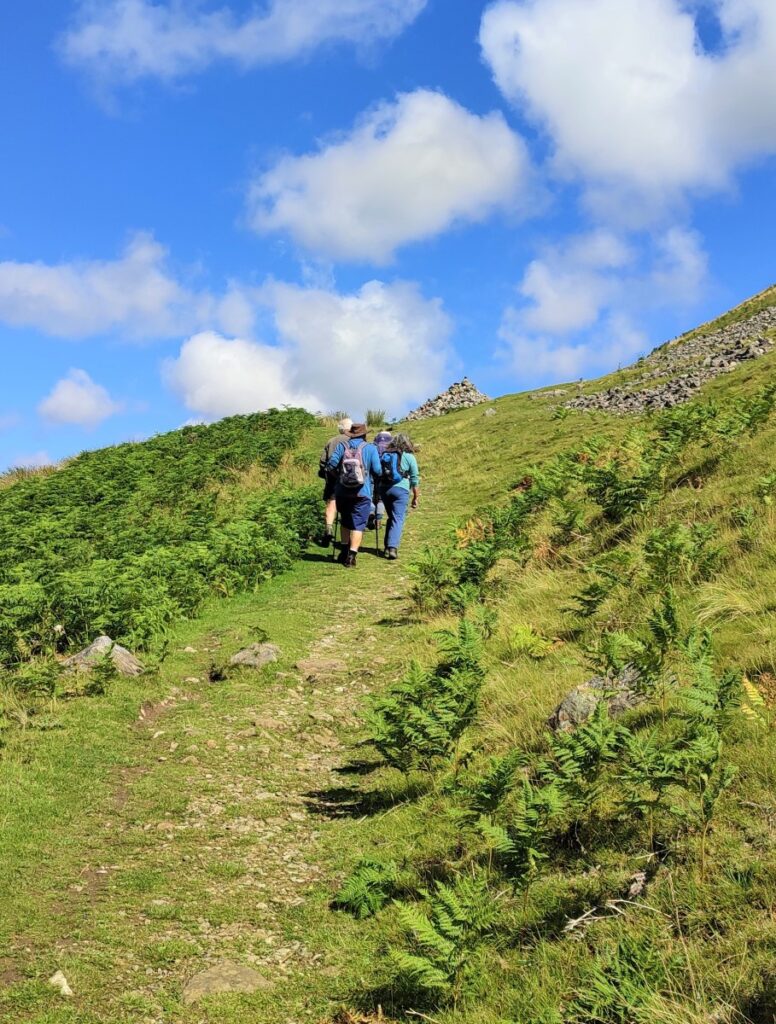
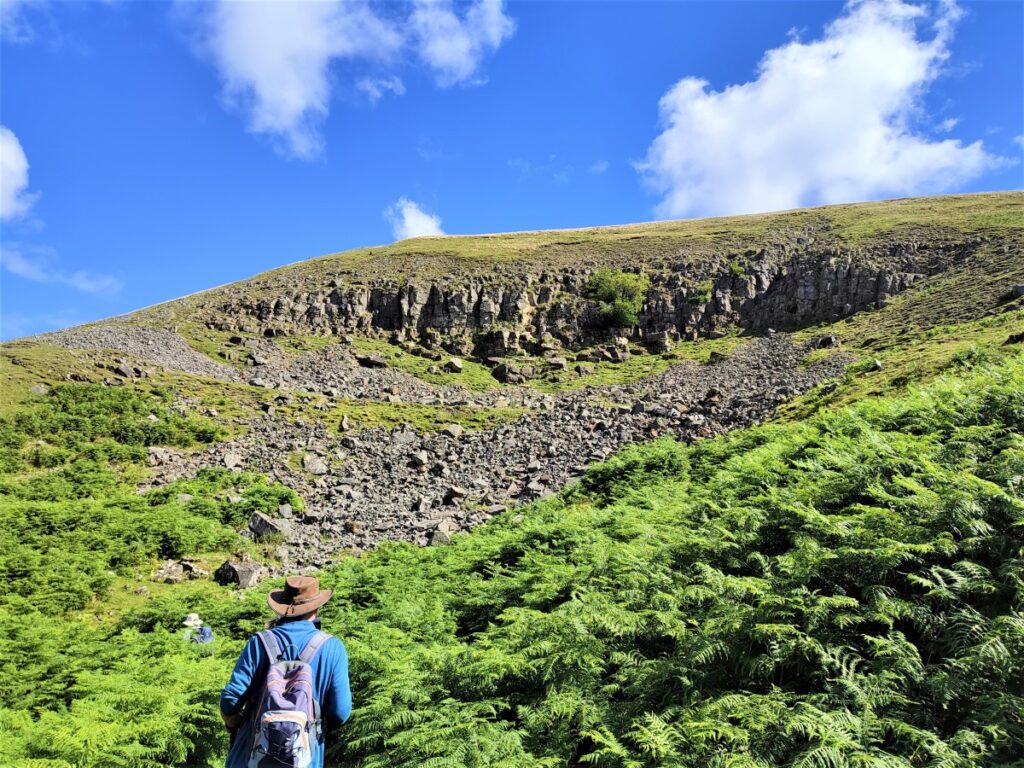
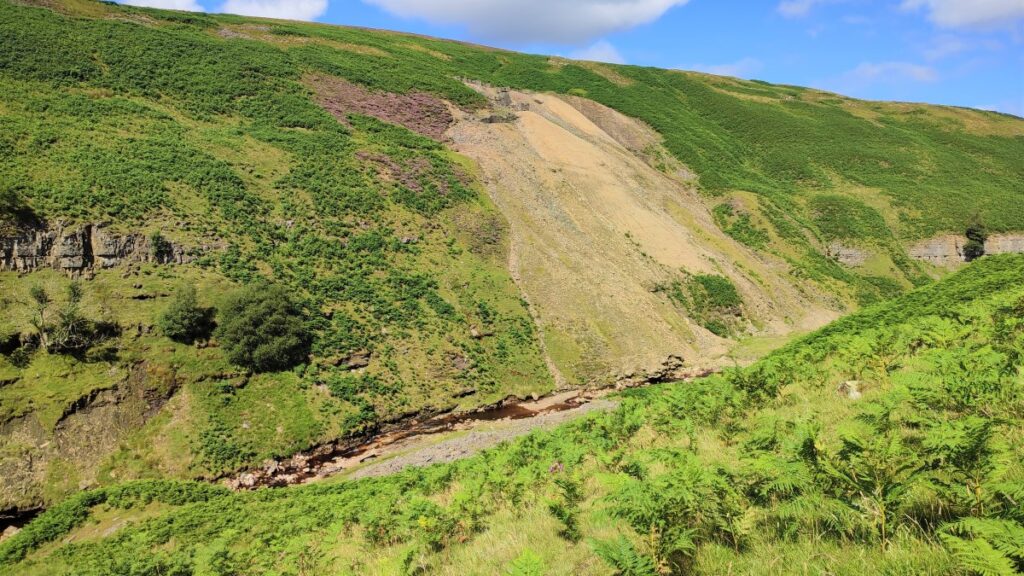
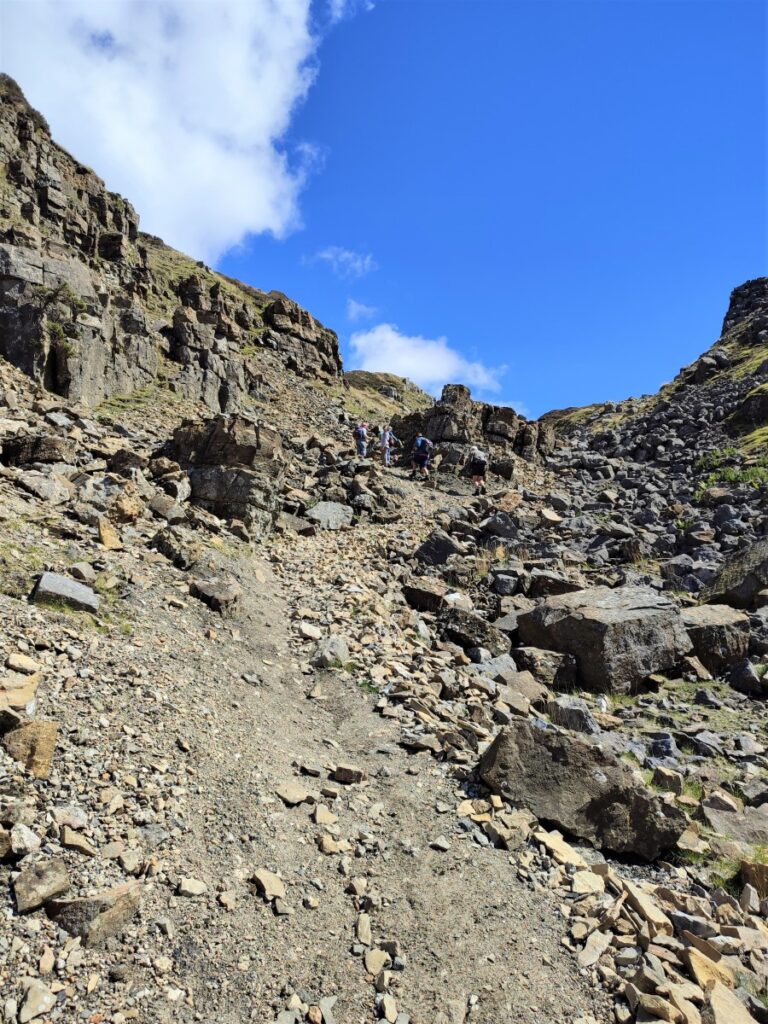
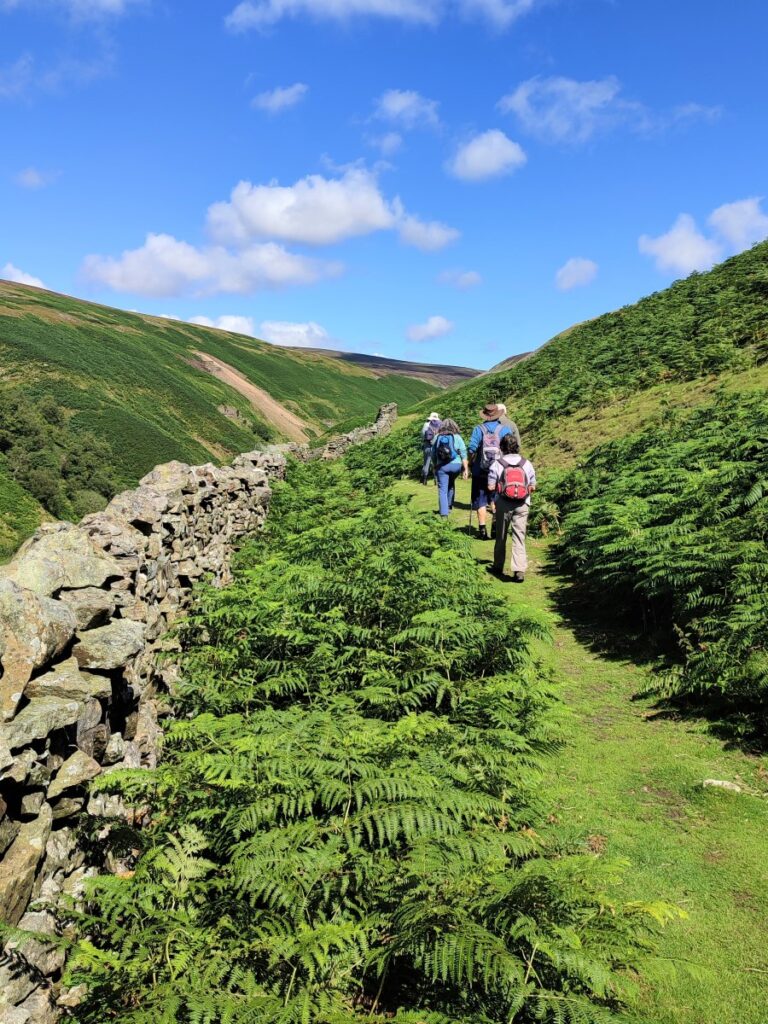
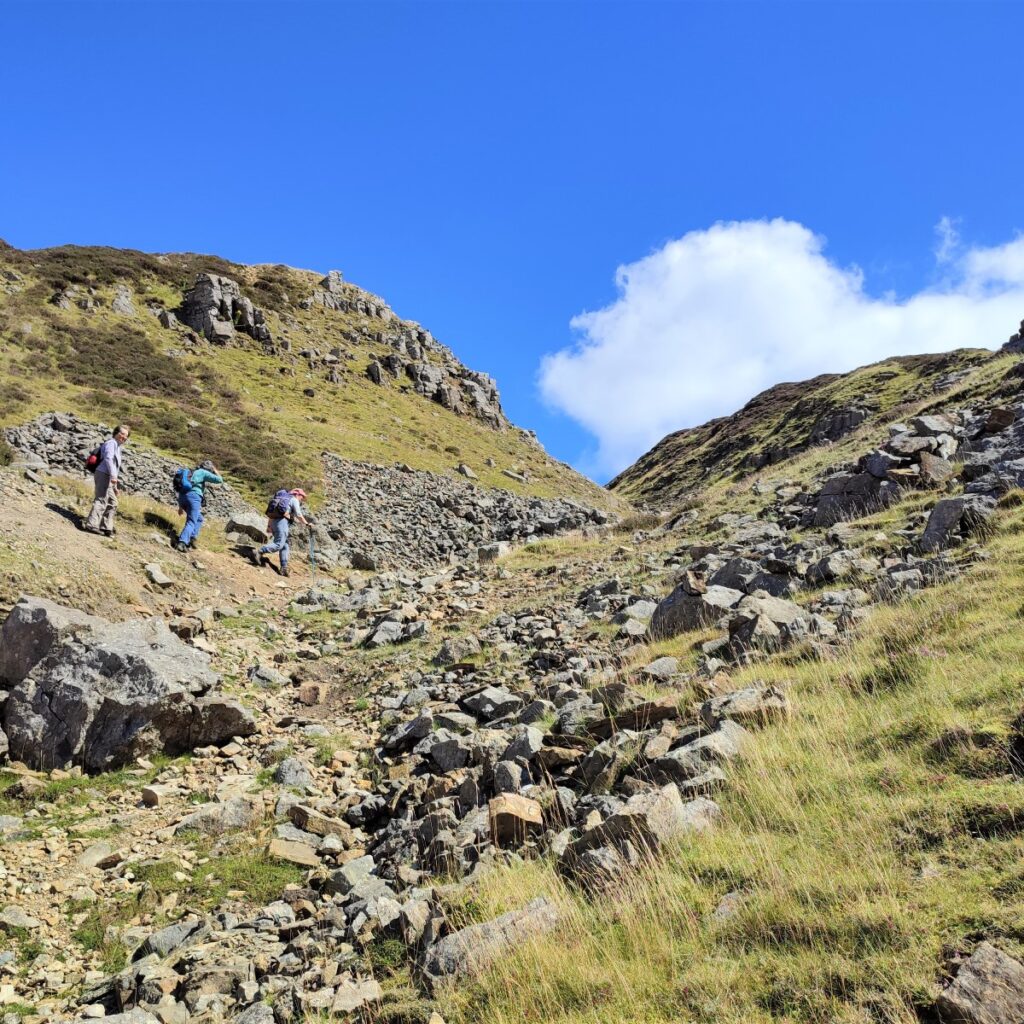
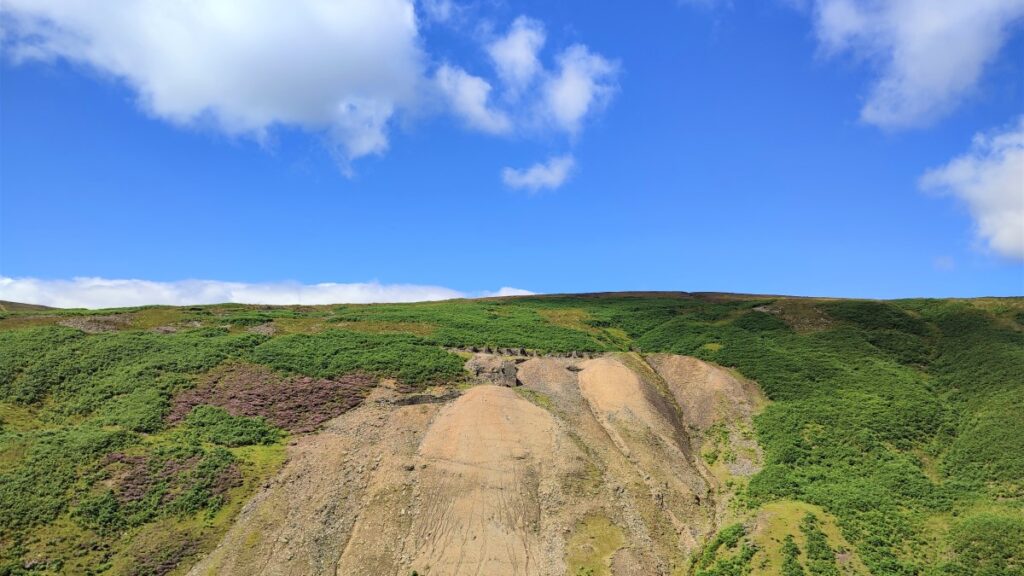
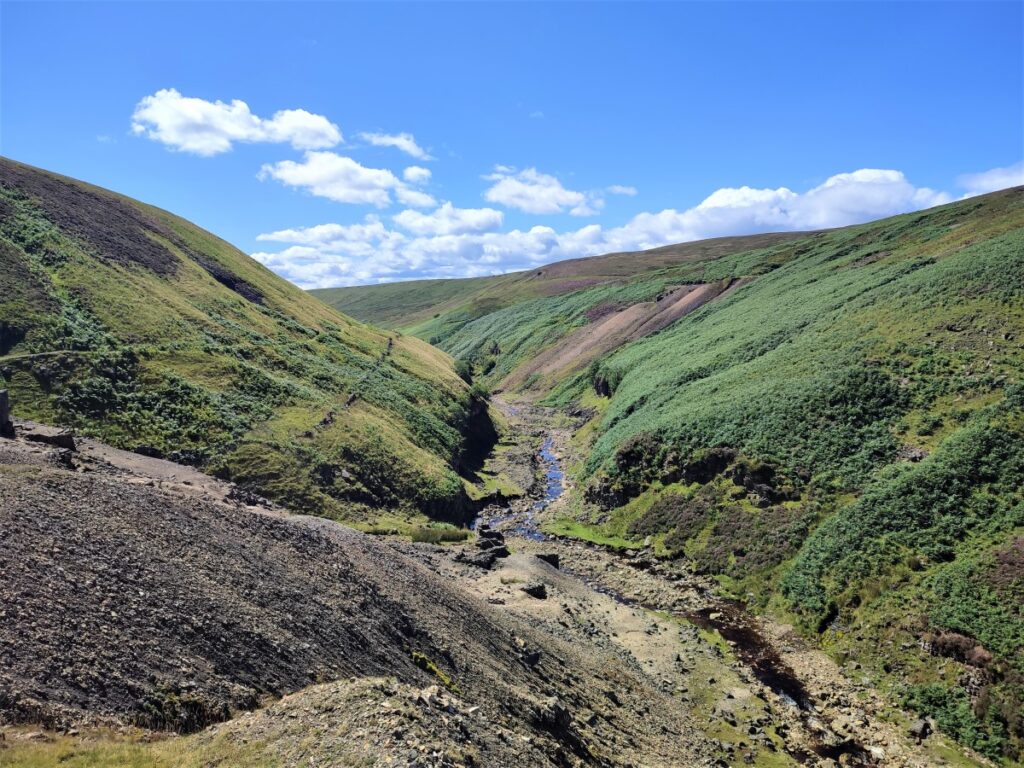
We progress a little further up the path before we find a fingerpost indicating a bridleway over to Old Gang Smelt Mill and Surrender Bridge. This takes us up a steep and rocky track between Friarfold Hush and Bunton Hush. Perhaps not surprisingly, hush is also a mining term: Hushing involves damming a stream then releasing the water suddenly to wash the surface away to expose the underlying rock. The artificial ravine which our path goes through is entirely the result of hushing.
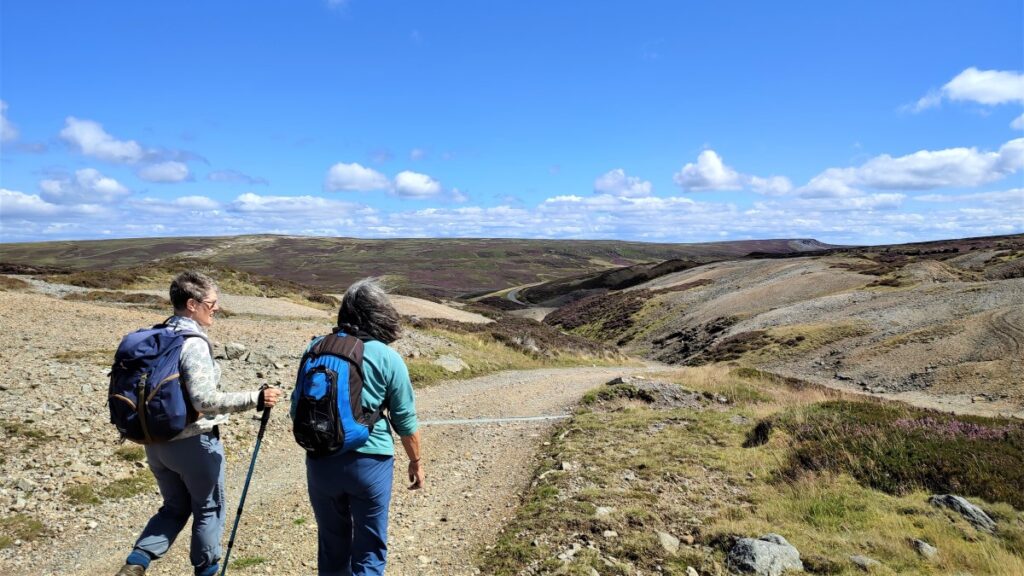
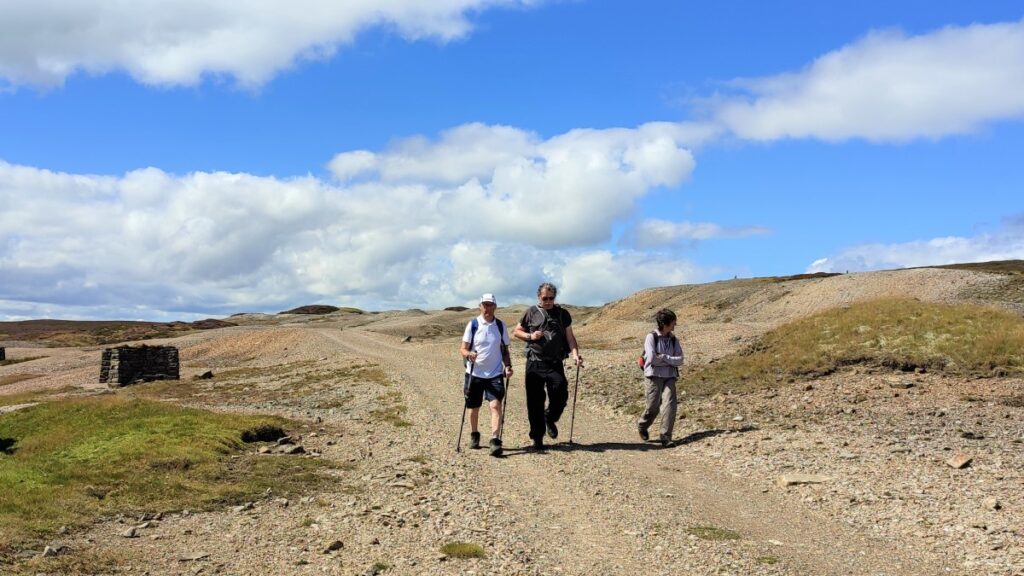
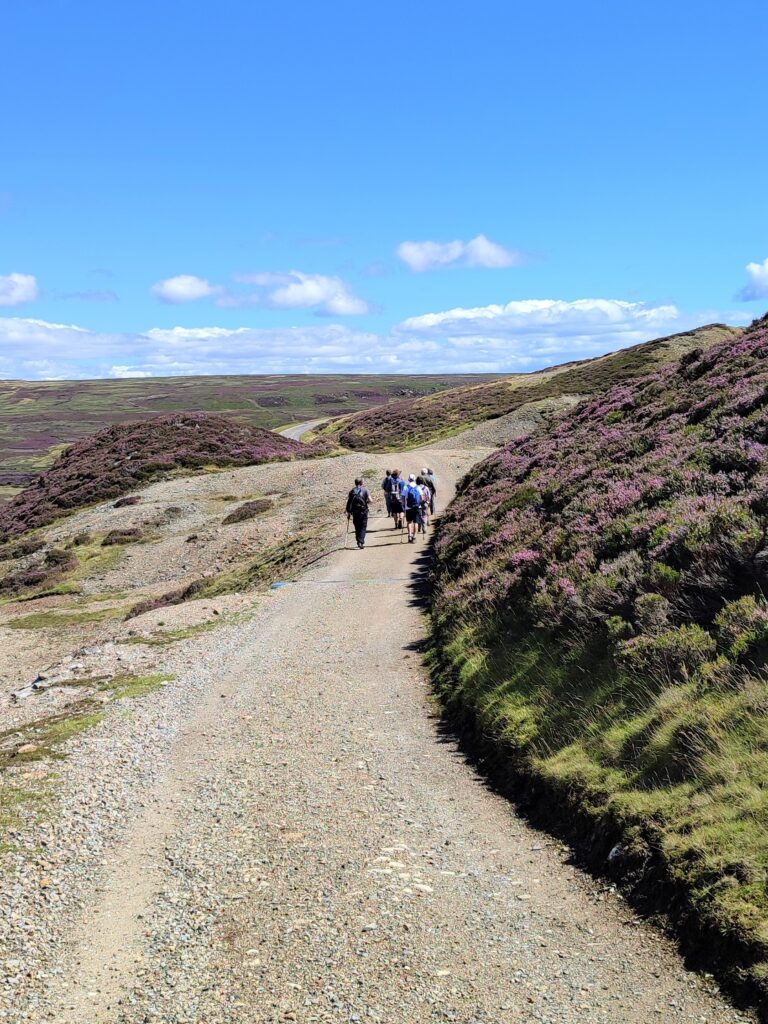
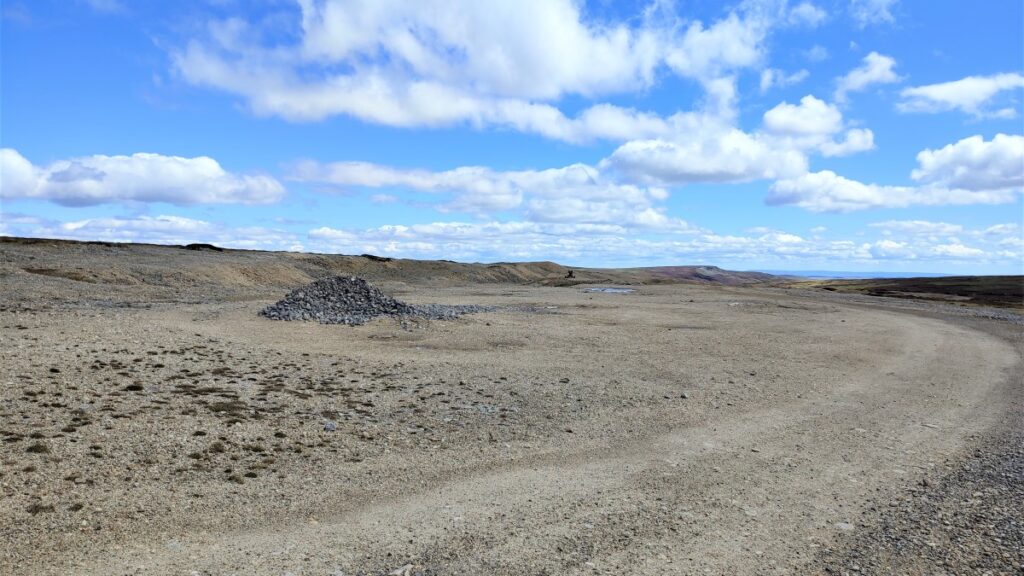
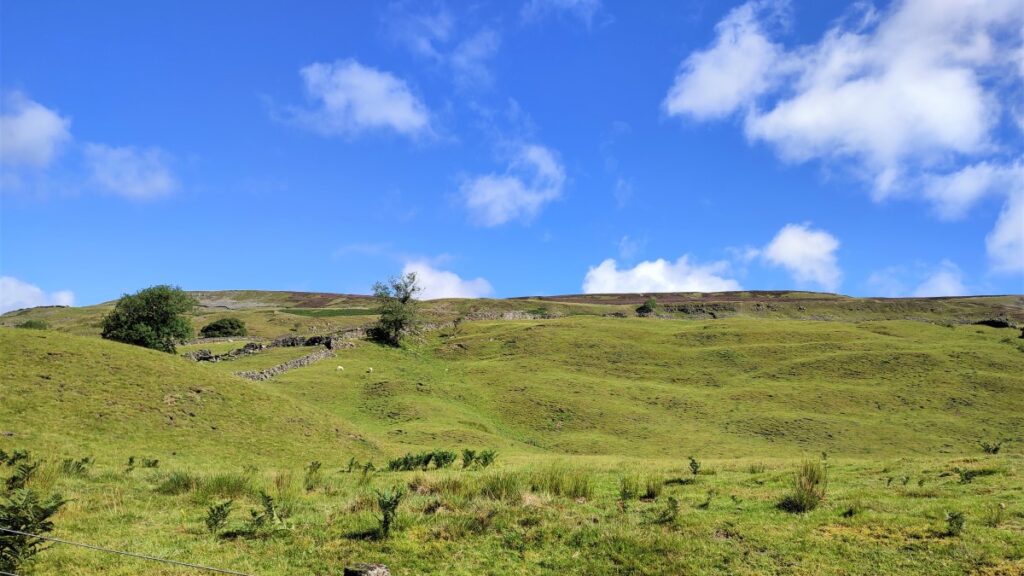
After a while, the somewhat barren vista of the hush is left behind and we enter an area of relatively unspoiled moorland – where we continue to climb, although now more gently. At this stage the paths are less than clear, so the route we took deviates somewhat from the path noted on the OS map – this is not a problem, as long as we continue to head generally West until we enter a flat and somewhat barren landscape where we find a very clear track that we take right to head down to the Old Gang Smelt mill.
The track now heads West and at this stage is mostly flat – we have grouse moor on the right, and a somewhat bleak moonscape on the left where lead and other toxins prevent anything but the most hardy species gaining a foothold.
As we follow the track round, a second track joins from the right at Level House bridge. This track runs along Flincher Gill, and it is worth noting as a route around the far side of Reeth High Moor to make a loop back to Surrender bridge. Also noteworthy along that track is a further access tunnel to the mines which is larger and more steeply sloping than the tunnel we saw at Bunting Level.

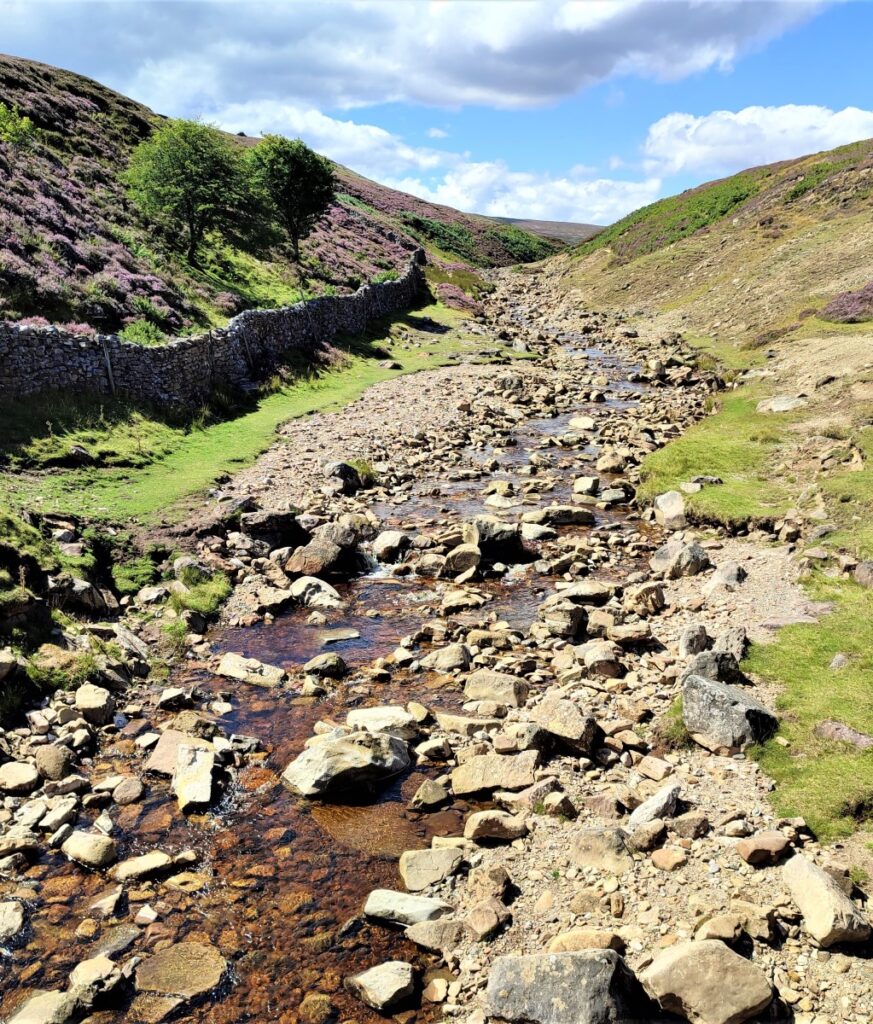
We press on past the bridge, keeping the stream – which is now called Hard Level Gill – on our right following the flow downhill, until we see the road fork. We take the right hand side – keeping with the Gill. The left hand option leads to access land but does not have a clear and safe way back to the main paths so if you explore there, expect to need to reverse your route.
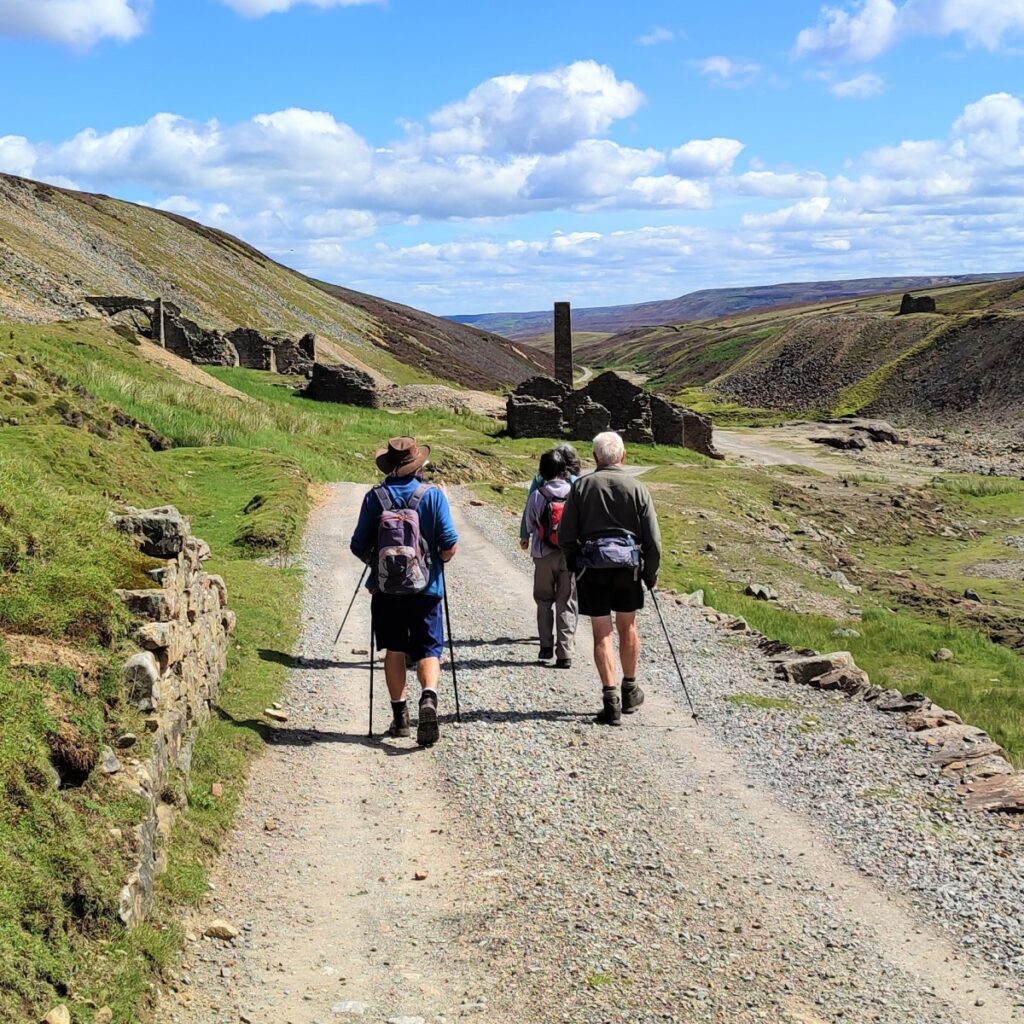
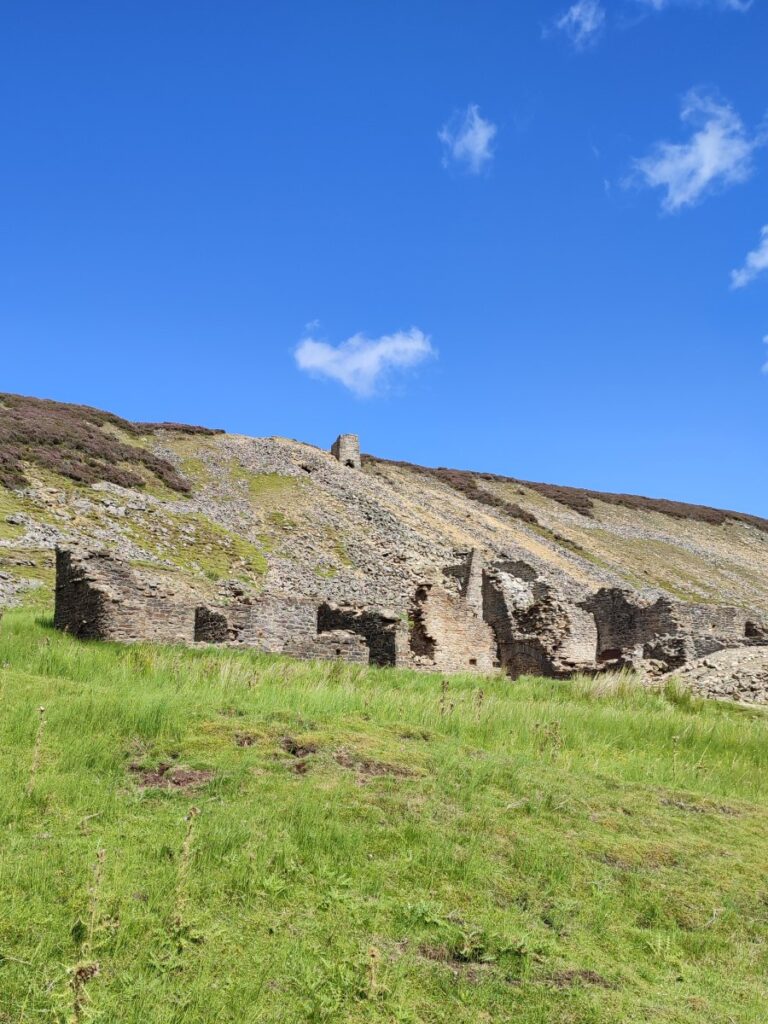
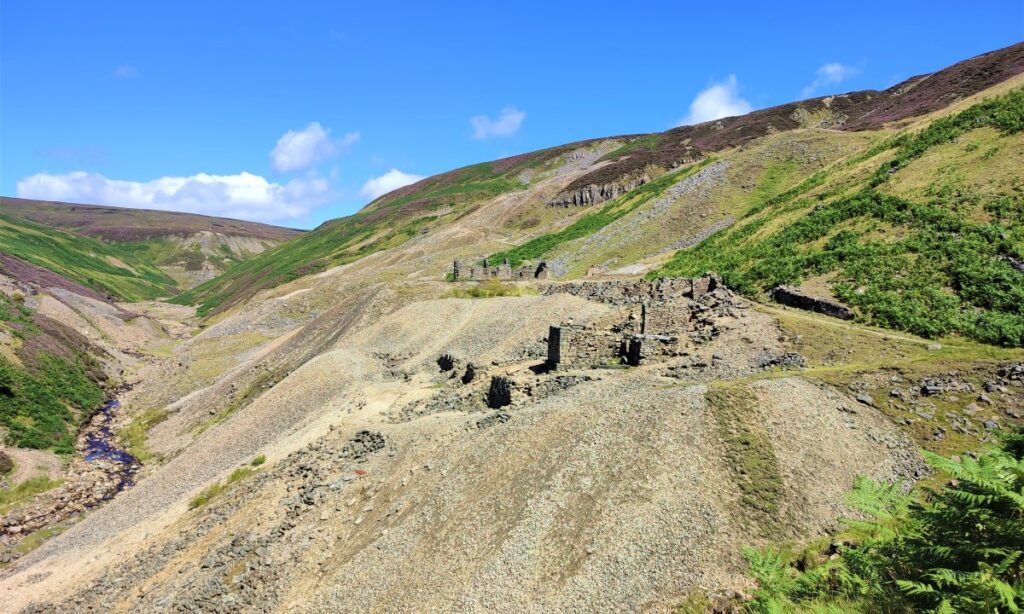
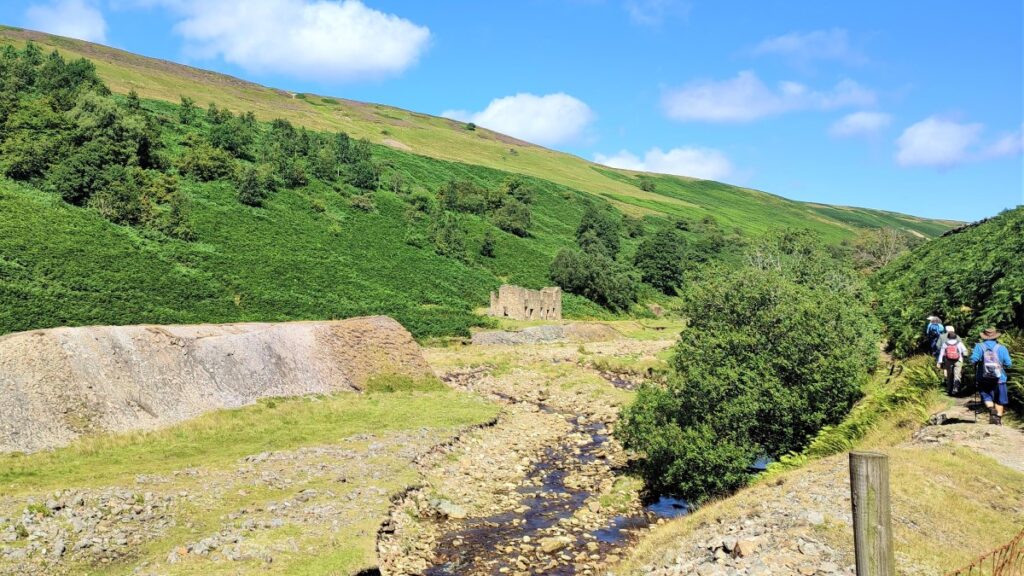
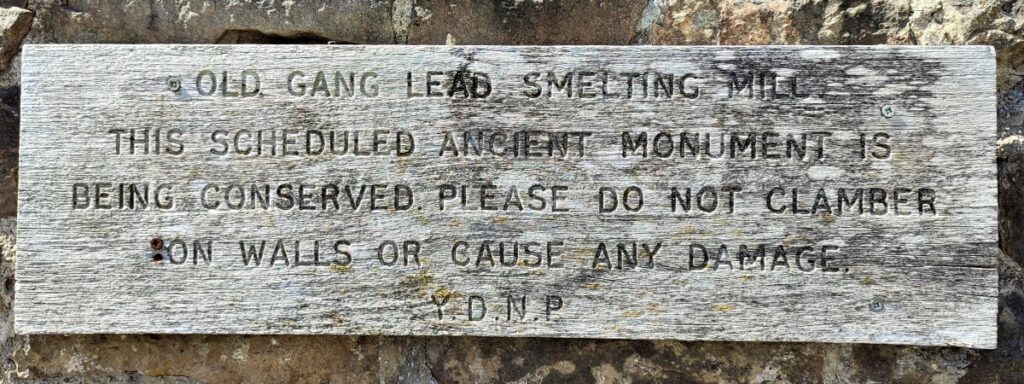
A number of watercourses add to the flow of the Gill and the stream becomes Mill Gill or Old Gang Beck, at this point. Just after another track comes in from the right at Hard Level Force bridge, we see the remains of the Old Gang Smelt Mill – just one of 15 such smelting mills between Muker and Reeth during the peak of the lead mining industry.
Although the Old Gang mill was one of the largest in the area, a search of the archives has failed to reveal either when it was built or closed. Nevertheless, there are some clues . . . For example, the mill is shown on early OS maps for the area, which were surveyed in 1854. So, 1854 is the latest opening date that is possible.
The most probably opening date is believed to be 1846, and evidence for this comes ironically from production records for the New Gang Smelt Mill just to the north: Because the Old Gang mill’s flues unite before being led into the old flue via the New mill’s southern hearth, the Old Gang mill could be built without interrupting smelting. The New mill would have to stop working, however, when the connection was made and any openings were sealed up. The only known break in smelting was between February and April in 1846 which, in the absence of evidence to the contrary, is the most likely date for the transfer of smelting to the Old Gang mill. Rather confusingly then, it seems then that Old Gang Smelt Mill is newer than New Gang Smelt Mill.

The date of closure is equally vague; the mill was not suddenly closed but limped on for around fifteen years in a haphazard manner. Large scale smelting was over by 1885, with the last ore smelted in 1898. Mining continued for a while after that with the ore transported elsewhere for processing.
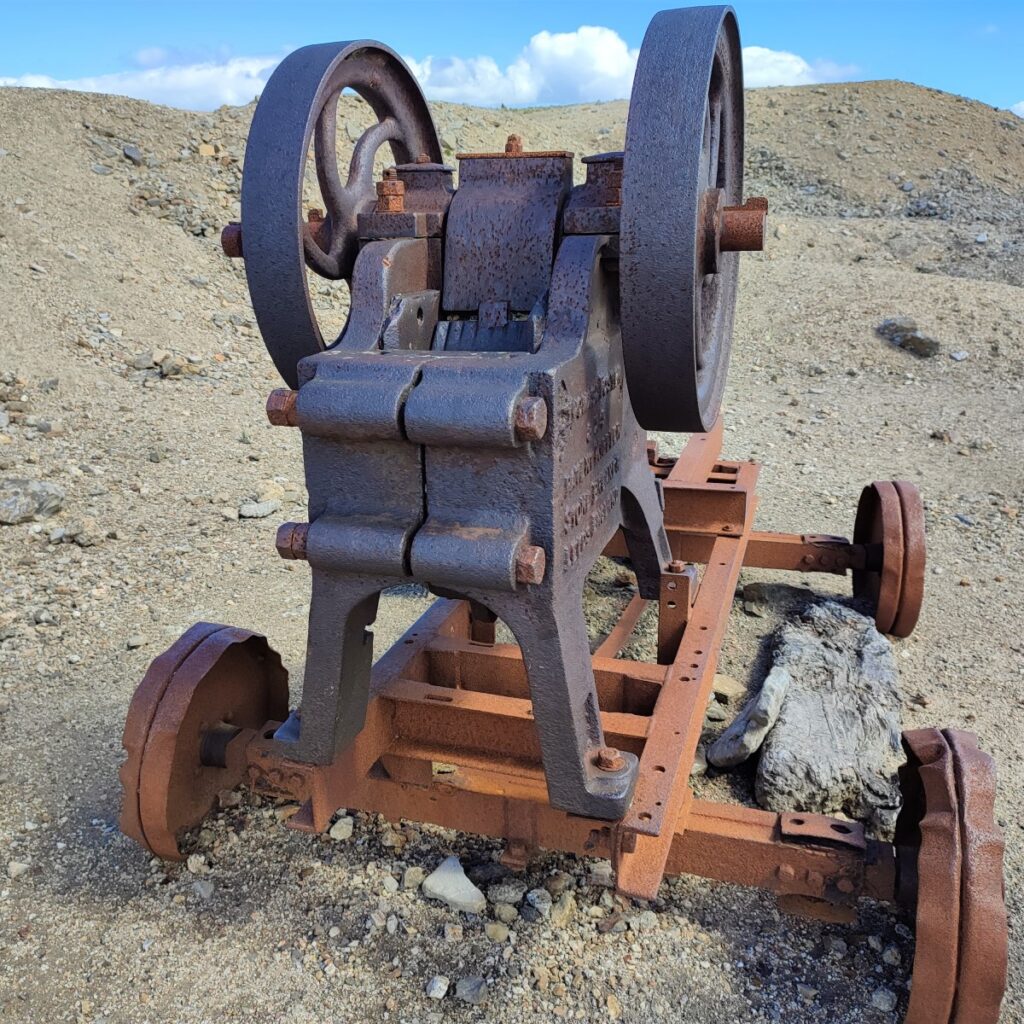
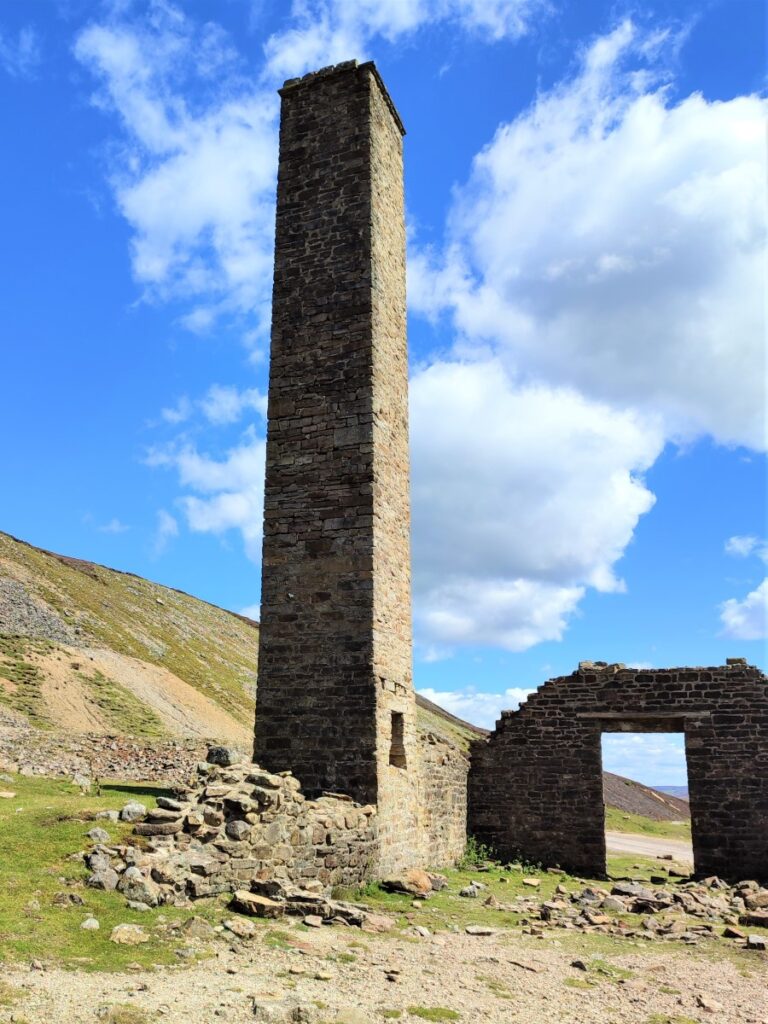
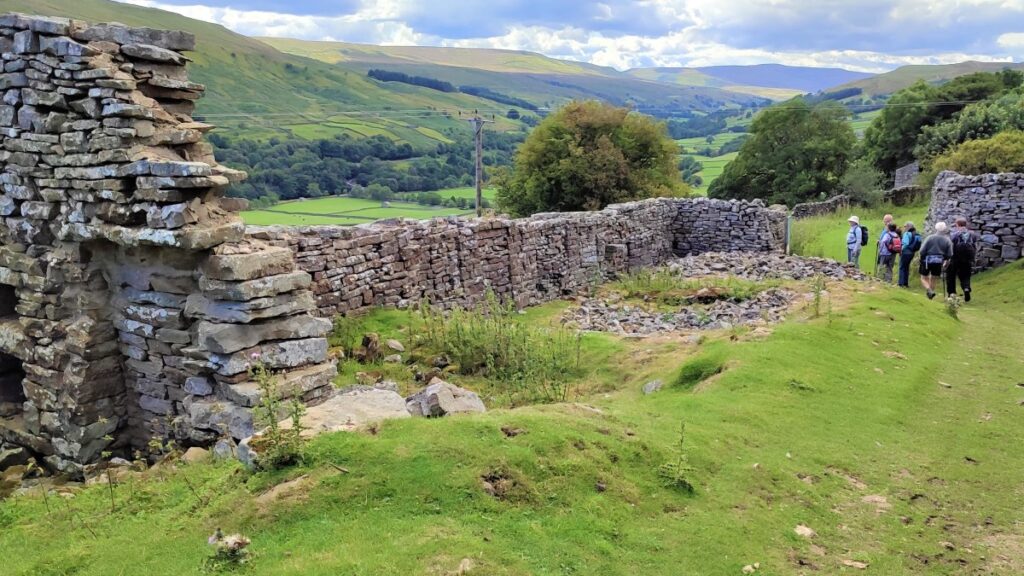
There are a number of buildings still visible at Old Gang, and clear signs of many other structures – the exact purpose of some being opaque. What is very clear to see is the remnants of an inclined flue up the side of Reeth High Moor to what would once have been an impressive chimney, and a building where vibratory sifters would have processed the ore into size grades ready for smelting.
The whole site is now a scheduled monument, and works are ongoing to stabilise the structures so that the heritage value is protected.
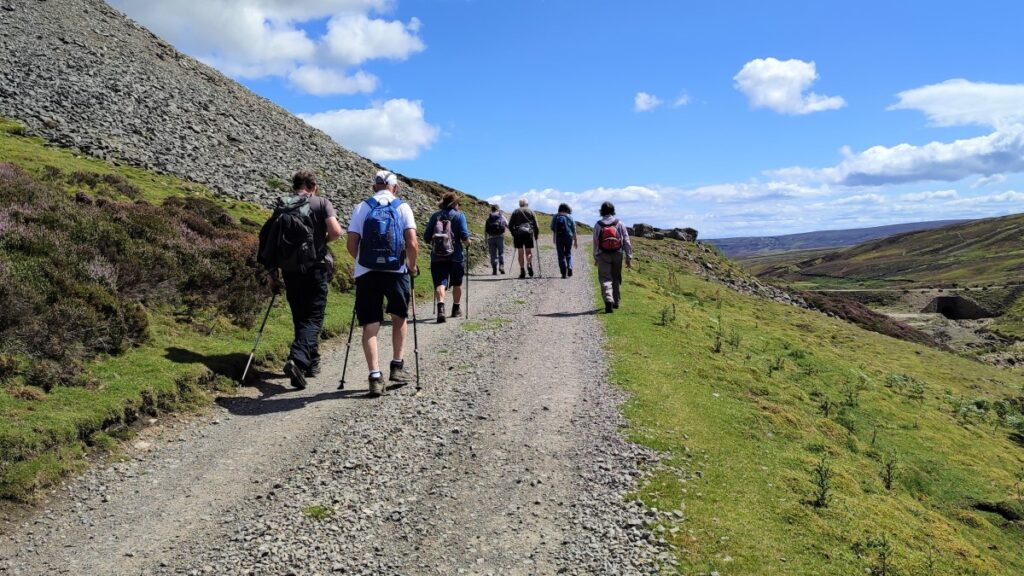
Having taken some time to explore the site, we carry on along the access track following the Gill downstream toward Surrender bridge. As we do so we start to leave the most toxic spoil behind and we see heather and often grouse on both sides of the track.
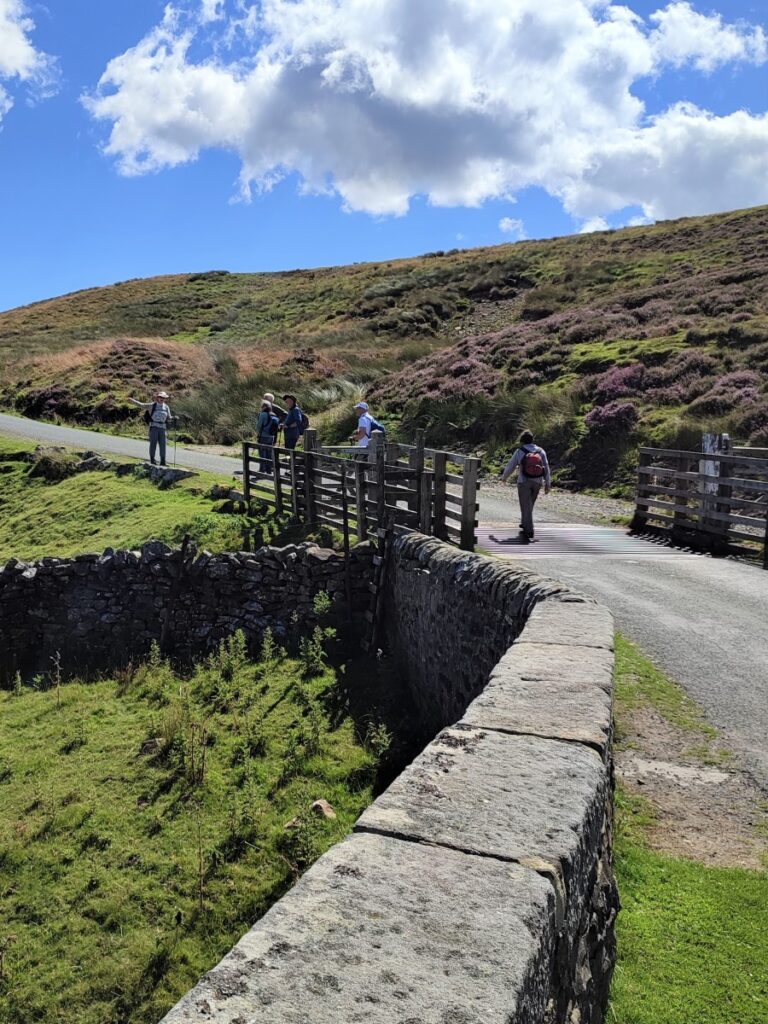
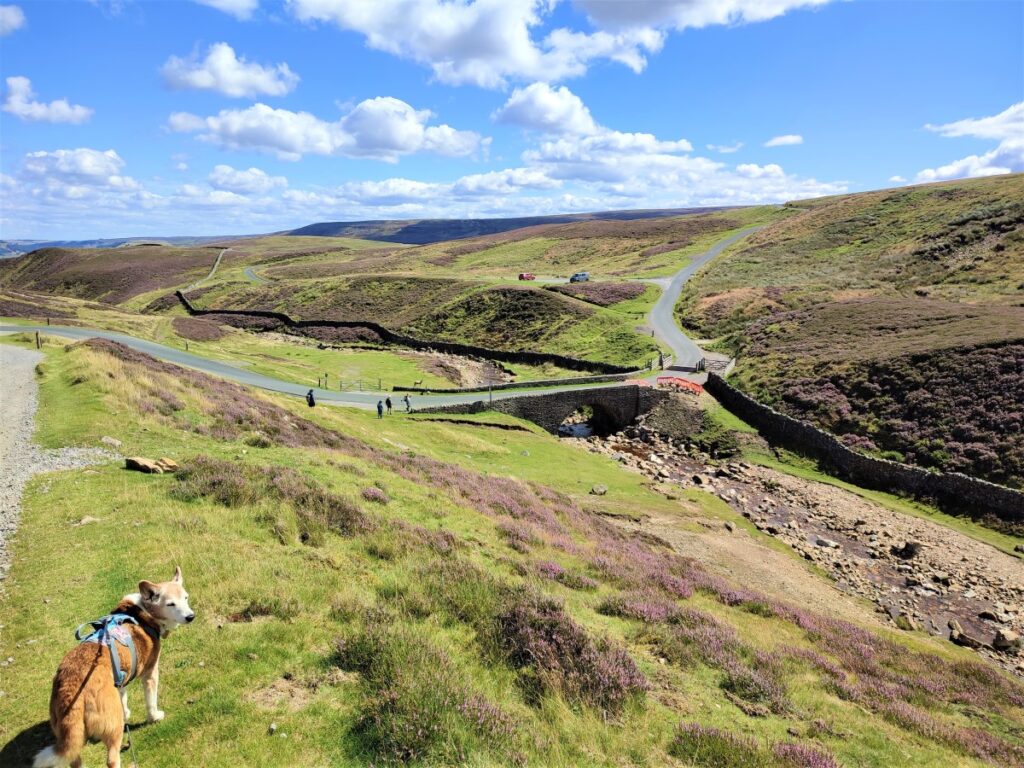
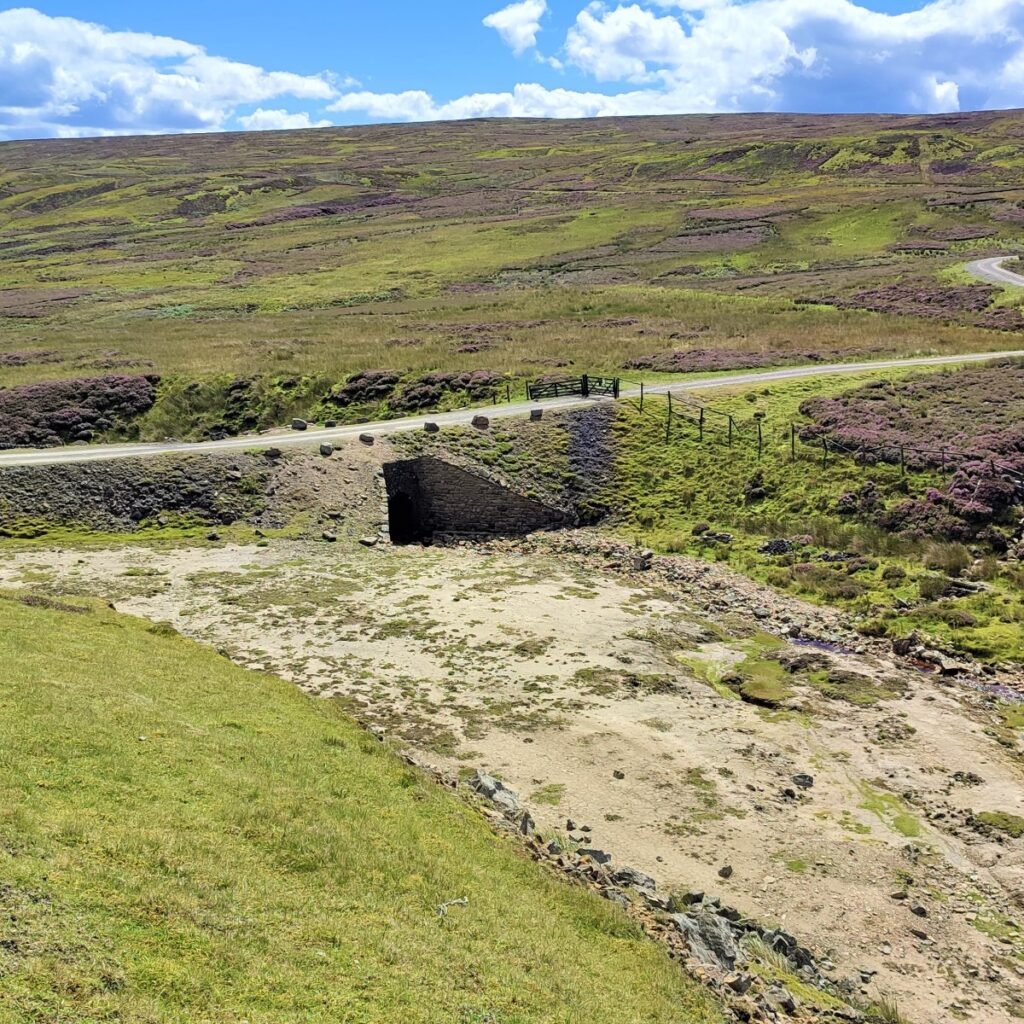
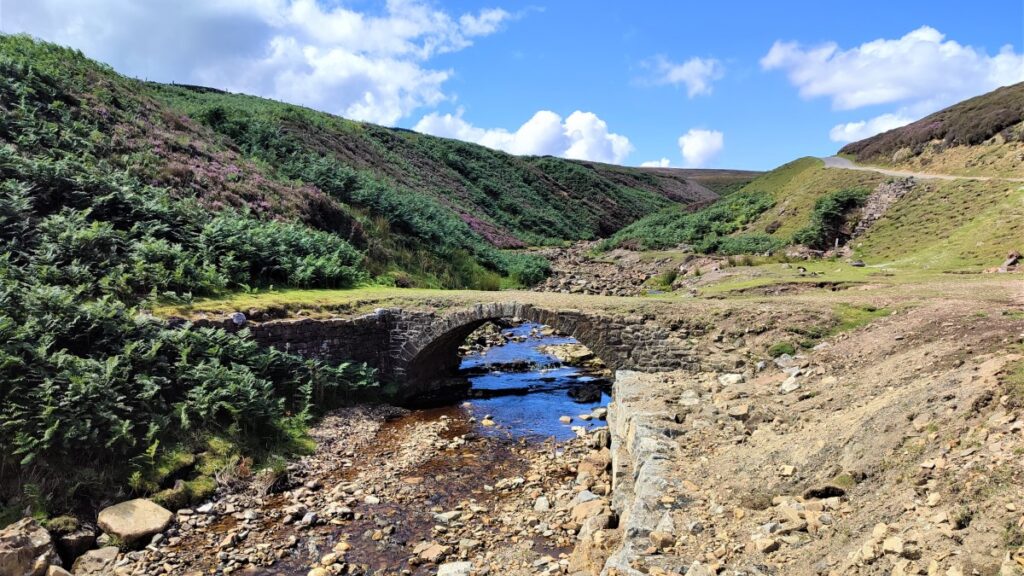
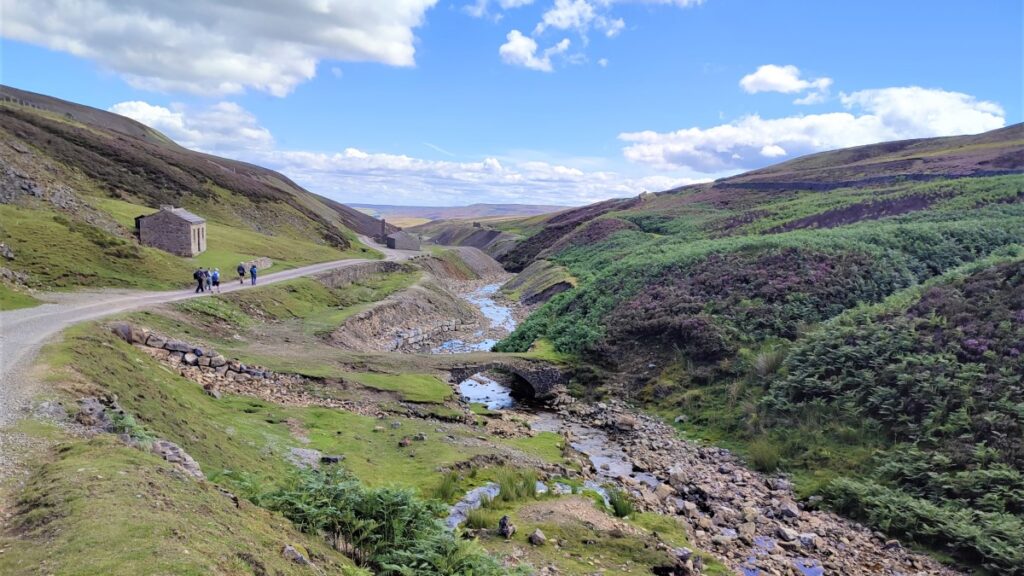
We soon approach Surrender Bridge and the road over to Arkengarthdale. On the far side of the bridge, toward Reeth we see further smelt mills, but we turn right to cross the bridge and then follow the road South toward Swaledale.
There is a myth in Swaledale that Surrender Bridge, is so named because it is the site of some long-forgotten military capitulation. In fact it is named after the adjacent moor of Surrender Moss, a damp peaty expanse which in turn is named almost certainly from the Old English word “sūran” meaning ‘sour, damp, course’
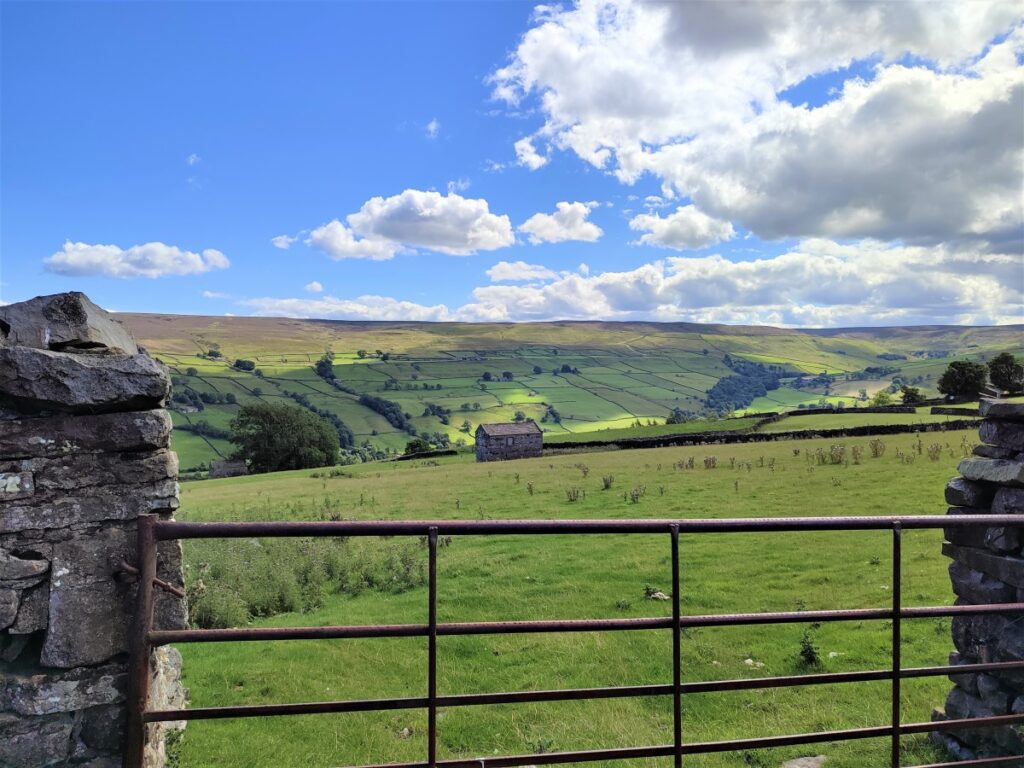
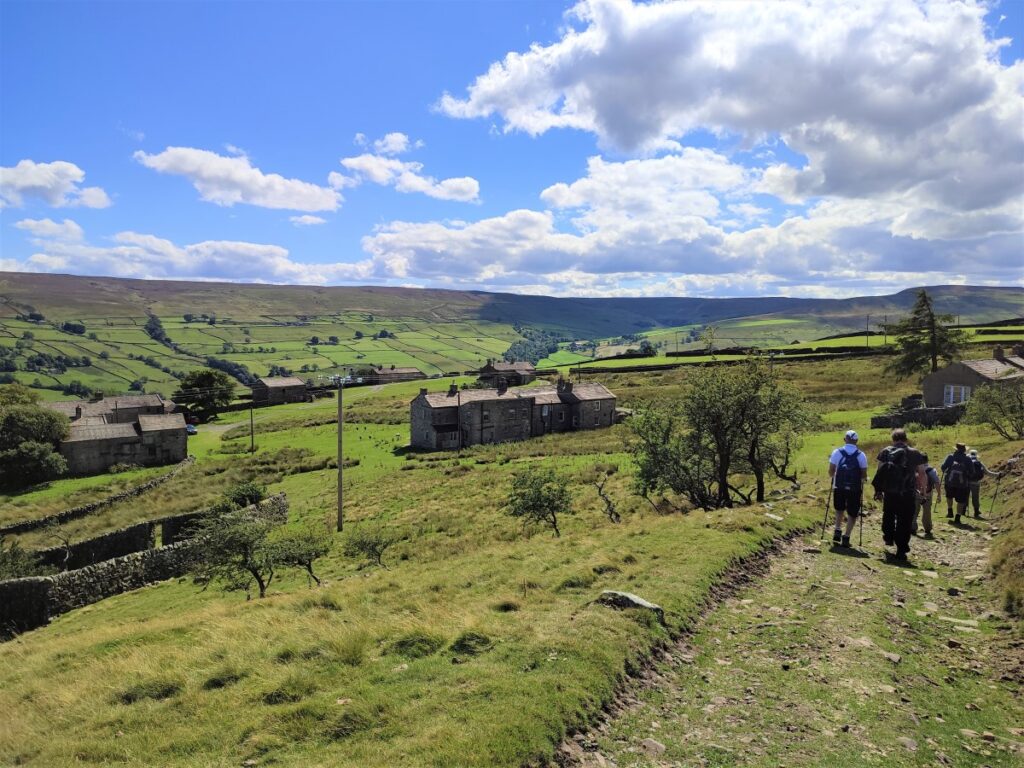
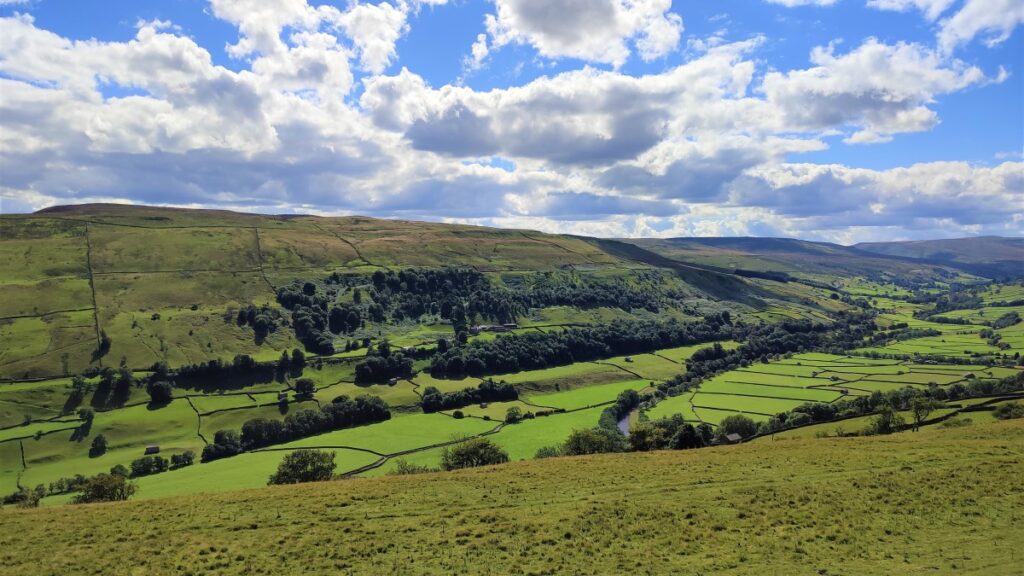
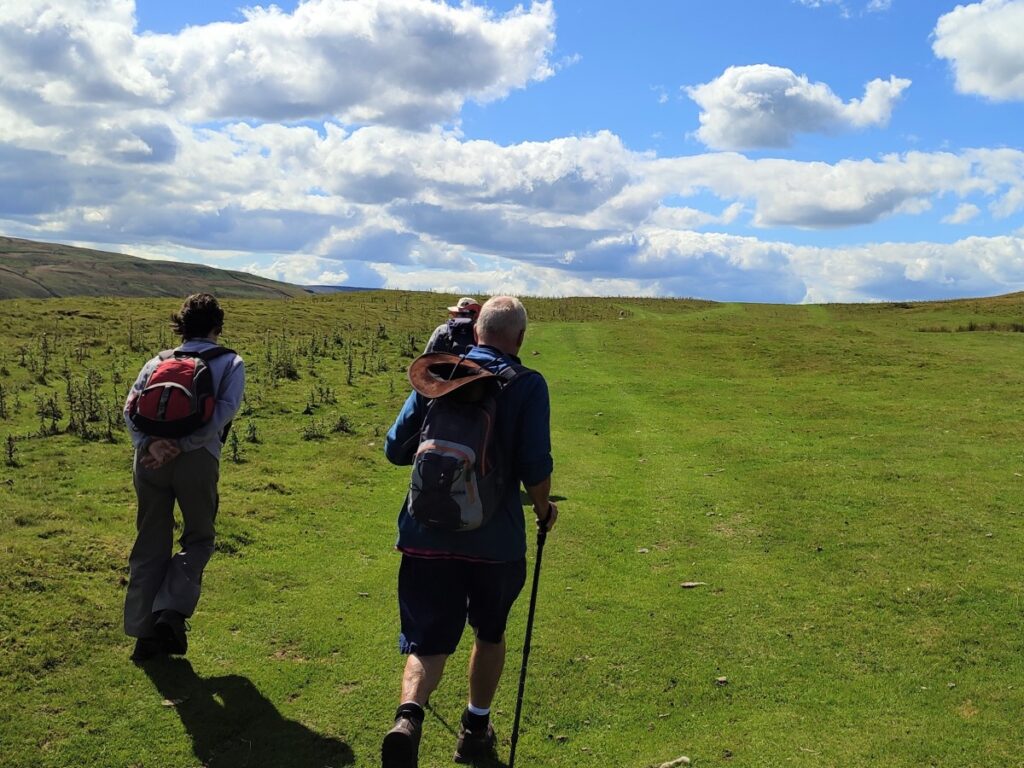
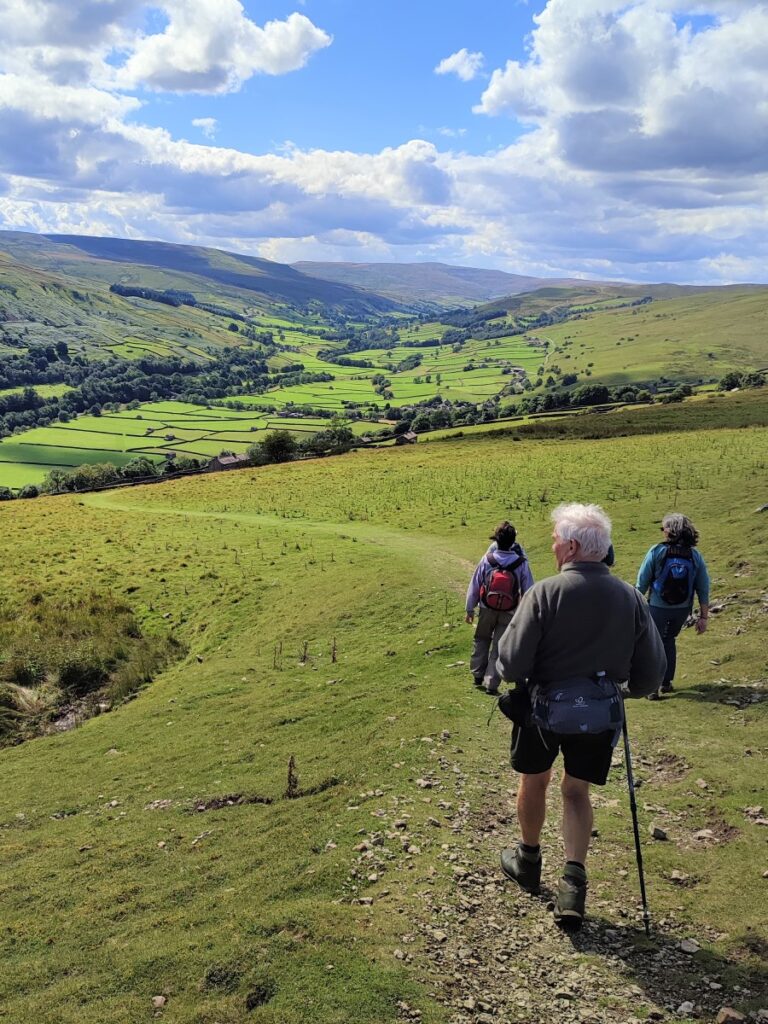
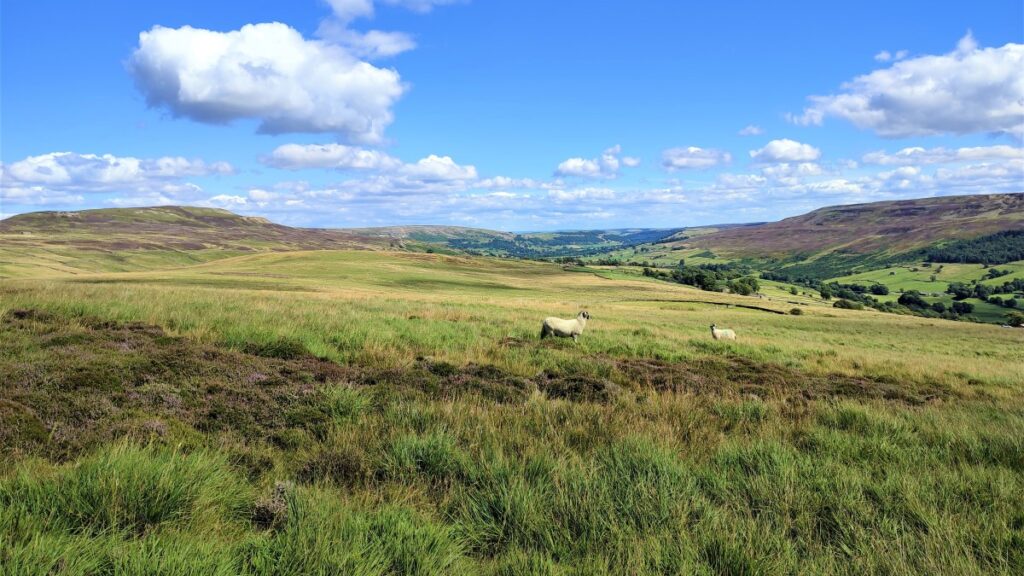
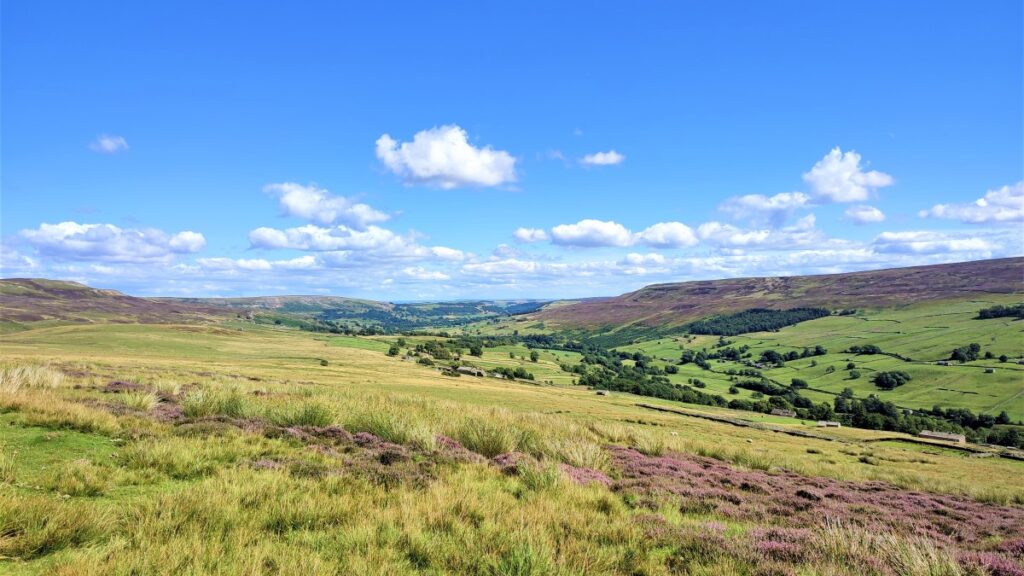
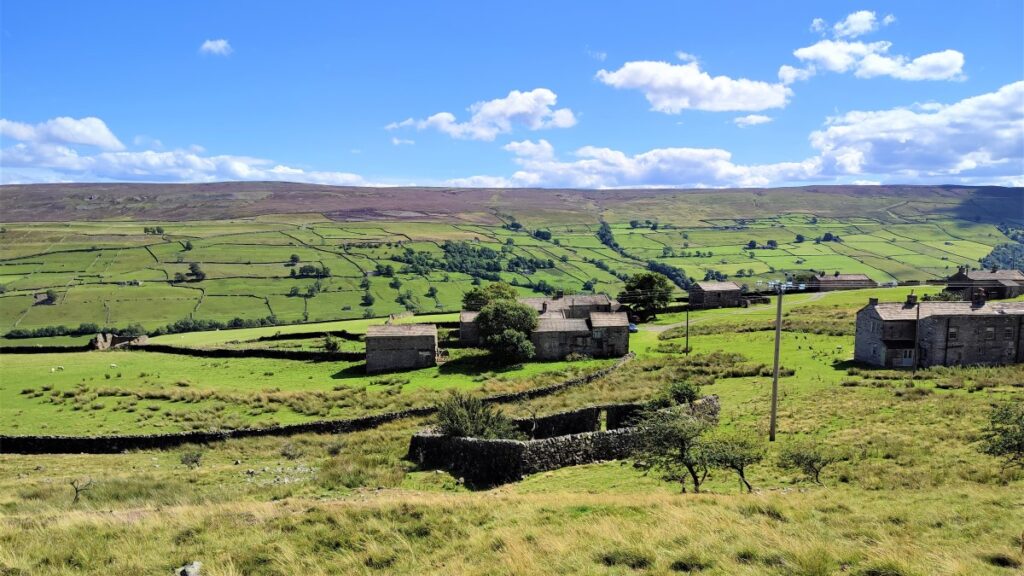
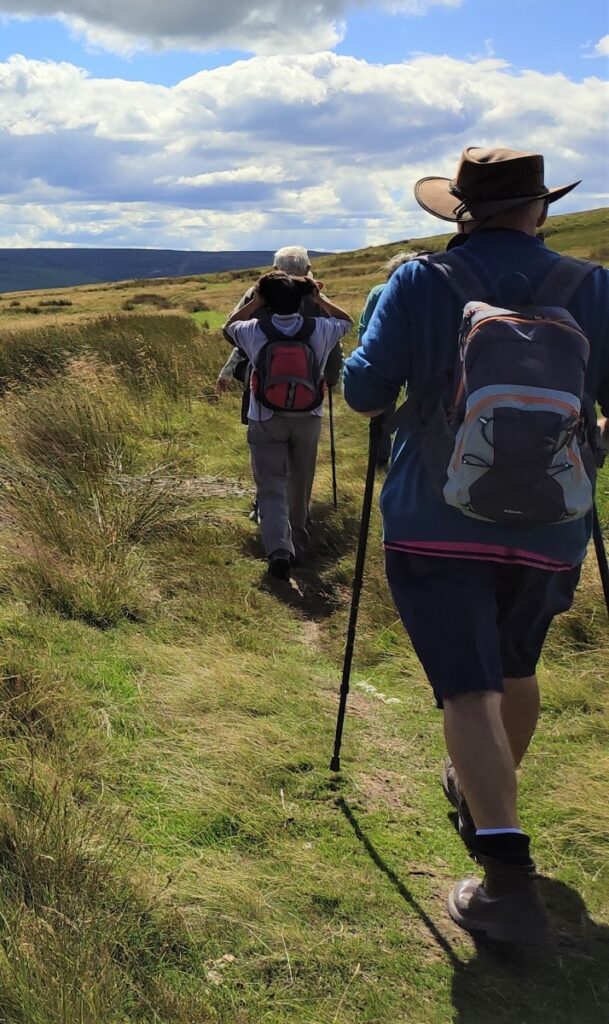
There is a road off to the left (signposted Reeth), we ignore this and carry on uphill until we see a clear track with a footpath sign leaving the road on the right. This takes us onto the grouse moor at Feetham Pasture, and we now follow a clear, but occasionally boggy track in a South-Westerly direction. We generally follow the contours here, so the going is easy, and great views soon open up across Swaledale. Ahead we look back down to Gunnerside, and beyond to Muker, and behind us is a good view over to Reeth and the North Yorks Moors.
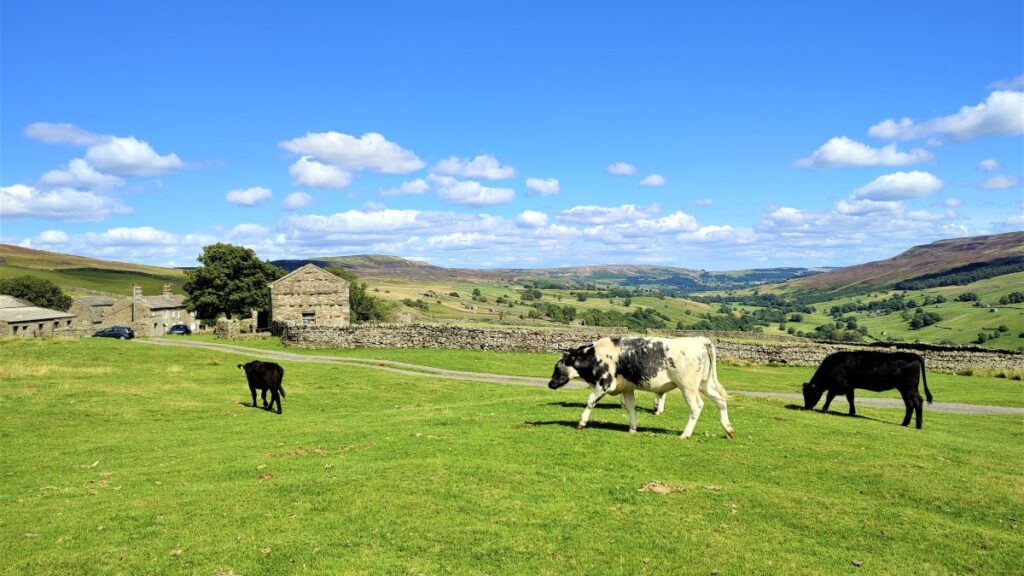
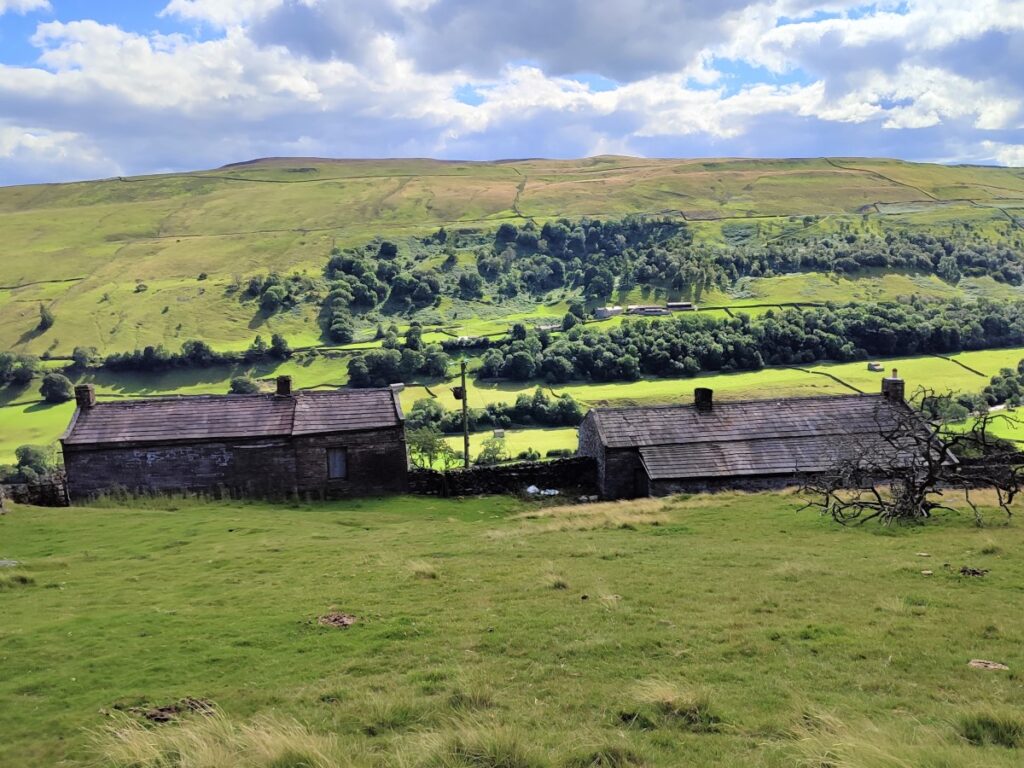
After a good section tramping over open moorland, we approach a wall with a gate through into pasture with grazing. We continue to follow the wall – keeping it on our left as we start to descend. We soon see a Hamlet to our left, and downhill, this is where we head, making sure we ignore a smaller track that continues around the contours on our right.
The hamlet is Blades, and we make sure we follow the track down until it meets a metalled road where we turn right.
We follow this for a while – until the road runs out and becomes first a rough track, and finally a grassy route over flat pasture.
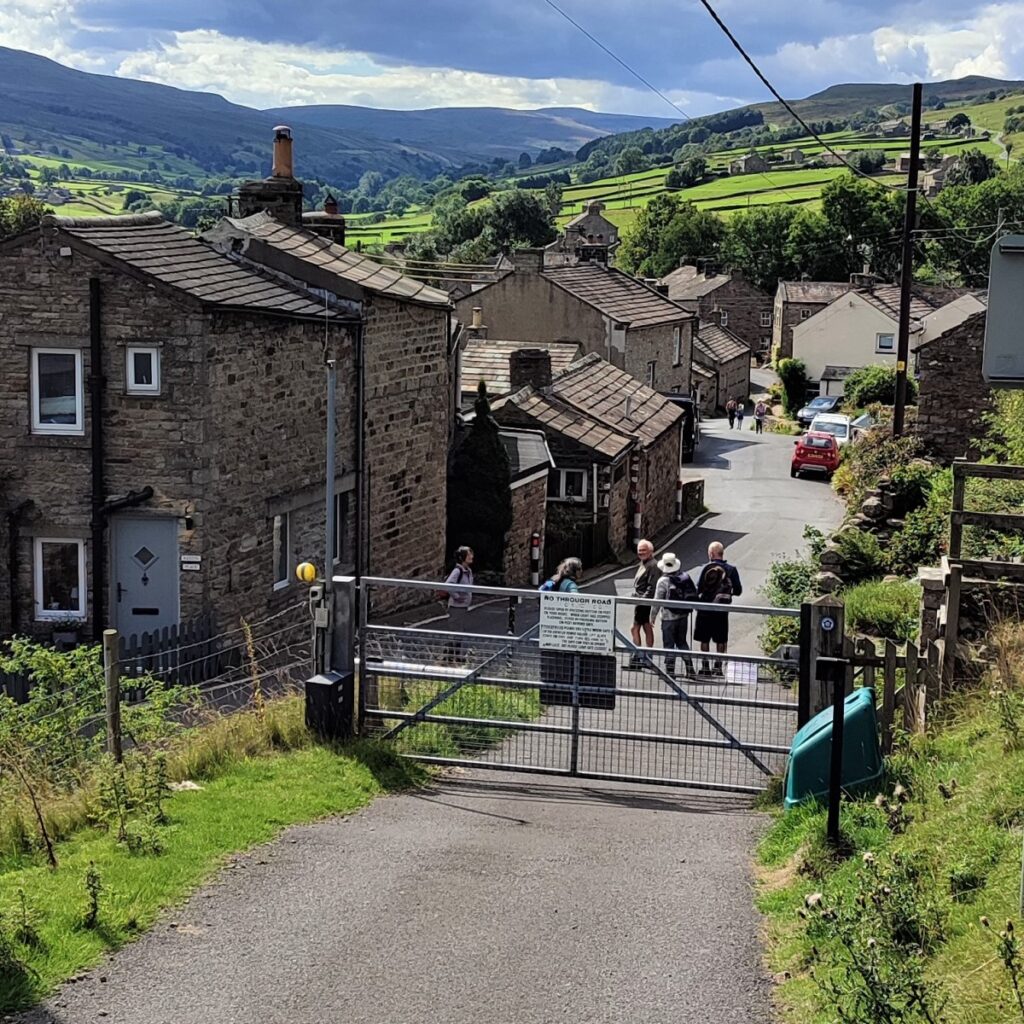
Eventually, the track starts to come round to the right, and we meet a drystone wall with a gate. Just through the gate, the path forks, and we take the steeply downhill route on the left. The path passes a couple of properties on our left, and remains clear as we head back down into Gunnerside.
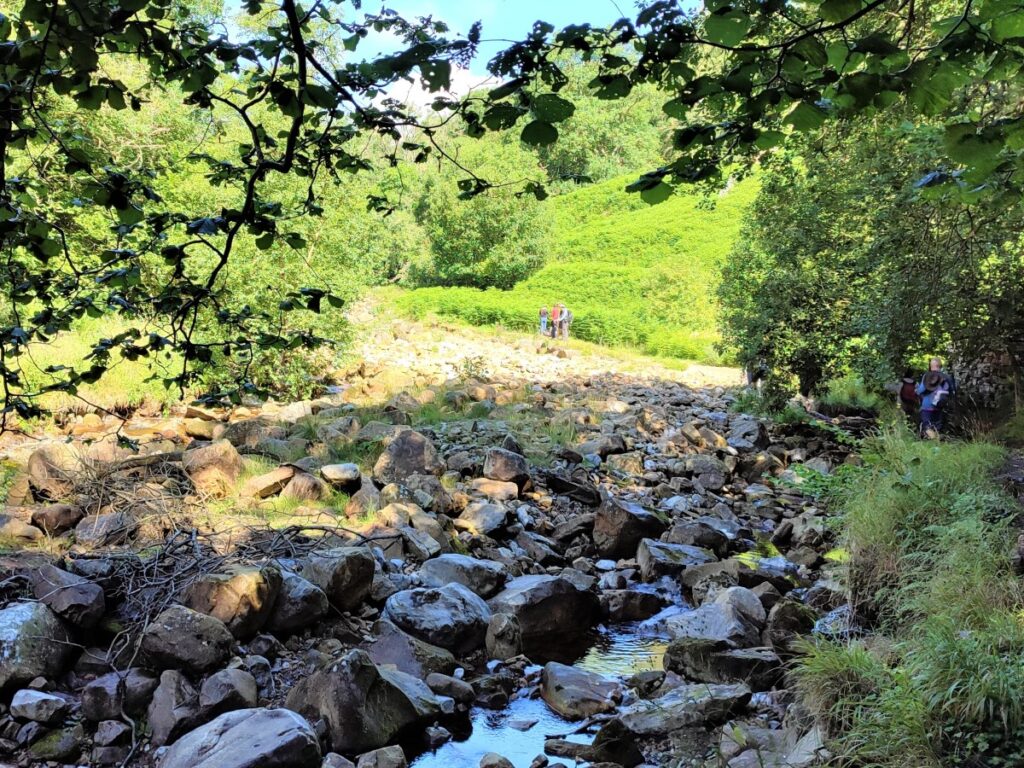
Worth noting along the path are the remains of lead miners’ cottages, and waterfalls at Staney Gill – dry on the day we walked this route. We press on downhill until the track narrows and passes a building where we meet a metalled road. Here we turn left and then walk down to the B6270 which takes back into Gunnerside.
- Total distance 16.7 km (10.4 miles)
- Total Ascent 927 m
- Challenging walk