Jump to . . .Step by Step | OS Map | Downloads | Gallery | Fly through
Arnside is a firm favourite of the Bentham Footpath Group, and this is the second walk in this area in the 2023 spring program. So why do we like Arnside so much?
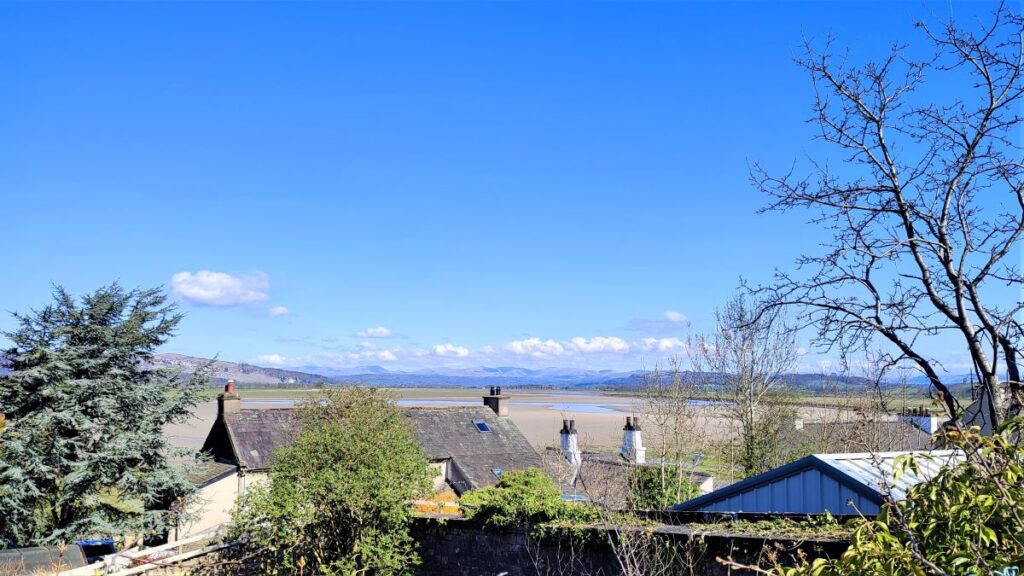
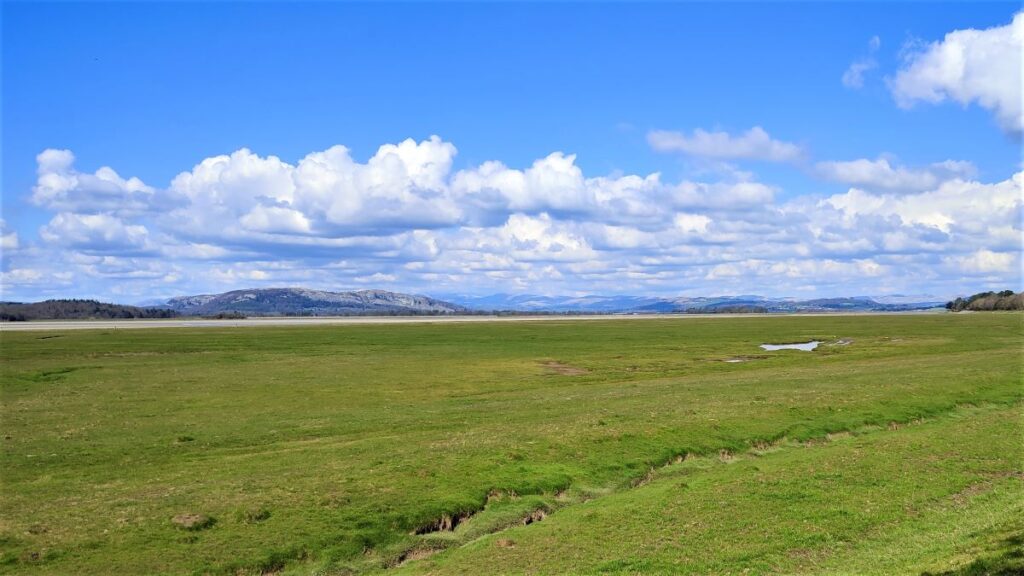
Well, where else can you find an easy walk that combines a sandy estuary with a backdrop of the Lakeland fells, a disused railway track bed converted into a safe and accessible path, industrial archaeology, beautiful riverside meadows, a country house and deer park, an ancient corpse road, atmospheric paths through rock fissures, a pele tower, and a seaside town with a unique railway viaduct.
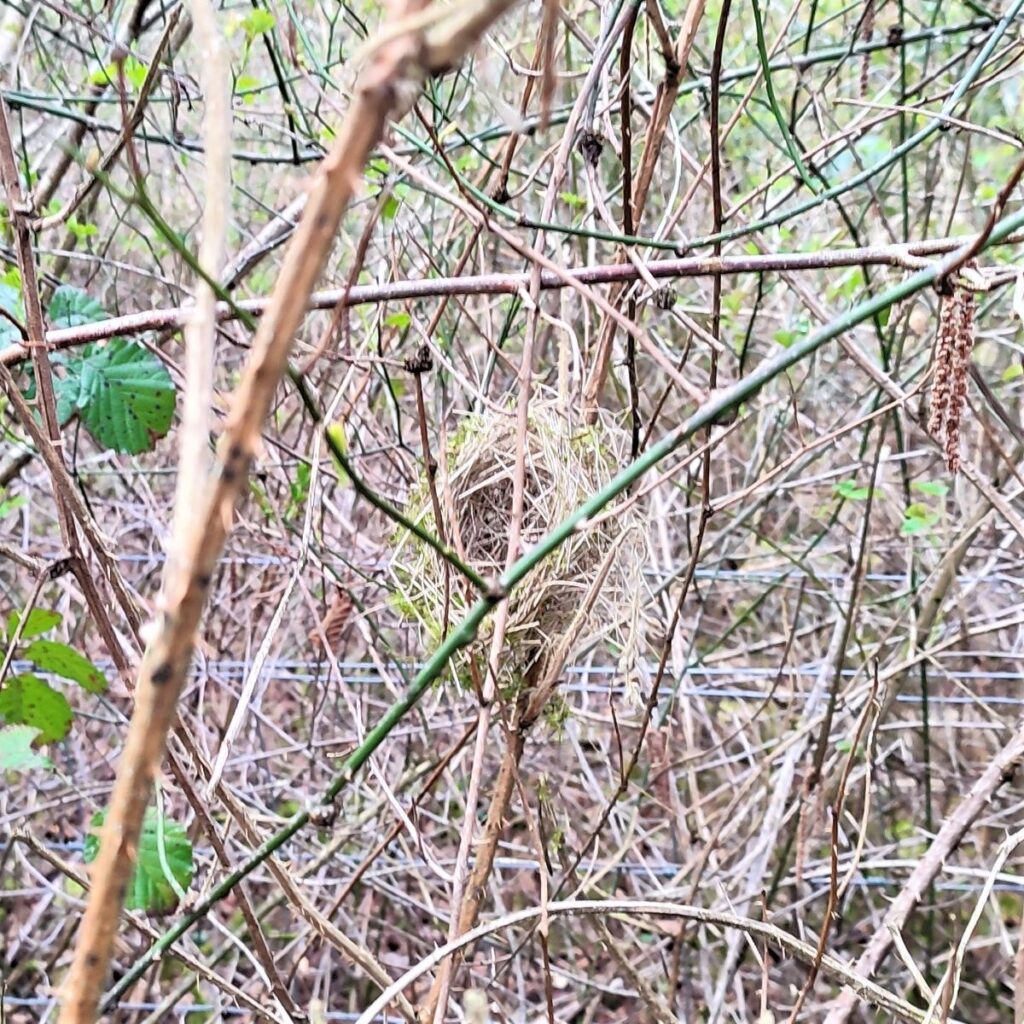
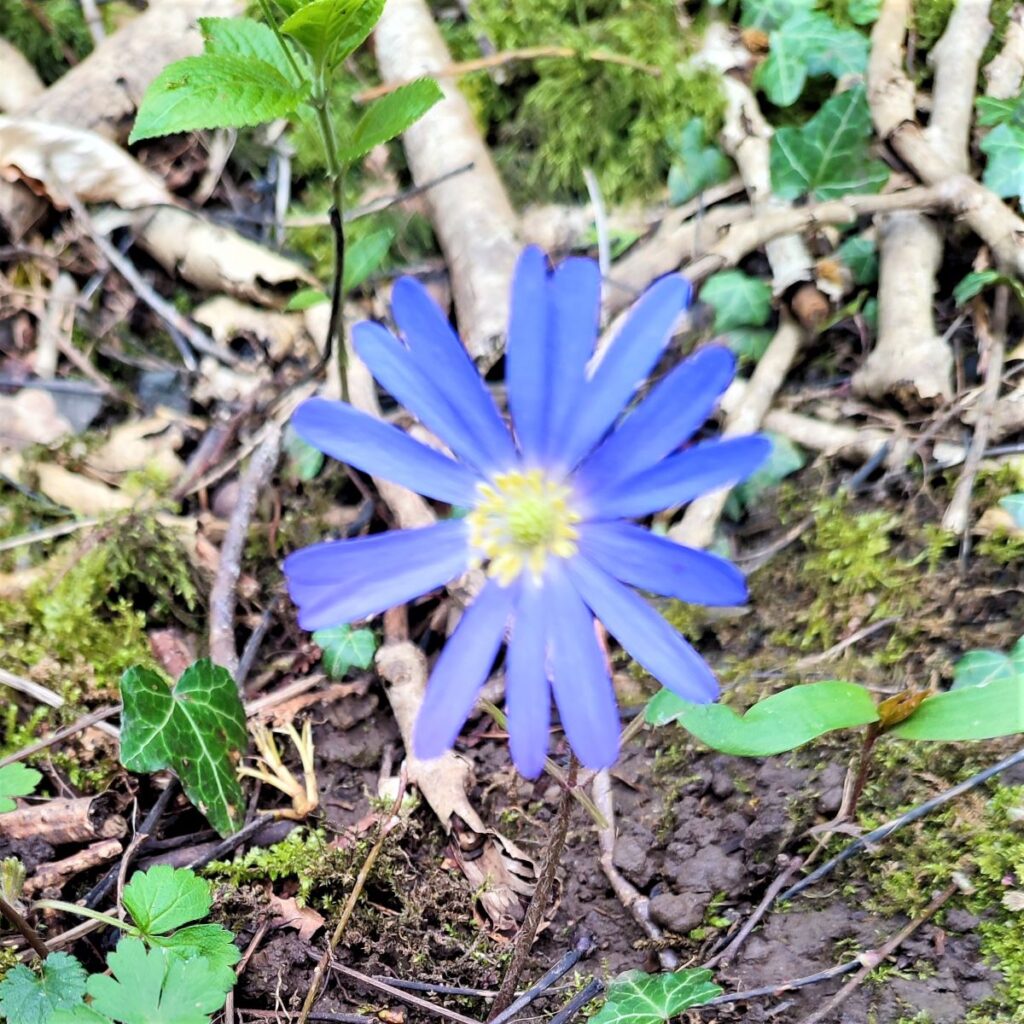
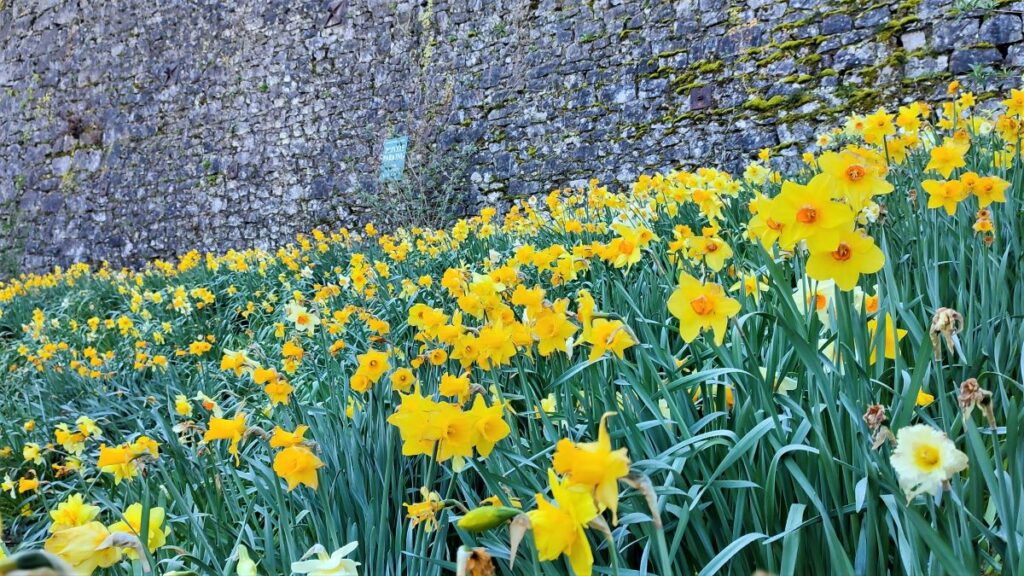
The entire area is designated as an Area of Outstanding Natural Beauty (AONB) so expect to see interesting flora and fauna too.
- Total distance 12.0 km (7.4 miles)
- Total ascent 183 m
- Easy walk
Step-by-Step

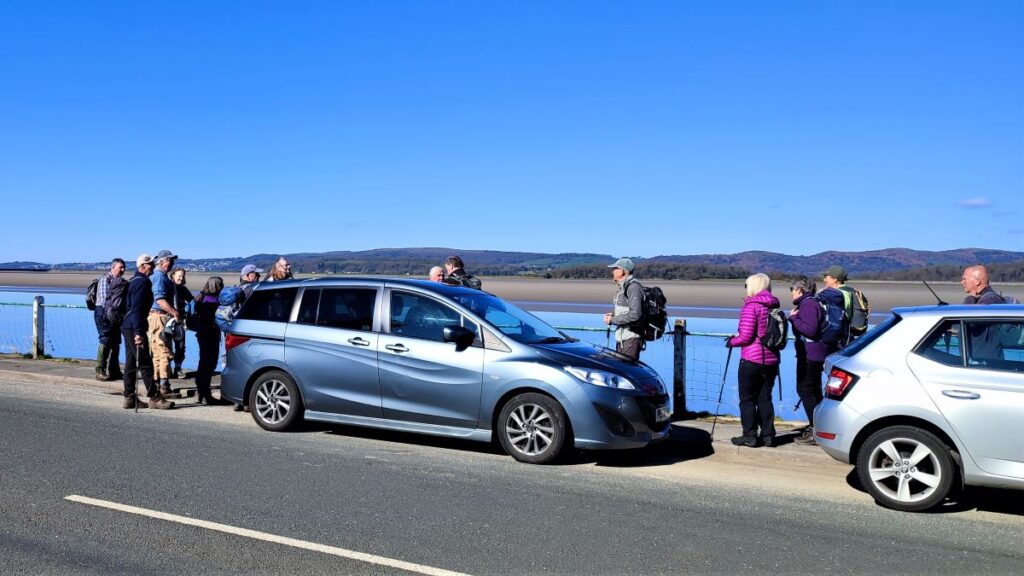
We start on the B5282 at Sandside – this is between Milnthorpe and Arnside. Assuming you are travelling from the Milnthorpe direction follow signs for Arnside until you enter Sandside, then look for the Storth road on your left but stay on the road to Arnside – now called Park Road, and in about 200m you will see parking at the right hand side of the road. If you meet a sharp left turn over a railway bridge, you have gone too far.
If you are using Satnav, then a combination of B5282, Park Road or the postcode LA7 7PH should work. If you are using a paper map then the grid reference is SD47388052, and what-3-words tag query.shower.digitally will pinpoint the exact location.
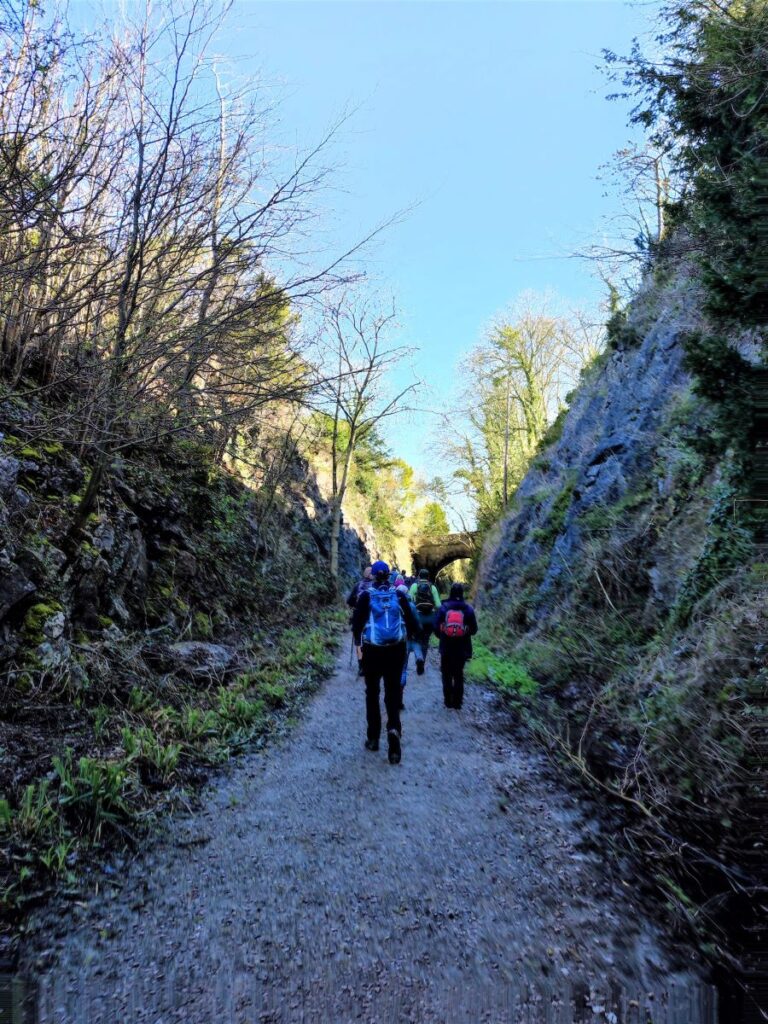
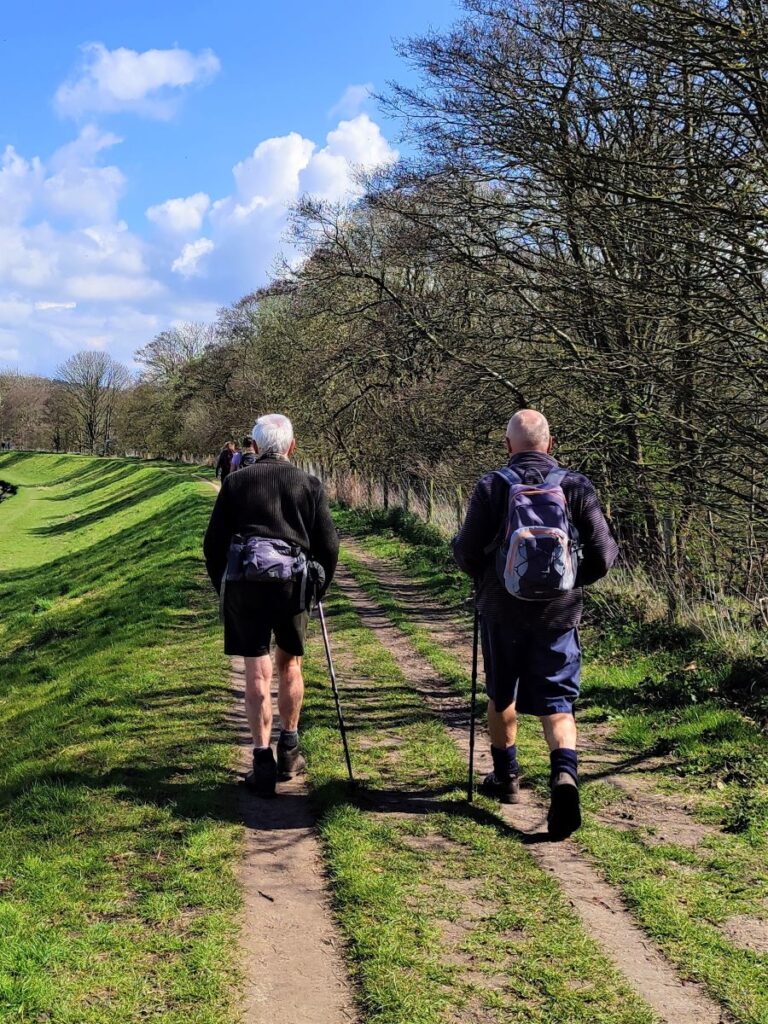
From the parking place, we set out uphill, in the direction of Arnside – so the estuary should be on your right. The walk initially follows the road – which has no pavement, so some care is needed, but very soon, we see a way marker for a path on the left hand side of the road. This takes us onto the track bed of the disused railway line where we turn left and head back toward Milnthorpe.
The railway that once occupied the cutting we are now walking on was The Hincaster branch of the Furness Railway which ran from Arnside on the Furness main line to a junction with the Lancaster and Carlisle Railway (later the London and North Western Railway) at Hincaster. Stations were located at Sandside – we pass the site of the station later in the walk and Heversham just north of Milnthorpe.
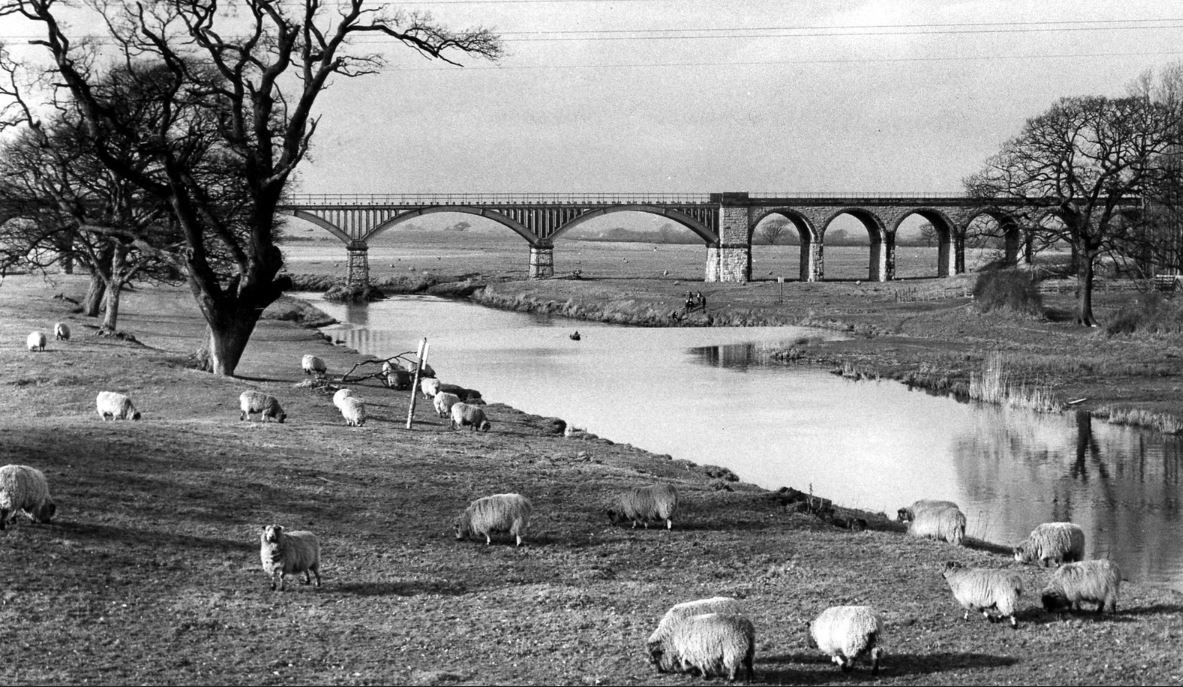
In order to get the Heversham, the single track line needed to cross the river Bela near to the point where it meets the Kent Estuary. This was achieved by a rather fine 26-arch viaduct which has since been removed.
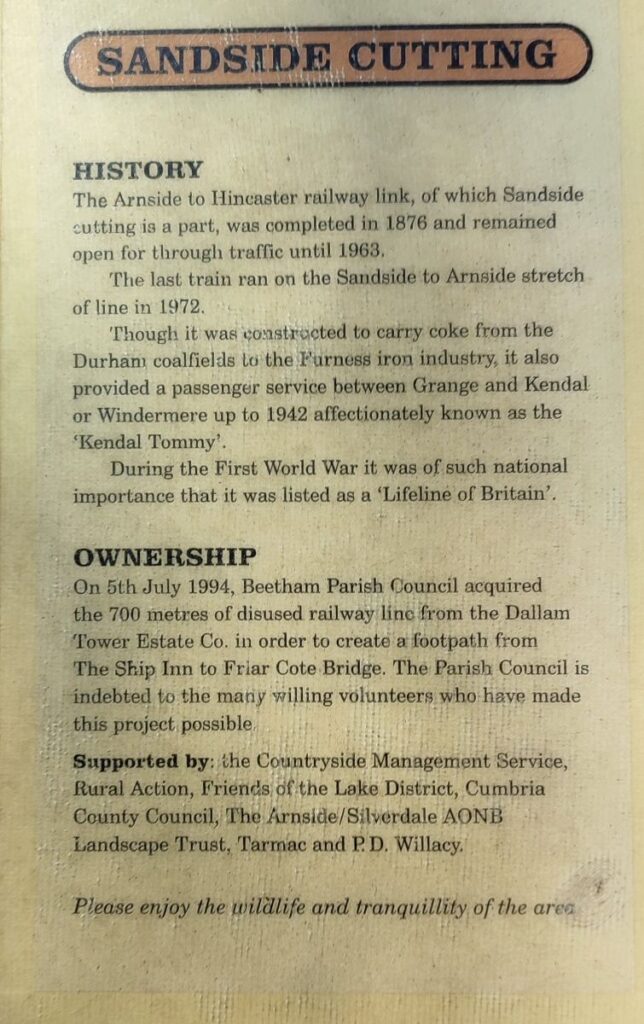
The Hincaster Branch Line was built primarily for the transport of coke and iron ore from County Durham to ironworks at Barrow-in-Furness. This freight had previously had to travel into, and then reverse out of, the busy junction at Carnforth. The line was opened in 1876 and also carried passenger services between Grange-over-Sands and Kendal, known locally as the Kendal Tommy. The passenger service ended on 4th May 1942 and the track between Sandside and Hincaster Junction was lifted in 1966. A short stub from Arnside to Sandside remained until 1972 serving local quarries.
The quarries are not particularly visible on this walk – despite the fact that the route passes directly in front of them – but to get an impression of how significant the quarrying activity in this area was, take a look at the flythrough video on our website.
In 1994, Beetham Parish Council acquired the track bed and created the path we use today – with lots of volunteer labour.
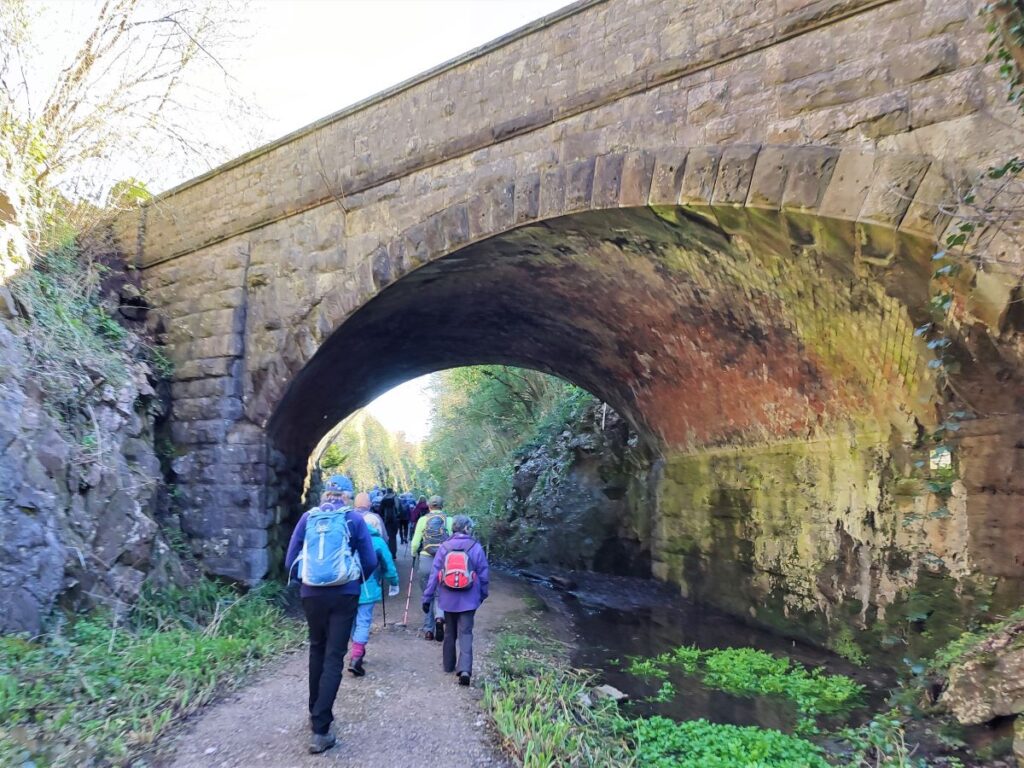
We follow the railbed for a while, passing under an arched brick-built bridge running at an angle over the railway – this is known locally as the Skew bridge for obvious reasons. We soon arrive at the back of the Ship Inn, where this section of the path ends. We turn right here and pick up a small road which runs Northeast, parallel to the coast road that we arrived on.


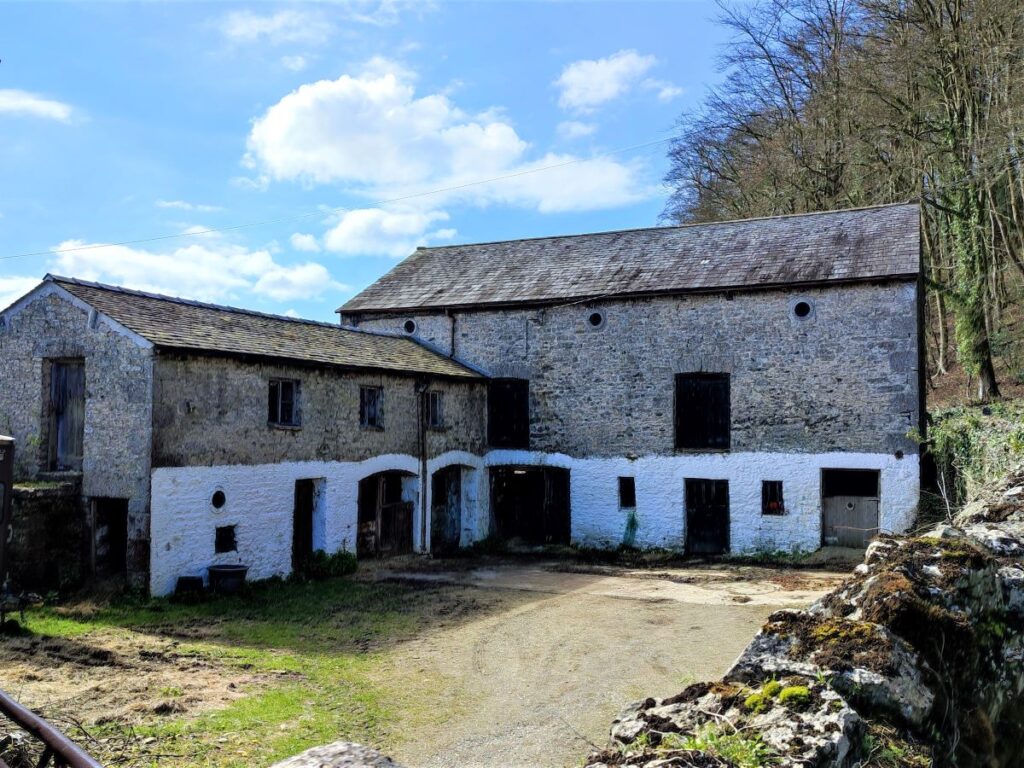
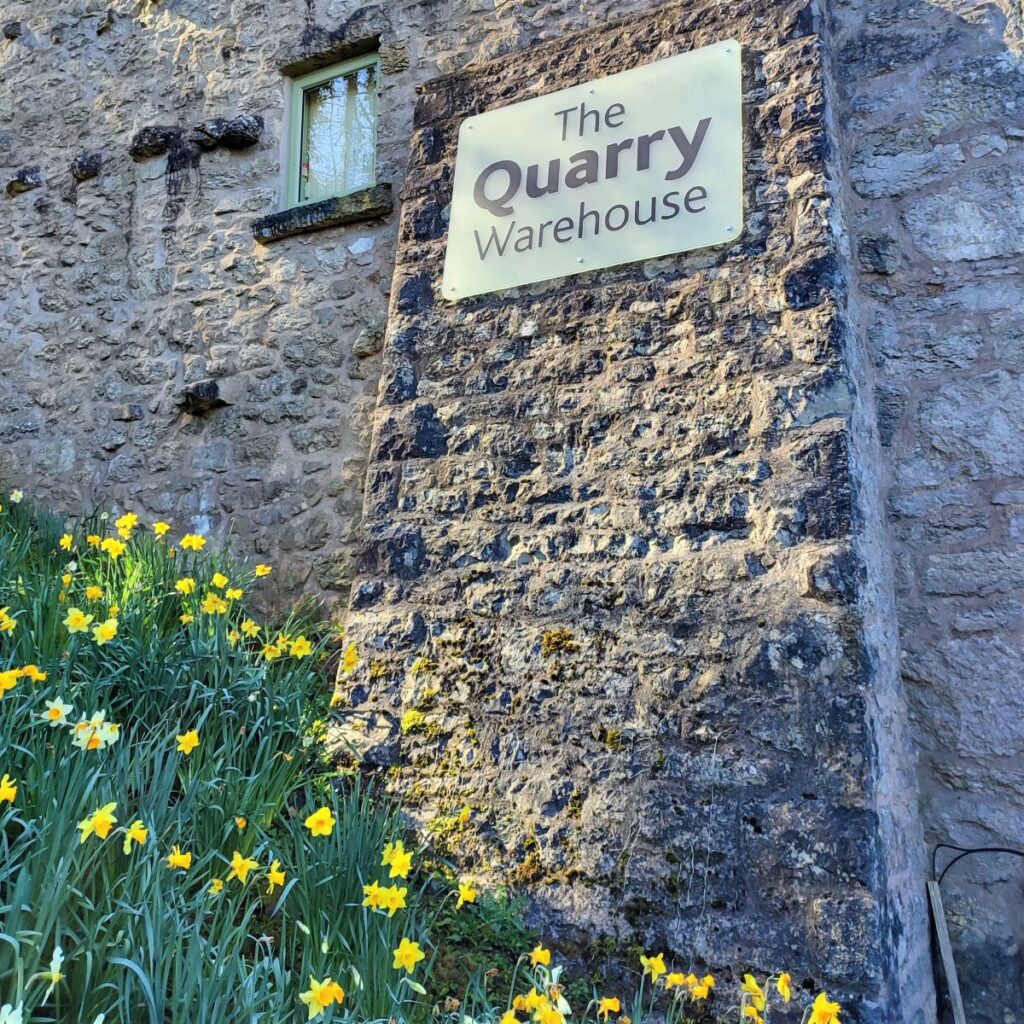
Our next milestone is the Quarry warehouse dating from 1778. As the name implies this was built as a warehouse, but is now restored and divided into small business units.
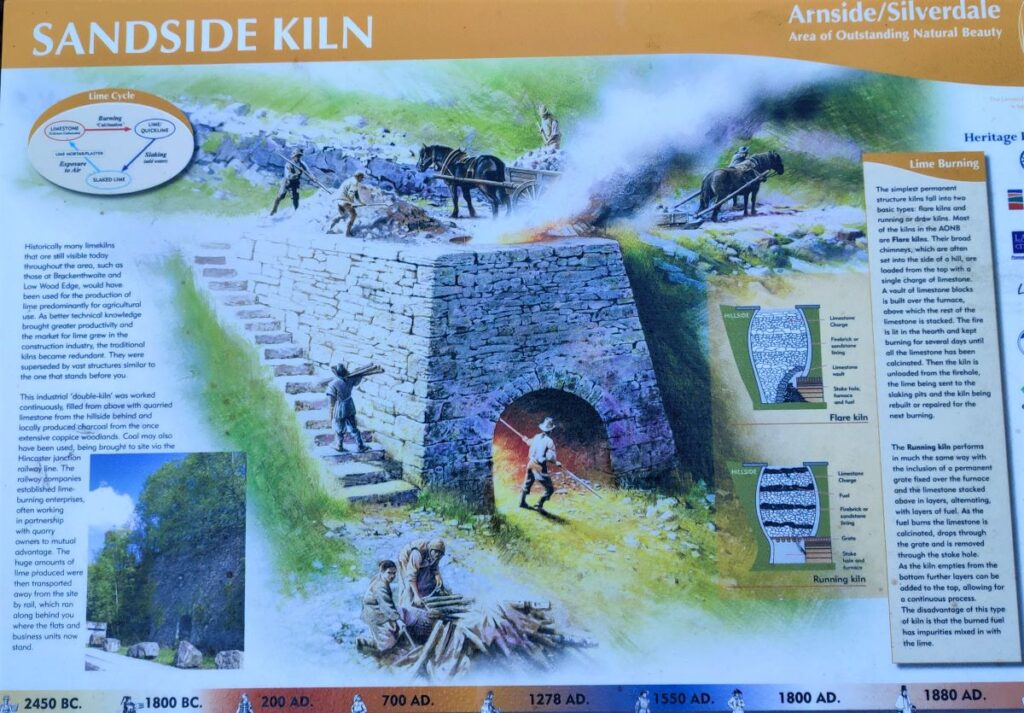
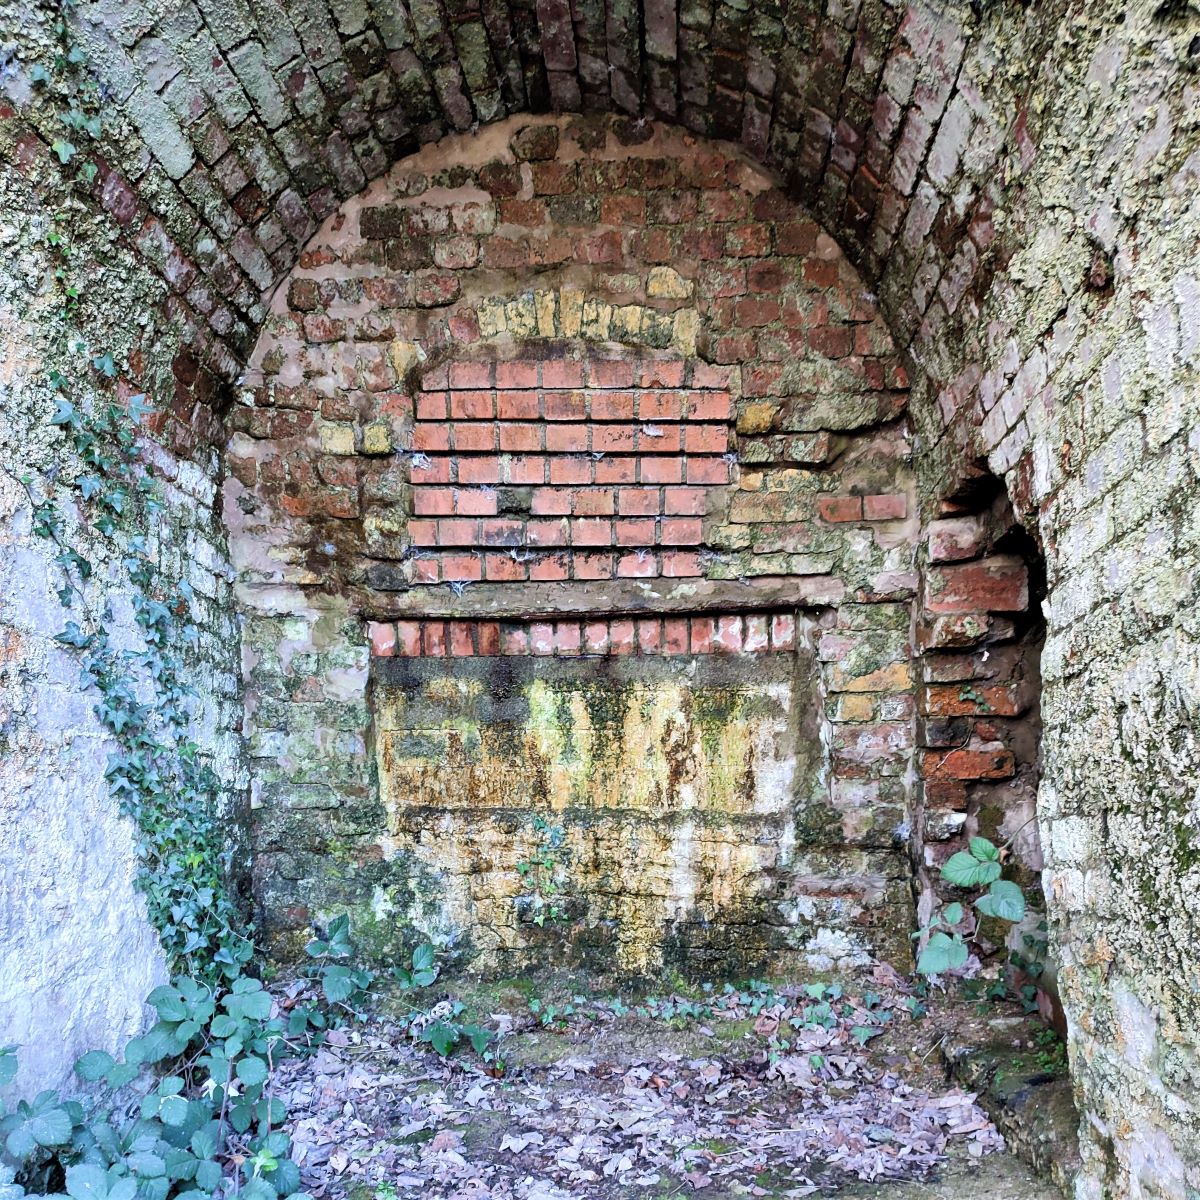
Just beyond here are the particularly fine Sandside Lime Kilns. The majority of the small limekilns that we see so often on our walks, were built to produce small quantities of lime for agriculture, and local buildings. This lime kiln however is a rare surviving example of a later technology referred to as a Double Kiln, which aimed to produce much larger quantities of lime for export via the railways.
The limestone came from a vast quarry behind the kilns, and the fuel used to process the lime was locally produced charcoal.
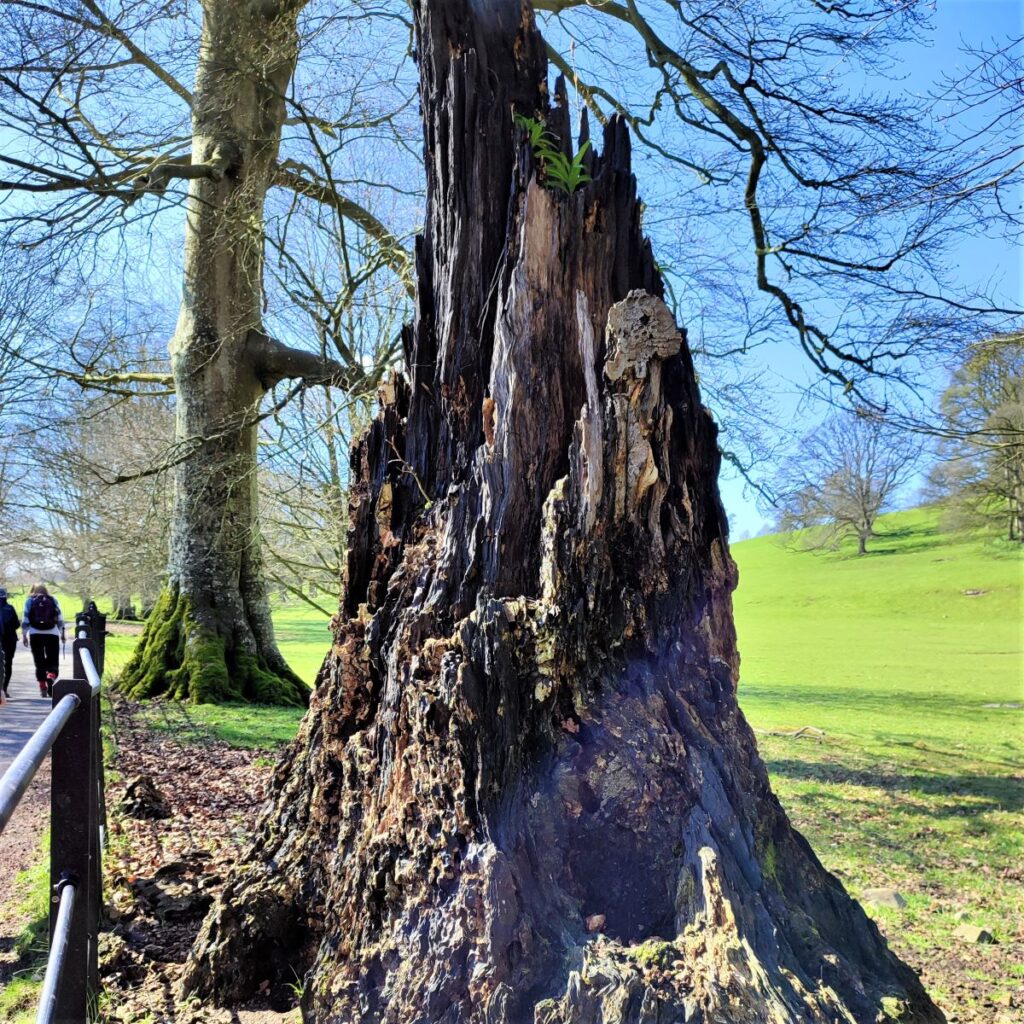
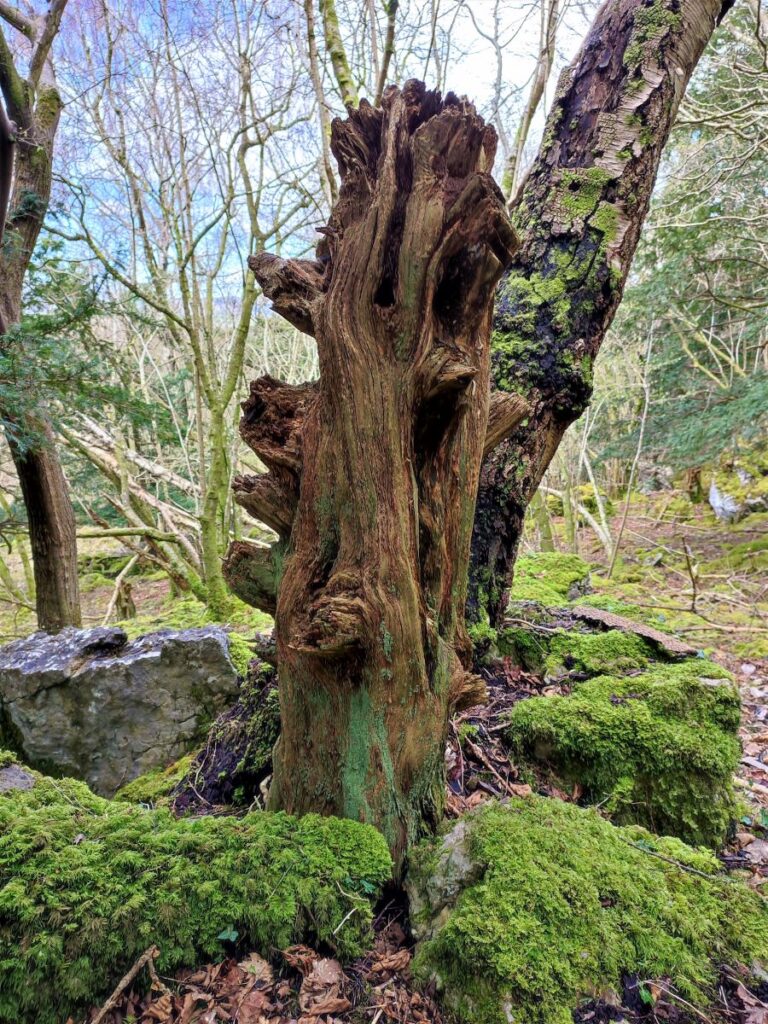
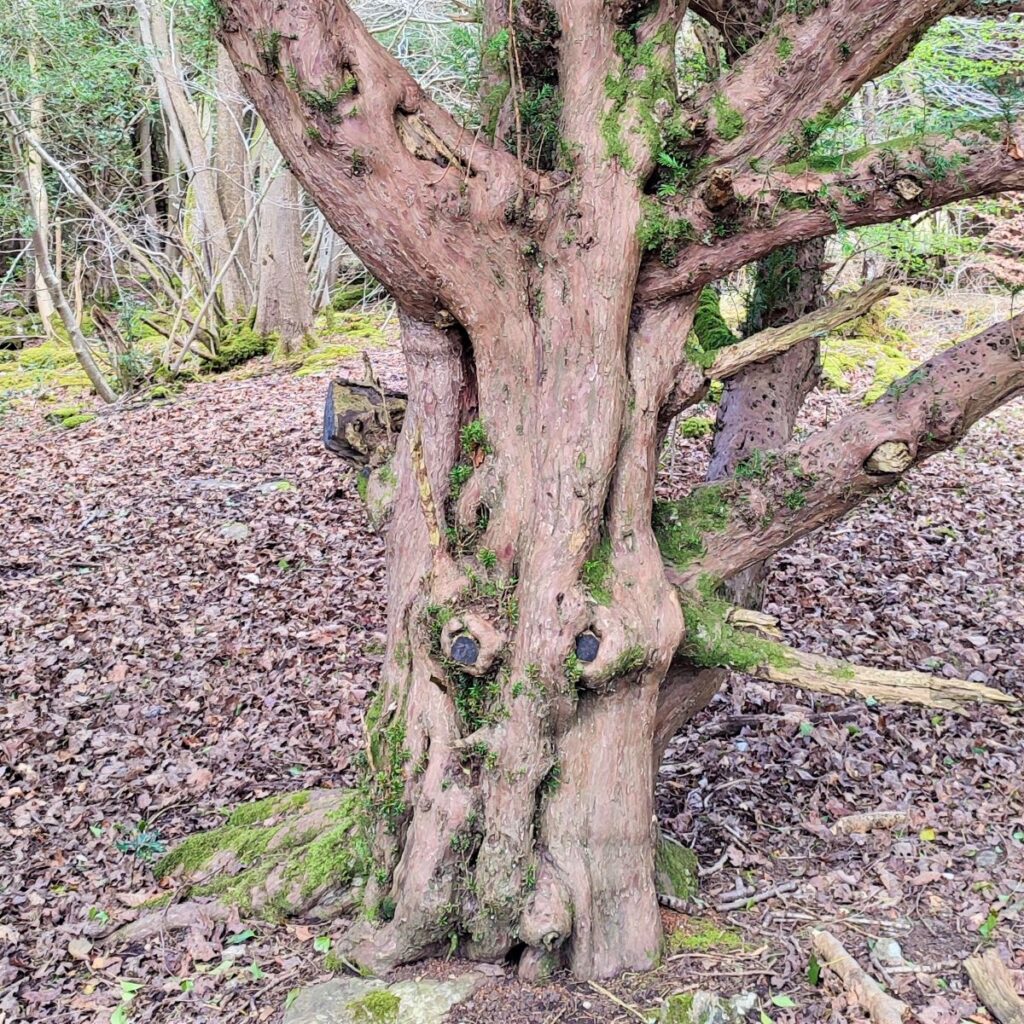
Charcoal is itself made by burning wood in an oxygen deprived atmosphere. This works best when the wood is of a consistent size and shape, so trees were coppiced to ensure rapid and predictable growth. Many of the trees we see later in the walk are survivors of this coppicing – which explains their unusual multi-trunked forms.
The small road we are following soon arrives at the B5282.
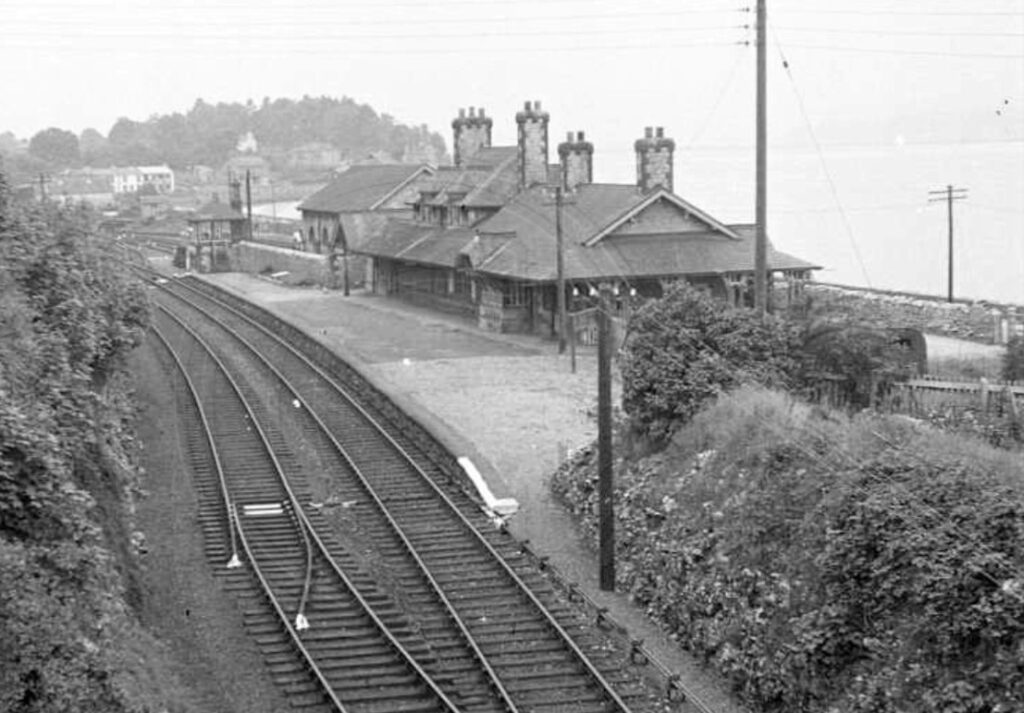
There is a small industrial unit here, and this is the location of the Sandside railway station. There is now little to see of the station, but photos show that it was once rather attractive.
We cross here – with the path continuing on the far side, again on the rail bed – at least initially.
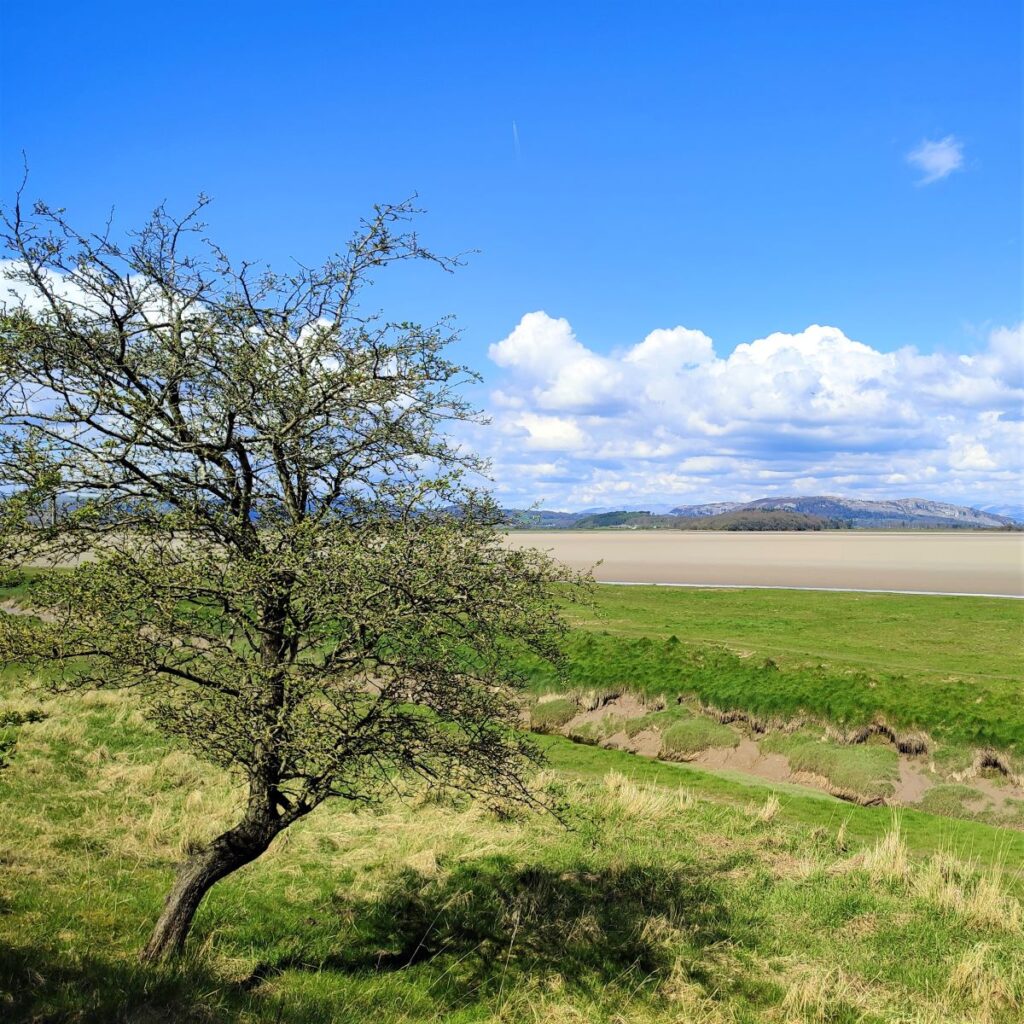
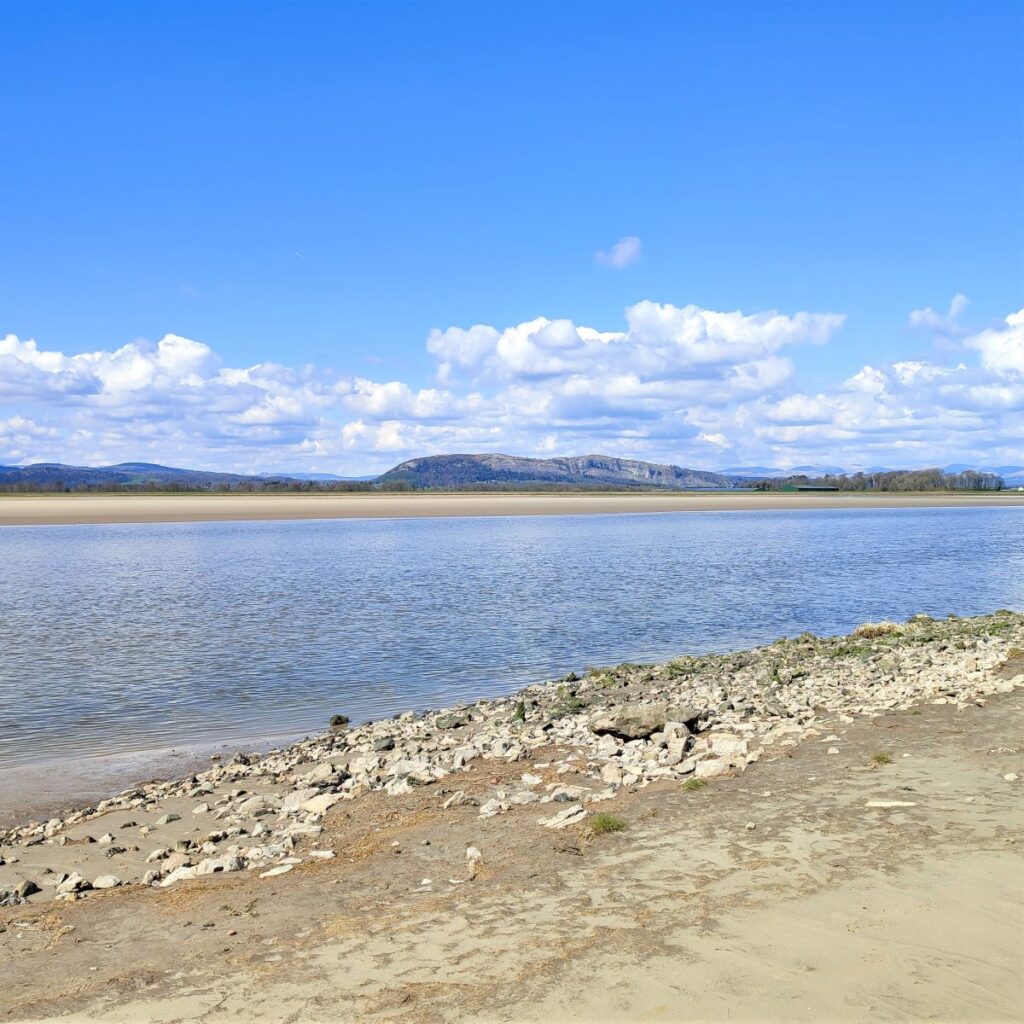
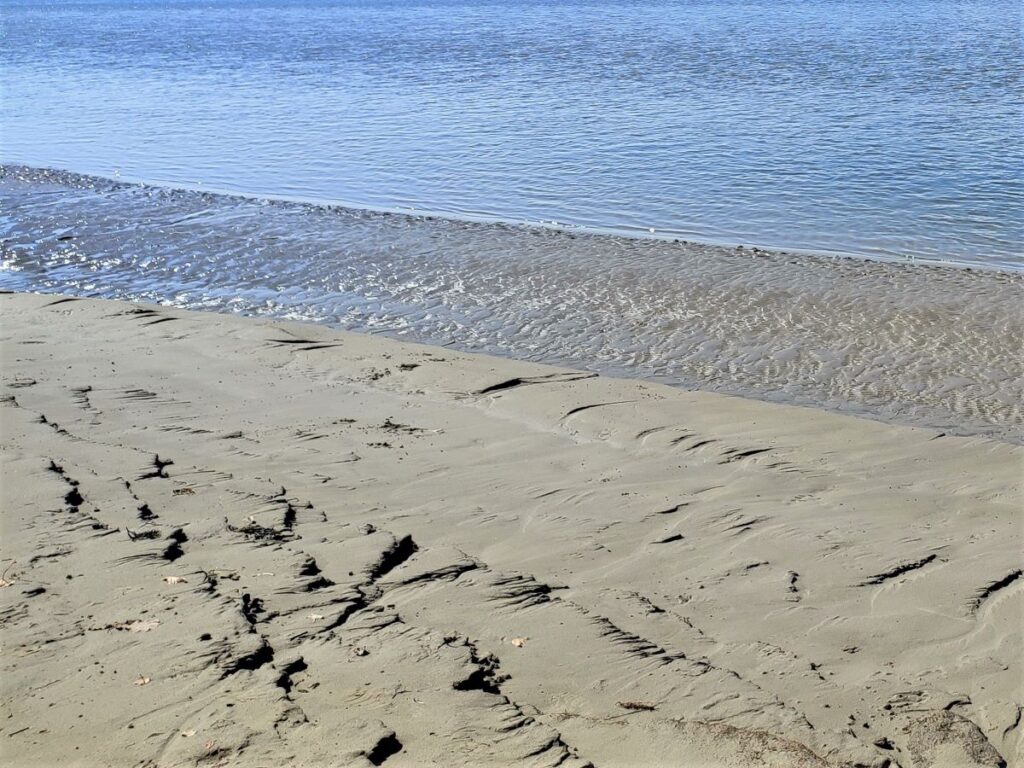
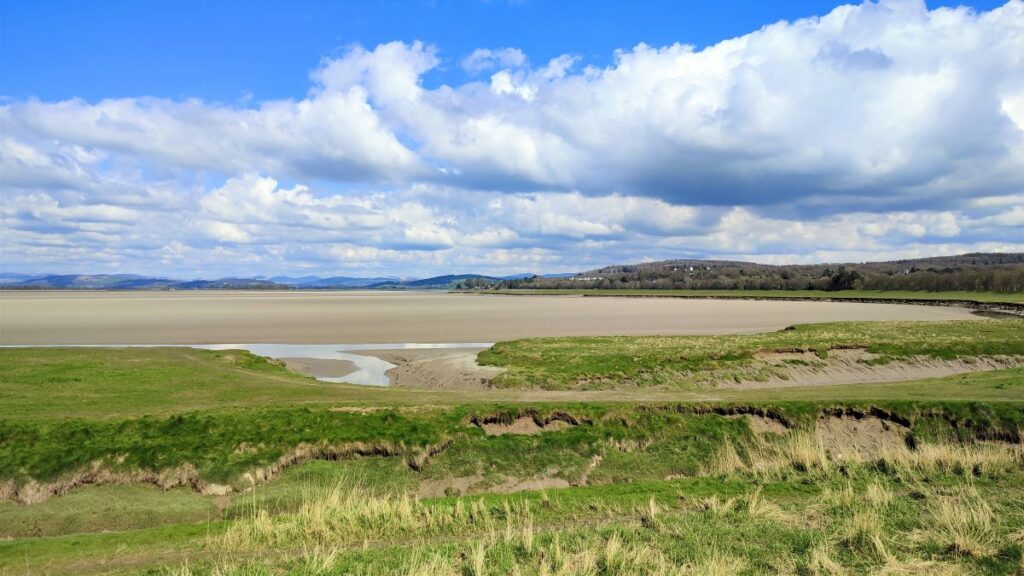
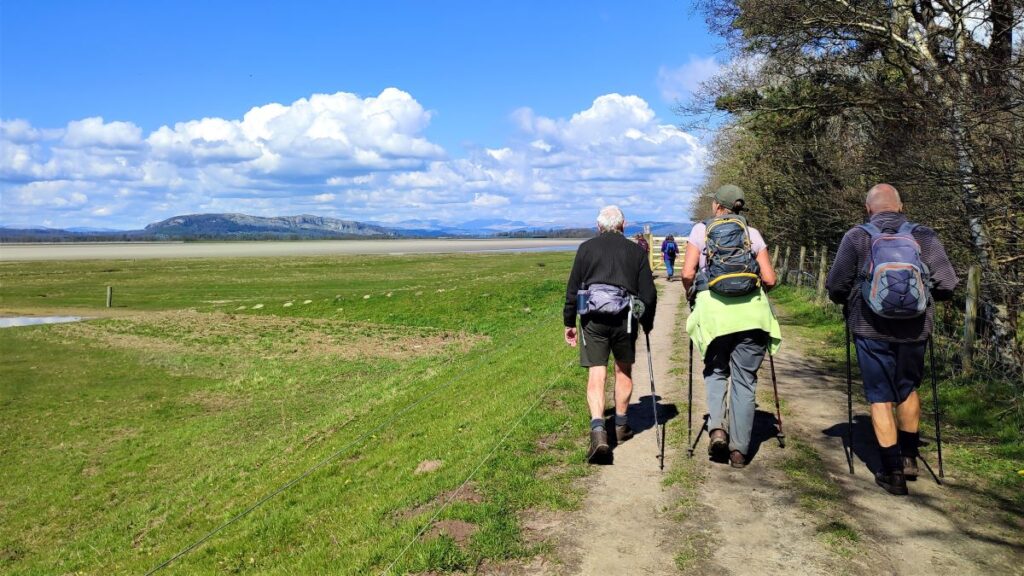
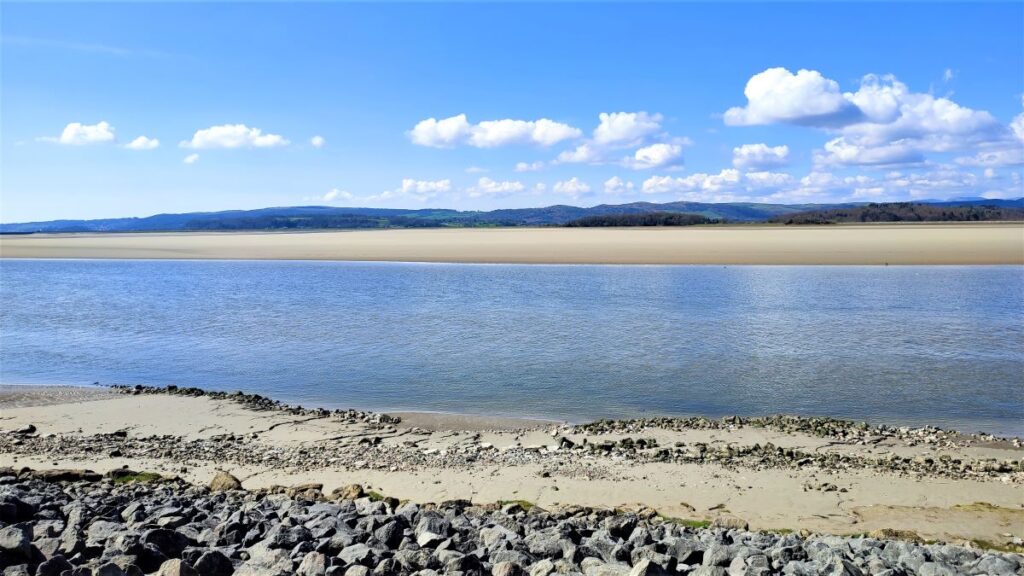
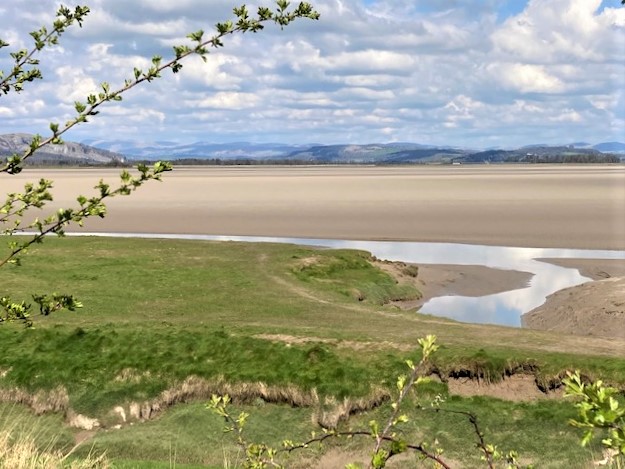
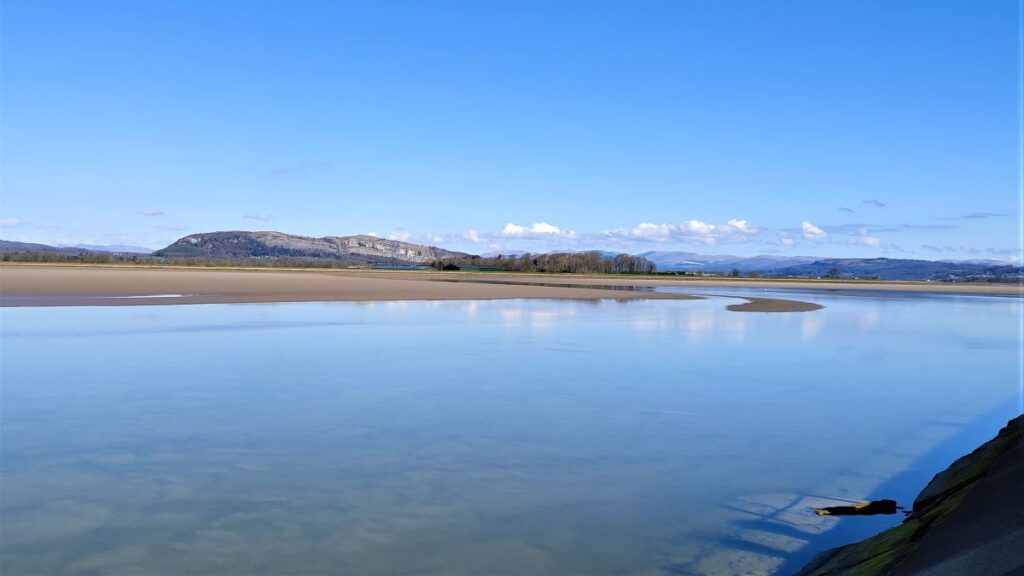
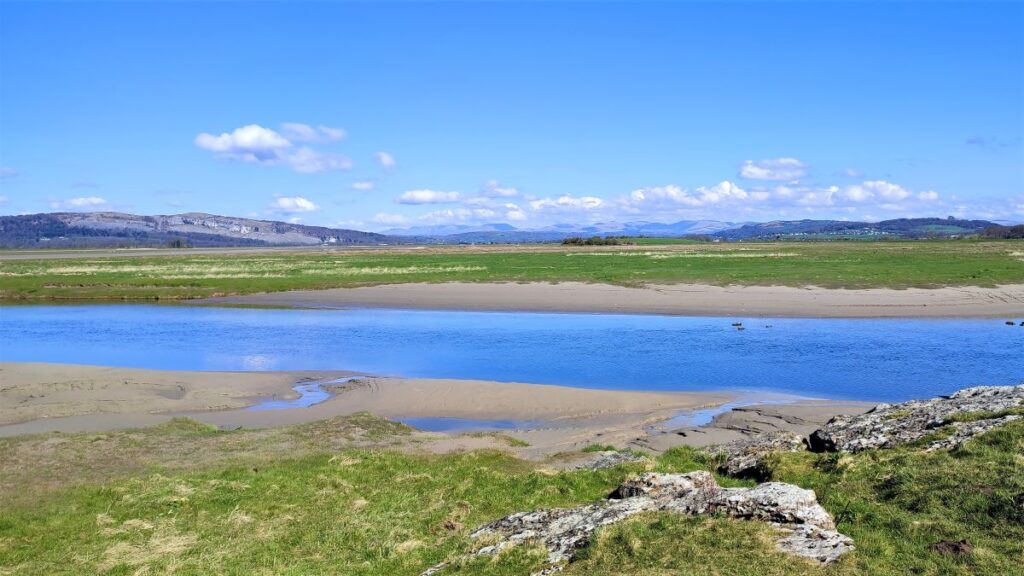
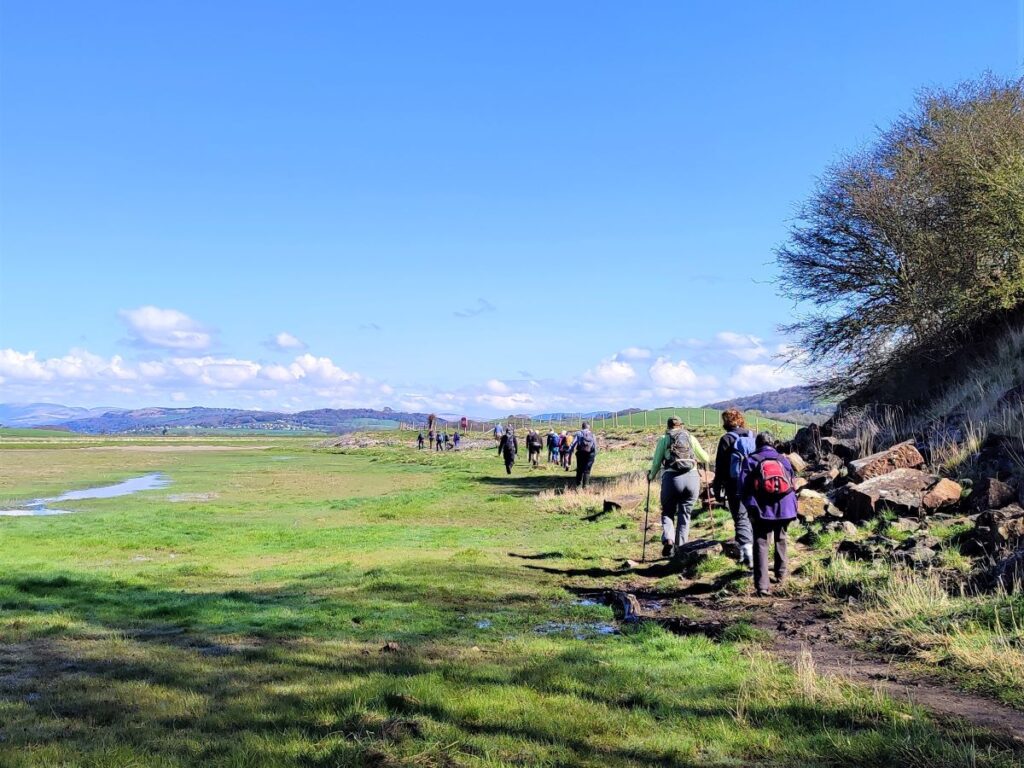
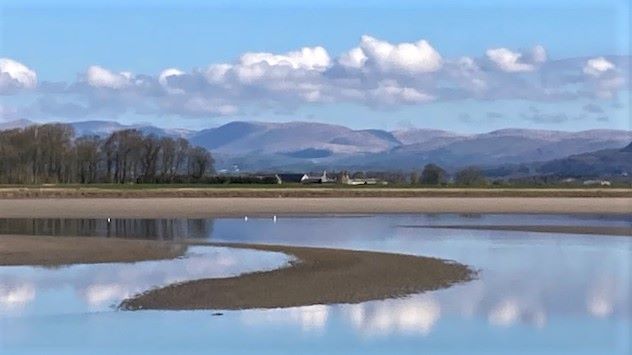
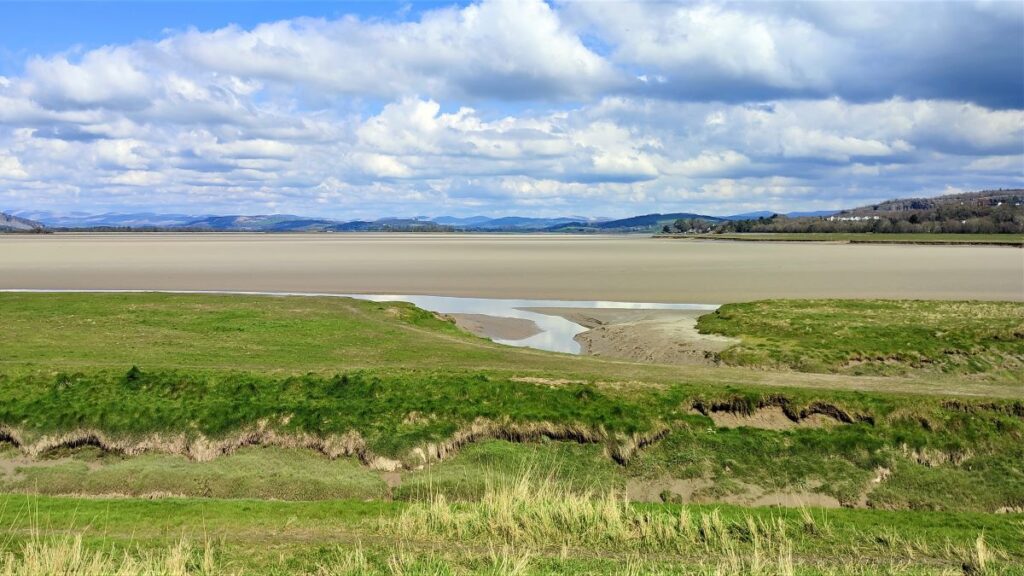
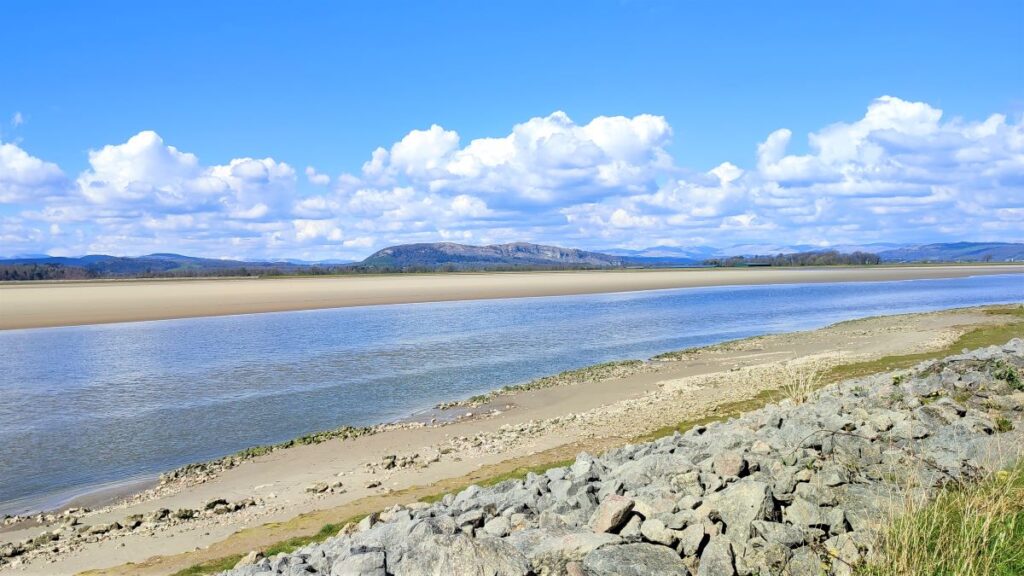
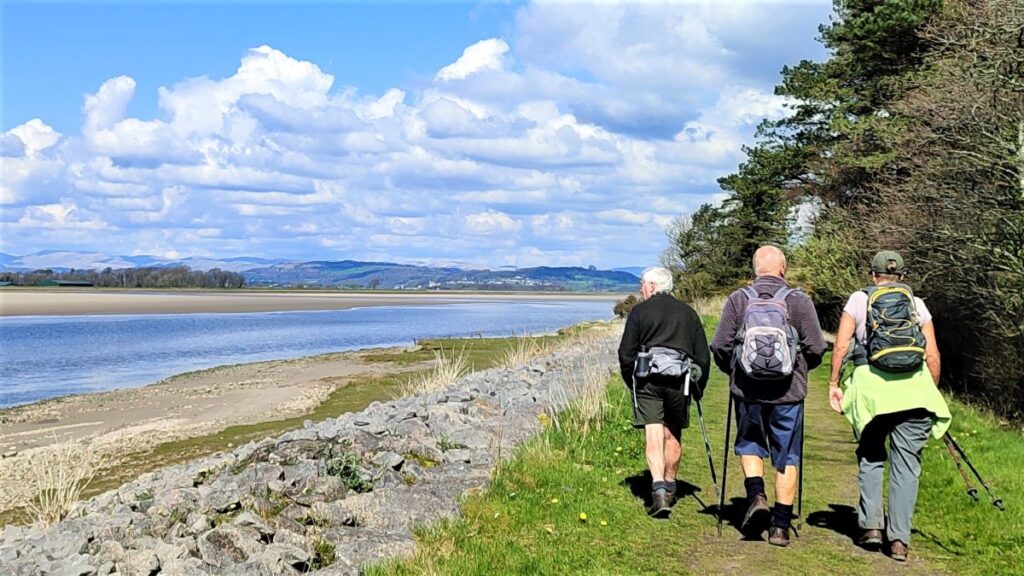
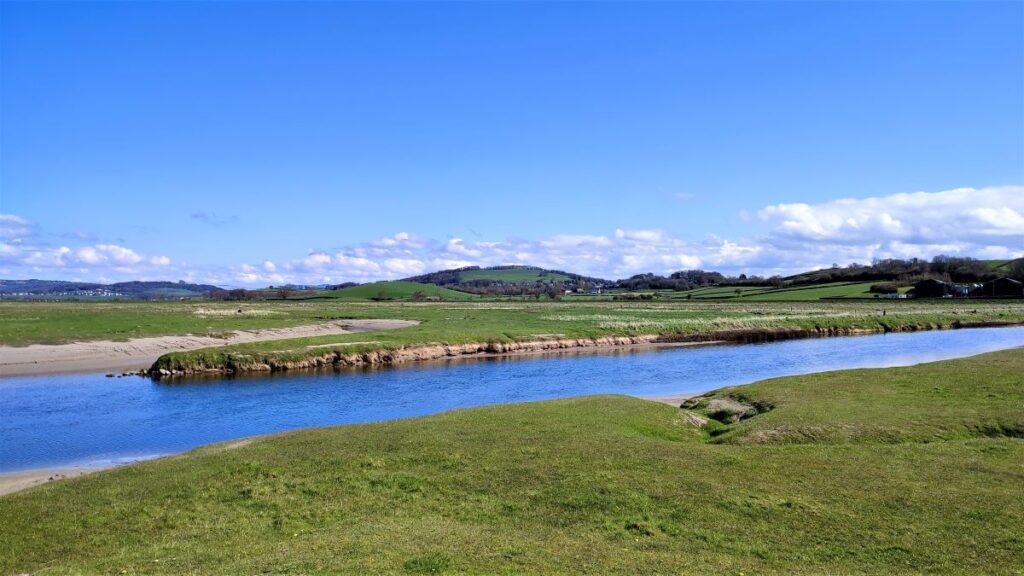
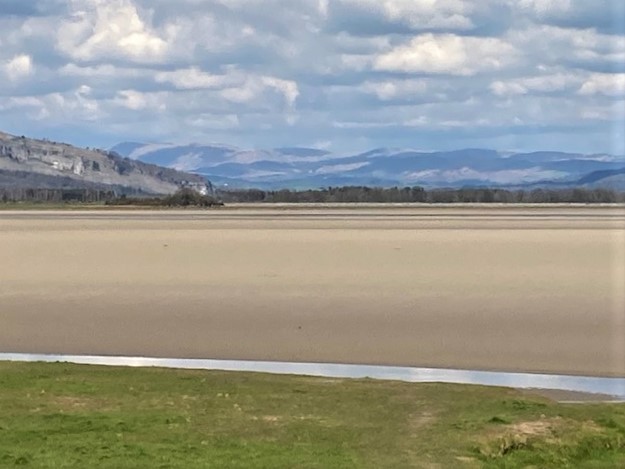
Not far down the clear remains of the railway route we see a small gate on the left. This takes us down onto the shore where the path continues at the side of the Kent Estuary. We follow the side of the estuary northeast, enjoying views across the sands to the Lakeland fells for a while until we meet the point where the river Bela enters the Kent estuary. This is where the viaduct stood – the remains of the embankments on either side are still visible.
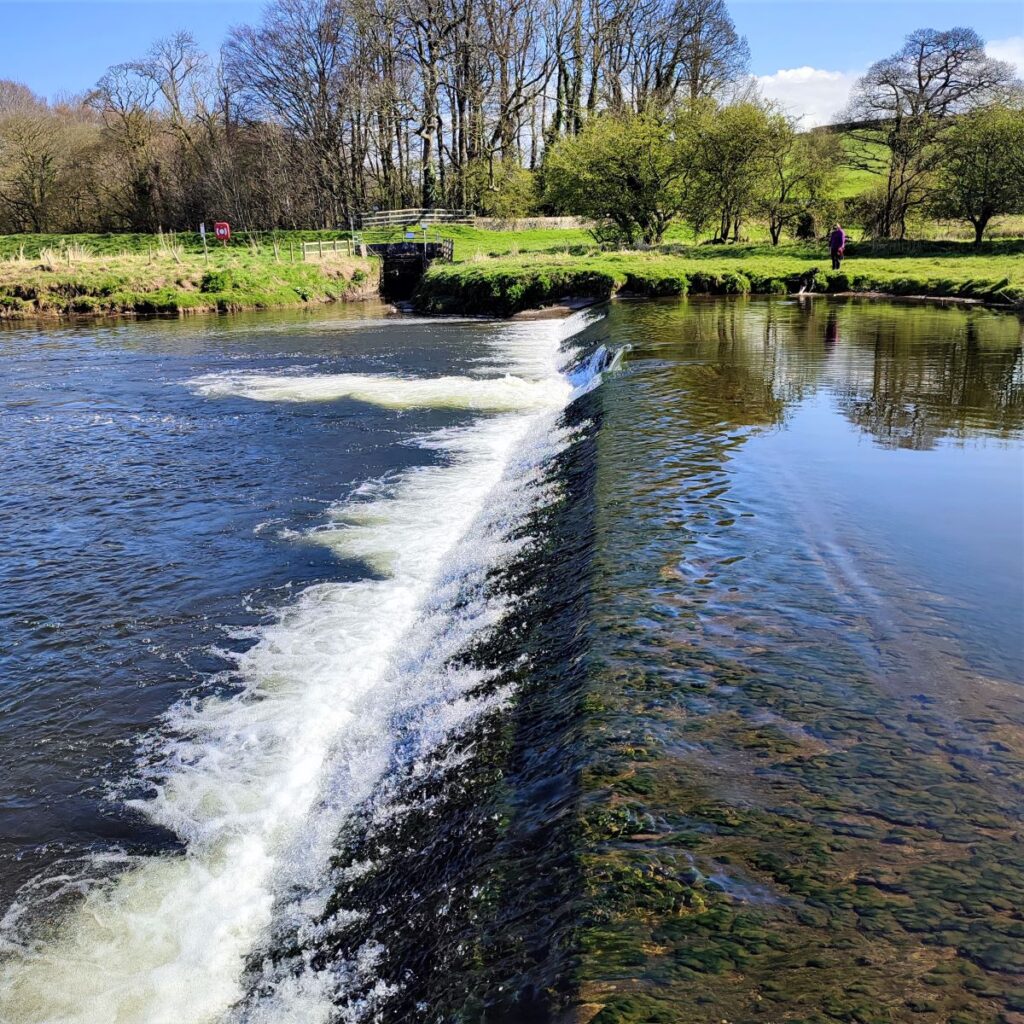
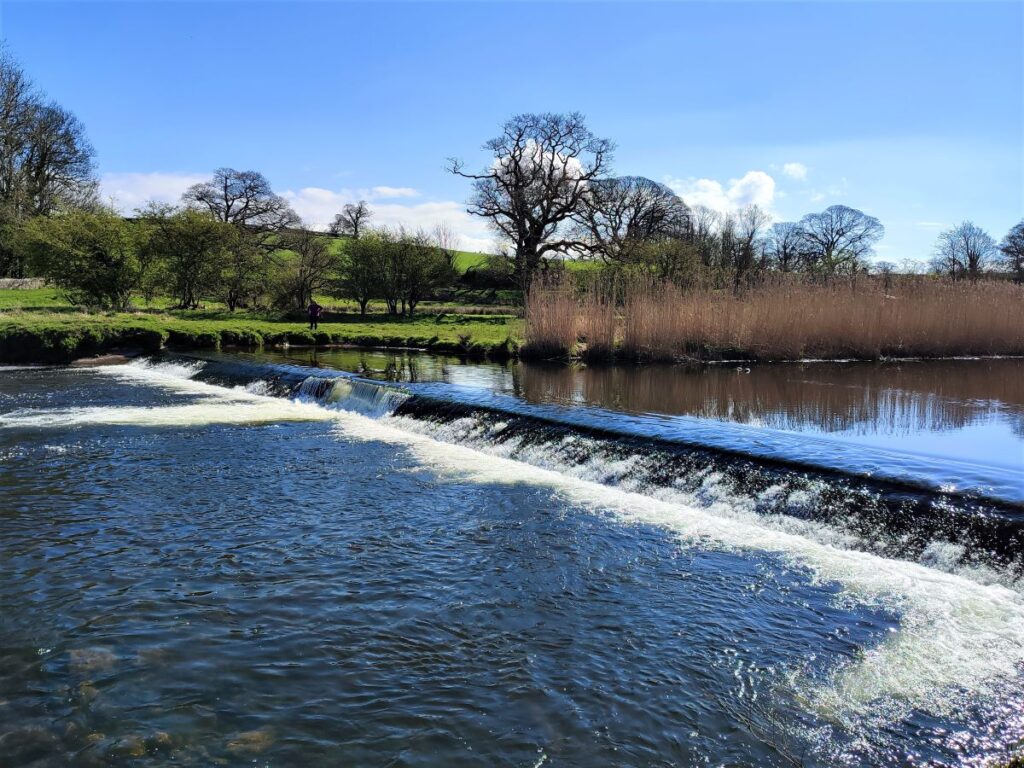
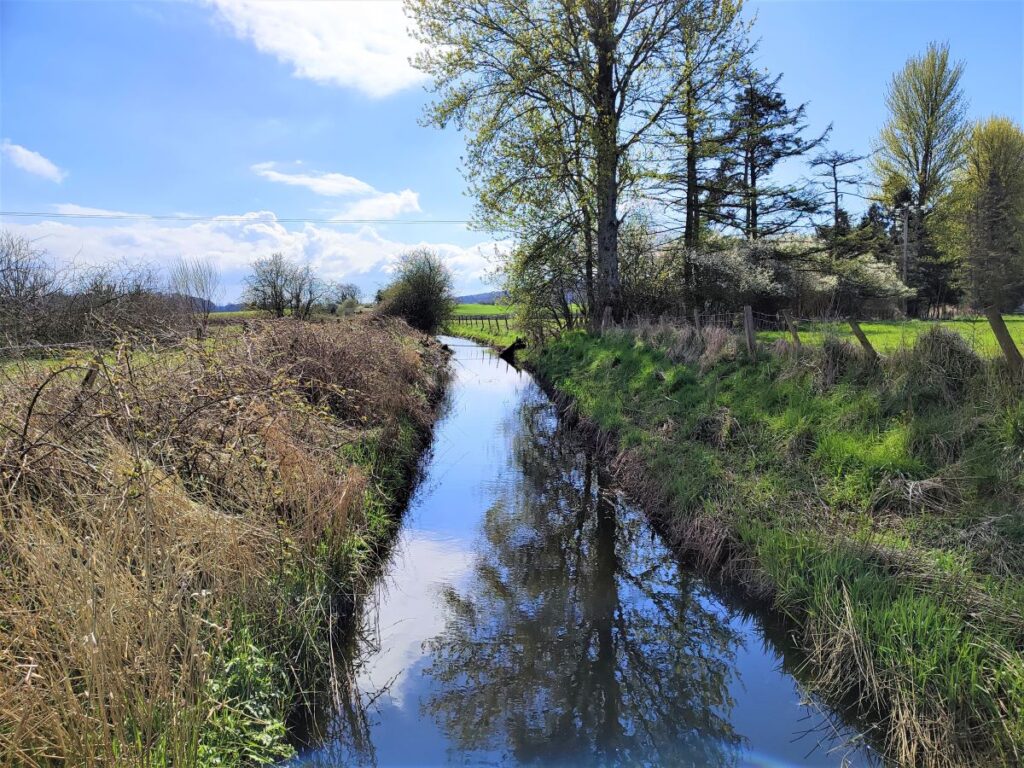
We now follow the Bela upstream – with the river on our left, passing a small weir with an arched bridge ahead of us. This carries the B5282 over the Bela.
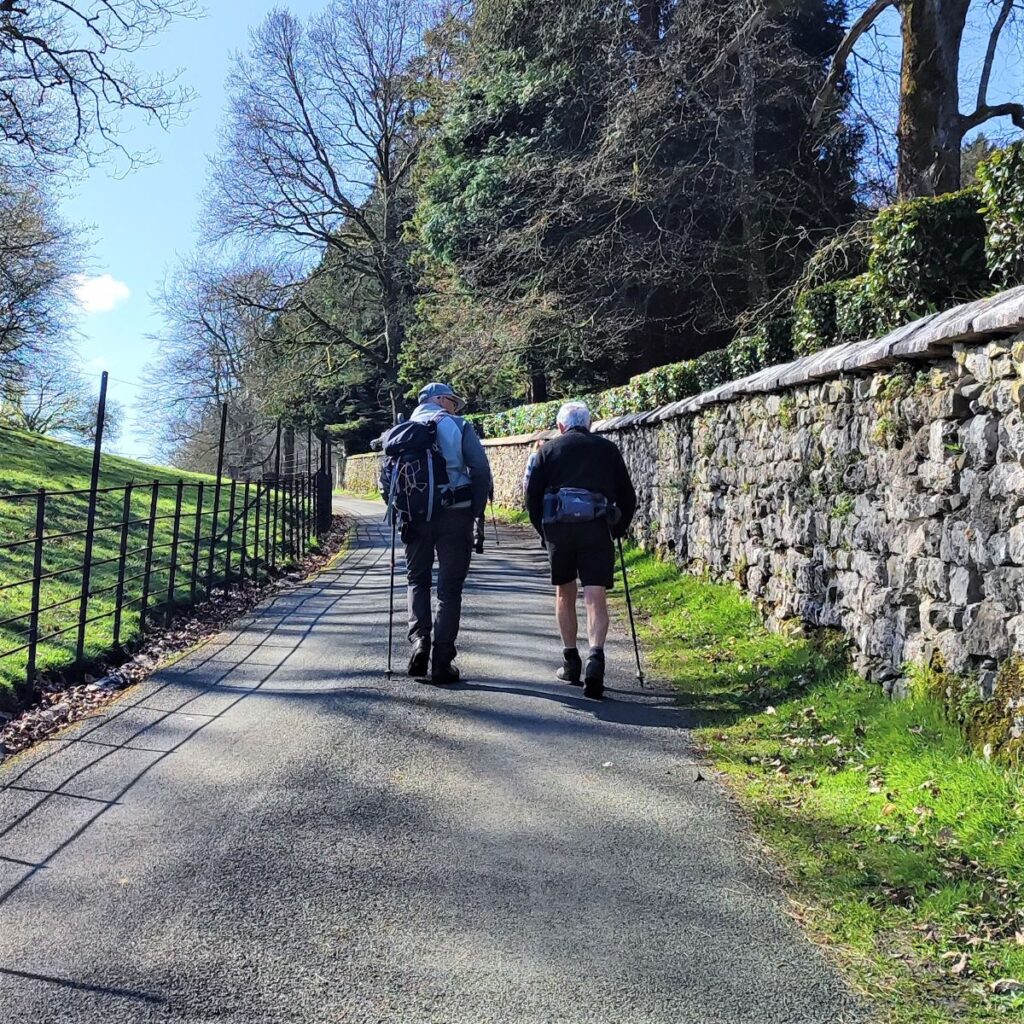
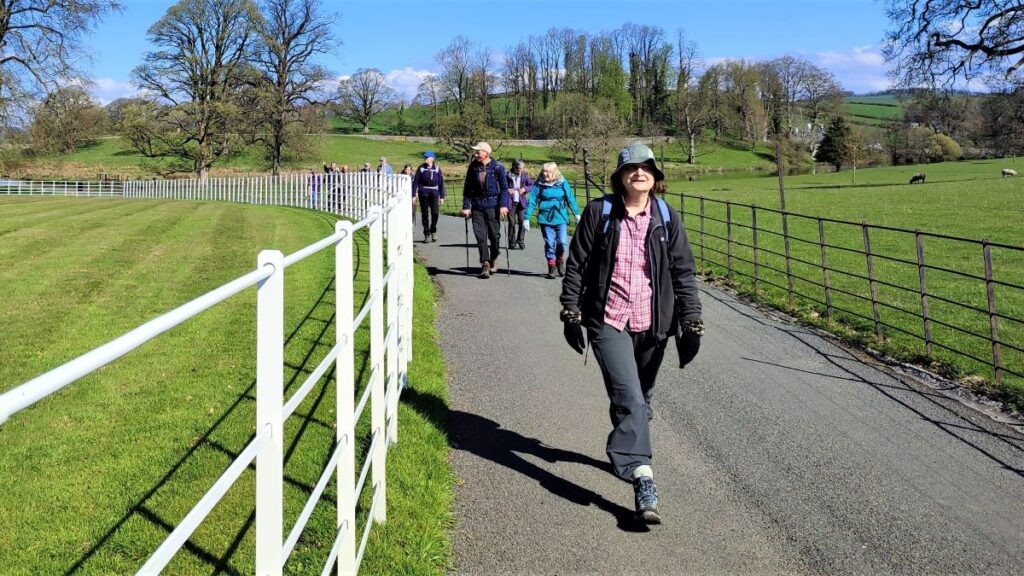
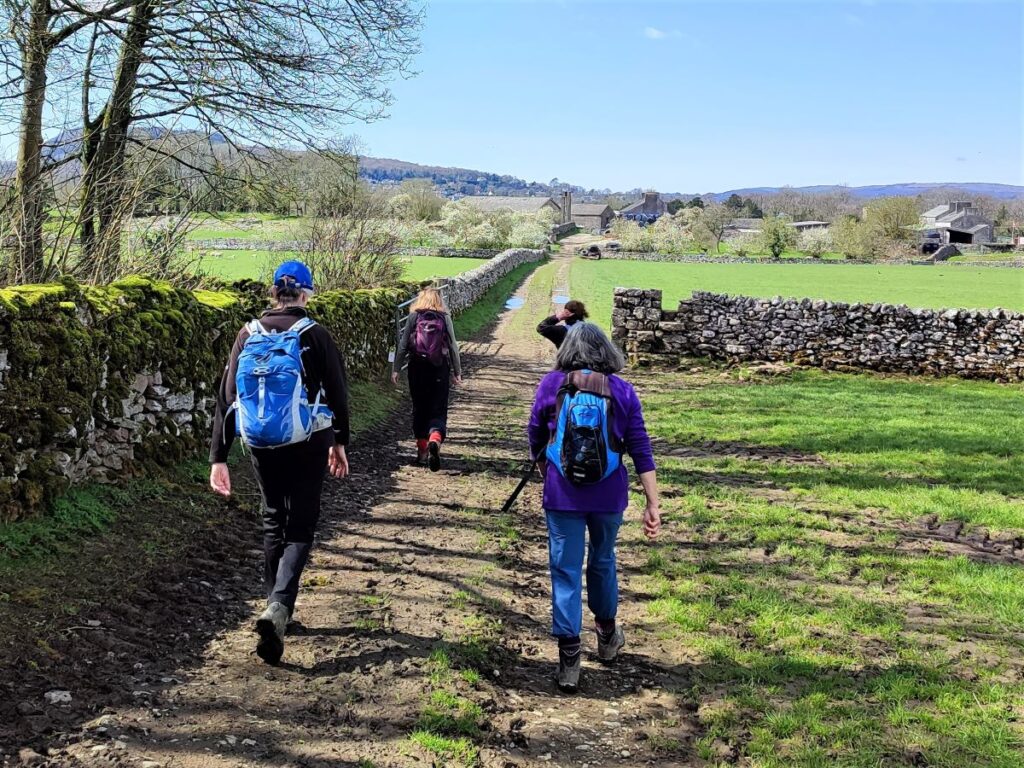
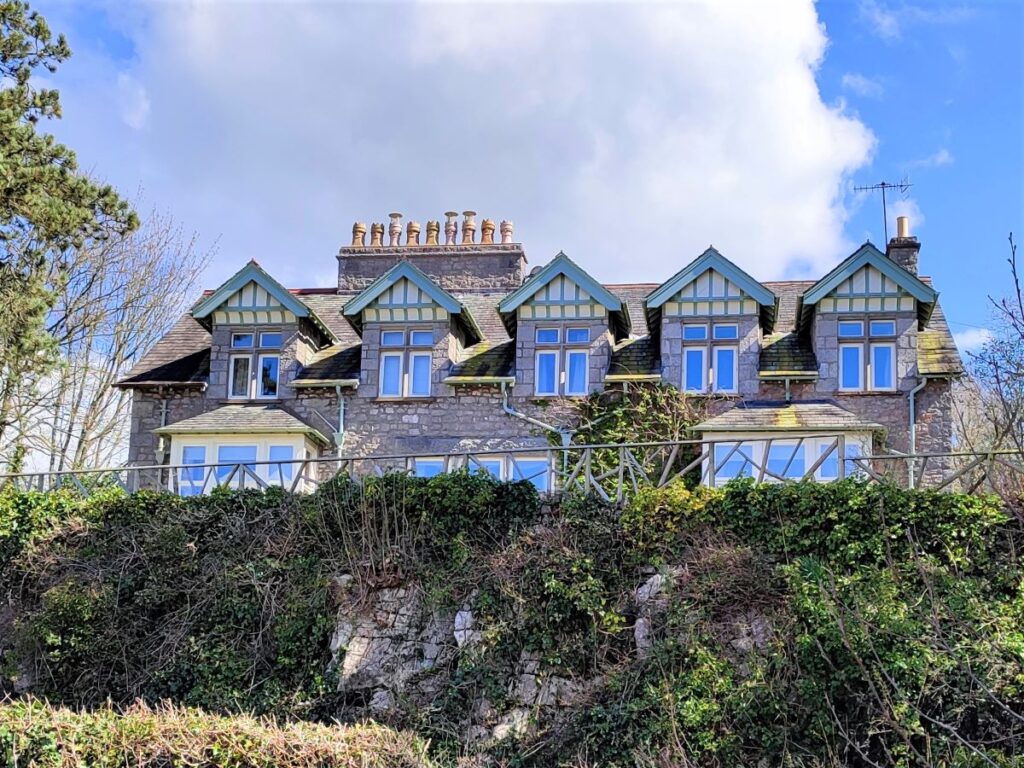
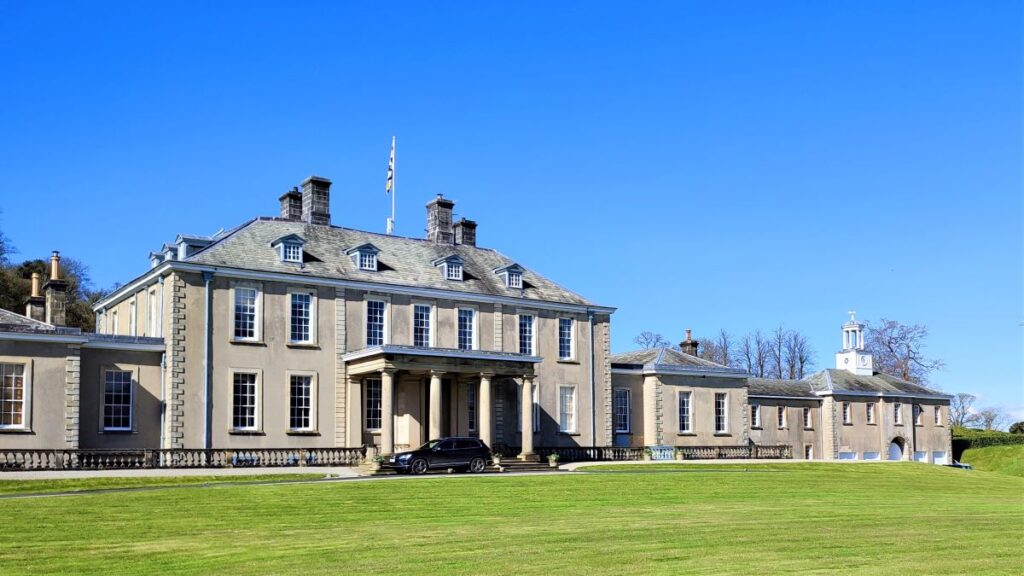
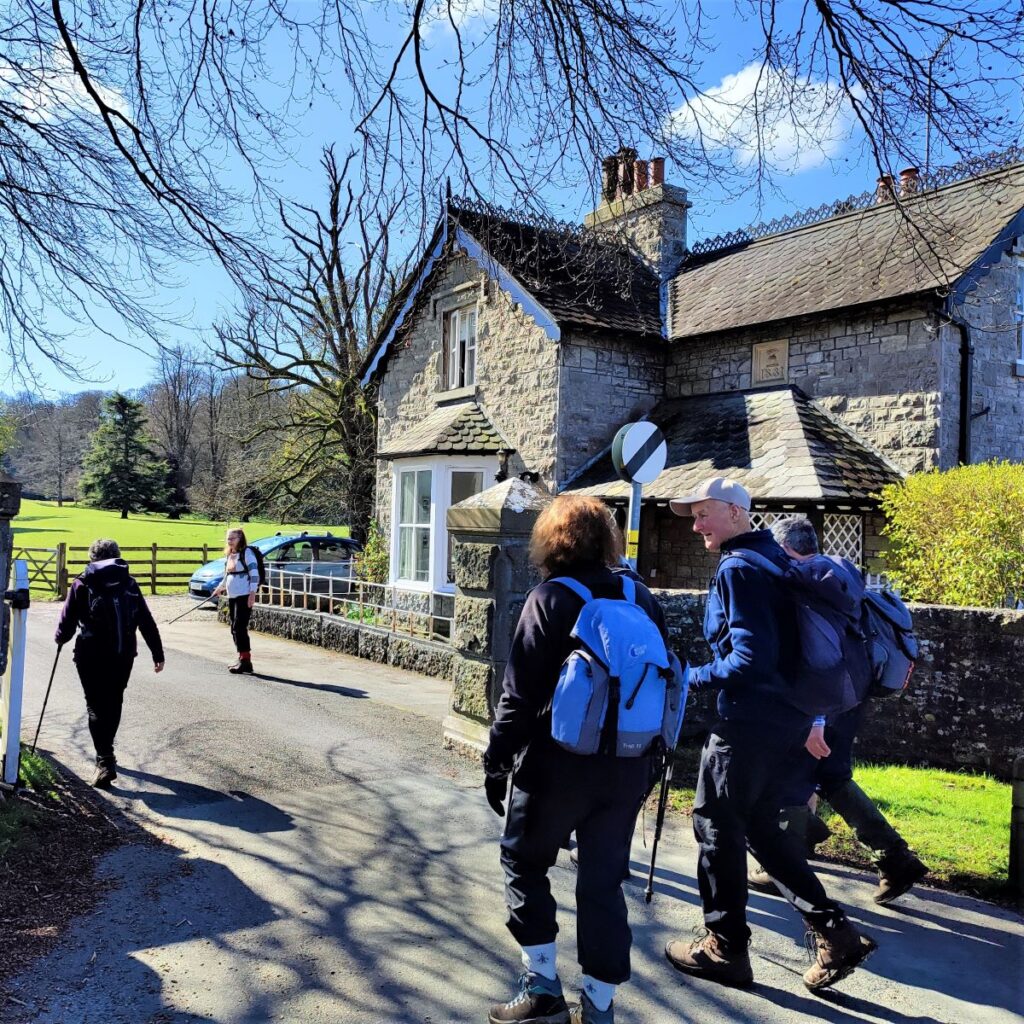
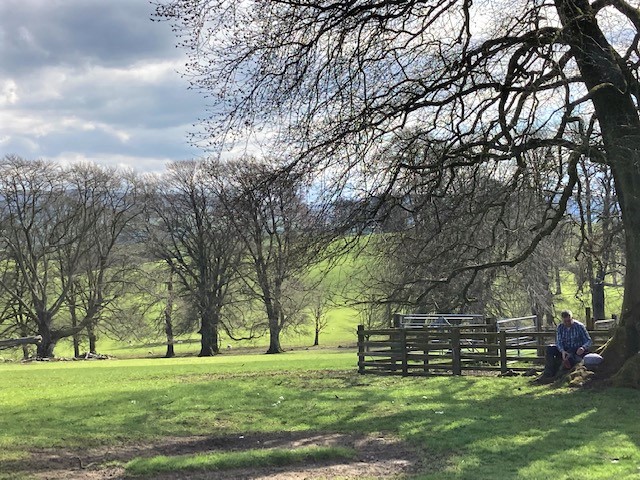
When we arrive at the road, we find a stile which takes us onto the pavement, and from there a road into the grounds of the Dallam Tower Estate becomes visible. We follow this road for a while now past the front of the Grade I listed country house. The road is a public right of way, and there are a number of public footpaths through the grounds, but the house itself is not open to the public except for occasional charity events, visits to the garden through the National Garden Scheme, and as a wedding venue.

The house has a 17th century core that was further developed in the 18th century. There was extensive remodelling in the 19th century, creating the current appearance, and the grand rooms inside feature interiors and panelling by Gillow of Lancaster.
To our left is the 190 acre deer park running down to the River Bela beside the A6 road with a prominent grade II listed 18th-century deer shelter. The shelter was damaged by fire in April 2021. Check our Fairy Steps from Beetham walk for more on that.
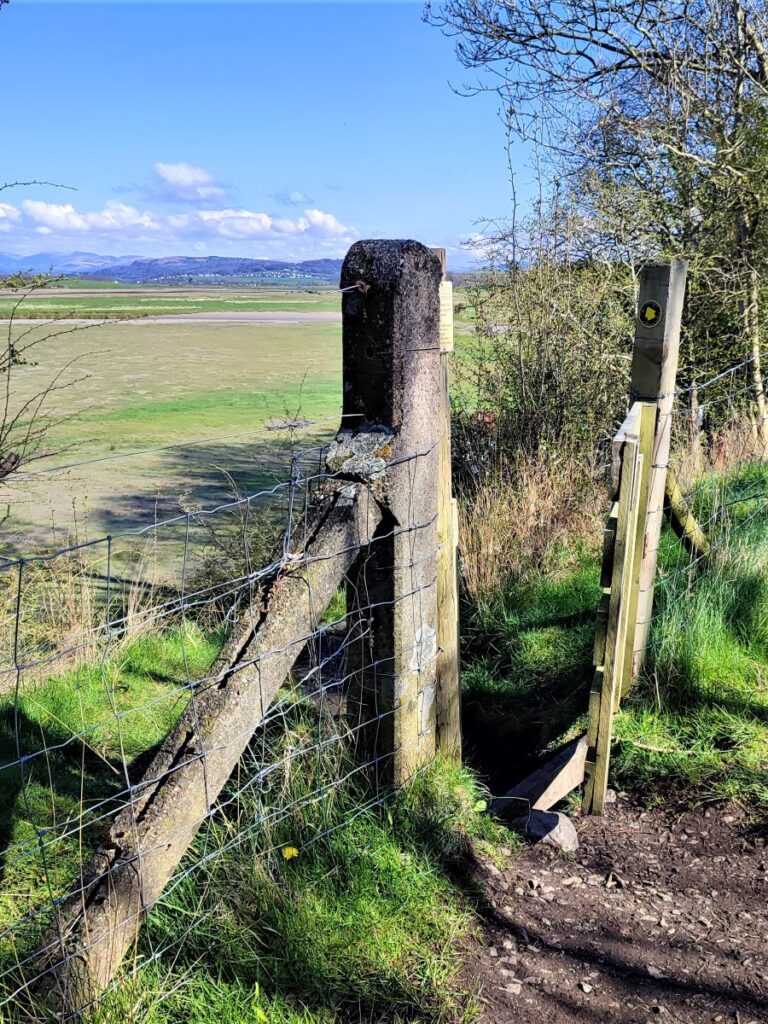
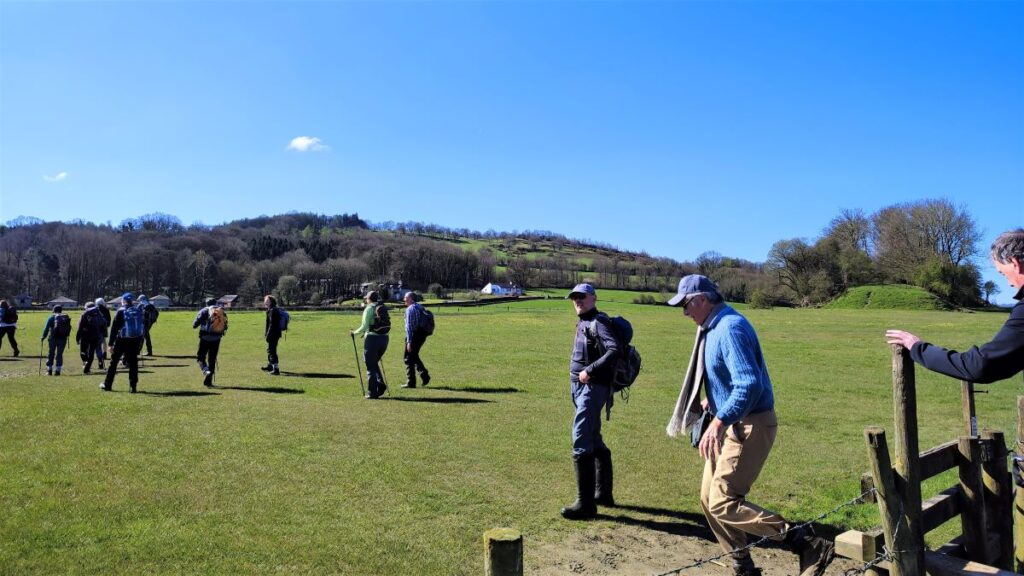
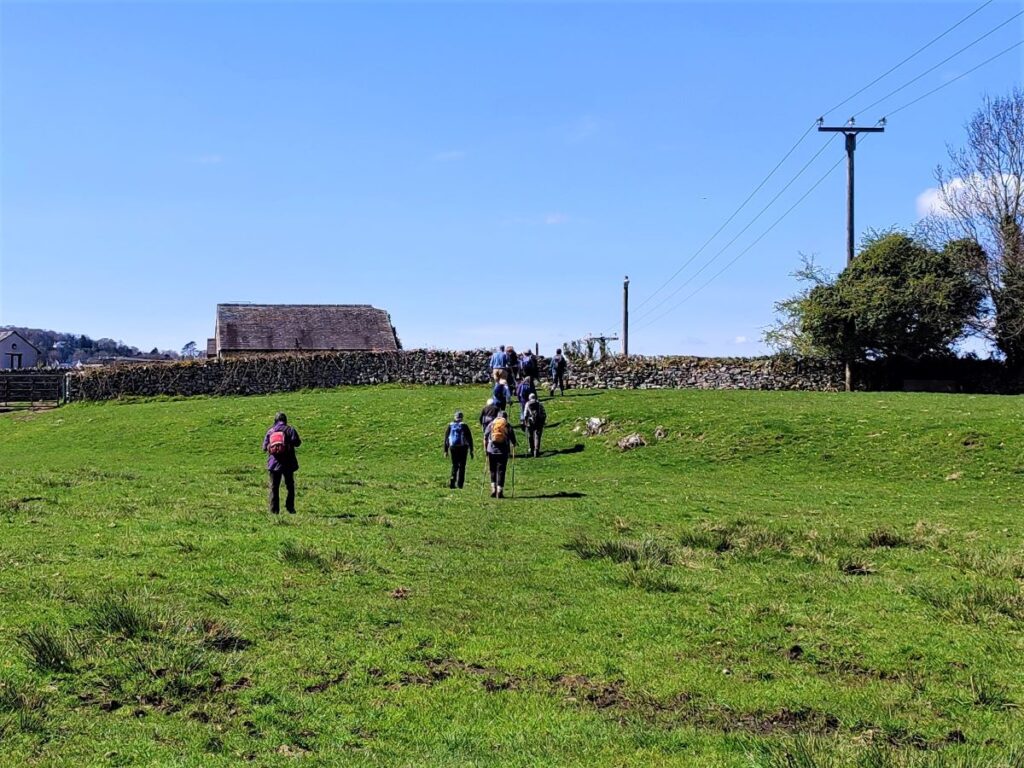
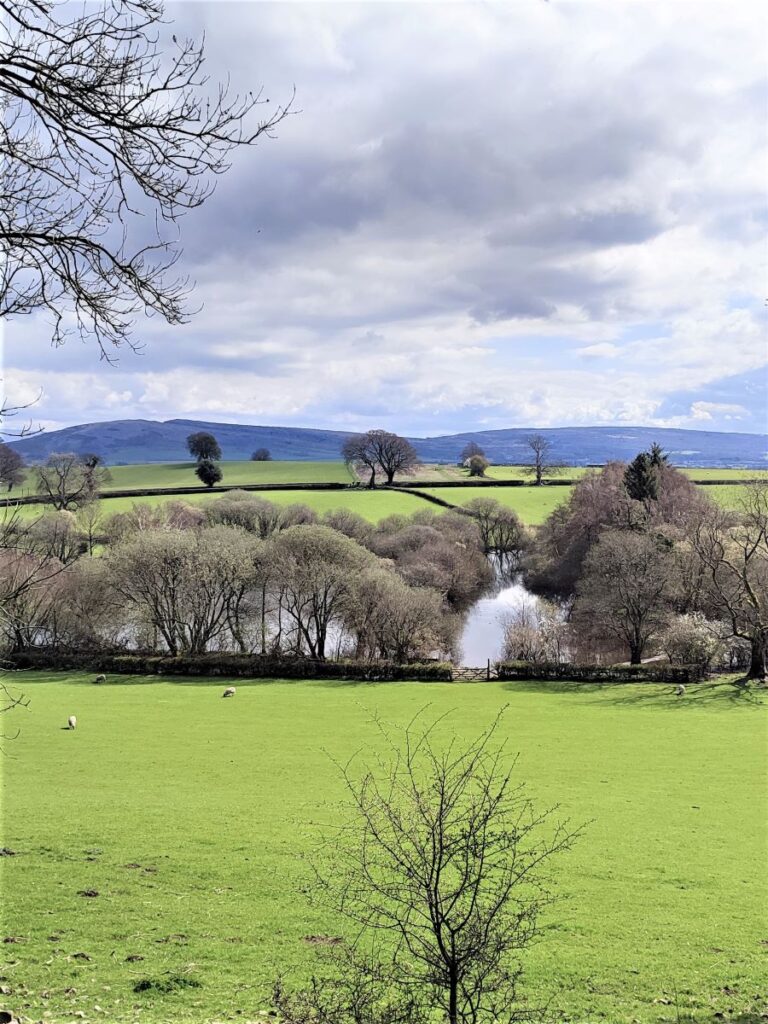
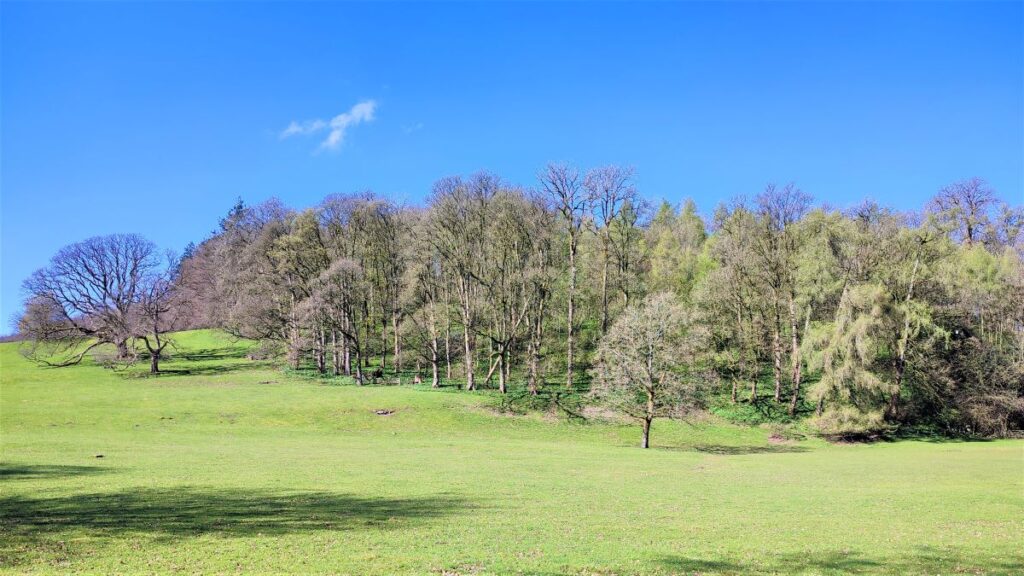
The road continues past the house, and before long we see a footpath crossing the road. We take the route on the right which heads uphill and through a field. This is signposted for Haverbrack. At the top corner of the field there is stile onto a minor road. Given that the views across the deer park are so pleasant, this is a good place to pause for a while.
We continue on a small lane directly opposite the stile. This takes us past three or four buildings as we contour around the base of the woodland at Haverbrack. The view to our left is very open at this point, and on a clear day, Ingleborough can be seen.

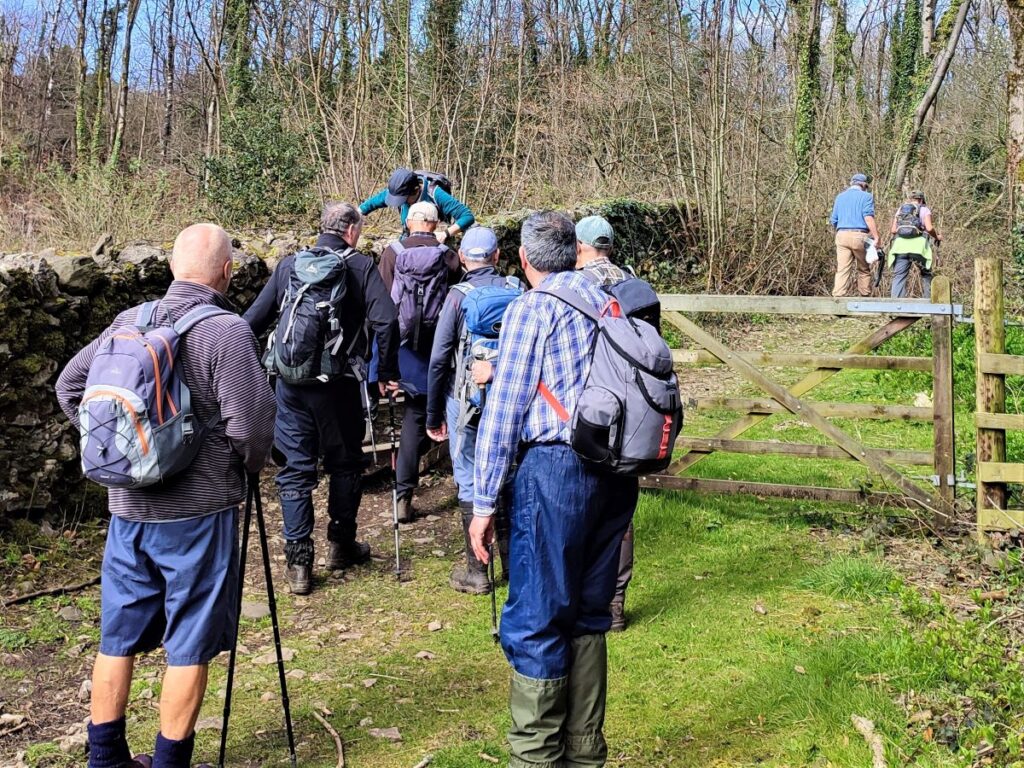
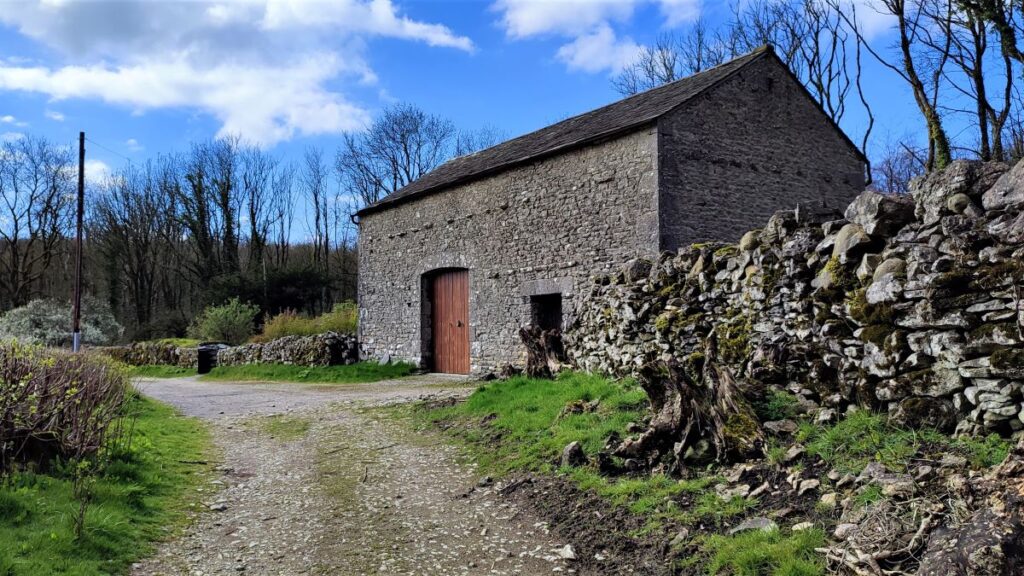
The lane takes a right turn before long, and as we follow it round we find a finger post offering us a choice of directions. We take the route signed for Cockshot Lane, which goes up into the woodland via a stile / gate combination. The signage is difficult to read here so be aware that we take the track before we get to the barns.
If you make an error here don’t worry you will arrive at Cockshot Lane by road rather than on a path, and just need to turn right when you get to the lane.
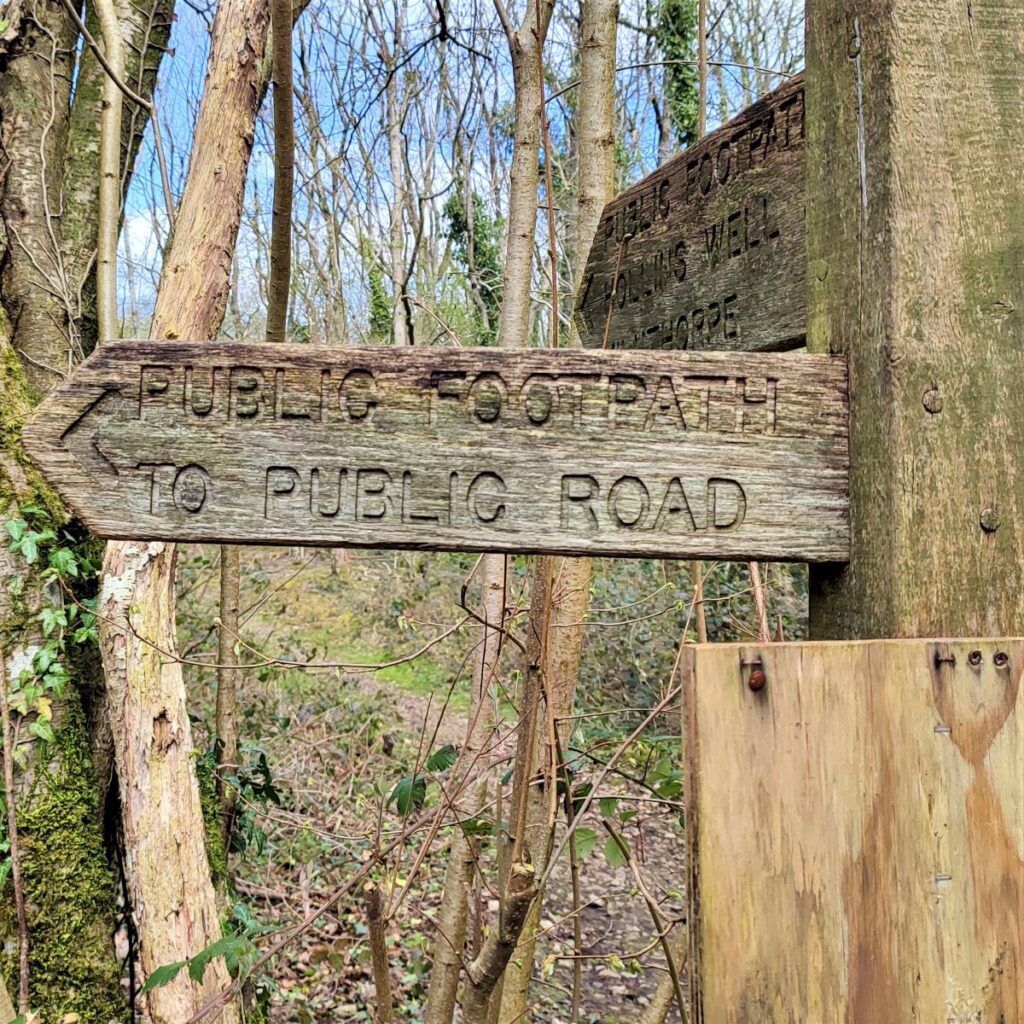
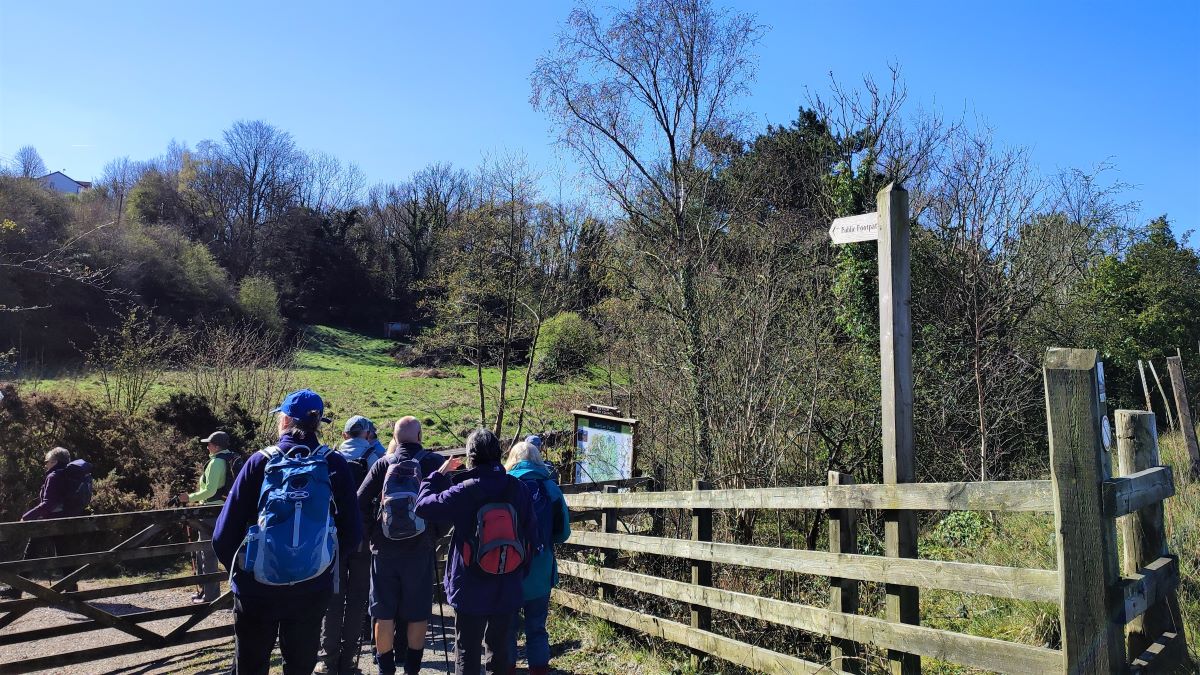
The path through the woods is clear, but there are a number of smaller side routes (official or otherwise) that we need to ignore. We are following way markers on posts driven into the ground at this point, and soon find an additional fingerpost where we follow the arrow to “public road”.
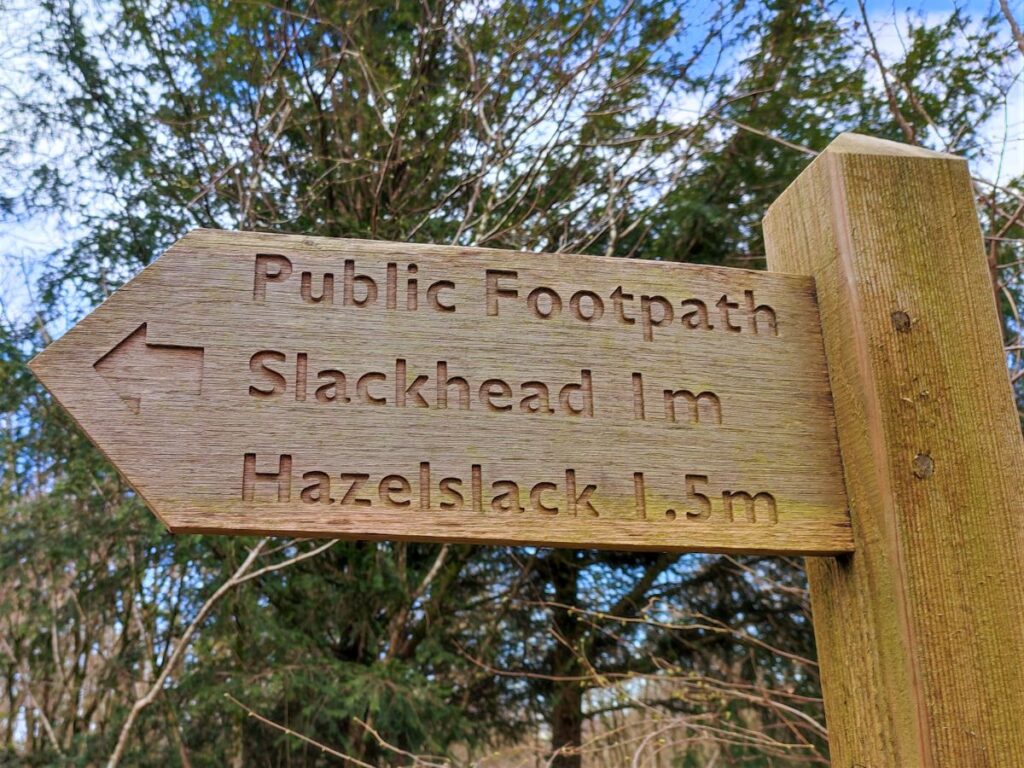
When we arrive at the road (Cockshot Lane) we turn right and head uphill for a little while, looking out for a path on the left signposted for Hazelslack.
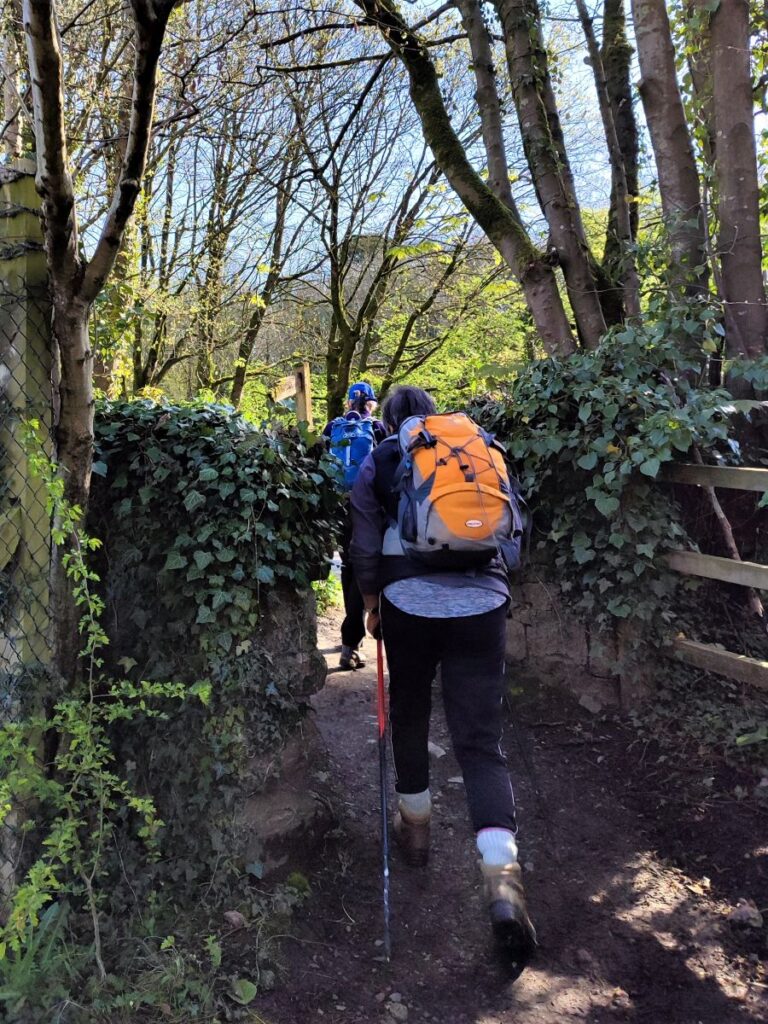
As before, the path through the woodland is well-used and remains clear, but we do need to be careful to avoid being tempted down desire lines where others have explored on either side. The best way to avoid getting lost is to use the GPX we recorded, or simply to follow the largest path and head southeast.

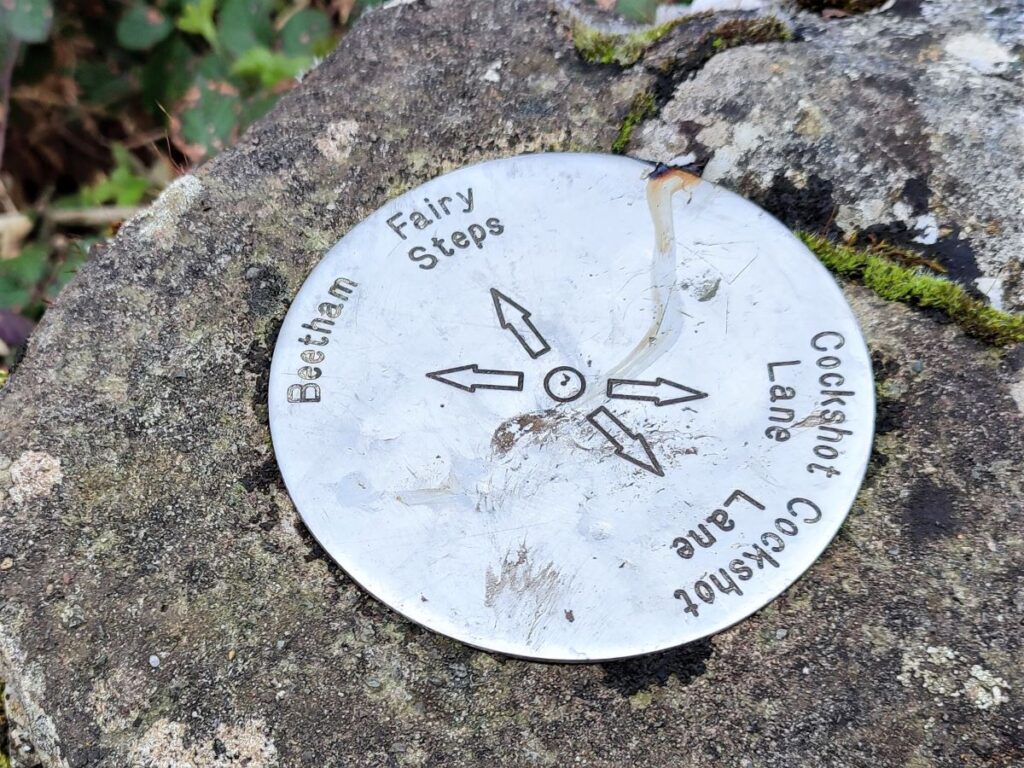
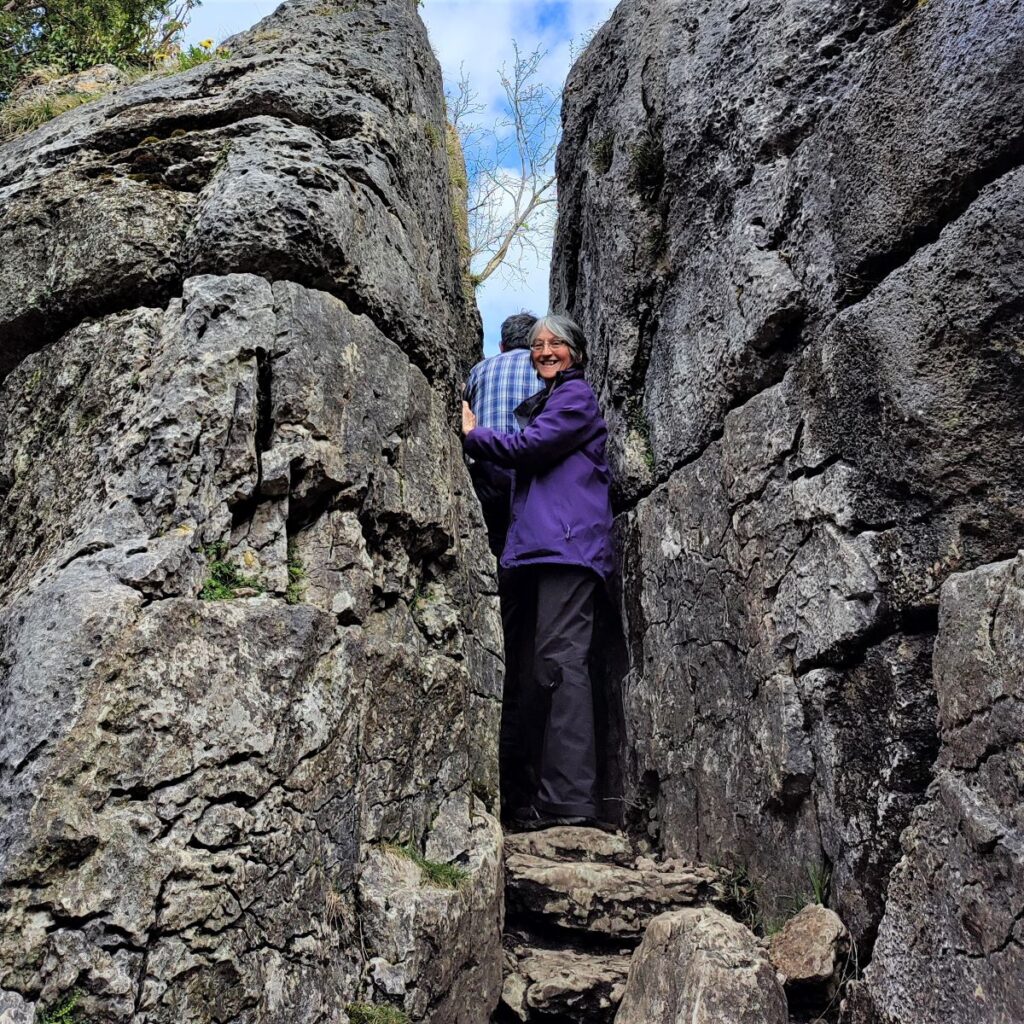
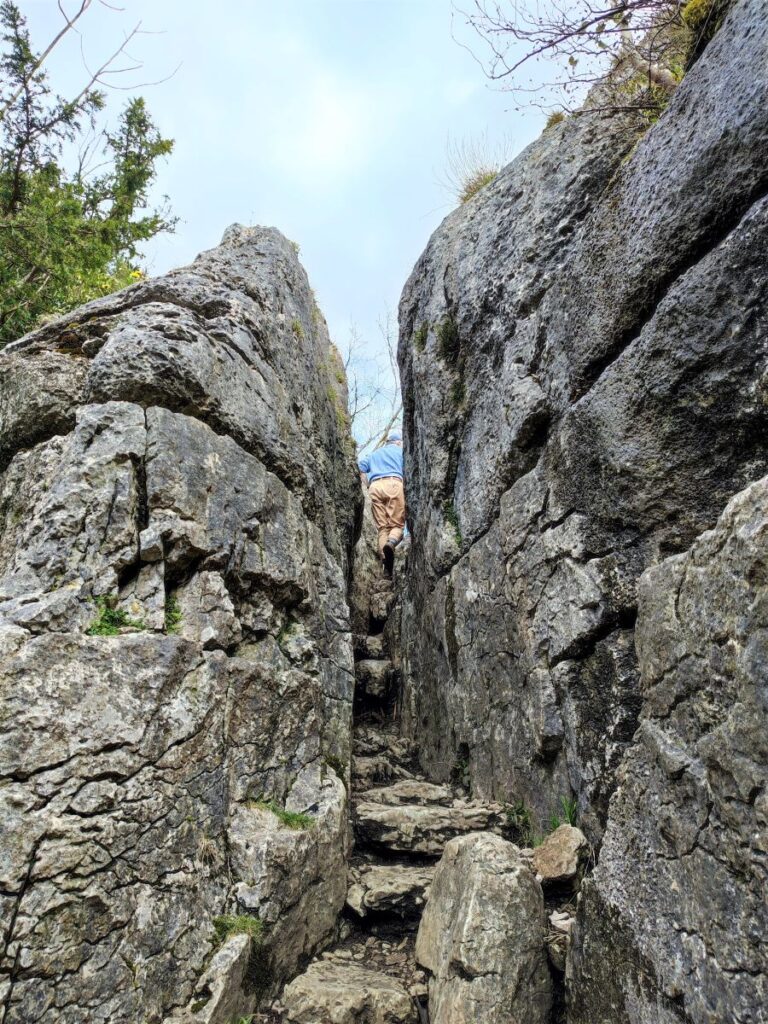
Keep an eye open for a curious way marker on the right of the path – we need to take the path for the Fairy Steps. The steps are in fact a narrow passage between two sheer rock faces via a flight of natural stone stairs. The name is based on folklore – if you climb or descend the steps without touching the limestone sides of the narrow gully, the fairies will grant your wish.
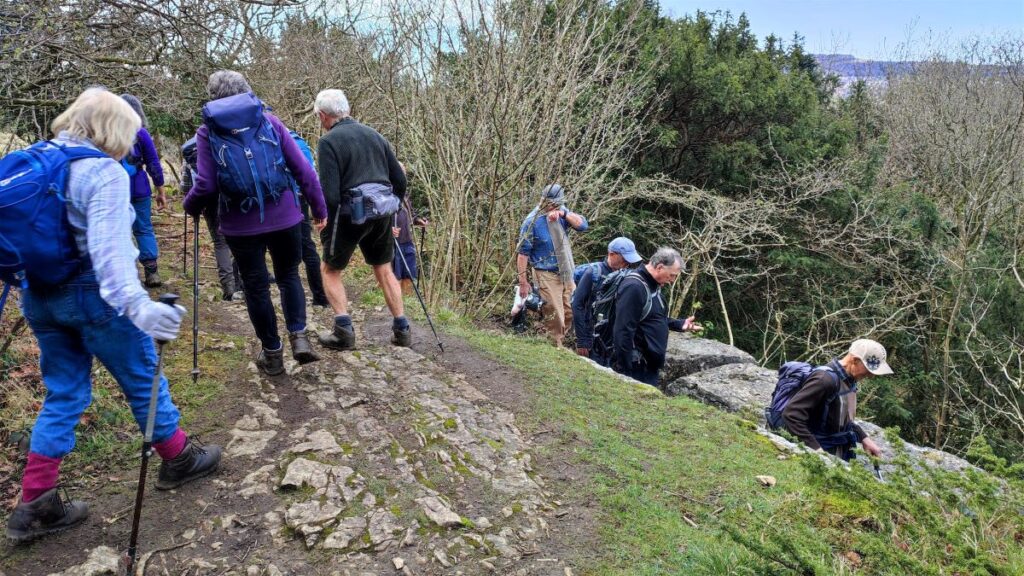
We follow the route as far as the steps, with the option to climb them to experience the steep clamber that once formed part of a corpse road.
In late medieval times a population increase, and a program of new church building took place. This led to “territorial disputes” between the new churches and existing mother churches or minsters.
Demands for autonomy from outlying settlements made minster officials feel that their authority, and therefore revenue, was waning, so they instituted corpse roads connecting outlying locations and their mother churches. The mother church had the only consecrated burial ground, so corpses had to be transported long distances, sometimes through difficult terrain. If you scale the Fairy Steps, then the challenge of carrying a coffin up them will be clear.
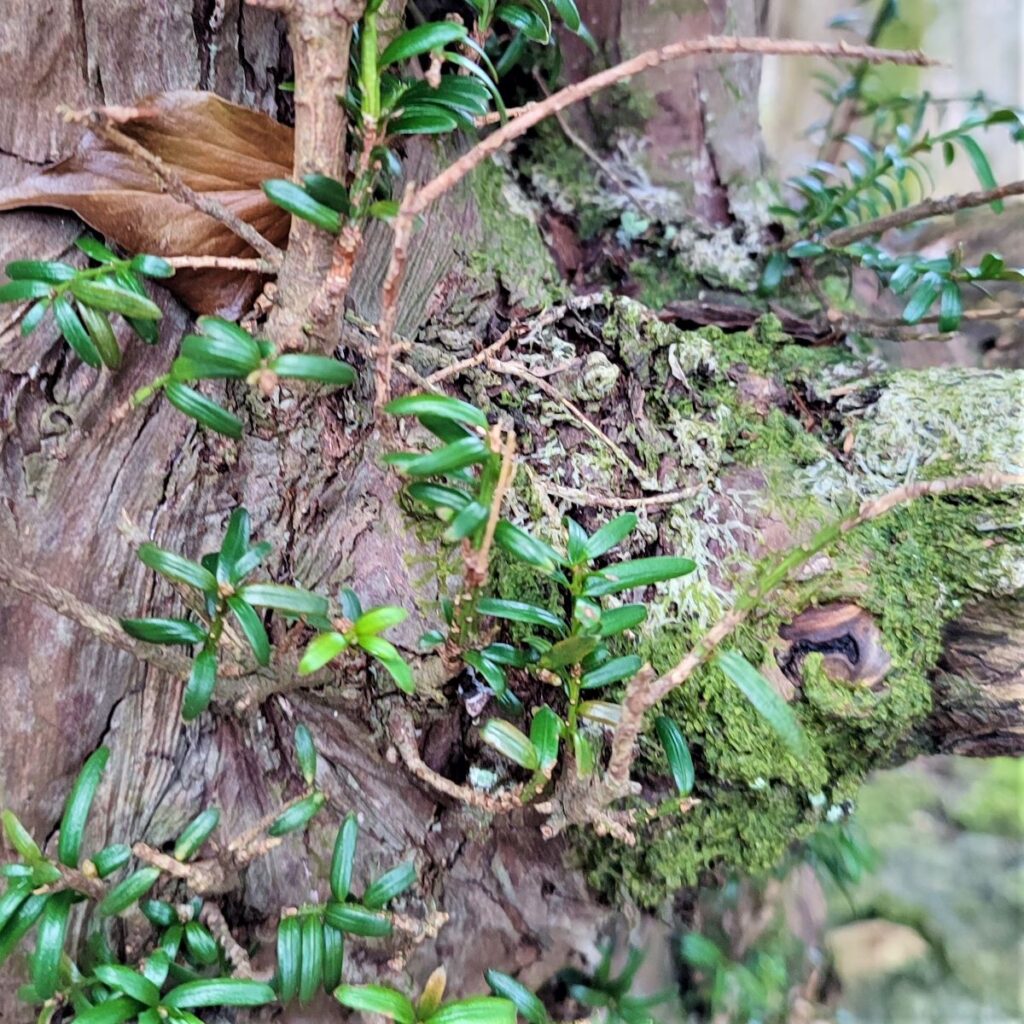
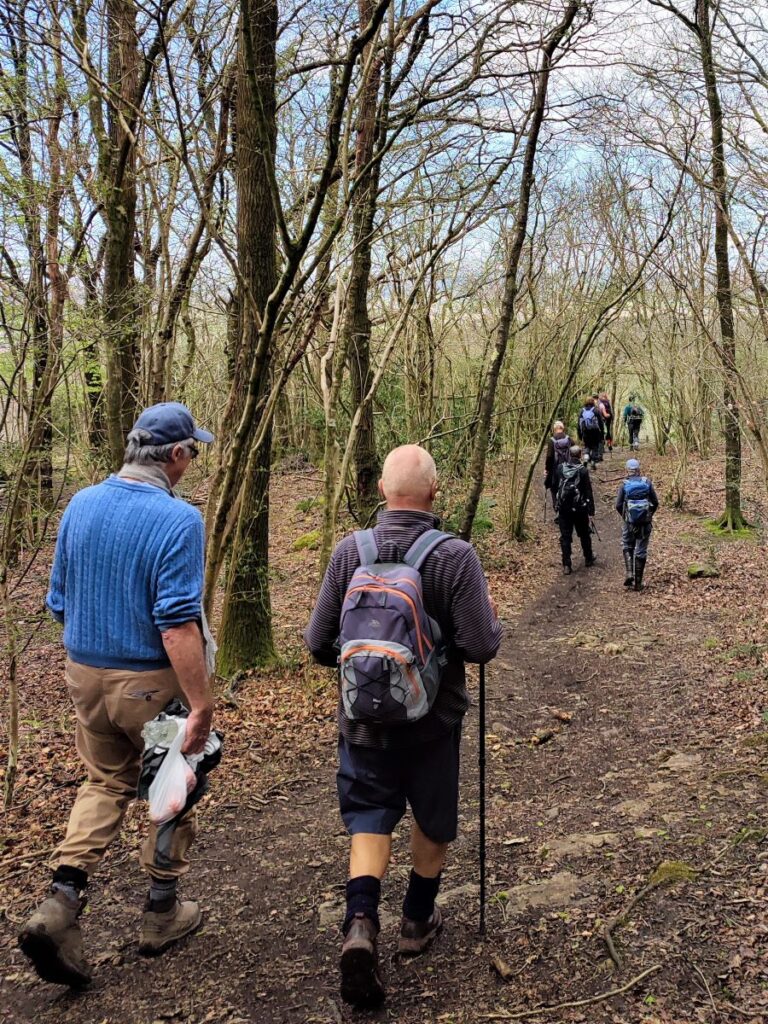
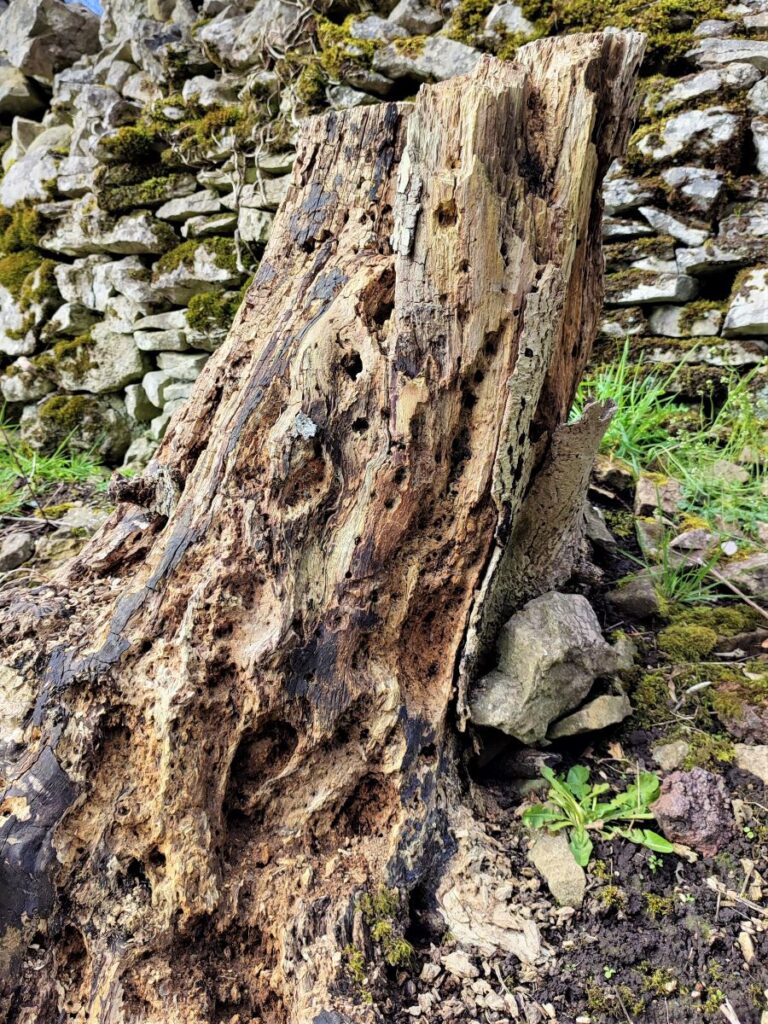
Having returned to the bottom of the steps – we now head downhill and westward though Underlaid Wood. The tree coverage here is characteristic of woodland that was one coppiced and then allowed to grow naturally – this is consistent with the manufacture of charcoal for the lime kilns.
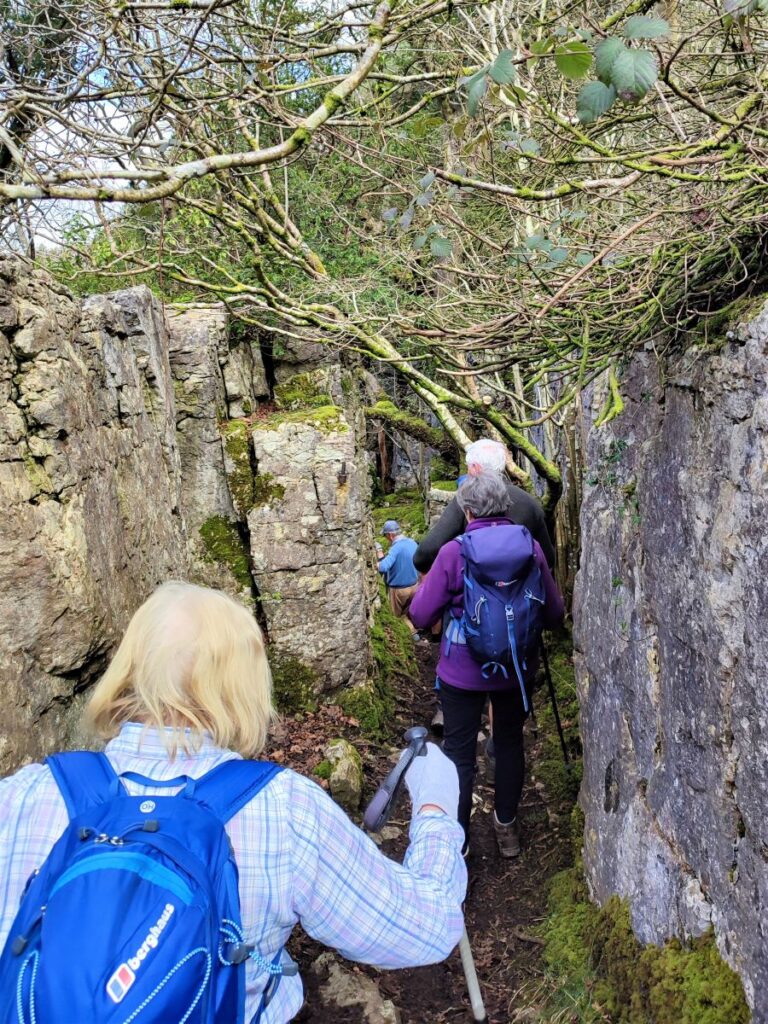
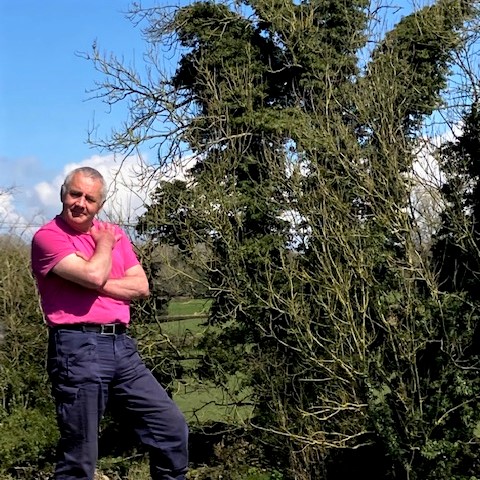
As we take the path down through the woods we arrive at a curious zig-zag section through a deep crevice in the rock. Care is needed here if the limestone is wet. Beyond here the path is straight, with signs of further crevicing in the limestone visible on both sides of the path. Many of the trees in this later section are Yews, which thrive in limestone areas.
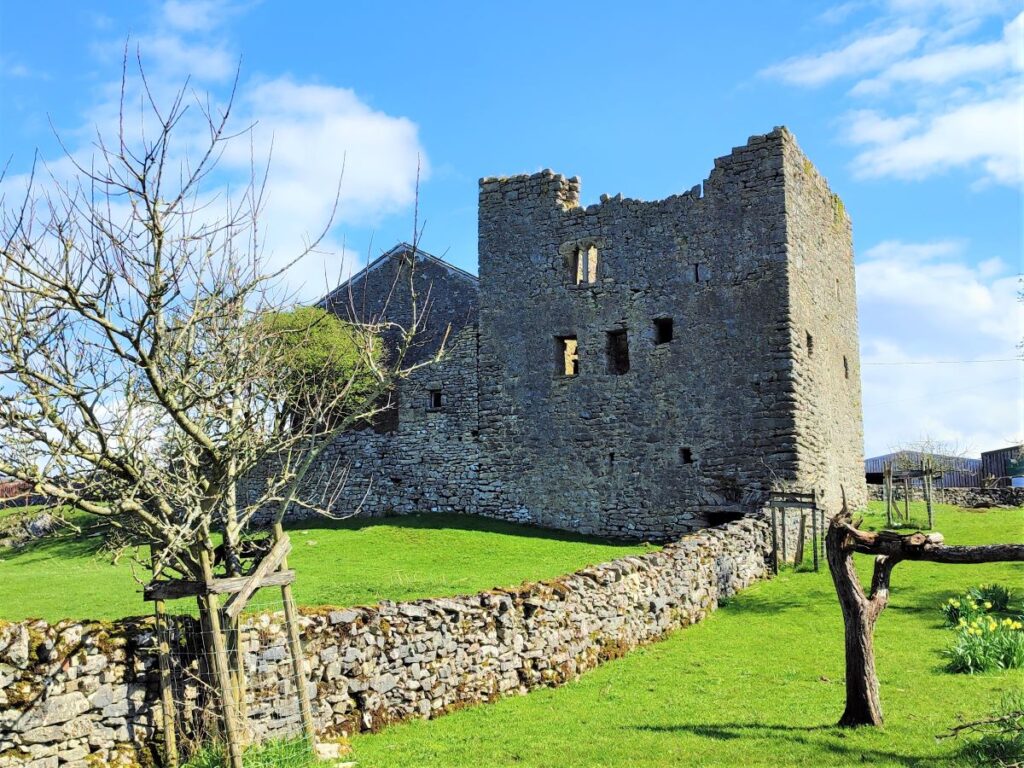
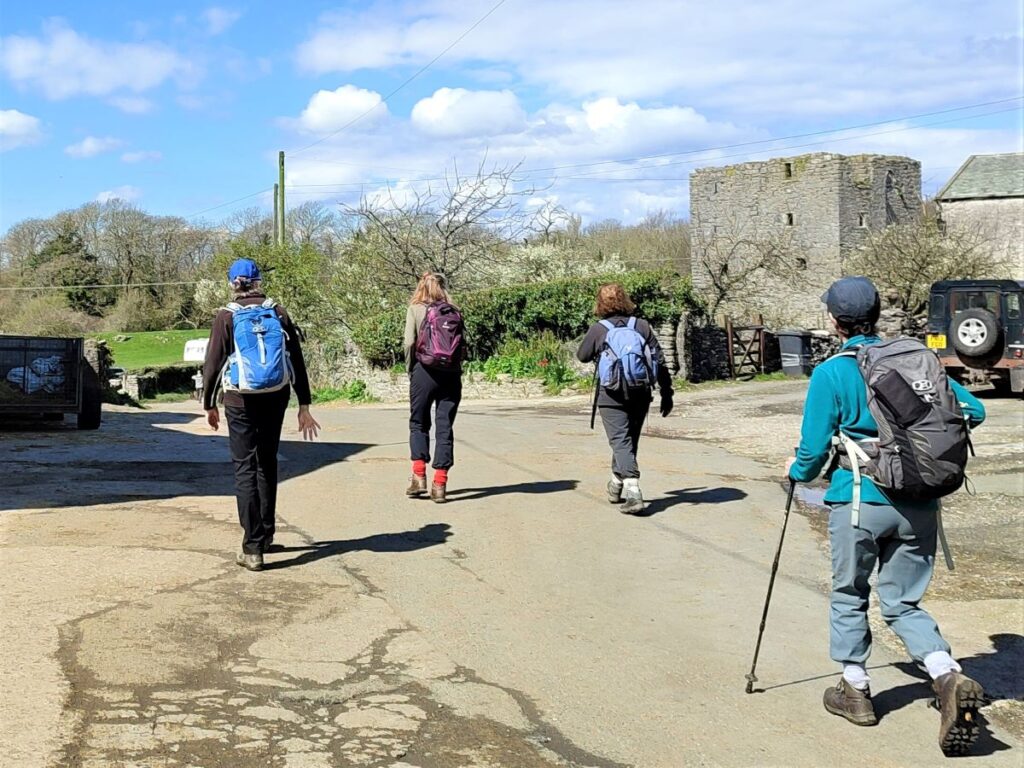
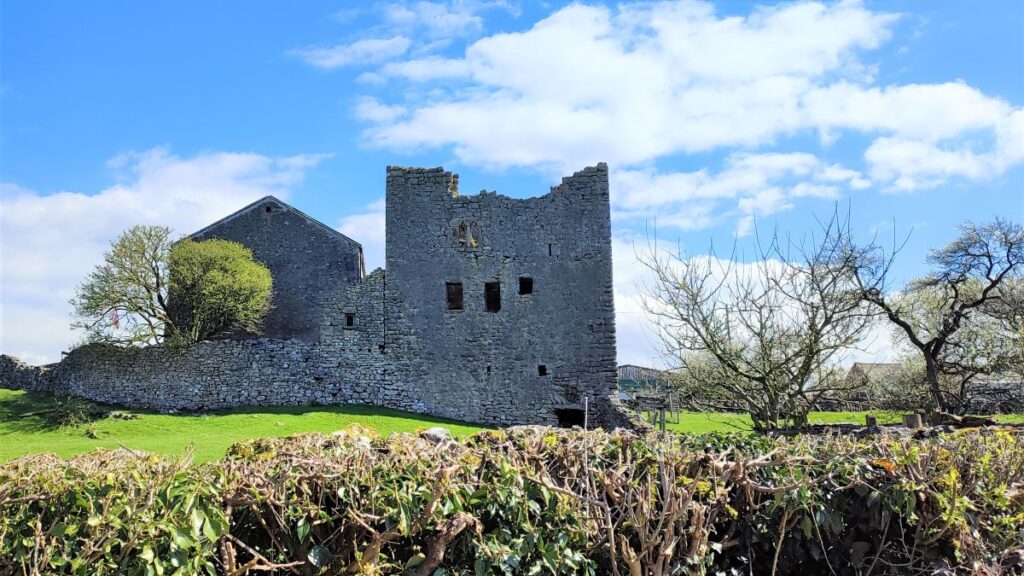
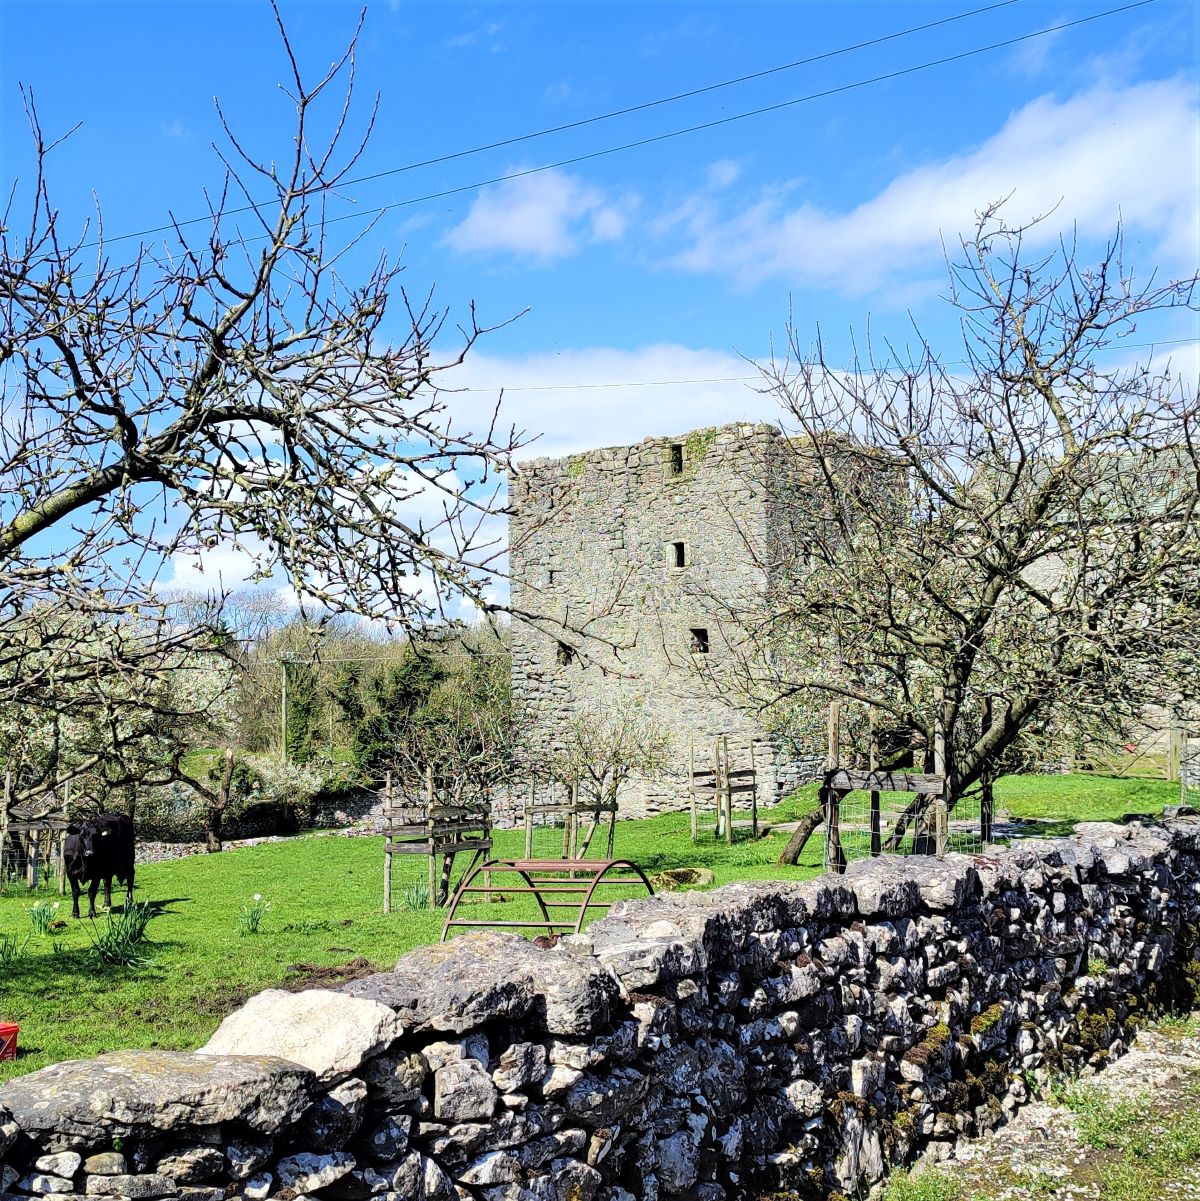
The path soon exits the woodland and heads straight down toward buildings at Hazelslack Farm, where we find a minor road. We take the route opposite, through the farm and then to the left of the spectacular ruins of Hazelslack Tower.
Like the nearby Arnside Tower, this is a ruined pele tower, dating from the late 14th century. It is thought that there was once a building attached to it on the East side. This has since been recycled for building materials.
On that same side is a small original doorway, with a pointed head. The building was originally divided into a South and North half. The North half had a tunnel-vaulted room. The staircase to living quarters was in the South half.
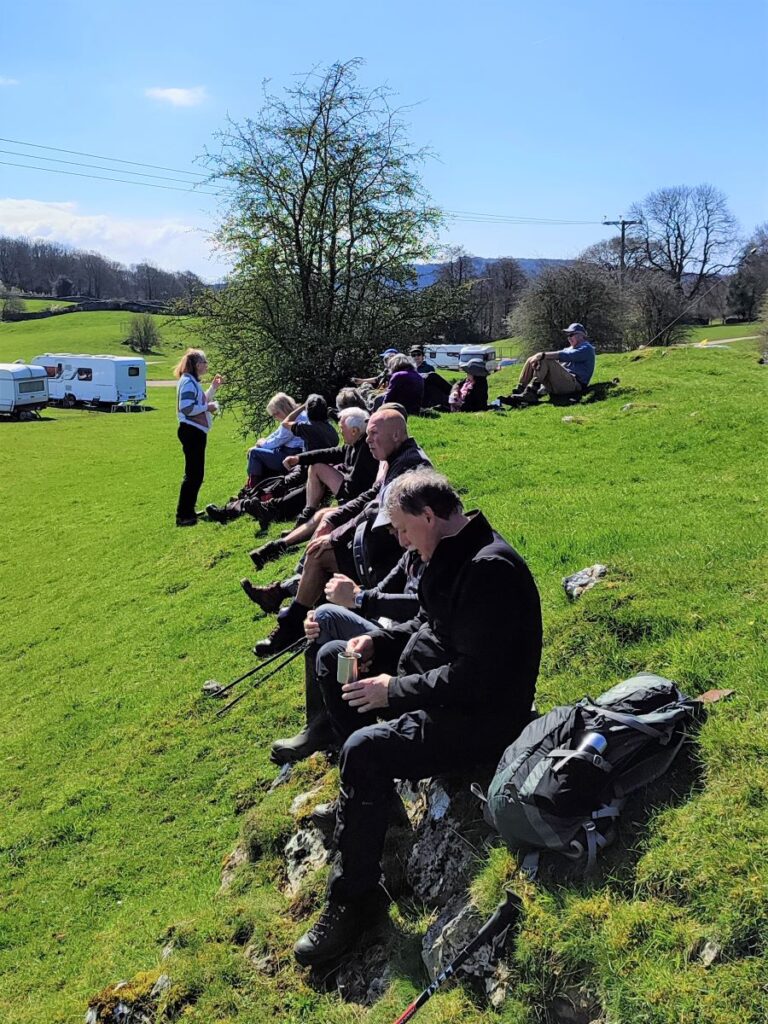
Beyond the tower we see a path exiting the road on the left, into fields used for caravans in the summer season. To our right as we enter the field is a ridge with lots of rocks that provide a good place to site and enjoy the views whilst we have lunch.
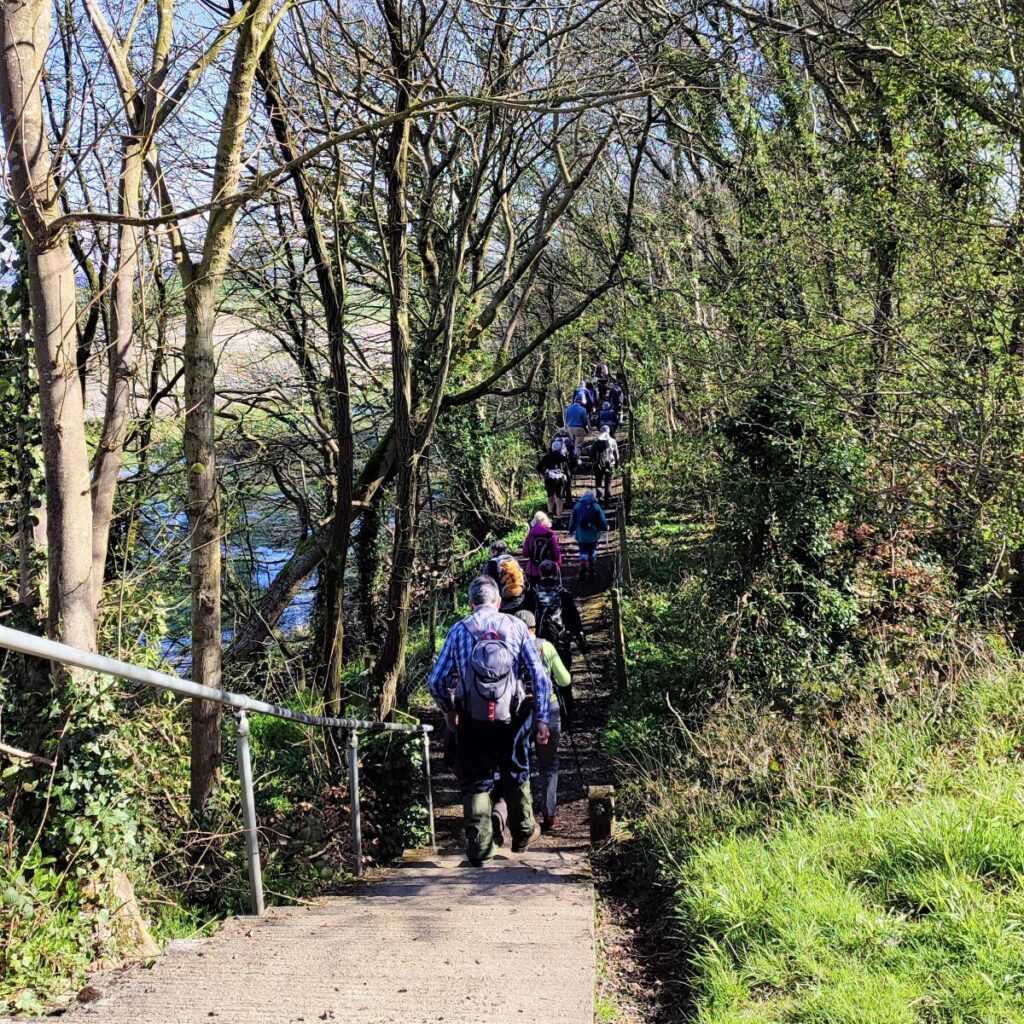
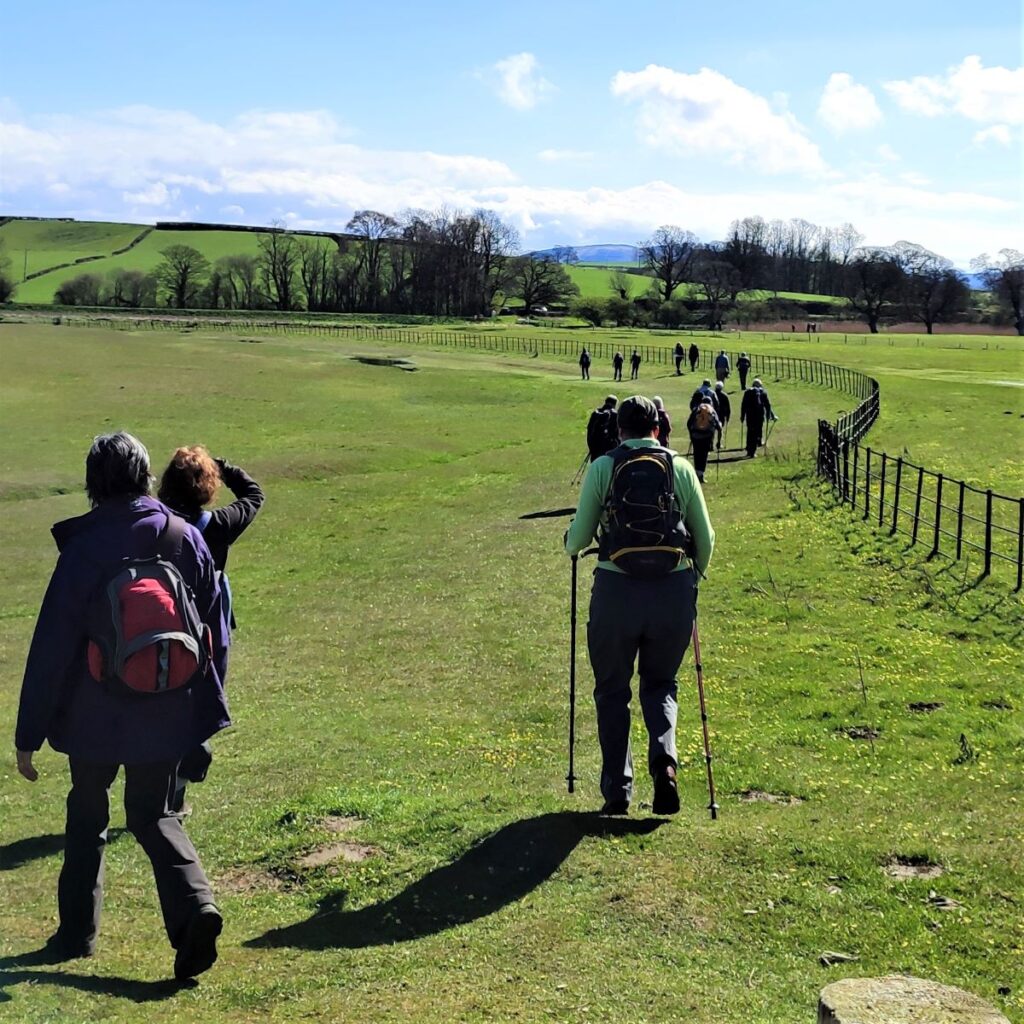
From here we head to the far right hand corner of the field where we have a choice of two routes: We keep to the right and head over a field to find a stile onto a minor road. Directly opposite the path continues over another stile, and we now head across the rather boggy Arnside Moss. The path is generally clear, but some diversions to find solid ground may be required in wet weather. If in doubt the general direction is westward.
At the far end of the field is a drainage ditch (“black dyke”) which we cross at a footbridge before wading through mud for a while until we cross the railway and arrive at a metalled track which takes us up to the road at Arnside.
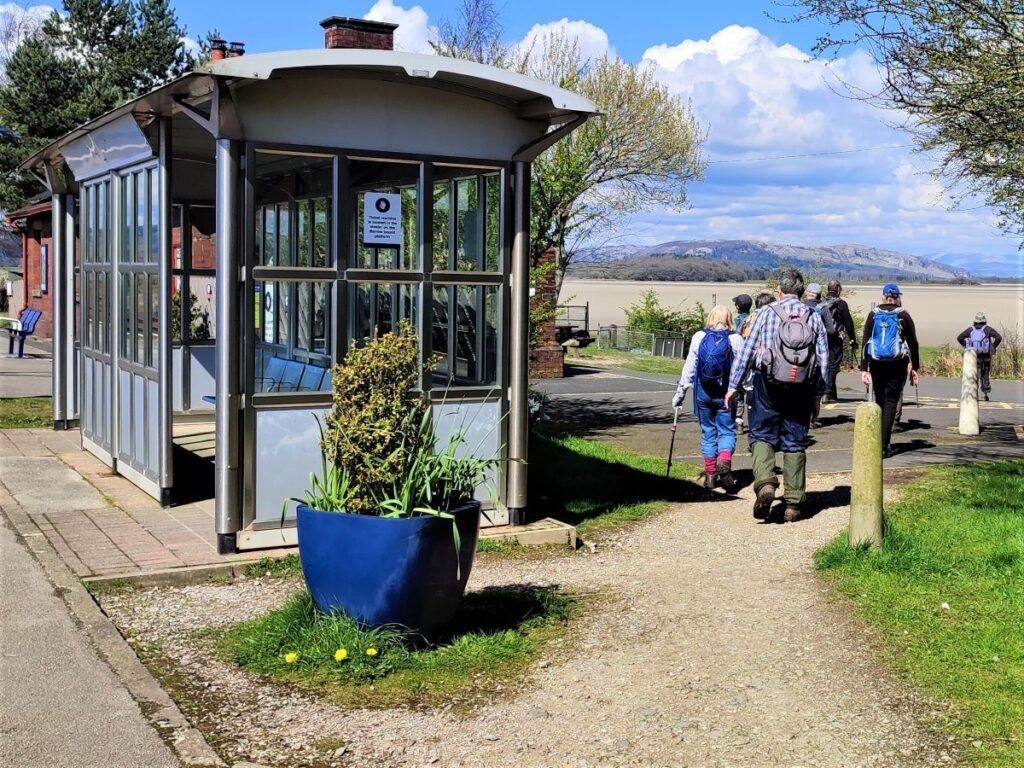
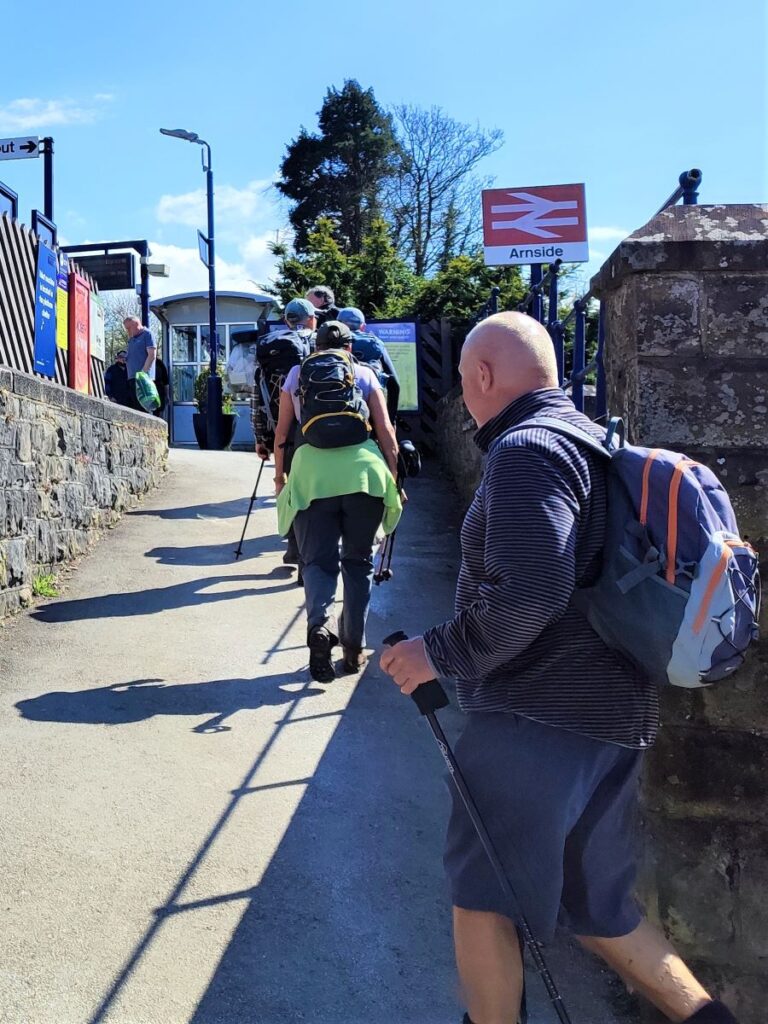
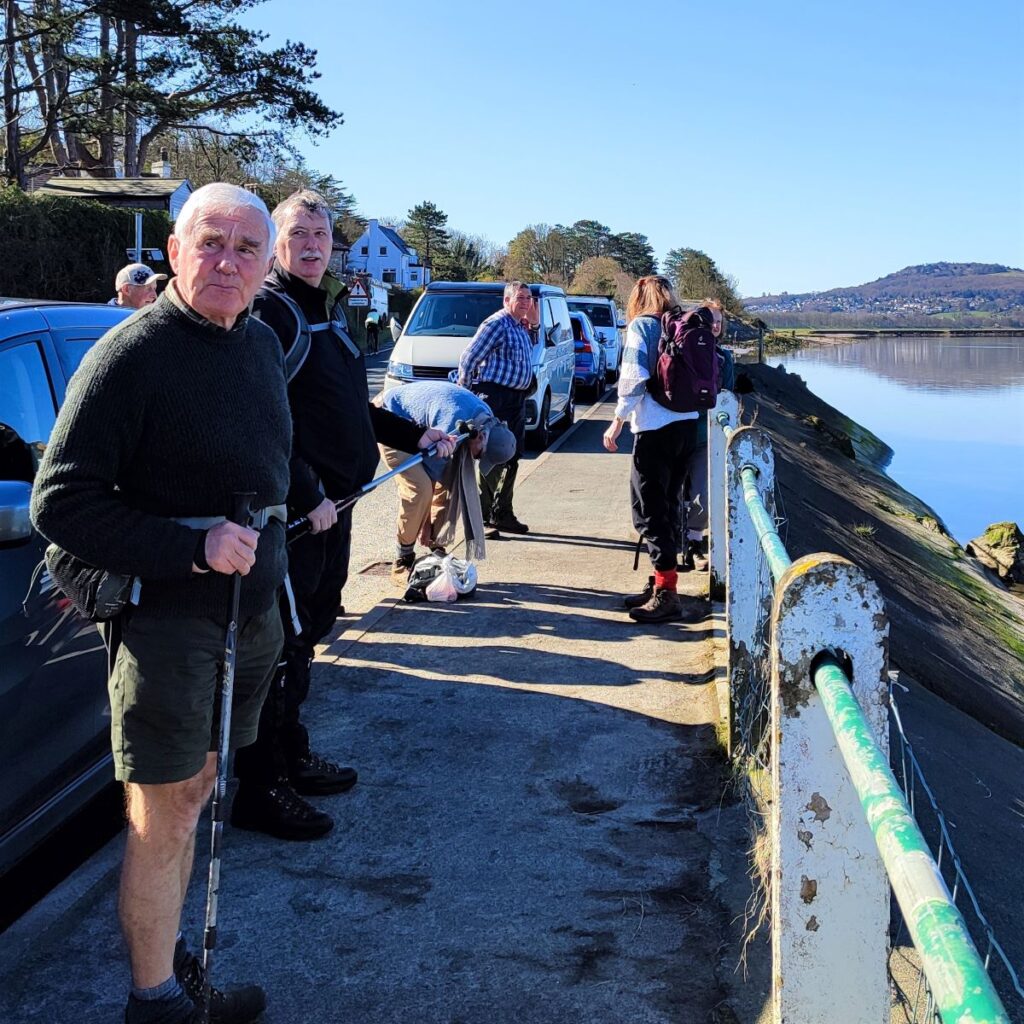
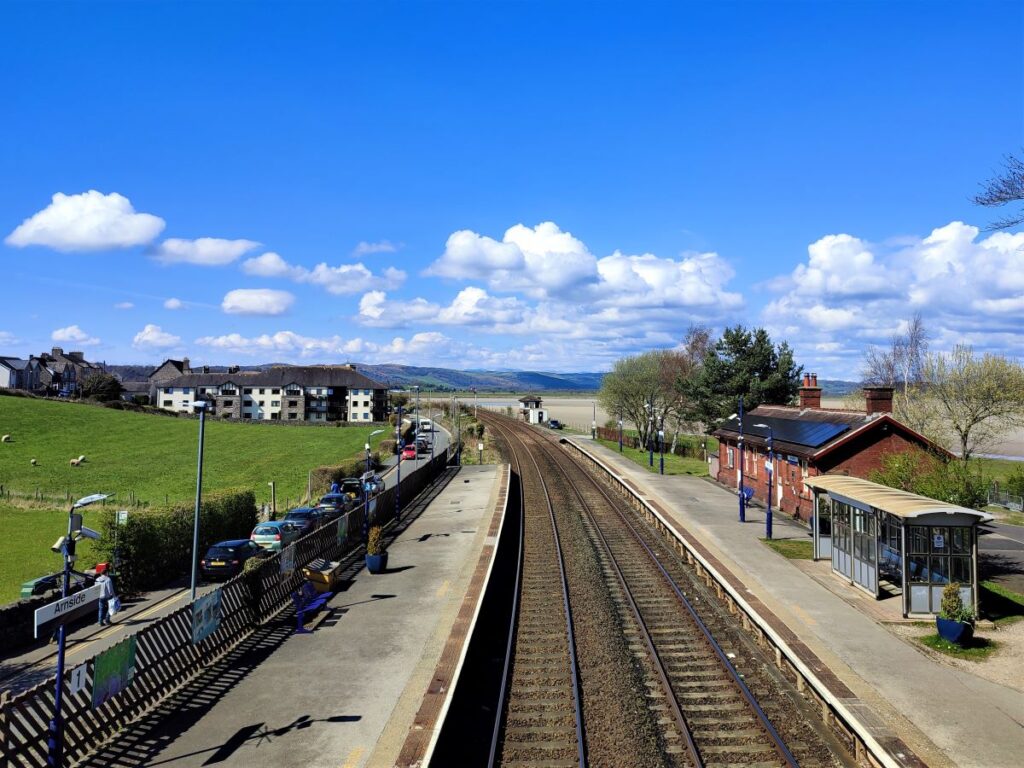
At the road we turn right and follow the road down to the railway station, where we cross the line using the footbridge. Beyond the station the track crosses the Kent estuary on the famous viaduct, although the gentle curve of the track means that the viaduct is not as apparent here as you might have hoped.
From the station we head to the shoreline and follow it round to the right, staying on the shoreside path all the way back to the parking place where we started.
- Total distance 12.0 km (7.4 miles)
- Total ascent 183 m
- Easy walk