Jump to . . .Step by Step | OS Map | Downloads | Gallery | Fly through
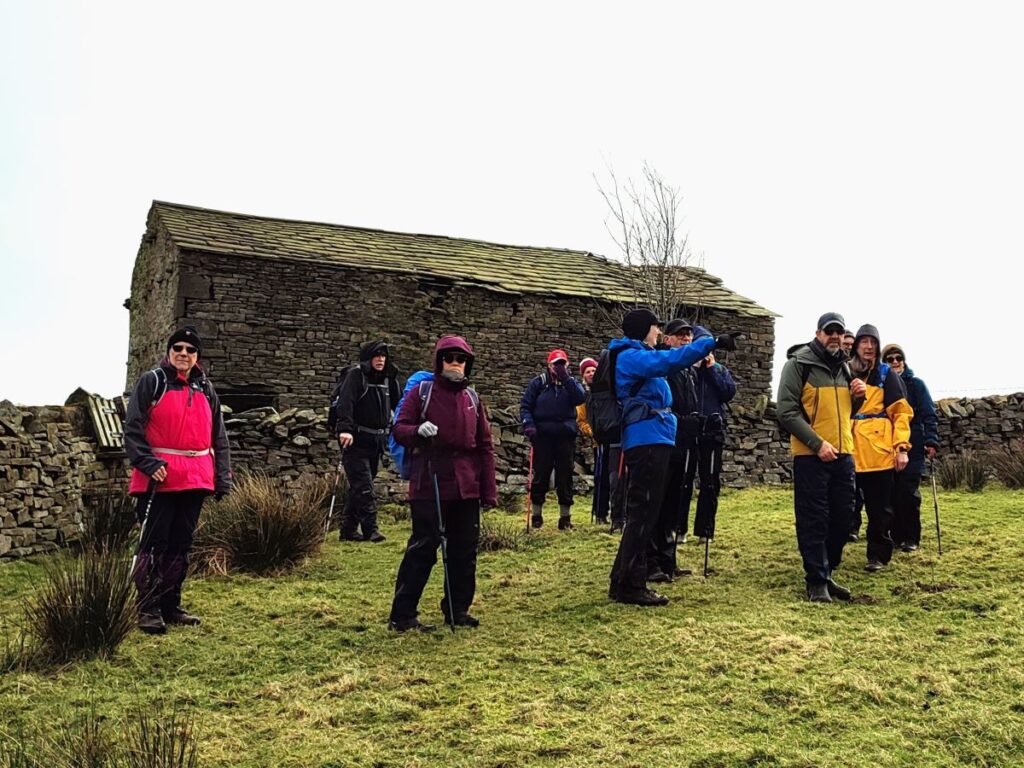
Dent is a lovely village – and the presence of a National Park car park confirms its reputation for being one of the Honeypot villages of the Yorkshire Dales. Bentham Footpath Group have started a number of walks from Dent, and this one adds value by using a figure of eight loop with parking either at a starting point in Dent or at the cross over point at Barth Bridge, creating an opportunity to combine our routes.
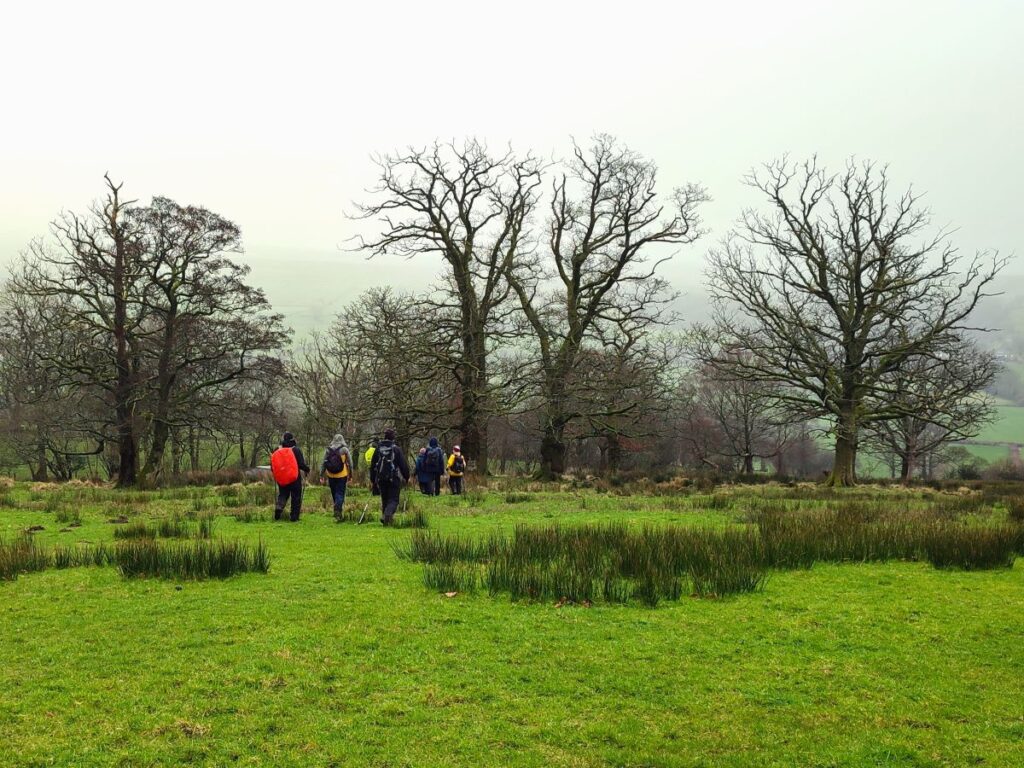
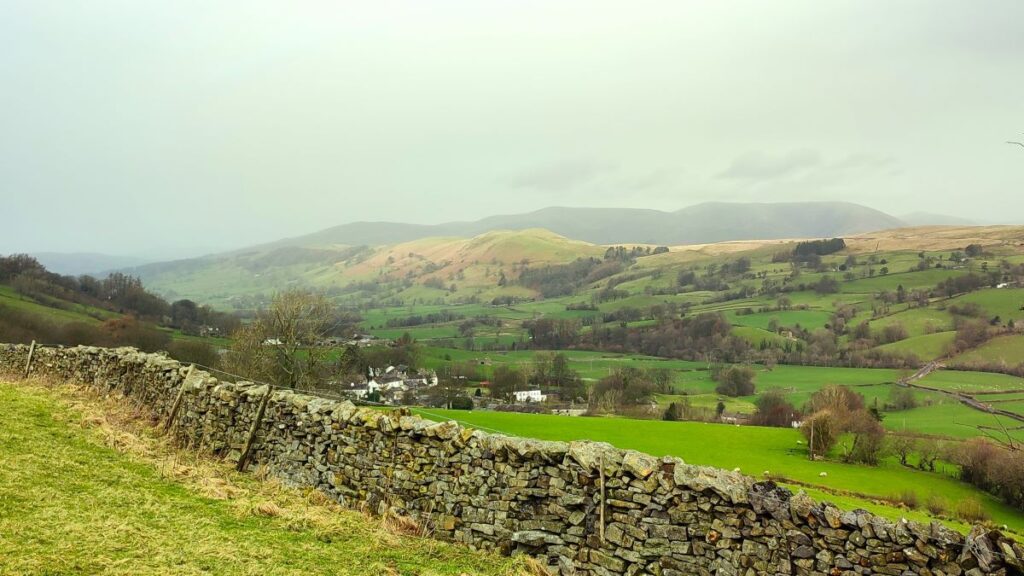
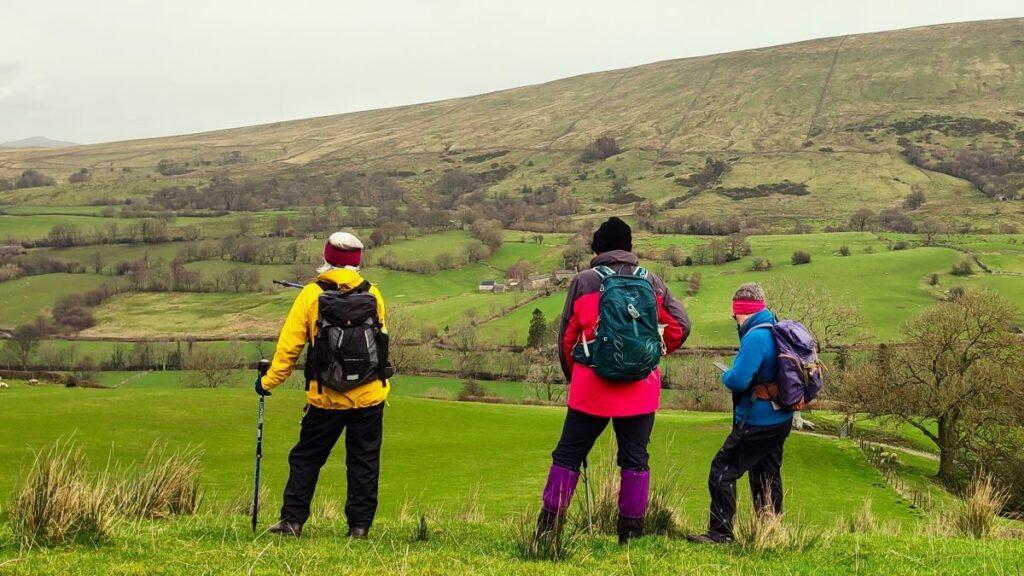
We start by Church Bridge, and then loop up onto the fell at South Lord’s Land behind the village, with great views across the valley, and then over to Gawthrop, before crossing meadows to get to Barth Bridge. From there we pick up the Dales Highway long distance path and follow it up to Lunds where we walk on an ancient green lane for a while. We soon head right and onto North Lord’s Land looking across the valley with views of where we walked in the morning. Finally, we return to Barth Bridge via High Barth and then take a very quiet road walk on the North of the Dee before one more section through fields back to Church Bridge.
- Total distance 9.2 km (5.7 miles)
- Total ascent 248 m
- Easy walk
Step-by-Step
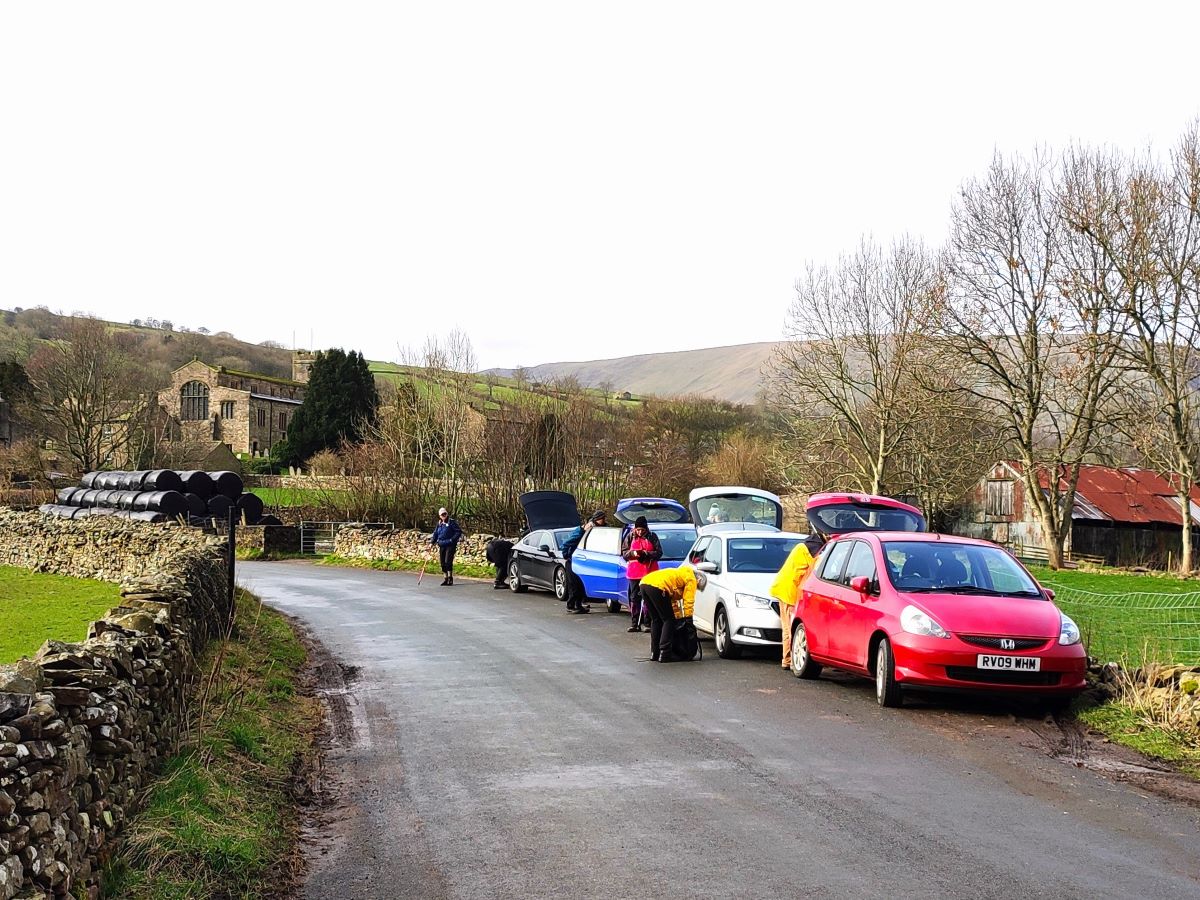
The walk starts in the village centre, with parking at the National Park car park, which boasts toilets and EV charging, or perhaps more conveniently for this route, at the layby just before Church Bridge as you head out from the village toward Cowgill. If you are using Satnav to get there then try Sedbergh & Dent United Football Club, Beech Hill, LA10 5QN as an address, or if you prefer What-3-Words, the tag is clubs.cats.blotting, which corresponds to OS grid reference SD 70698714.
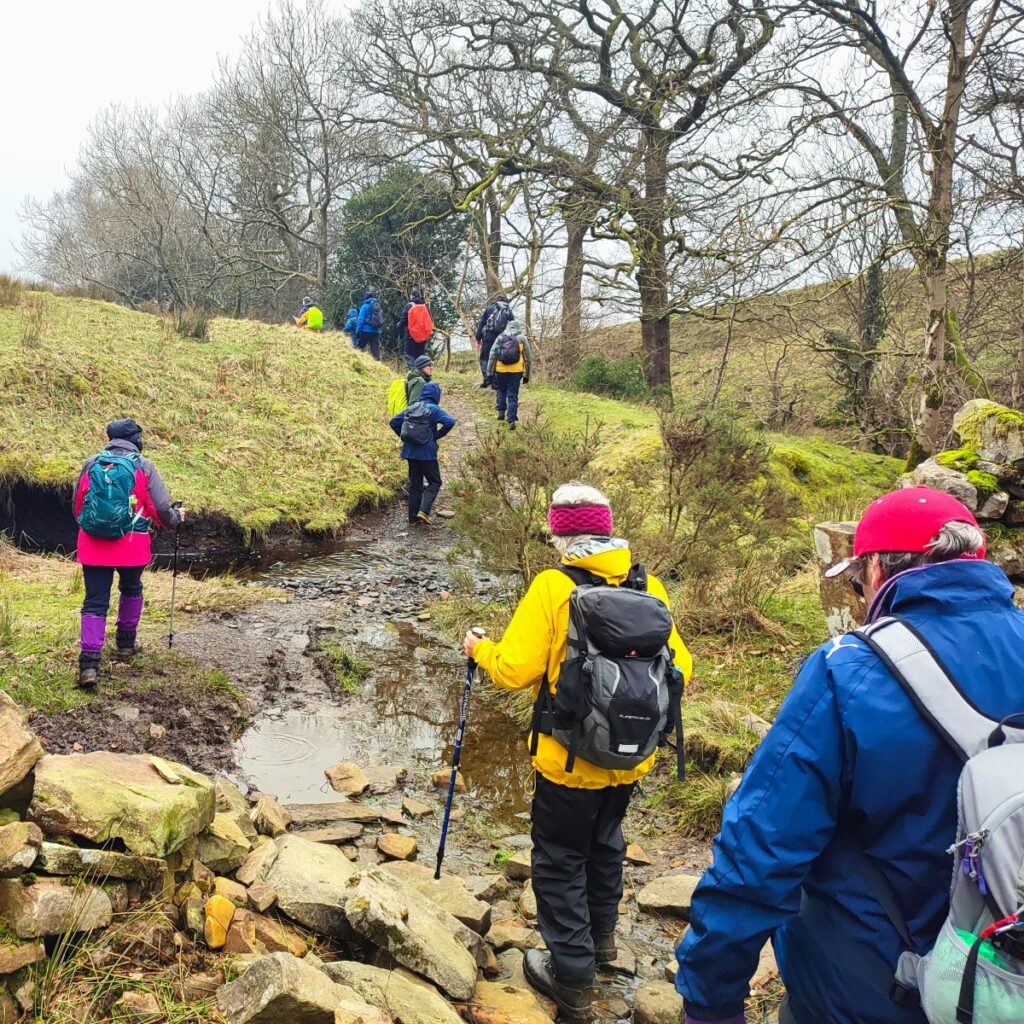
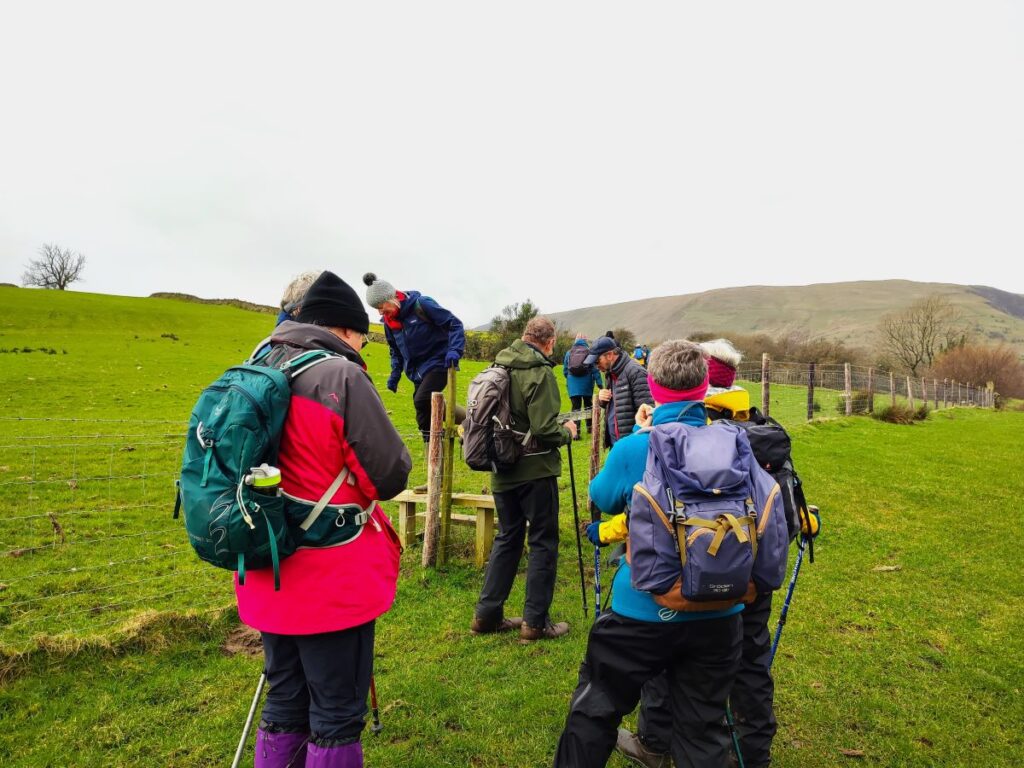
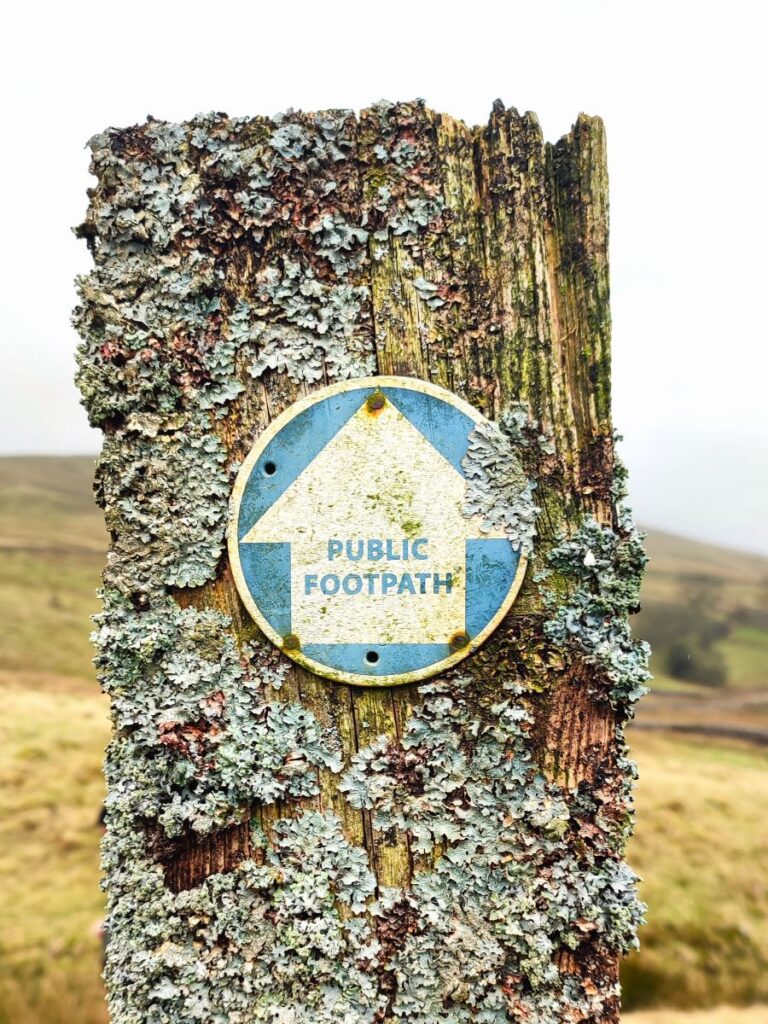
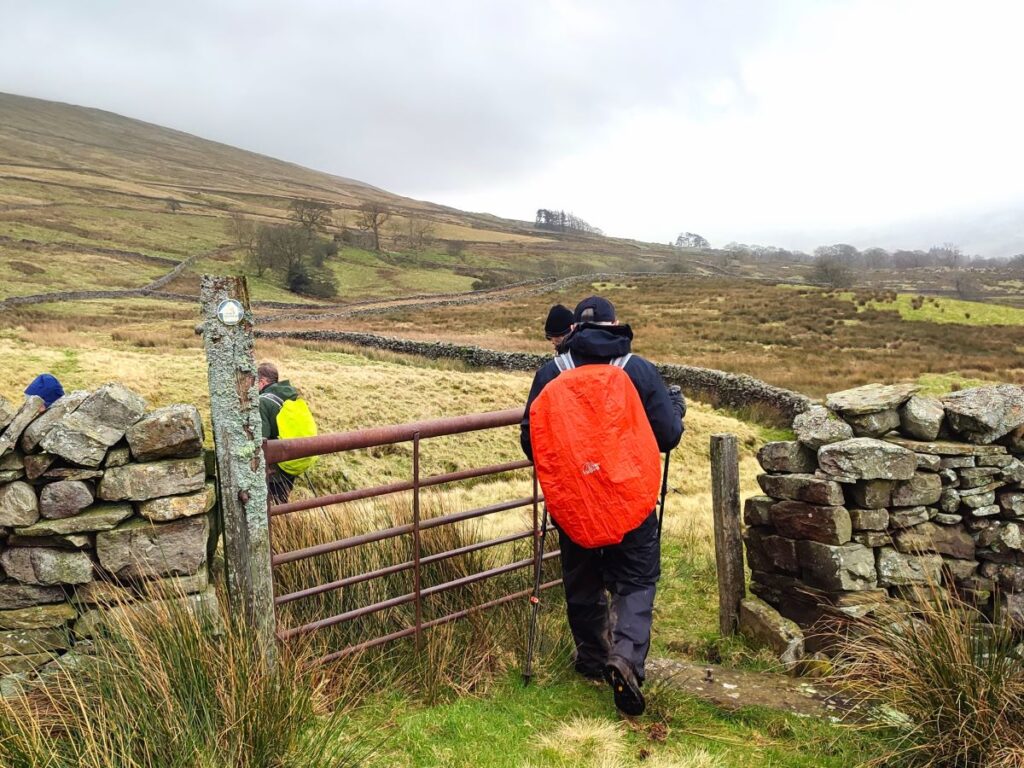
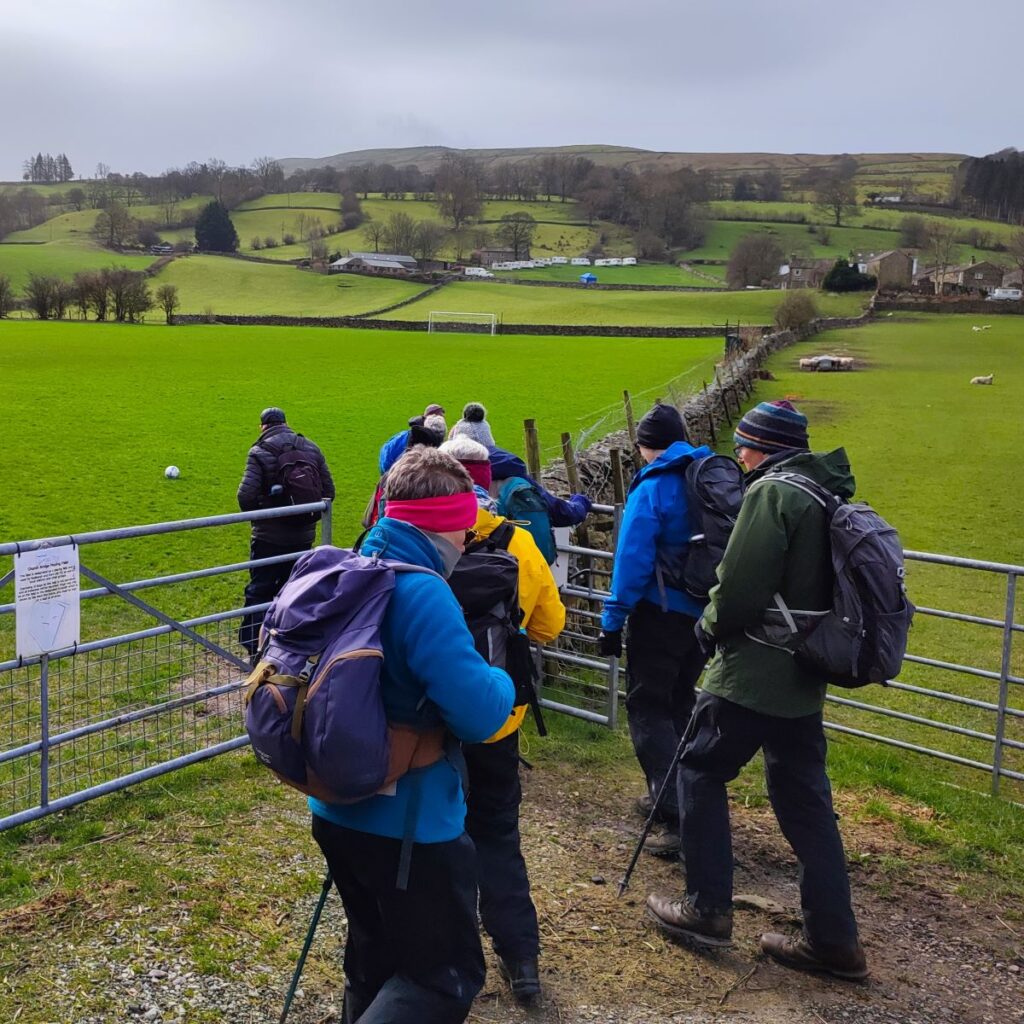
Having parked, we remain on the Dent side of the River Dee and look toward the Church Bridge where we see a sign for the football club with a metal gate next to it – our route onto the fells is via that gate – so don’t be tempted by the Dales Way / Dales Highway routes that run along the riverbank from the bridge – they are great paths, just not our route for the outbound part of this walk – If you do want to explore these long distance paths, follow these links:
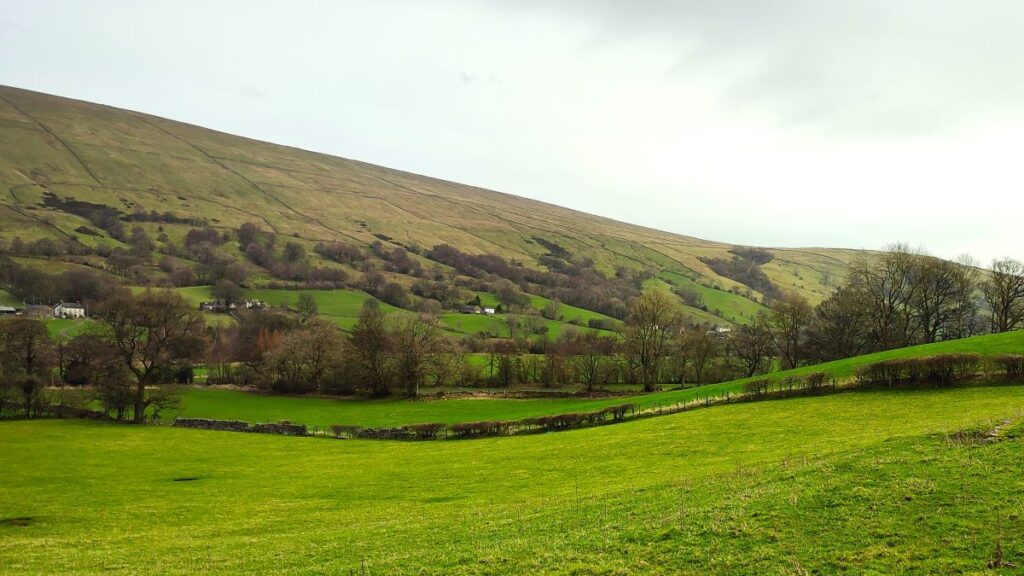
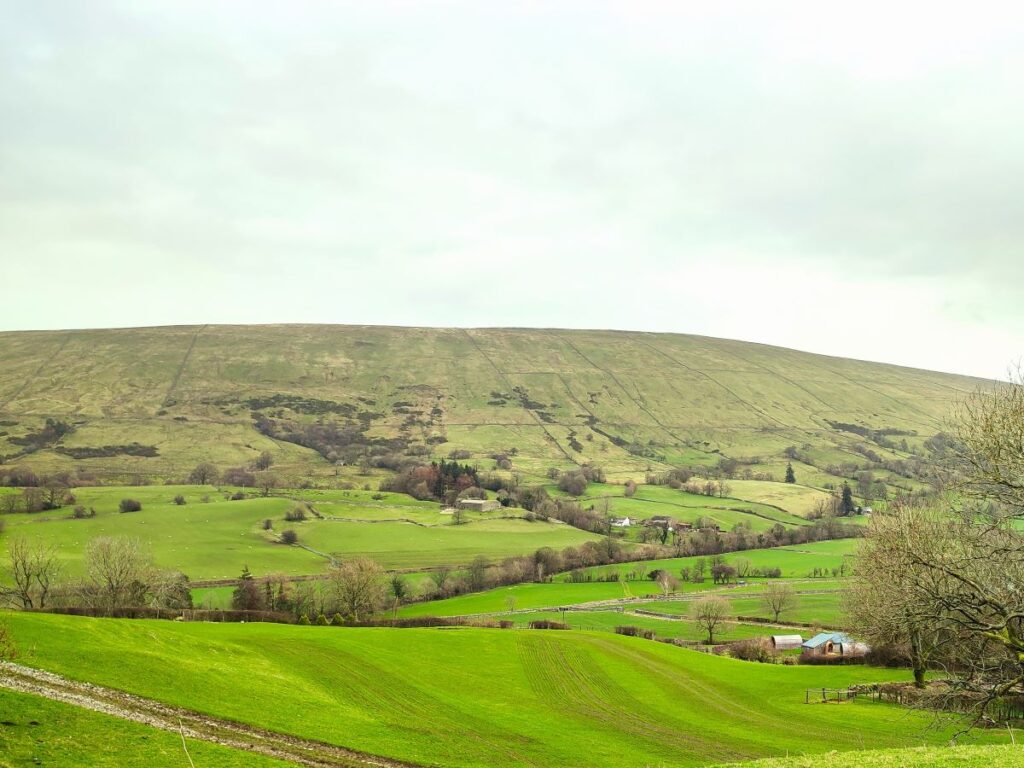
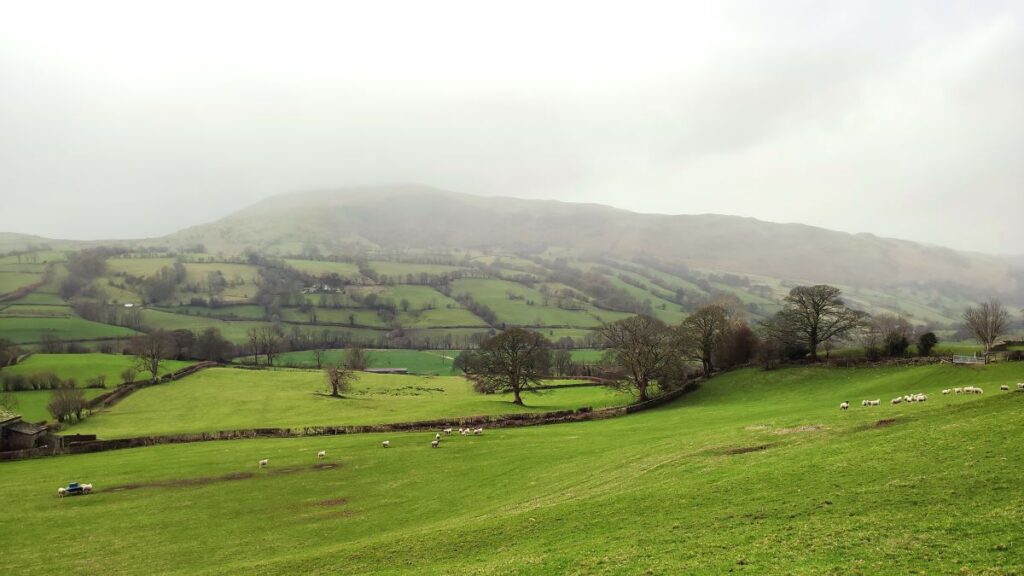
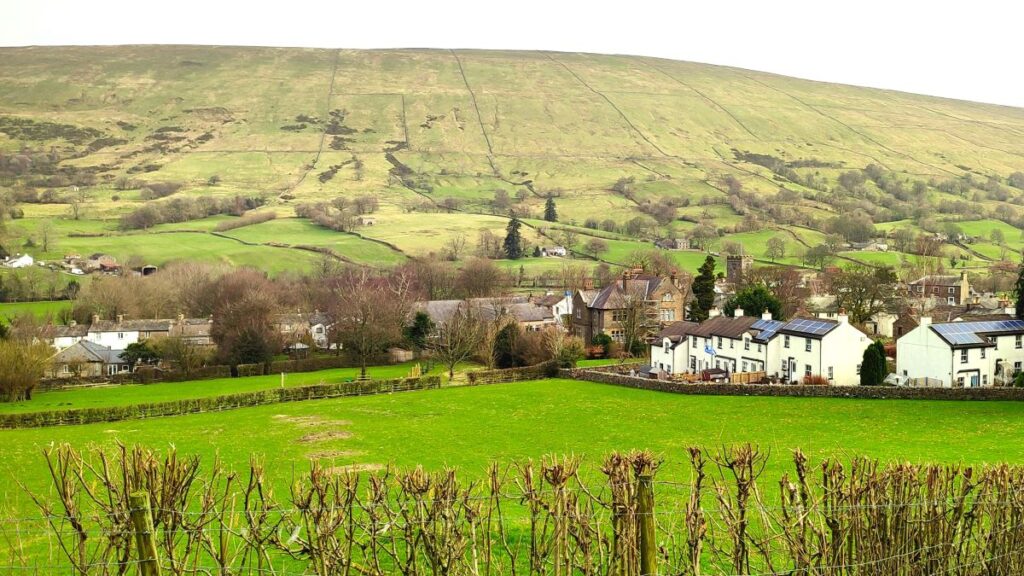
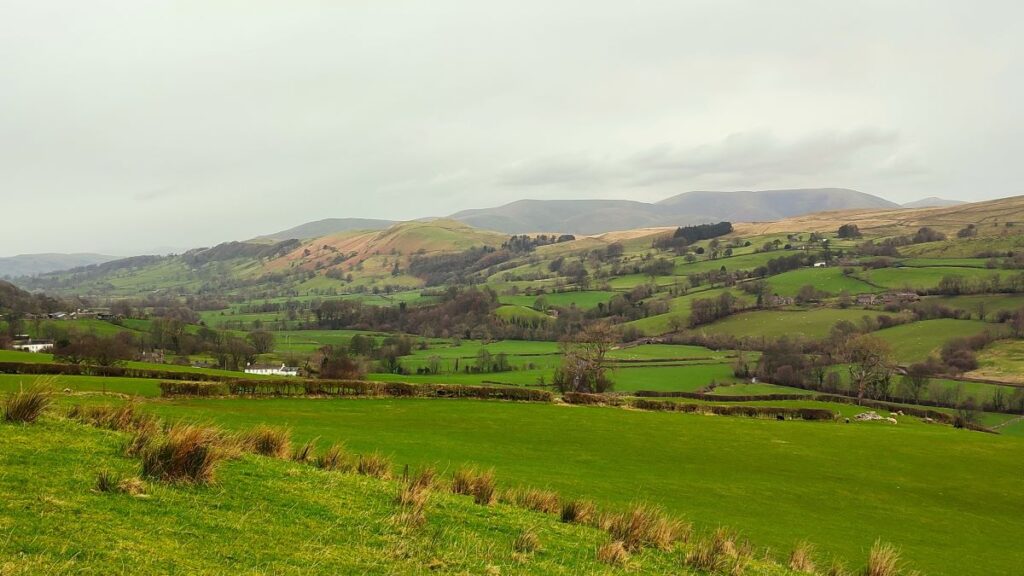
The path runs round the outside of the football pitch – to protect the playing surface – and then crosses to a gate in the opposite corner of the field before following the drystone wall up to a minor lane at Conder Farm. As we approach the lane, we get good views to our right of the village dominated by St Andrew’s Church, whilst behind us, we start to get views across the valley to Aye Gill Peak, the highest part of Rise Hill at 556m.
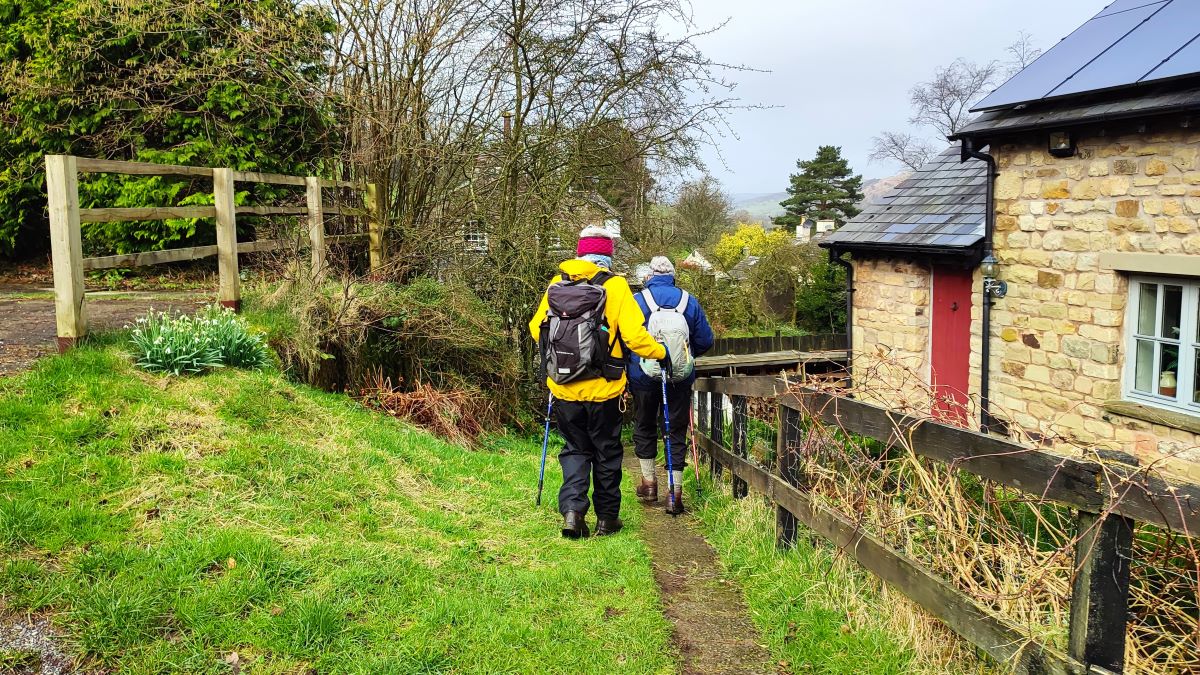
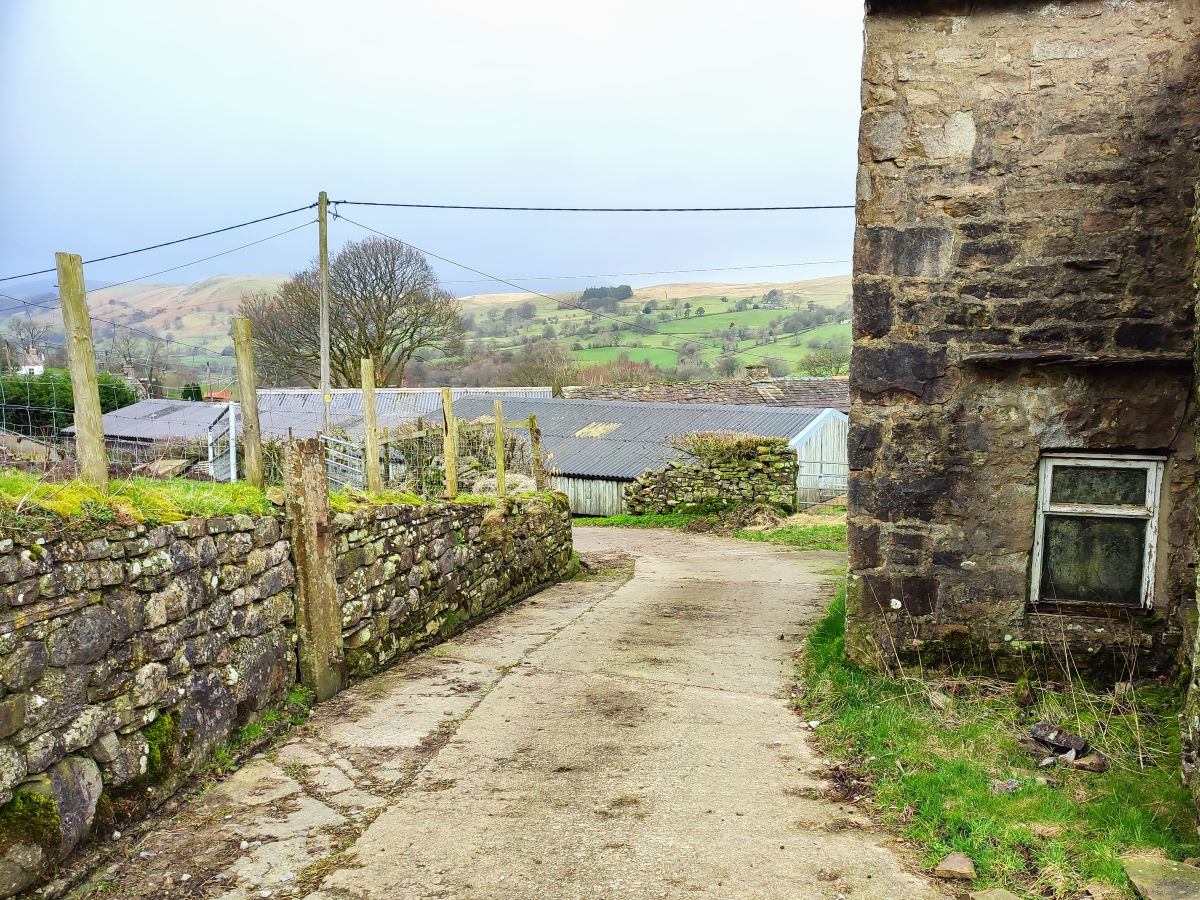
Once we arrive at the lane, we head slightly left, and across to take a concrete track up toward the farmhouse. Only 30m up that track, we look to the right to see a stile in the corner which takes the path onto open fields as we climb gently and loop round behind Dent. We soon approach a low stone building with solar panels, and we need to take the path right next to the house which leads to a wooden footbridge over a pretty beck, and then on to a minor road.
This is the bottom of Flintergill – a rather spectacular gorge with much worth seeing – refer to our Dent walk for more detail of that. Feel free to head left and up Flintergill to explore, but make sure you come back, so you can head downhill for a few metres and then left at a waymarked sign for Mill Beck.

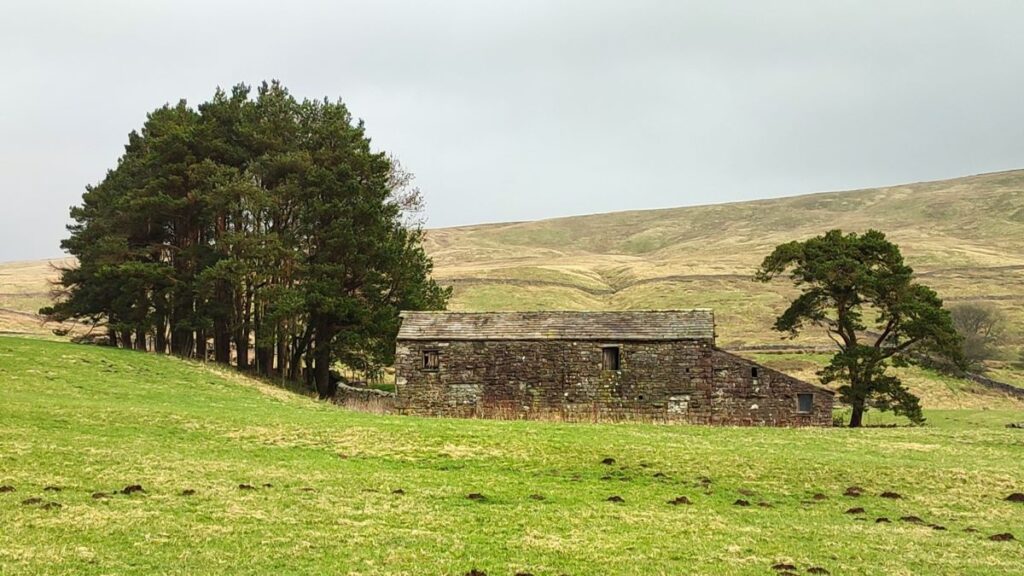
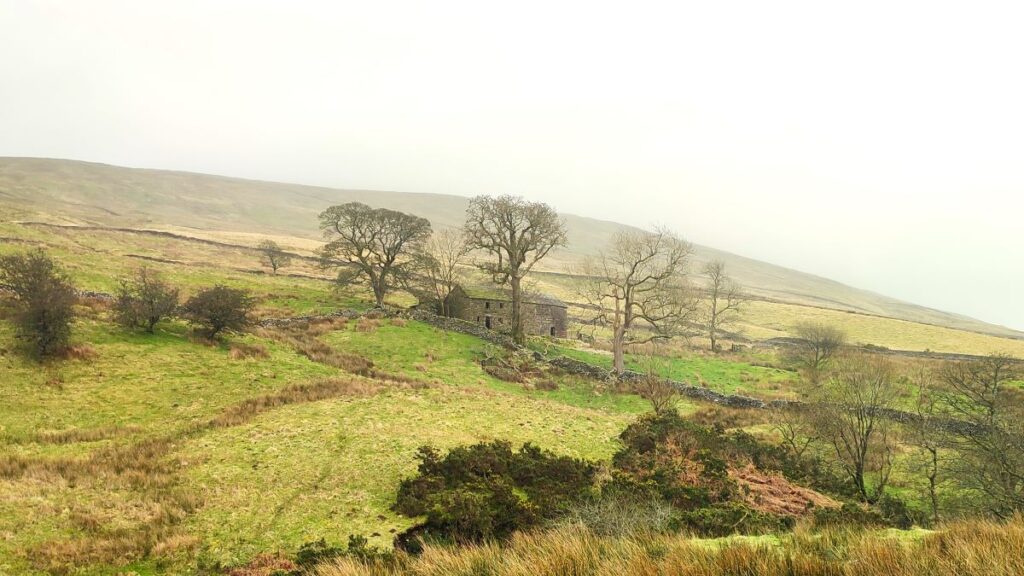
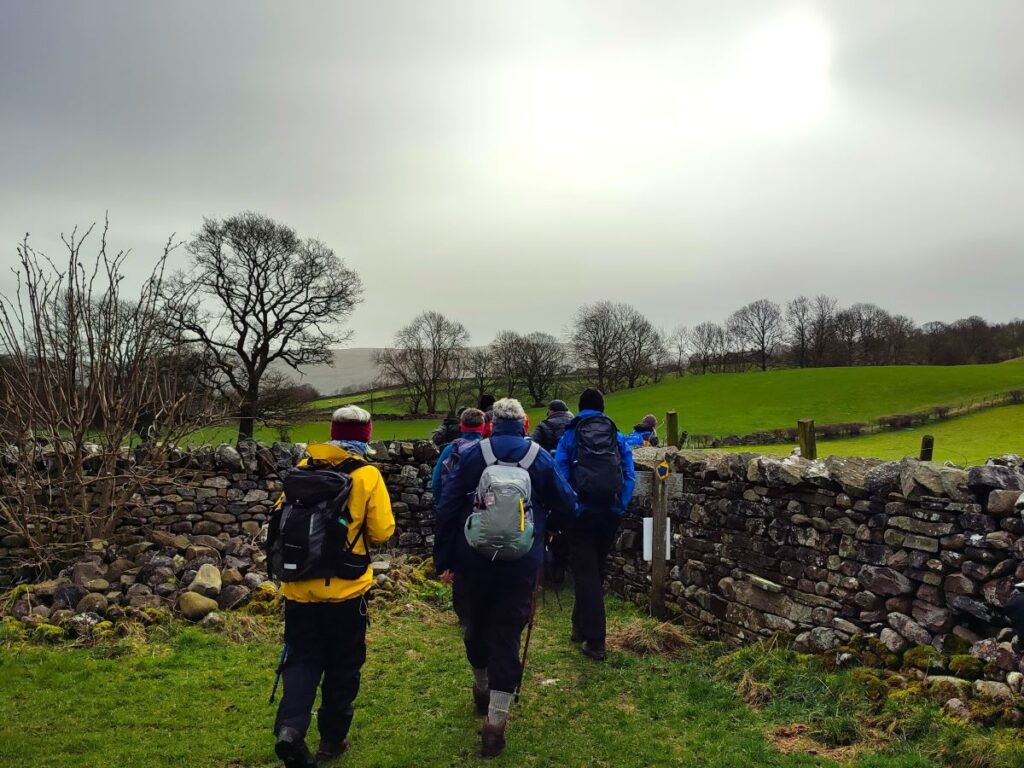
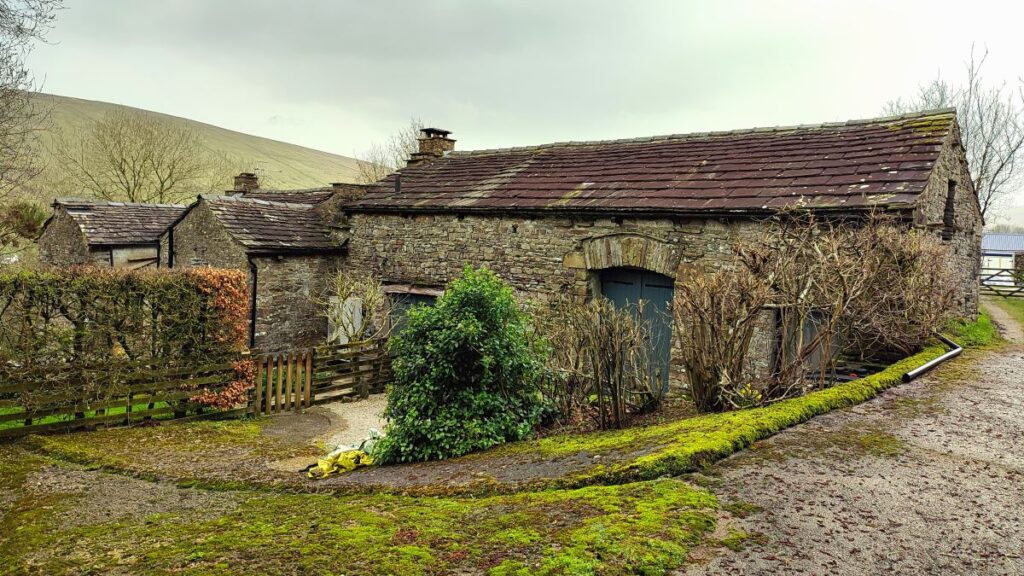
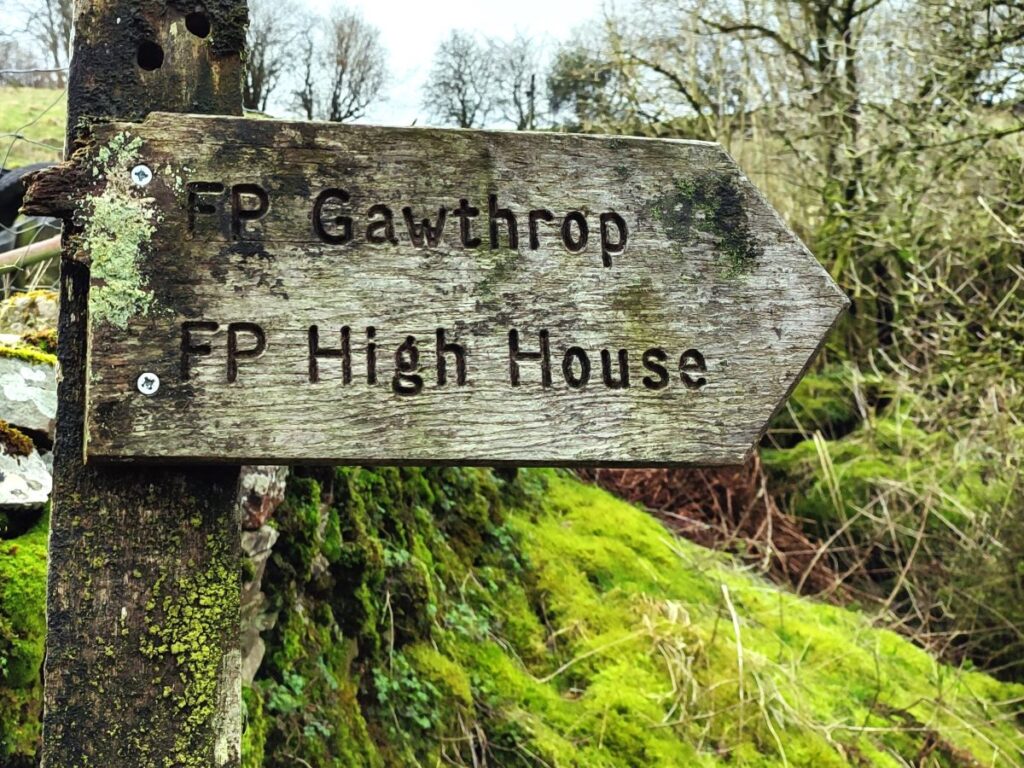
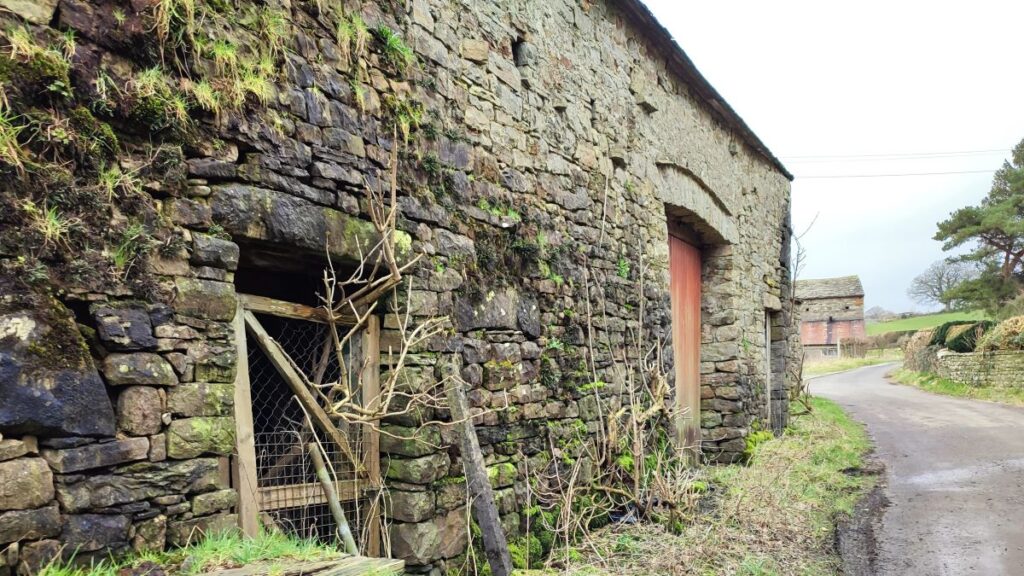
The path now continues through fields, initially following the contours such that we have an easy walk with views down onto Dent, with glimpses of Gawthrop ahead. After about 200m we approach a farm and find the route through to the right of the barn – good quality signage is present, so navigation is easy, then beyond the farm we continue in the same direction (west) toward an attractive stone barn conversion. Here we need the track that continues through the wooden gate – not the concrete farm track that rises steeply uphill – it is signed as a footpath to Gawthrop and High House.
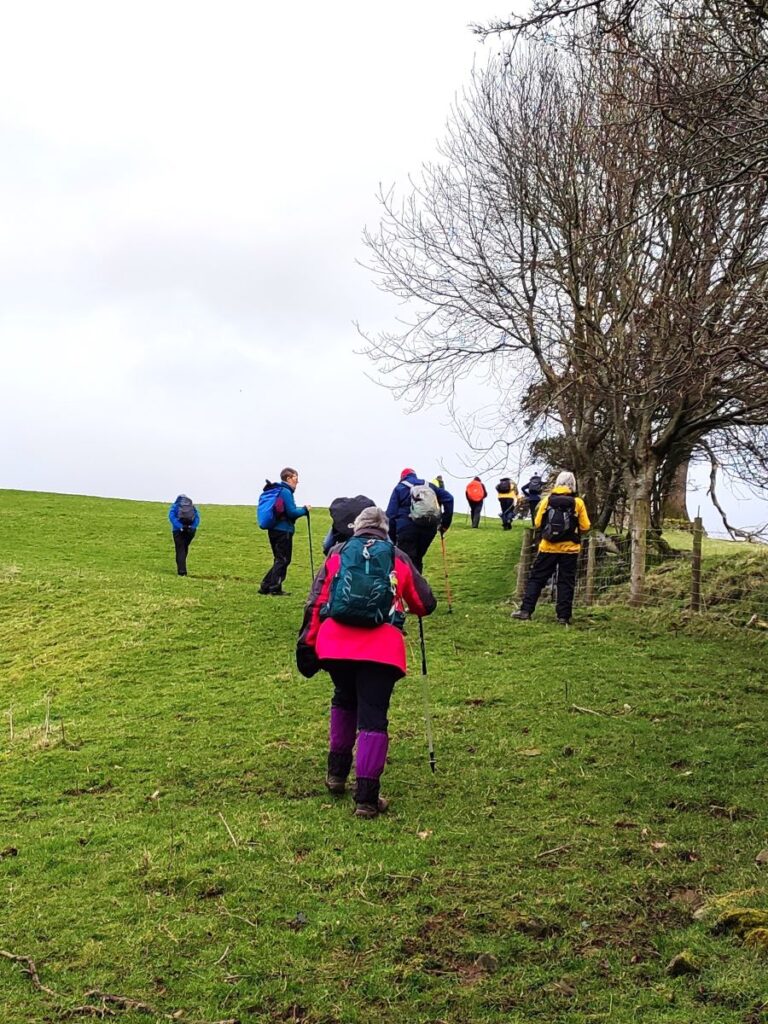
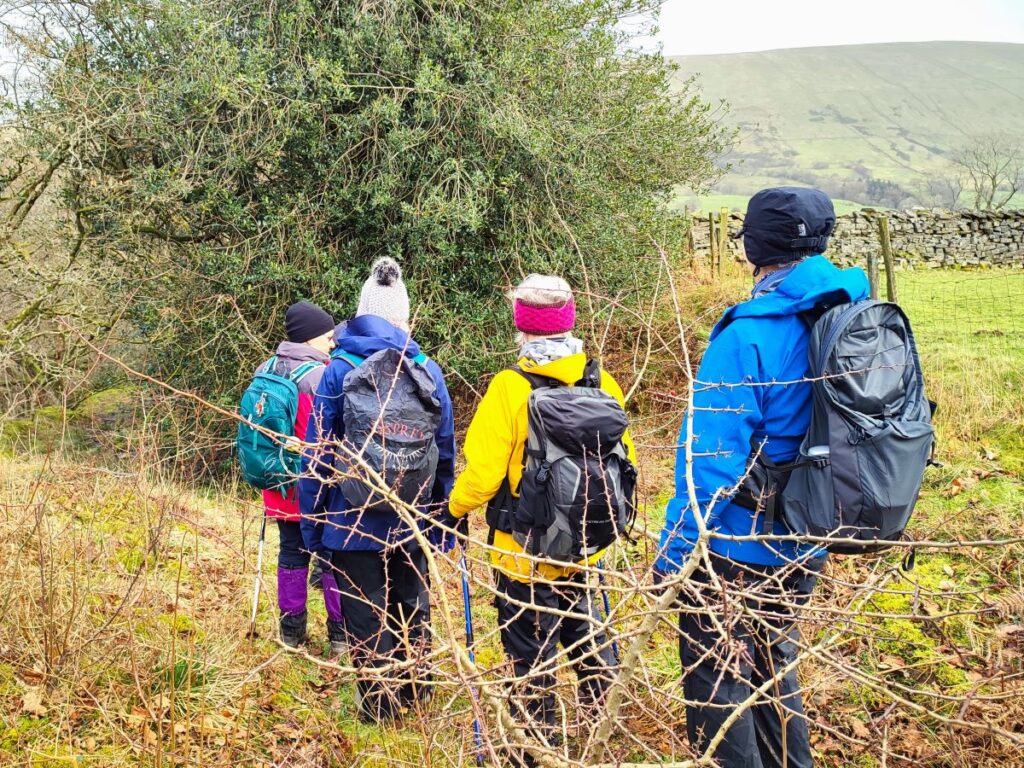
Once through that wooden gate, there are two options for Gawthrop. The route that the sign refers to carries straight on following the contours and providing an easy walk. This misses out the attractive gorge at Gillmire Wood though, and because we want to include that, we need to look for a stile on our left that takes us up onto a rising path that goes onto the fells referred to as South Lord’s Land – the corresponding fell on the opposite side of the valley is North Lord’s Land and in both cases, they refer to Lord Henry Fitzhugh an 15th Century Knight Chevalier who owned most of Dent.
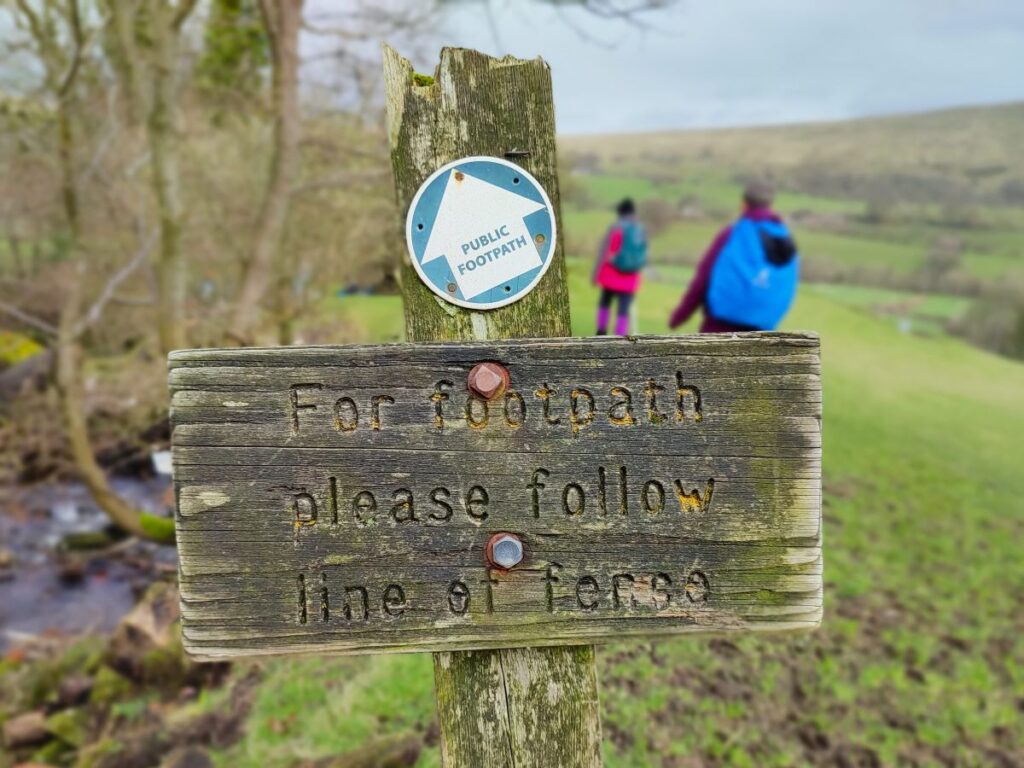
We now head generally west for the next 400m or so, crossing a number of fields as we aim for a barn near the top end of Gillmire Wood. There is a large ladder stile next to that barn, and then just beyond that a second stile leading into the next field. Strictly speaking, the OS map shows the right of way crossing that second stile then heading diagonally over to the very top of the woodland before returning down the side of the tree line back to the very same field we were in after the first stile. We compromised and took the second stile but then kept to the left of the drystone wall to walk over to the edge of the gorge before heading right and downhill toward Gawthrop.

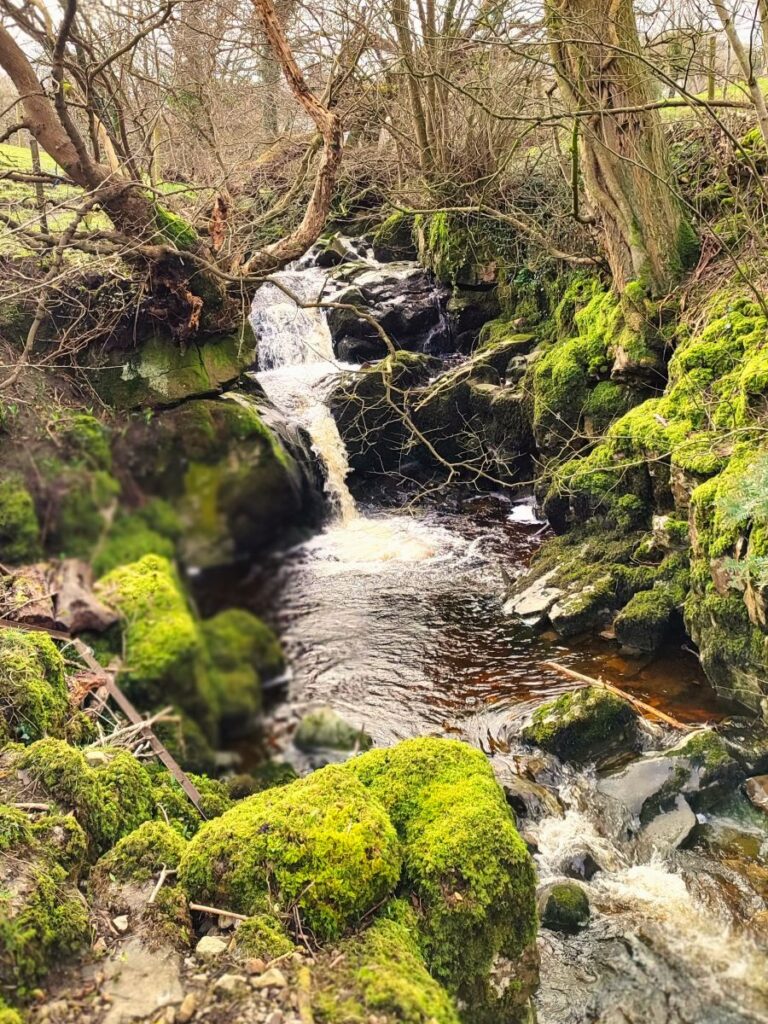
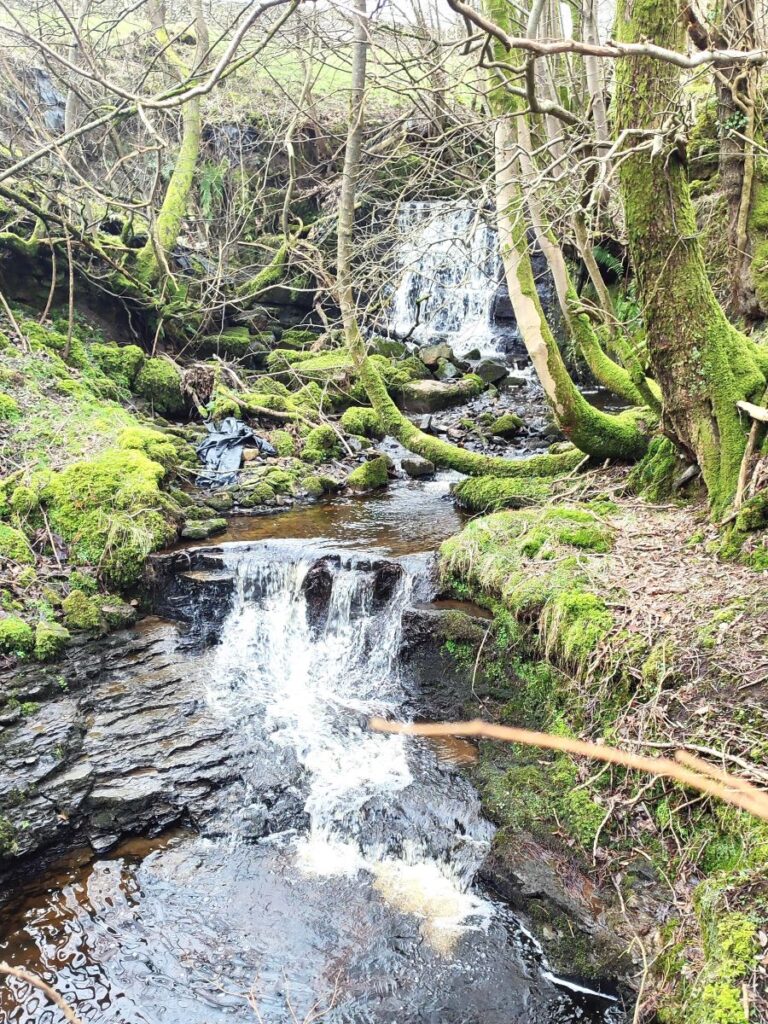
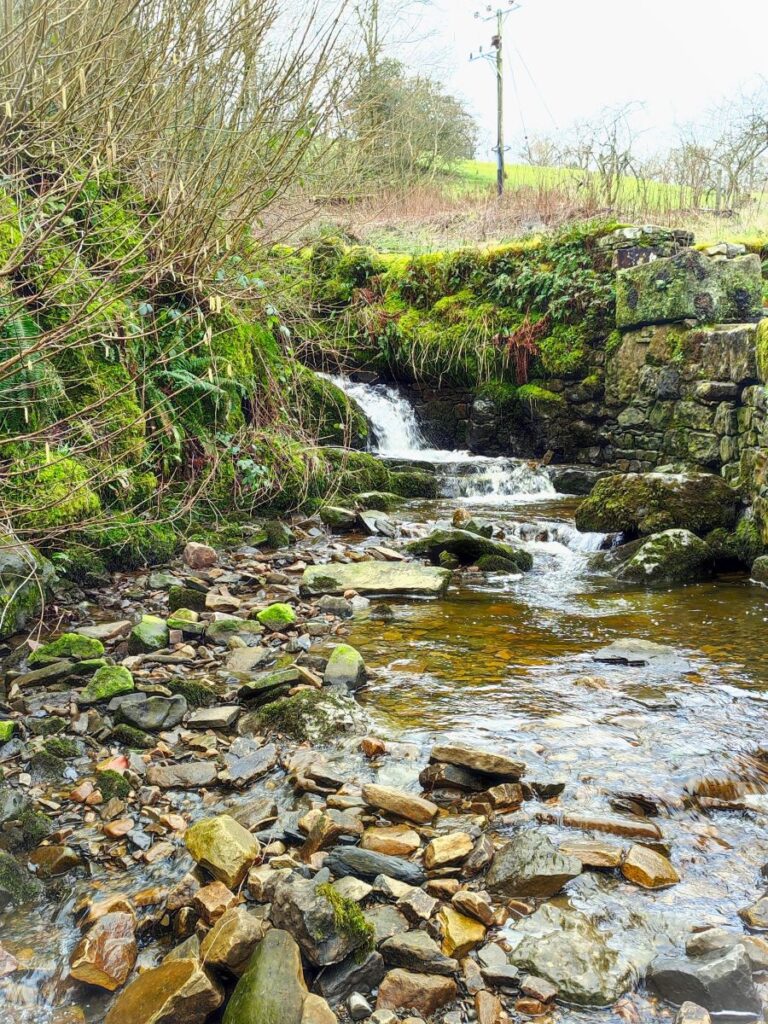
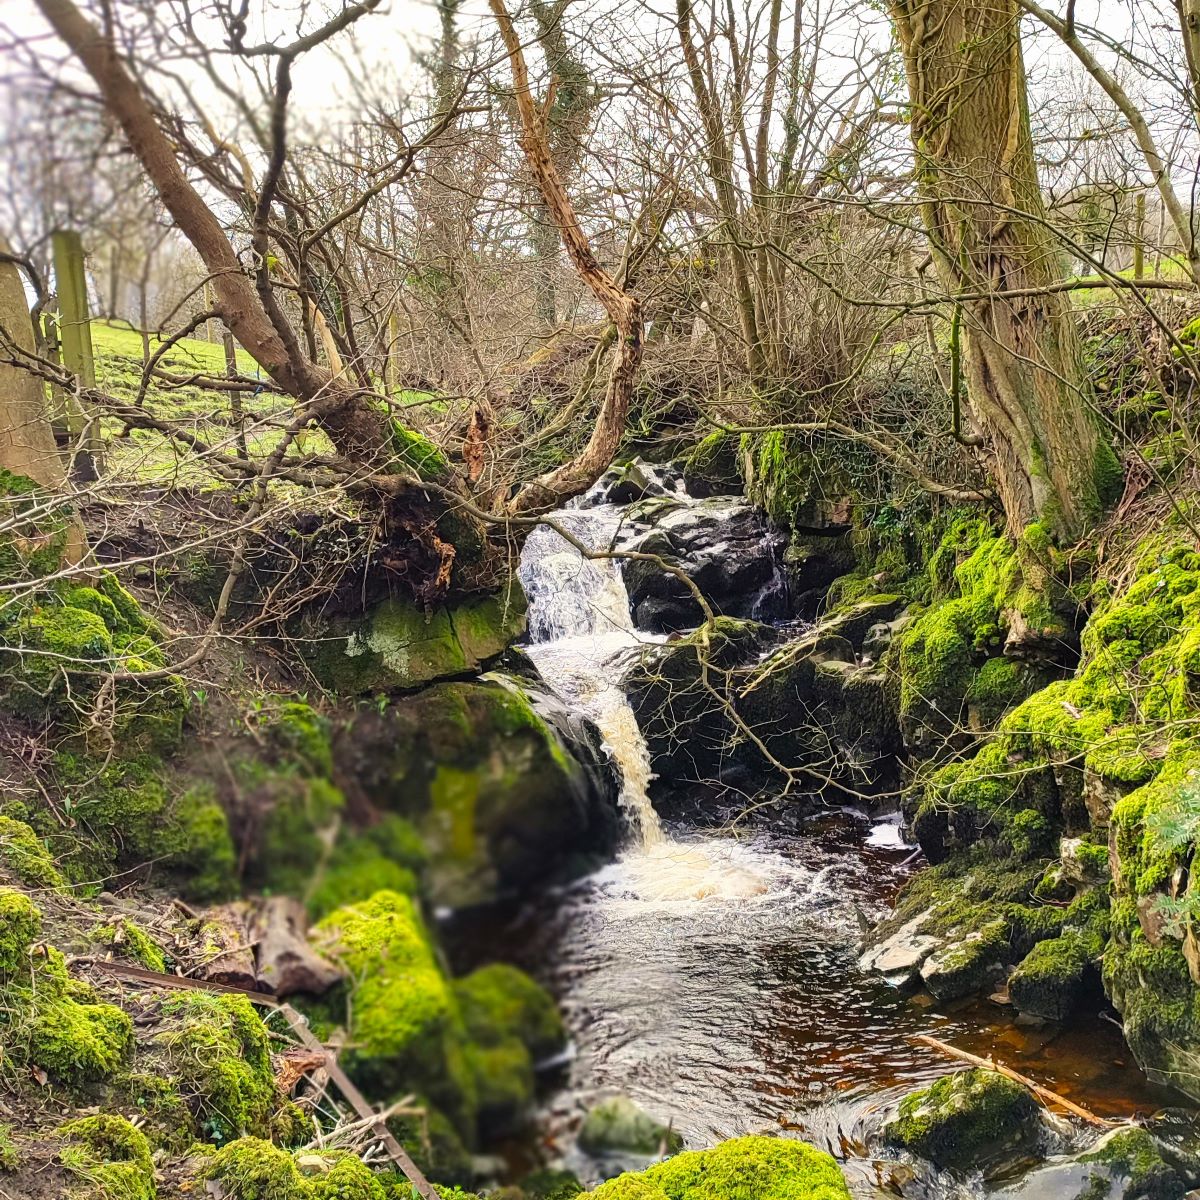
The path down into Gawthrop initially heads through fields as we walk the fence line along the right hand side of a surprisingly deep gorge – through which a stream runs tumbling down a number of waterfalls. The OS map also shows a cave in this area, although we could not locate it.
As we continue to follow the path downhill, it becomes a track and we approach a farm, then as we get nearer, the track veers left, and we follow it down into the tiny hamlet of Gawthrop. We then meet a minor road – the one via which you will have arrived if you came via Barbon, and turn right heading downhill along the road for a short while.
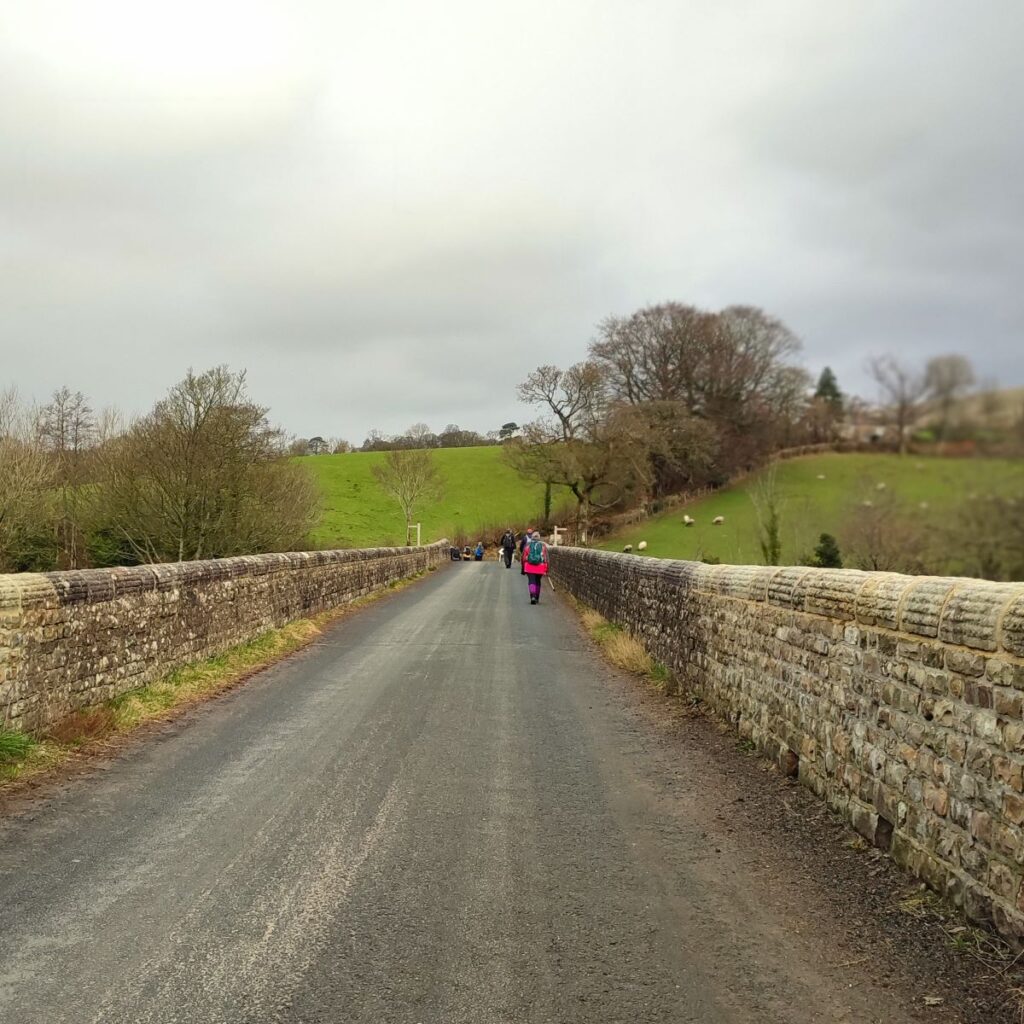
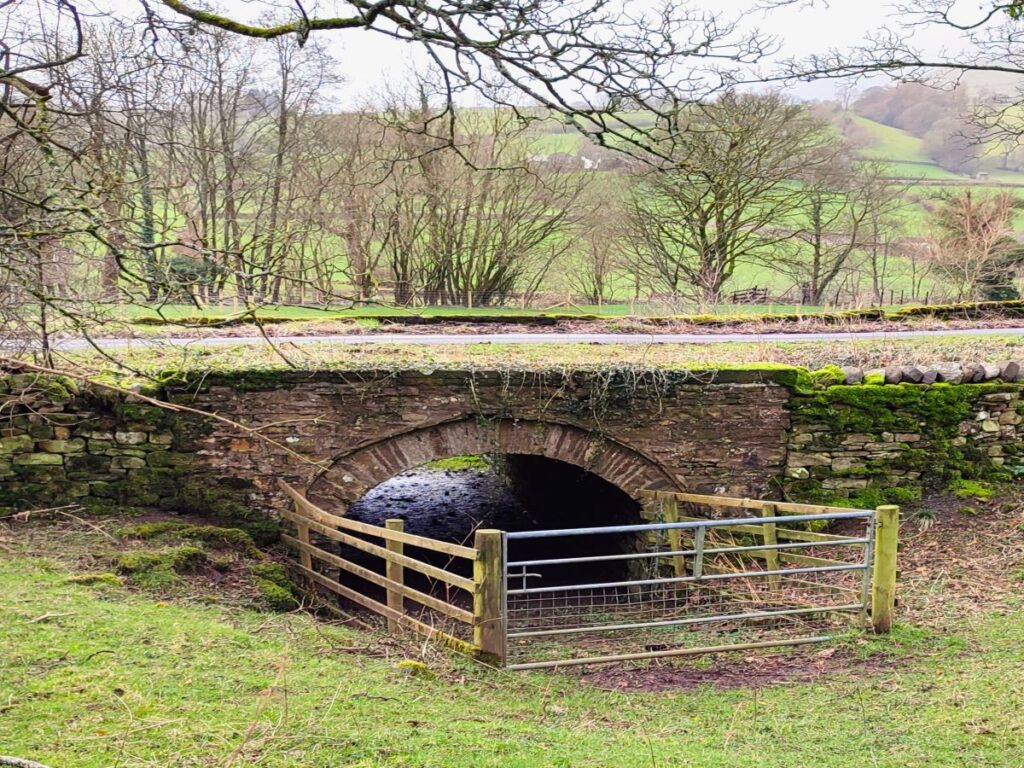
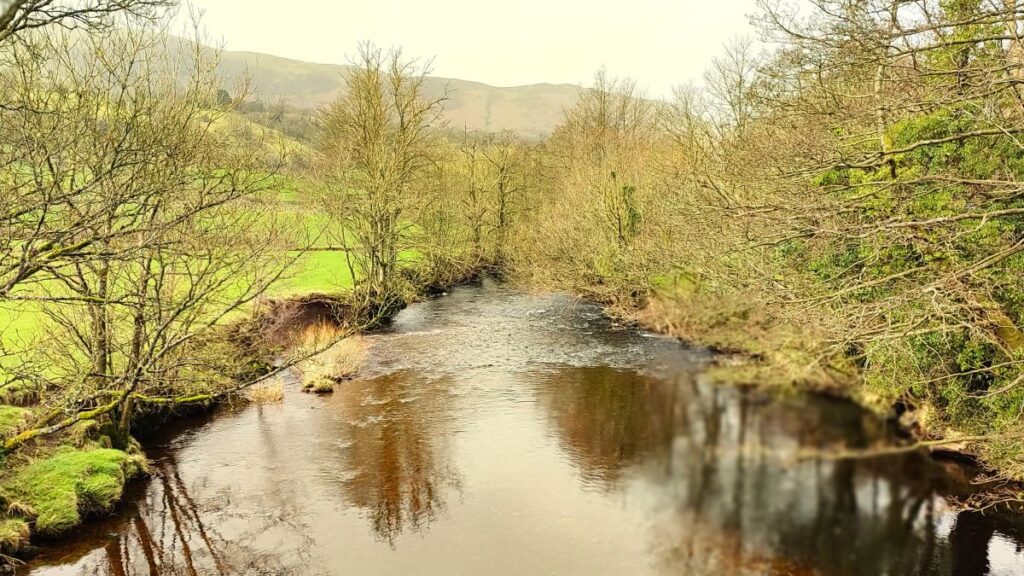
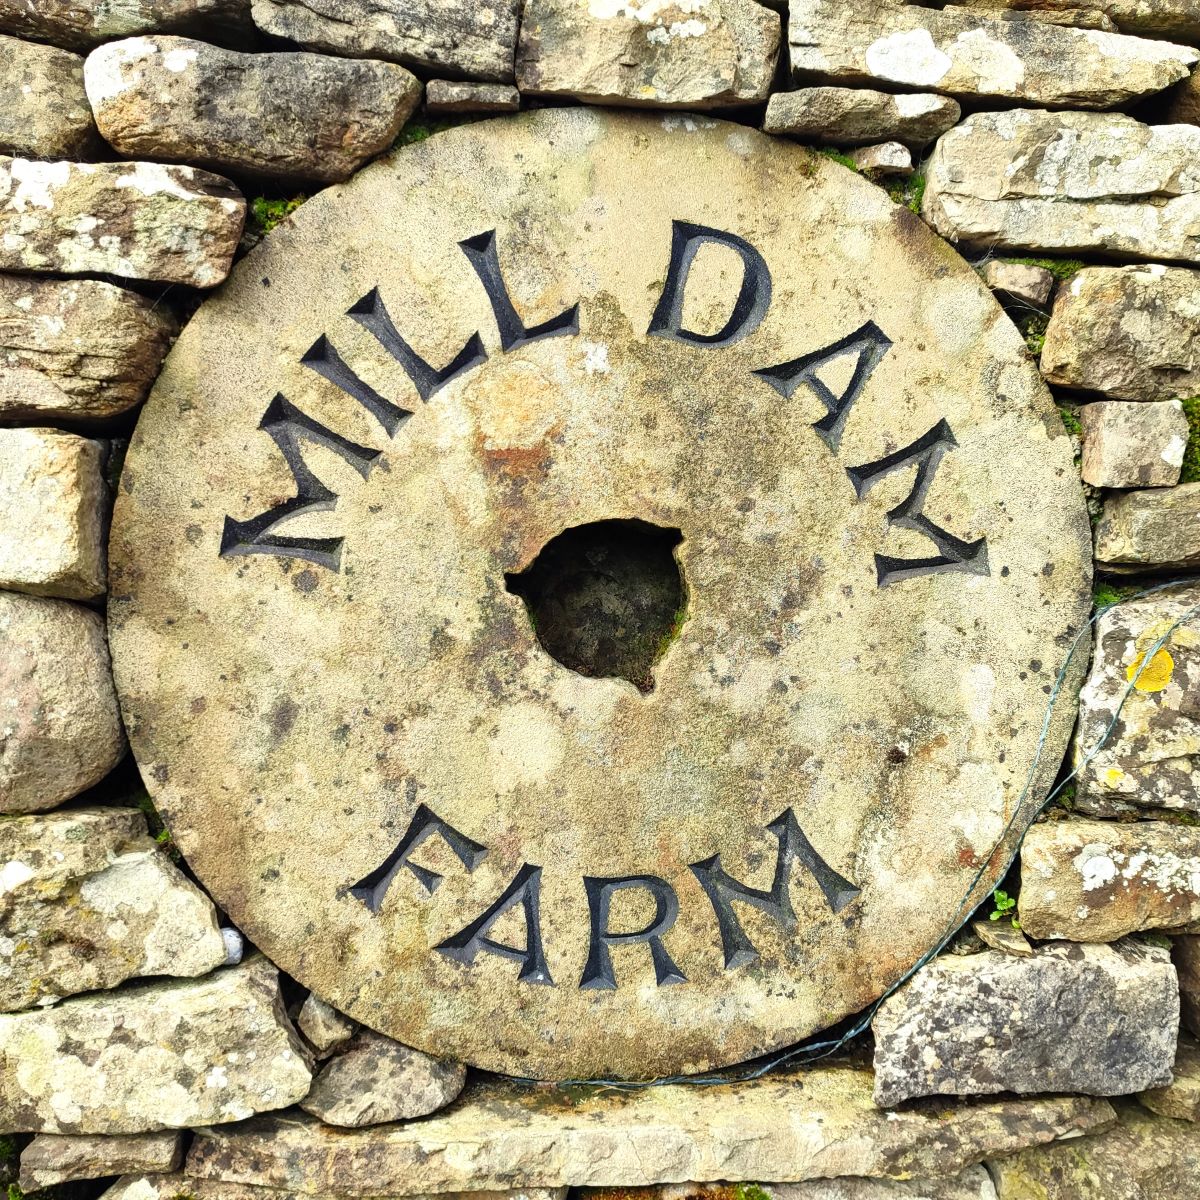
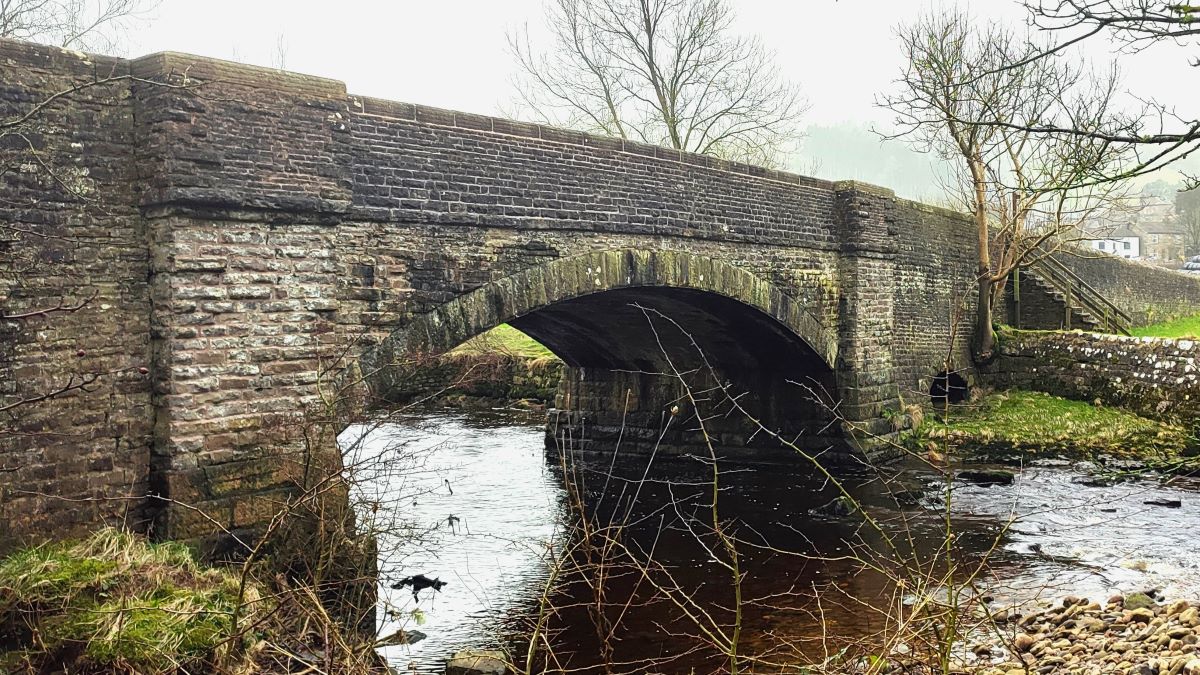
We walk on the road for no more than 30m, and soon see a signposted path leaving the road on the left at Mill Dam Farm. We follow the path to the right of the farmhouse, then head north toward the bridge that we see over the river Dee in the distance – this is Barth Bridge. The path remains clear, and after a couple of stiles and field crossings we arrive at the road just before the bridge.
We follow the road up across Barth Bridge, and then follow the road round to the left where we find a layby – this could be alternate parking if you wanted to do this walk in two sections, as we are now at the pinch point of our figure of eight.
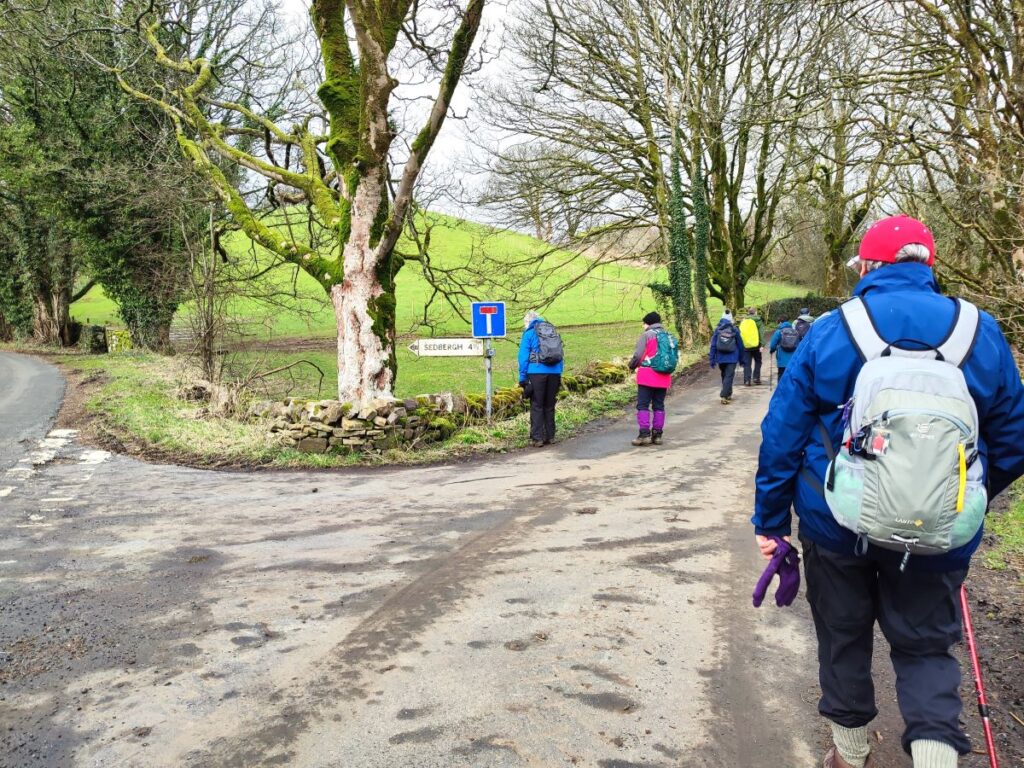
From here we follow the larger road as if heading toward Sedbergh. There is no pavement here, so care is needed, but the road is generally quiet, and we remain on it for no more than 60m before heading up a track on the right. The very minor road we are now on heads up to Lunds where it ends, but the presence of a green lane beyond there suggests that historically this was a more important route.

We now head uphill through an area scarred by historic quarrying works, following the route of the Dales Highway. Approximately 200m up the lane we pass a track on the right leading to Hacra, but keep to the left and carry on for 50m to Hole House. Here the Dales Highway stays on the road, but we turn right and take a smaller path up the steep side of Hining Hill to Lunds. If you miss this turning, don’t worry – we end up back on the Dales Highway soon.
As the initially steep climb starts to level off, we arrive at a farm and cross a couple of stiles to return to the minor road that we were on just a few minutes ago, back on the Dales Highway, with Lunds directly ahead.
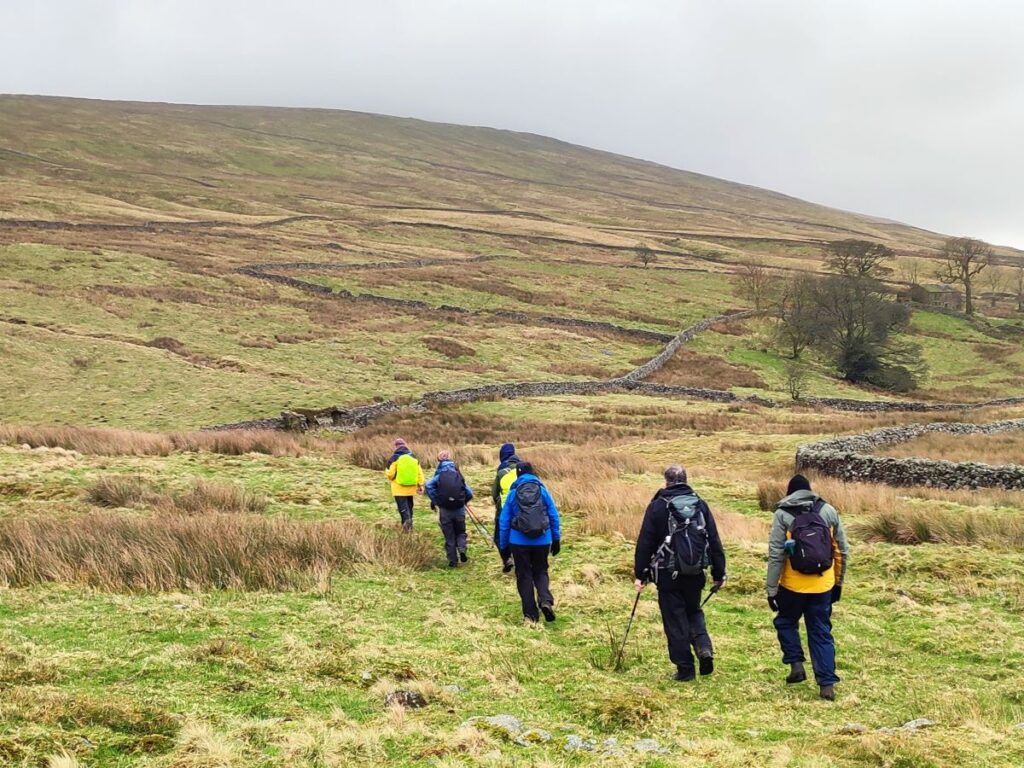
The metalled road ends at Lunds, and we continue on a green lane for a while – we now have North Lord’s Land to our right and Helms Knott over to our left. We stay on the green lane for about 400m and then see a path exiting on the right at a wooden gate – this could be easy to miss – so take care to spot the roundel or follow our GPX.
From here, the path tracks the line of the drystone wall which is to our right – but be aware that the terrain here can be quite boggy, so we took a more northerly route further from the drystone wall to minimize the mud.

As we follow the wall round, we find ourselves heading south, and soon start to head downhill in a gorge created where a beck carves its way down Hining Hill. We stay with the path, passing waterfalls, until the slope evens off and we see a farm ahead. We don’t go as far as that farm though – we need to locate a gate on the left which takes onto a path over fields toward High Barth.
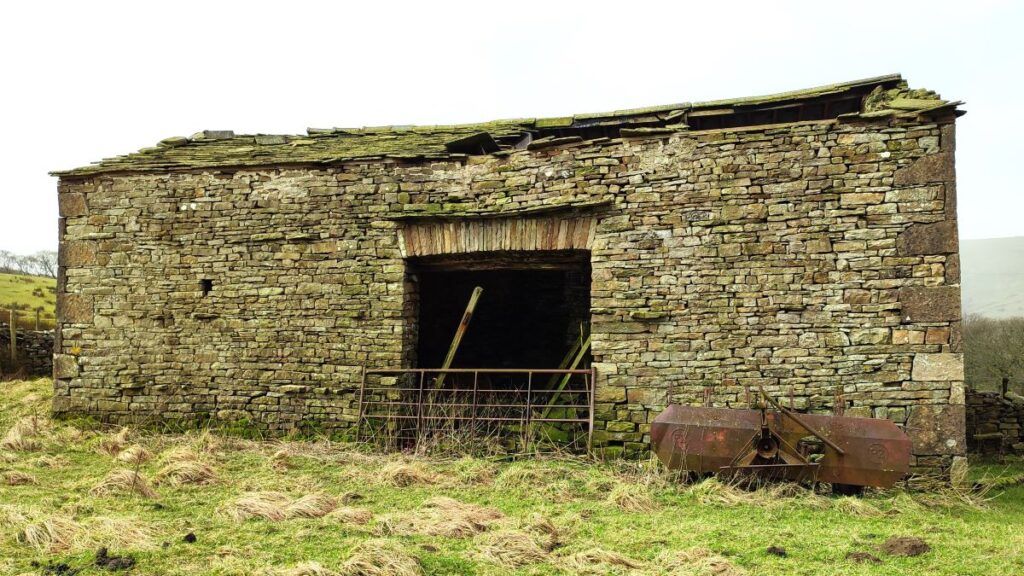
The path to High Barth goes through four fields, and heads consistently southeast until we arrive at a gate where we meet a farm track. We turn right here and head downhill. The track is initially rough and muddy but becomes firmer and better maintained as we pass High Barth, Low Barth, and eventually becomes a metalled road as it arrives at Barth Bridge – this should of course look familiar – we were here an hour ago.
Back at the north side of the bridge we see a very small road on our left – this follows the course of the Dee upstream and back to Church Bridge. We encountered no traffic at all on this road, but if you prefer to avoid roads there is an alternate path on the far side of the river that runs through fields. The only disadvantage of this alternate route is a (very) small section back on the busier Sedbergh road to be negotiated, so we opted for the northerly option.
We stay on the road for about 1200m – there is no real navigation to do as there are no side paths until we get to a fingerpost on the right with a clearly visible path down to Church Bridge. We take this path and then climb back up to the bridge at a stone staircase before heading across the bridge and back to the cars.
For more detail about Dent and Dentdale, try these links . . .