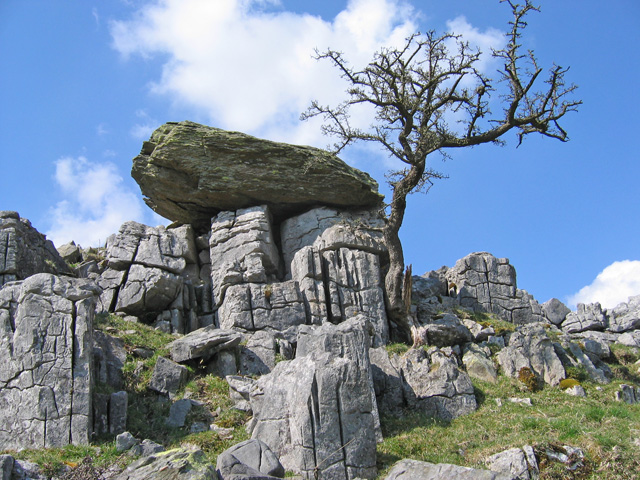
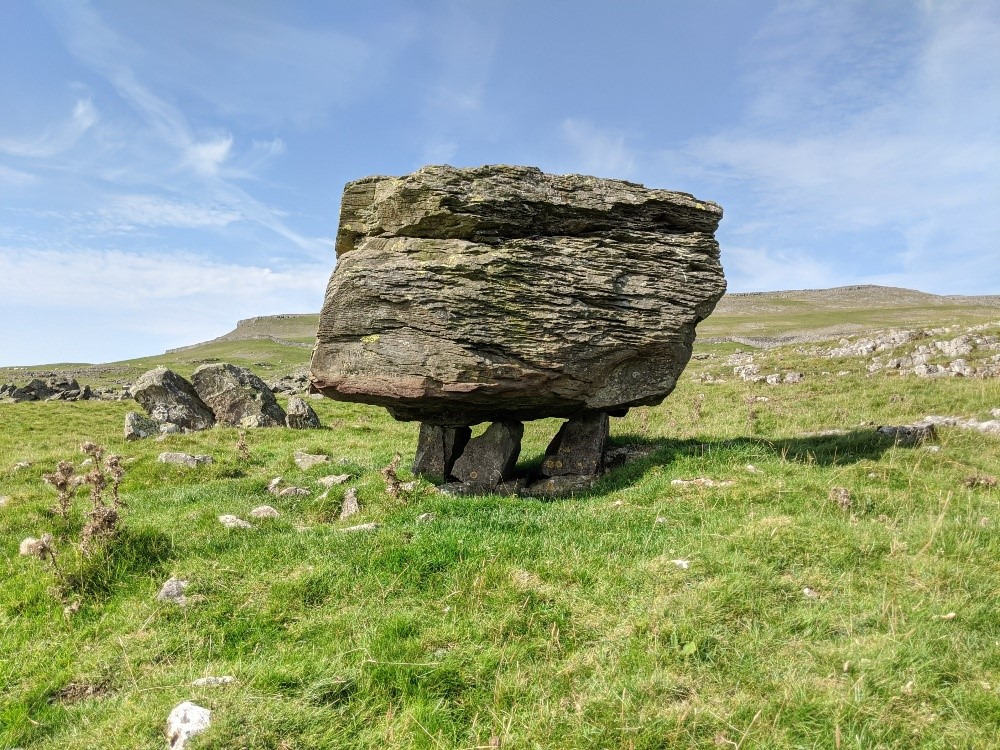
The Norber Erratics are one of the gems of the Yorkshire Dales National Park: Many of the Silurian boulders at the site are perched on pedestals of limestone 30cm high. They were probably deposited by melting ice sheets at the end of the last ice age, around 12,000 years ago. The pedestals have developed because the Erratics have protected the underlying limestone from solution by rainfall, giving estimates of the rate of lowering of the surrounding limestone pavement of around 25mm per 1000 years.
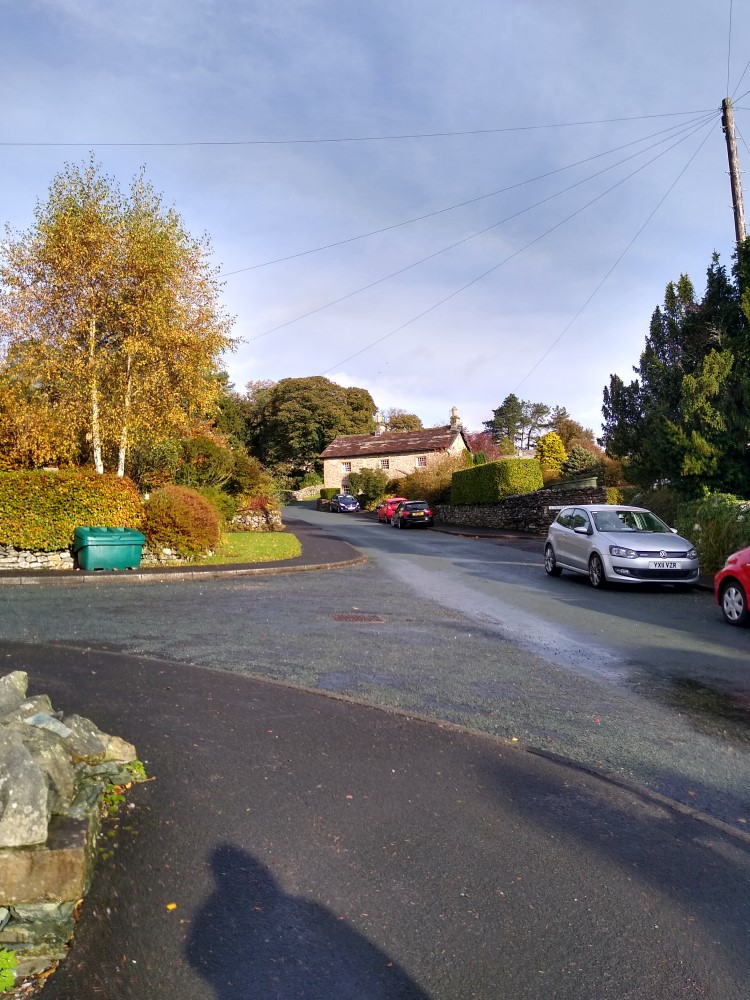
Start at Austwick village – Parking for this walk is ideally at Town Head Lane off the road to Horton-in- Ribblesdale just past the school, although a starting point anywhere in the village will work. Parking is on-street so please be considerate to residents.
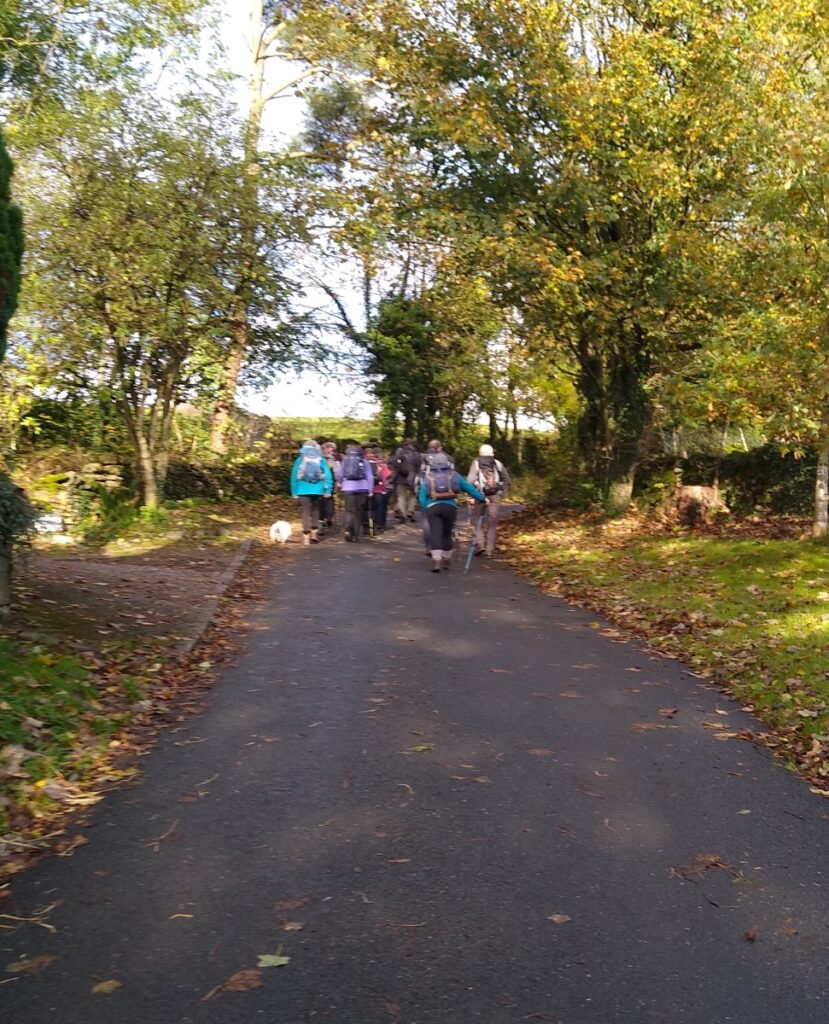
We leave the cars and walk up Town Head Lane on the road which soon becomes quite steep. There is generally very little traffic here, but occasional farm traffic does pass so care is needed.
As we leave the village behind we see a path leaving the lane on the left – ignore this and stay with the lane until we meet a cross road where a bridleway crosses. This is the Pennine Journey Bridleway, a useful link from Clapham to Austwick and beyond that remains passable in almost all weather conditions. We take the Bridleway left but follow it for only 40m or so until we see a stile and gate entering a field on our right to access a path which leads to the Norber Erratics.
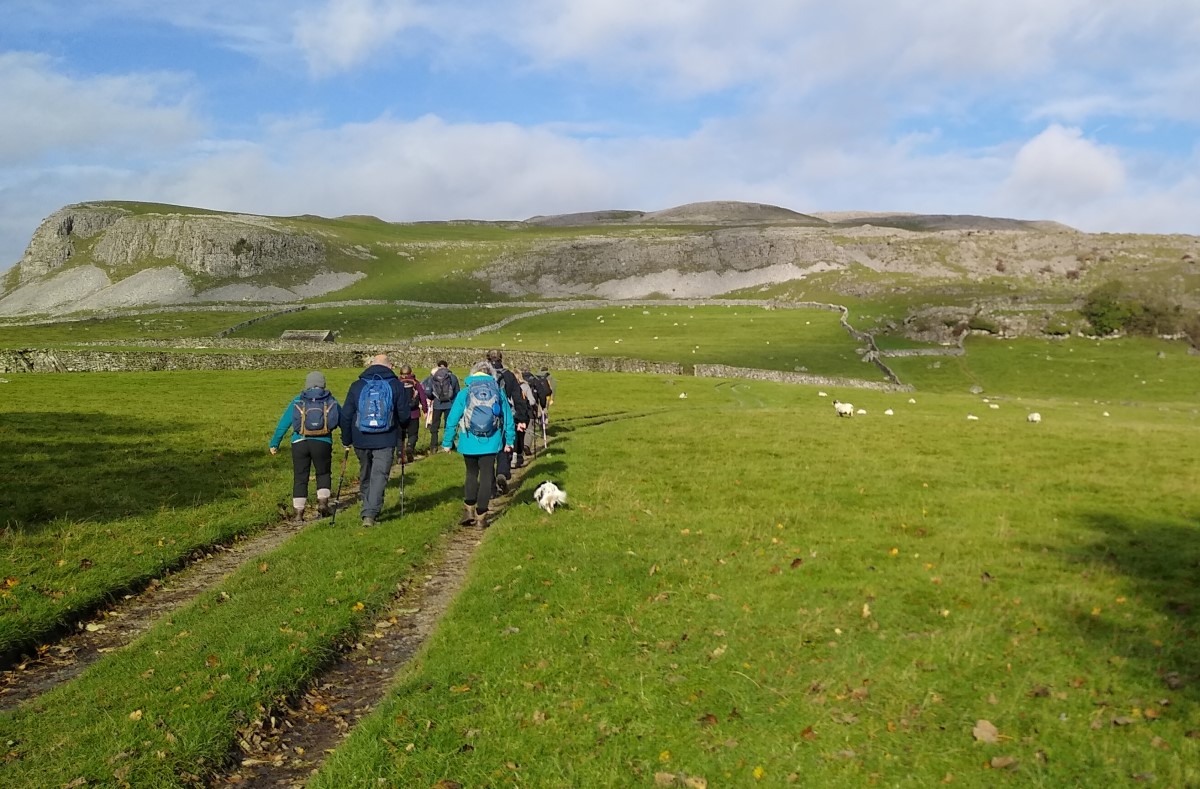
The path initially follows a farm track that heads diagonally across the field to a gate into the adjacent field. We don’t take that gate – our path carries on straight ahead toward the looming scar – known as Robin Procter’s Scar.
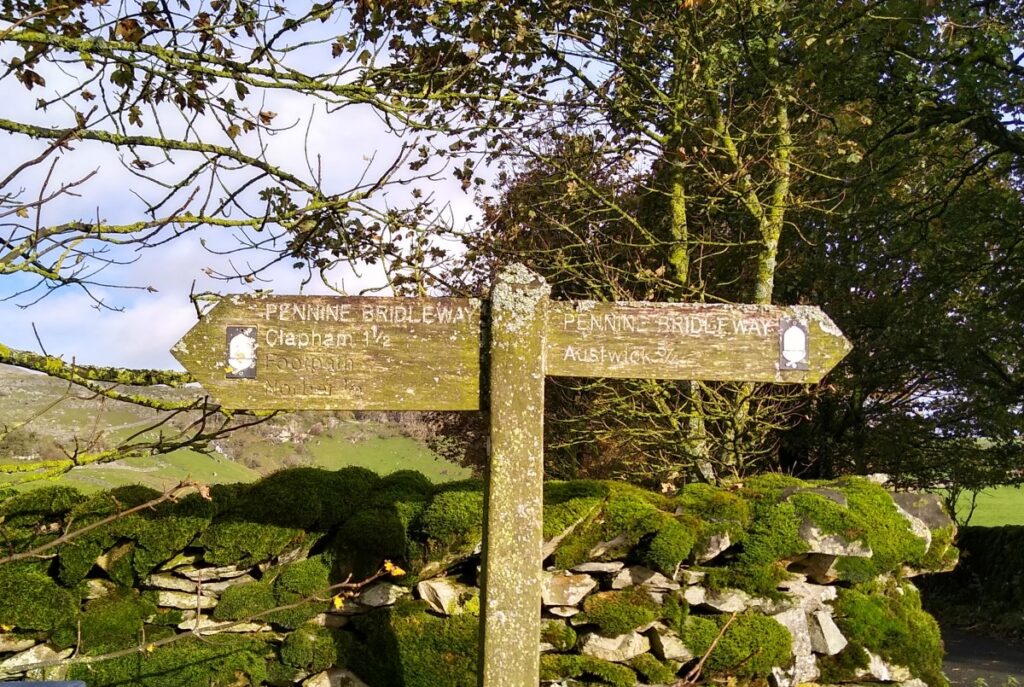
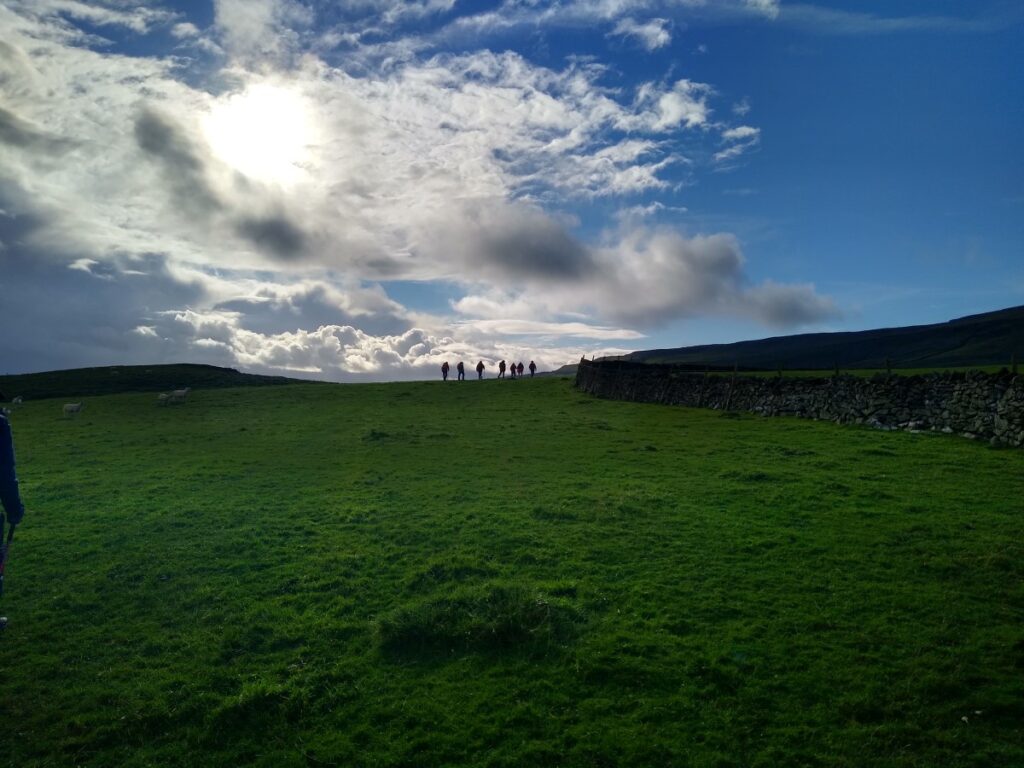
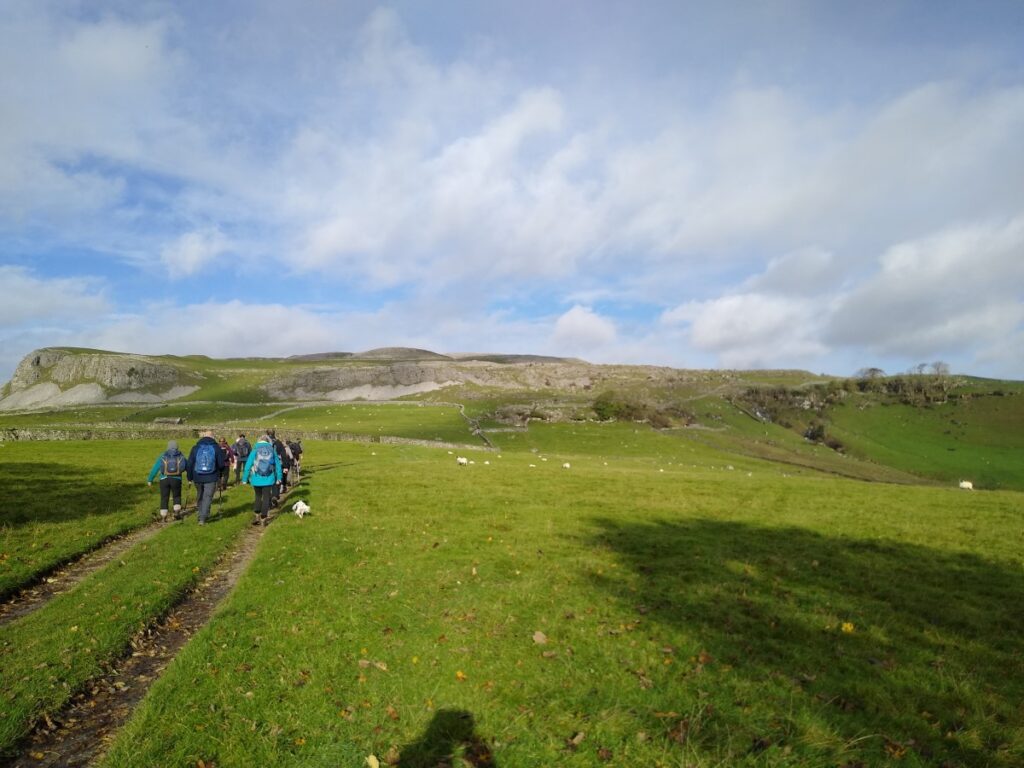
We pass through a pedestrian gate into the access land where our path is crossed by another that follows along the base of Robin Procter’s Scar. We press straight on and steeply up toward Norber. Our direction of travel at this point is North, and the four way fingerpost will be helpful.
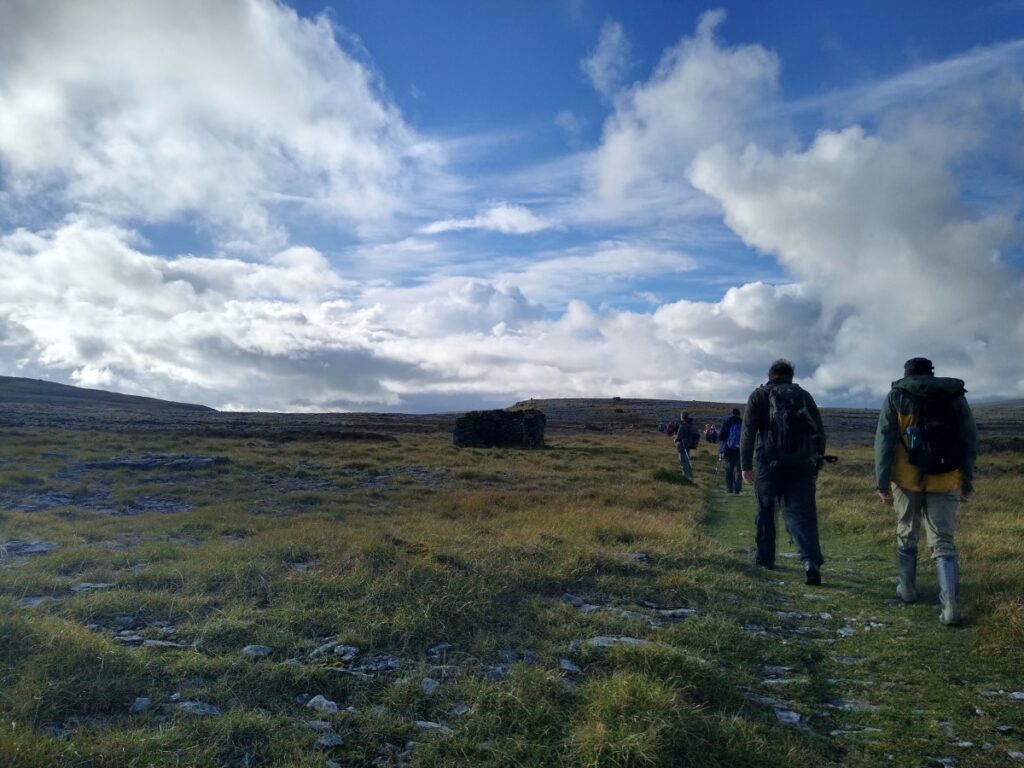
After a short while the steep clamber evens out and we find ourselves in the boulder field that is the Norber Erratics. The path heads off North toward a stile in the corner where two drystone walls meet. It is worth taking some time here though to explore the Erratics and find the boulders with the pedestals – these present a good photo opportunity.
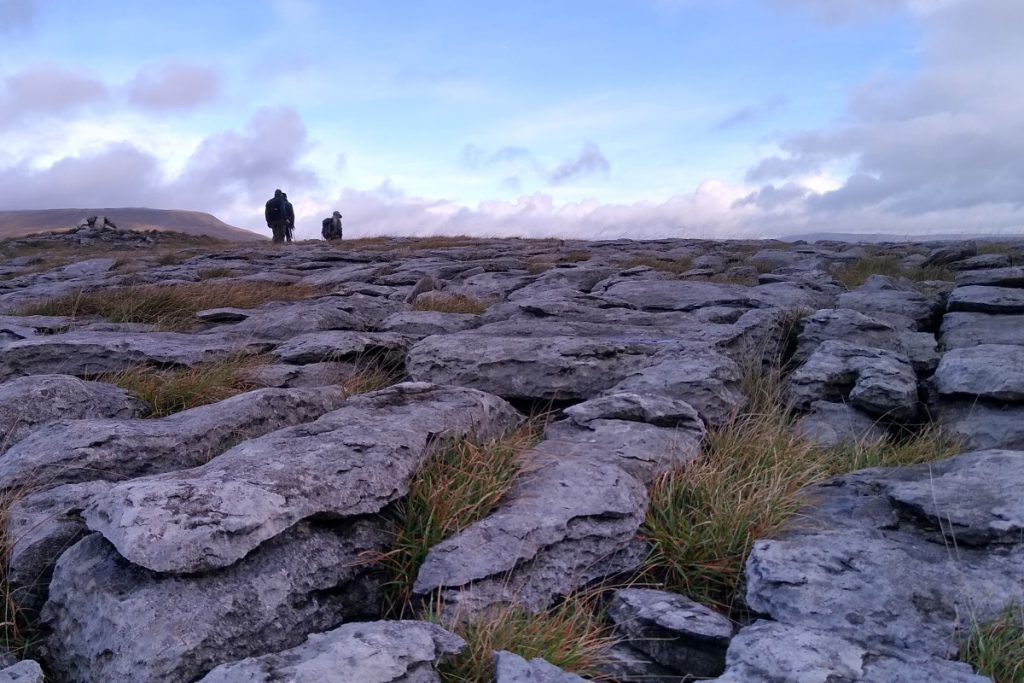
We climb the stile, and immediately head left, along a clear path that heads west initially, before curving right between higher ground as we climb toward a large Cairn. We now head north walking through limestone pavement, so care is needed, particularly if the limestone is wet.
We soon reach a plateau, and stay with the path heading north along the back of Thwaite Scars. This area is quite sheltered, so this may be a good opportunity for a break.
Pressing on, we continue north, and our next landmark is the impressive cairn on the Pennine Bridleway out of Clapham. We now turn right and follow the bridleway in a NNE direction along fairly flat ground with excellent views;
On the left we have Ingleborough and Little Ingleborough.
Over to the right we have Crummackdale, Thieves Moss and Moughton Scar,
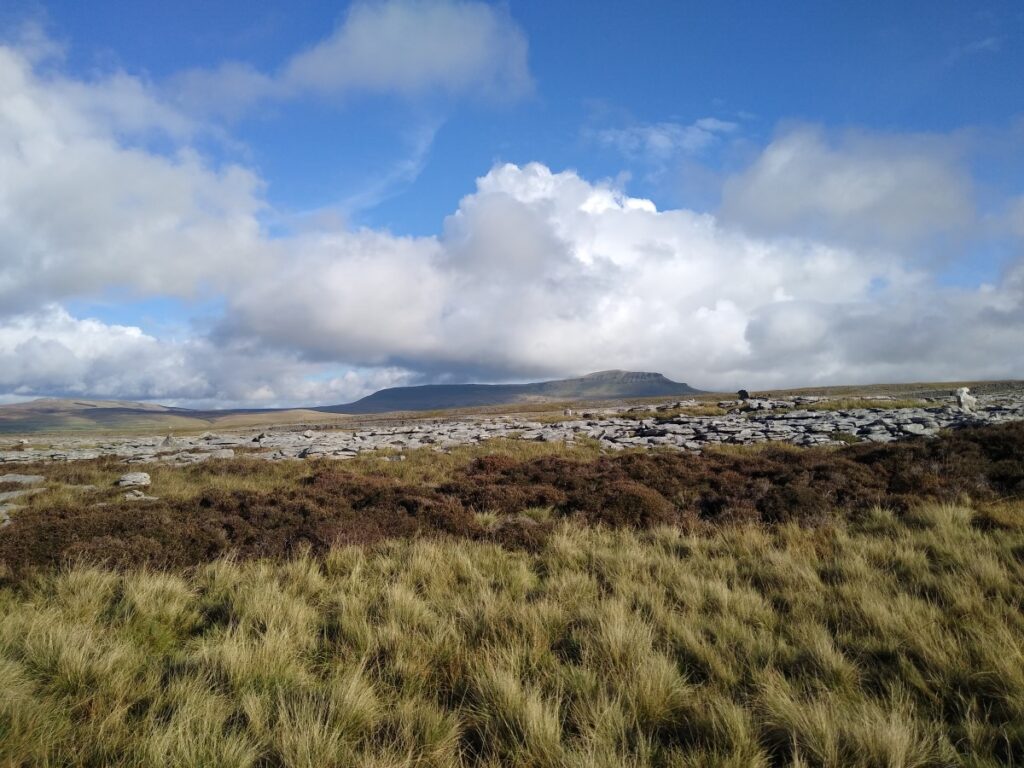
Ahead we see Pen-y-Ghent and High Birkwith.
We stay with this path – which soon has a drystone wall on our right until we arrive at a gate known as Sulber gate; Ahead is the Ingleborough National Nature reserve and you are likely to see highland cattle which are part of a management plan to enable endangered species to thrive. The Nature Reserve is well worth exploring, but that’s for another time, our path takes us through the drystone wall that has been on our right for a while into the area known as Thieves Moss.
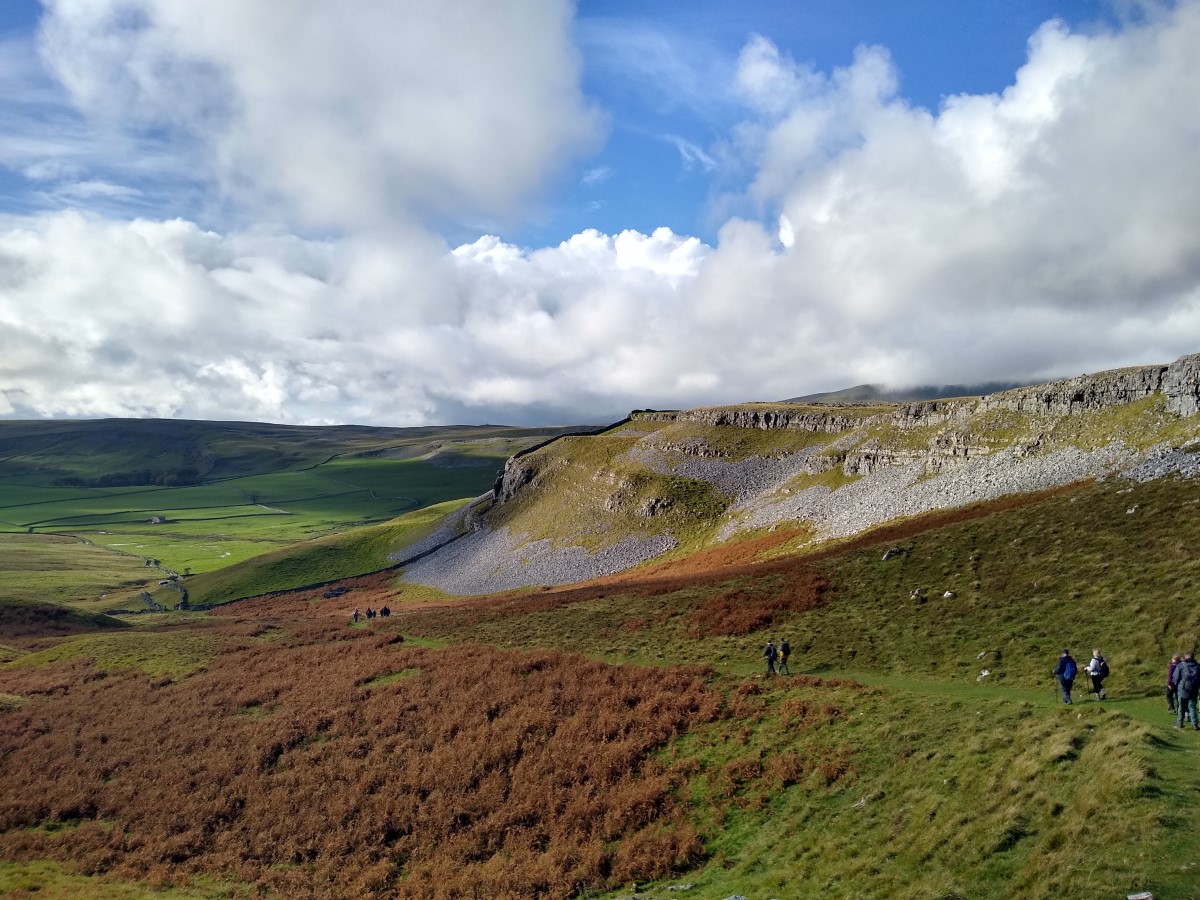
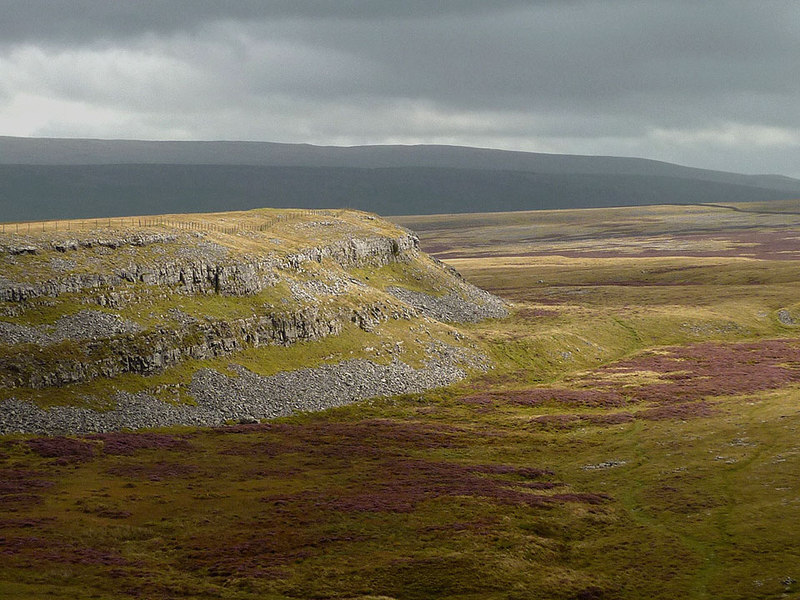
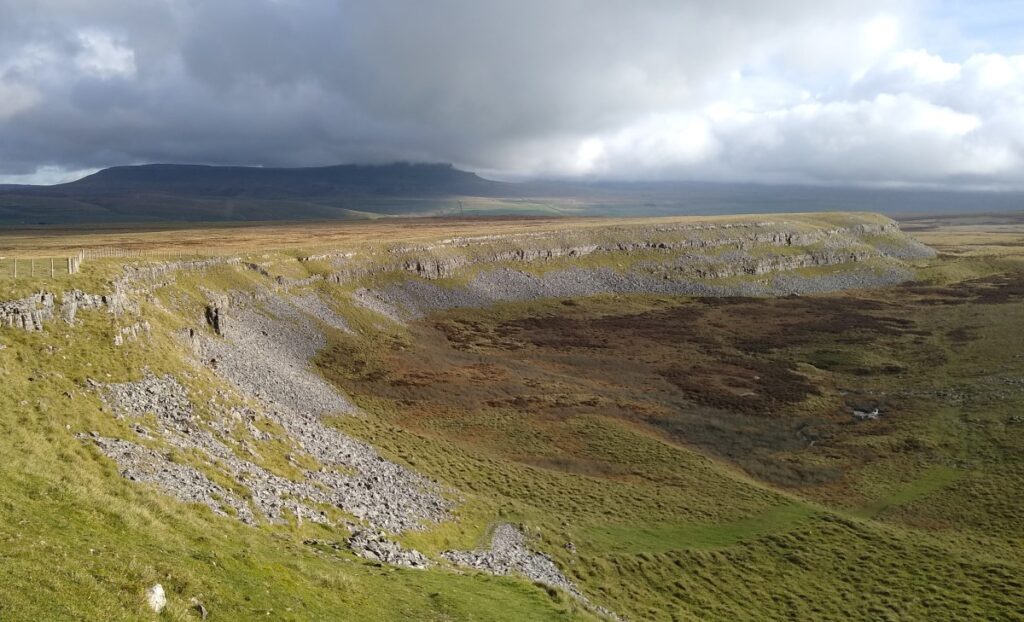
We have the best view of this other-worldly landscape at this high point, so it’s worth pausing to enjoy it before pressing on steeply downhill to follow the path along the base of the scar. The ground is now relatively flat, and we head in a steady line along a clear path. This initially tracks the base of the scar, but soon turns right, and away in a more southerly direction.
Ahead, we see a stile, where footpaths from Horton-in-Ribblesdale join us. We don’t cross that stile, but it’s a useful point to aim for. As we approach the stile, our path tracks right and we see a line of grouse butts which give us our direction: We are still in the flat limestone pavement of Thieves Moss, although our path has now curved round to be heading SW.
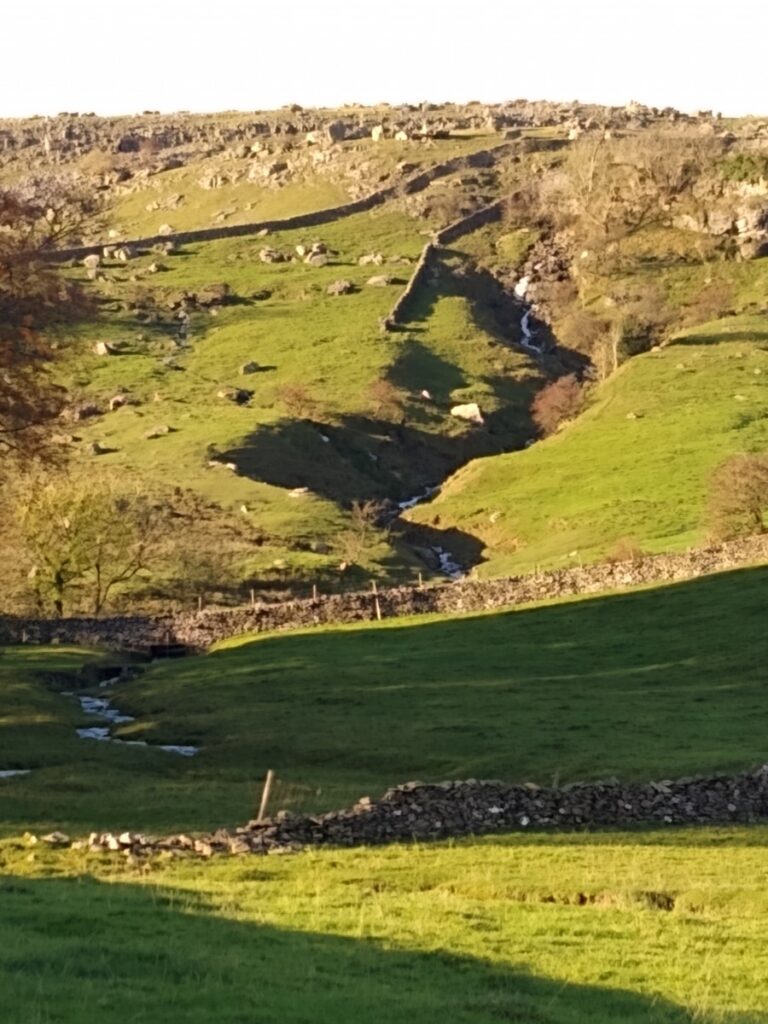
We soon arrive at a clear branch in the path: The clearer route – which we take – is steeply downhill to the base of Moughton Scar – the alternative is along the top of the scar and there are routes down to Austwick via Wharfe. That could form a longer and tougher walk.
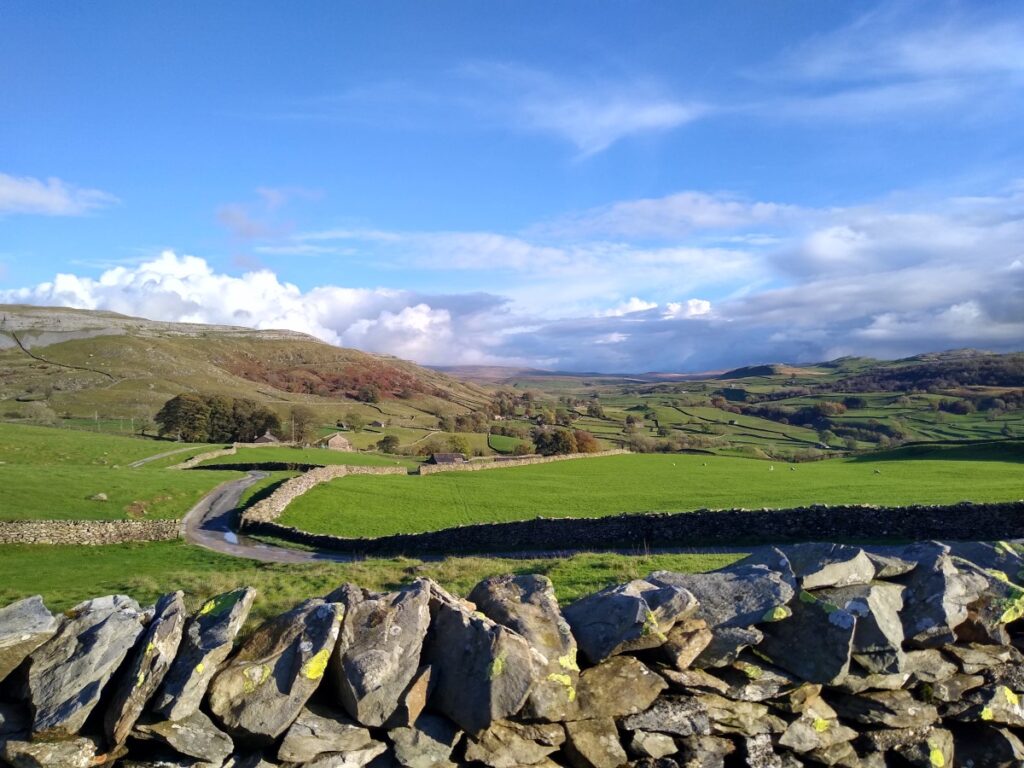
We follow the path steeply down hill to arrive at a gate; beyond this point the path follows a farm track although this does tend to be a stream bed much of the time, so walking in the field to the left of the path may be more convenient. At this point we have a good view ahead of us to the part of the Norber Erratics field that we did not view in the earlier part of the route. To our right we see the Austwick Beck that we soon cross.
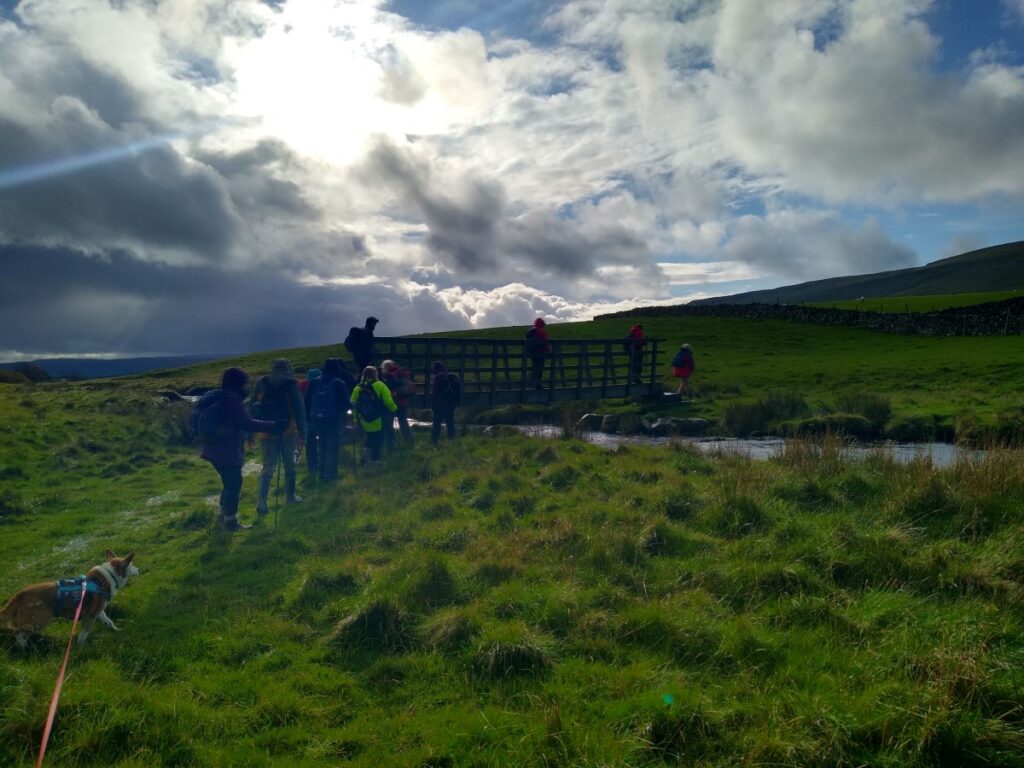
The track soon turns sharp left, and at this point we see a stile across into the adjacent field on the right. We take this stile and cross the beck by the footbridge. Ahead of us we see the drystone wall which we follow keeping it on our right, heading back down toward Austwick.
At the end of this field, we find another stile, and we continue in much the same direction (SSW), now with the wall on our left – although the wall soon breaks down and becomes unclear. At this point we continue in the same direction and will see a stile in the wall ahead, into a pleasant area with recent tree planting to make a nature reserve.
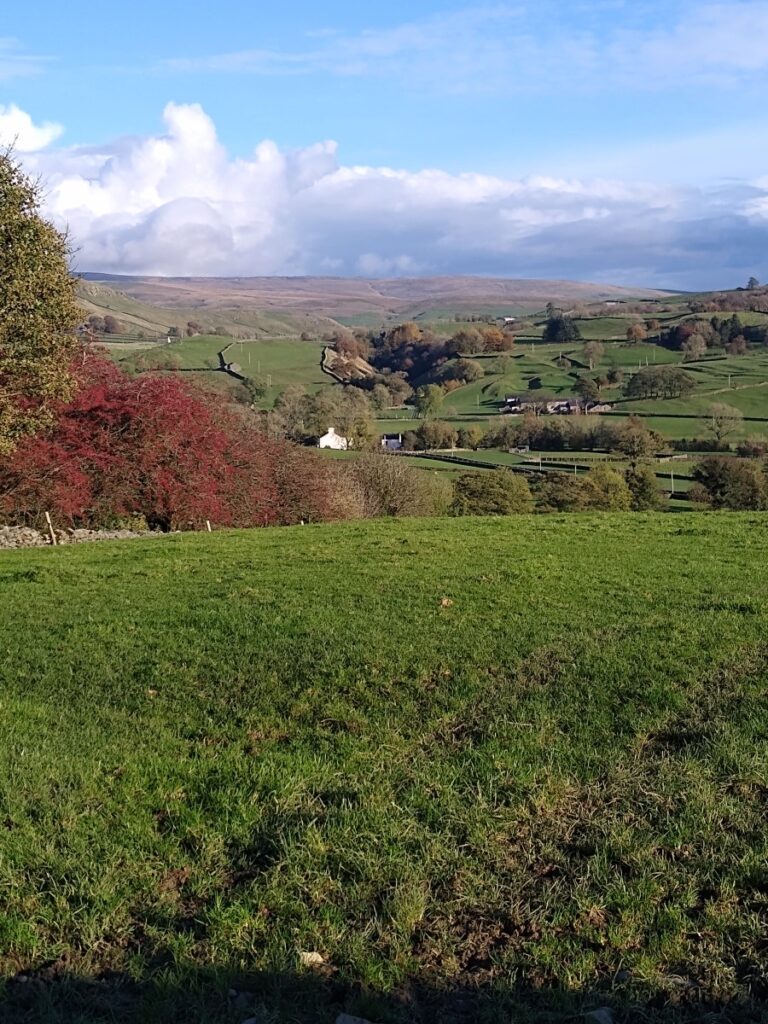
We follow the path round using the footbridge over the small stream to find another stile leading us back into grazing land. We cross a small field and another stile, to enter a larger field and eventually a steep stile onto the lane that form the extension of Town Head Lane that we started the walk on. We take this Lane left toward Austwick and follow it for a short while with Nappa Scars on the right; If there has been lots of rain, the waterfalls of Norber Sike may be quite prominent, and are worth a picture.
As the lane turns sharp right and heads steeply downhill, we see a stile on our left. This takes us into the fields, and we continue in a straight line heading down toward Austwick. We cross Norber Sike before heading gently uphill to a stile onto a lane – this is the Pennine Journey Bridleway again. We cross this and take the stile into the fields to take the path through the houses and back onto Town Head Lane, where we end the walk.