Although, Bentham Footpath Group offers walks as far as an hour’s drive from Bentham, we like to include local walks that members can easily do on a whim – perhaps when an unexpectedly bright day comes along and there are a few hours to fill.
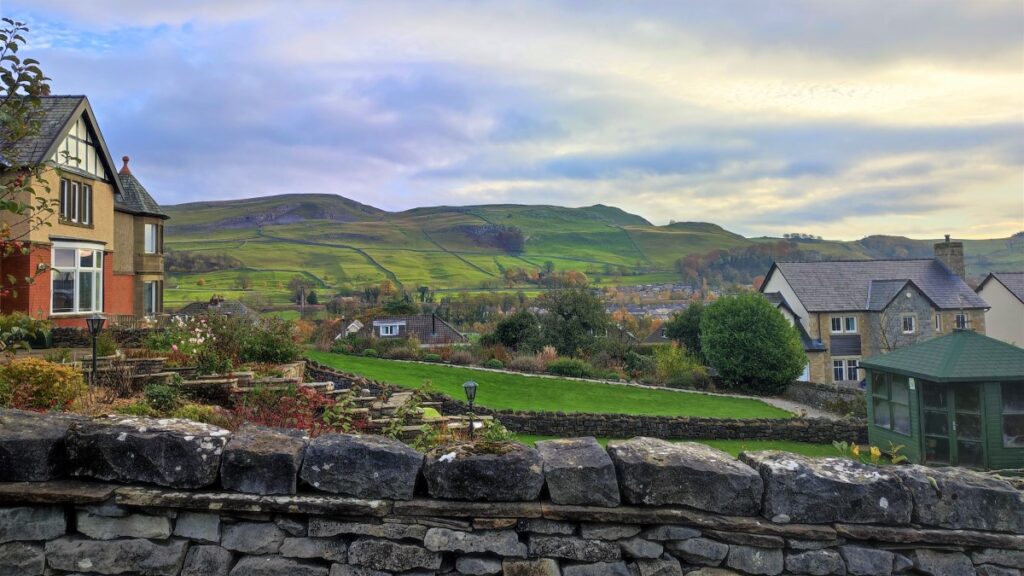
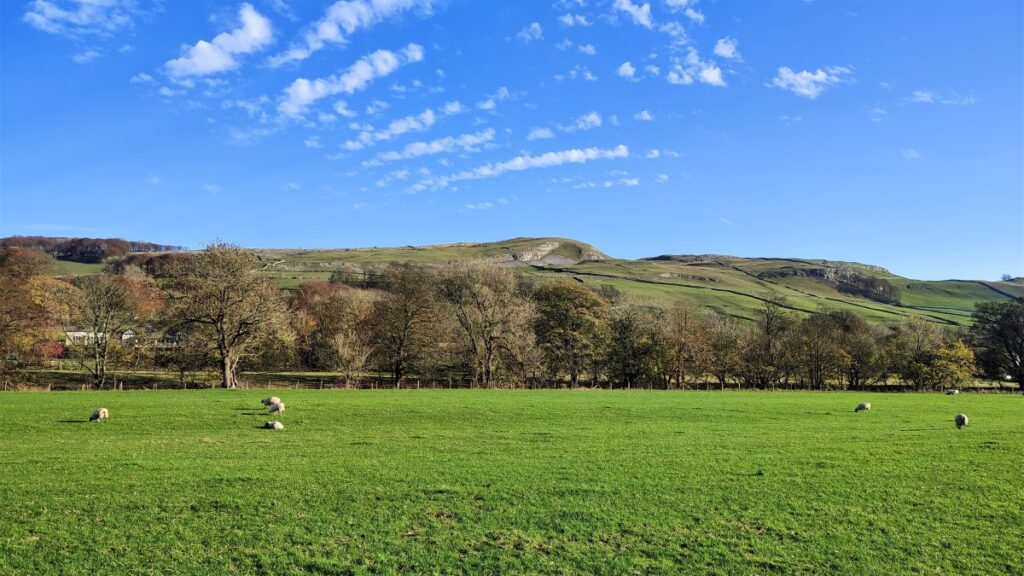
This walk starts from Giggleswick Village and then heads up through Lord’s Wood, past the quarry, to join the top of Giggleswick Scar at Schoolboy’s Tower where we get great views across the Ribble valley. From there we walk along the top of the scar until we meet the path coming up from Buck Haw Brow, when we head North to Feizor Thwaite.
A sharp turn back along the Pennine journey path brings us down to Stackhouse, and from there we stroll back to Giggleswick along the side of the Ribble at Settle.
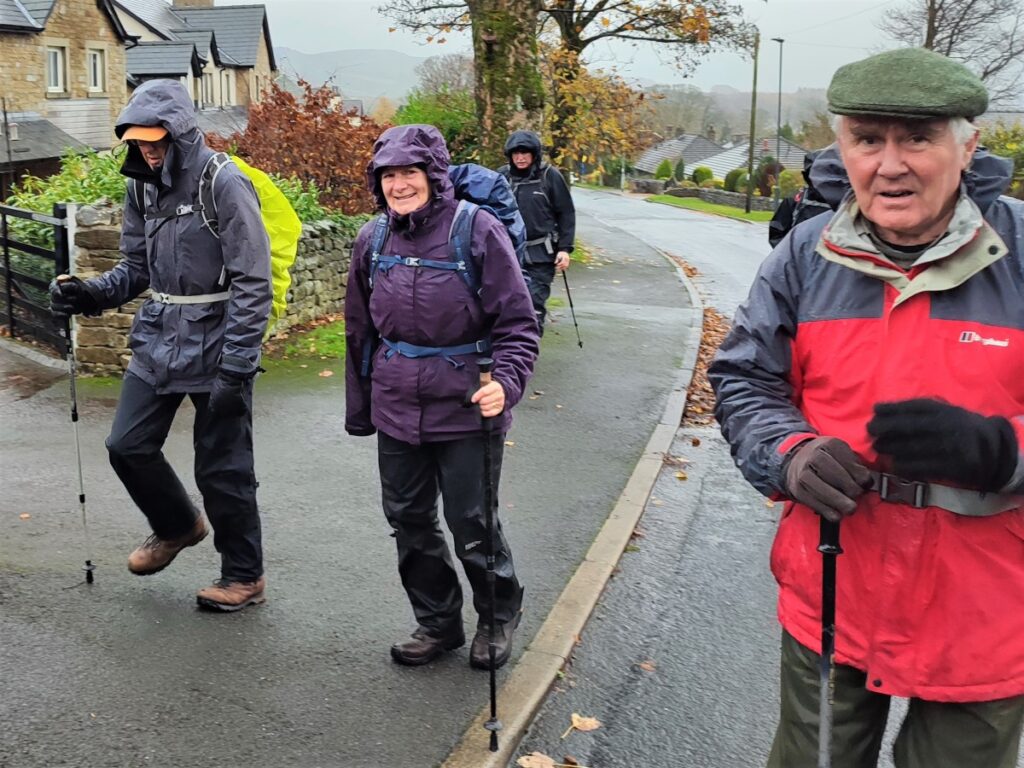
Although this walk is classed as easy because it’s (marginally) less than 12 km, be aware that there is a steep climb and some terrain that can be wet and slippery in poor weather.
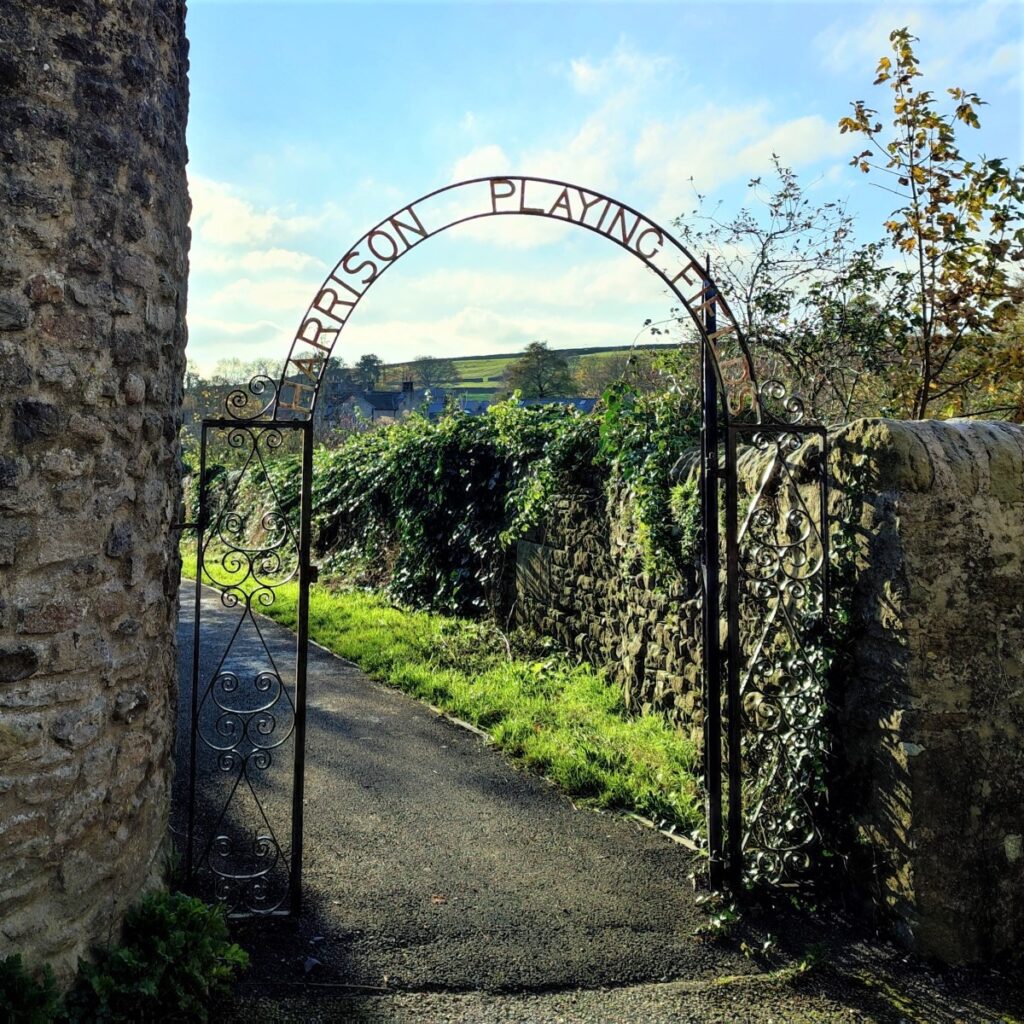
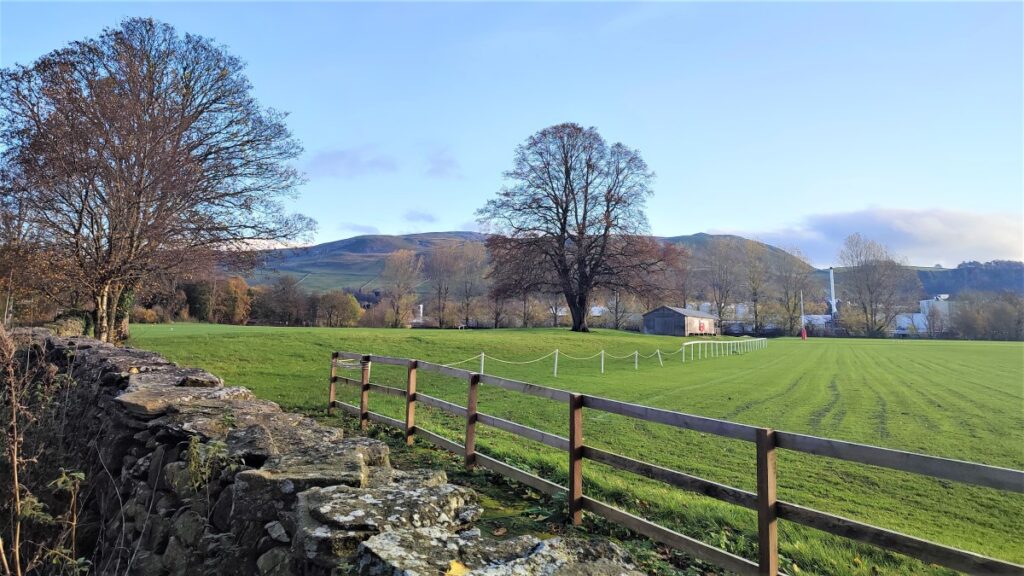
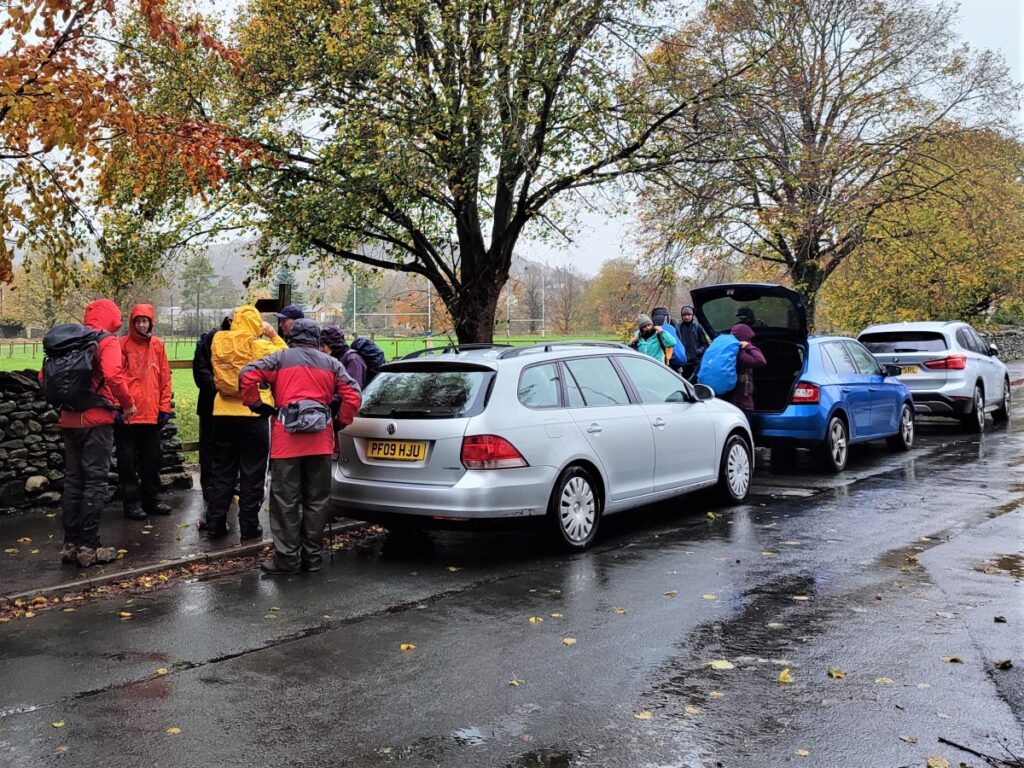
We start in Giggleswick village. From the A65, take the Giggleswick turn at the Craven Arms, and at the roundabout take the first exit, signposted for Giggleswick School. Look for Bankwell Road – the first on the right – and drive down to the playing fields where roadside parking is generally available.
The grid reference is SD81136357, and what-3-words tag town.flinches.journey highlights the exact start of the route. If you are using satnav, then postcode BD24 0AP covers Bankwell Road.
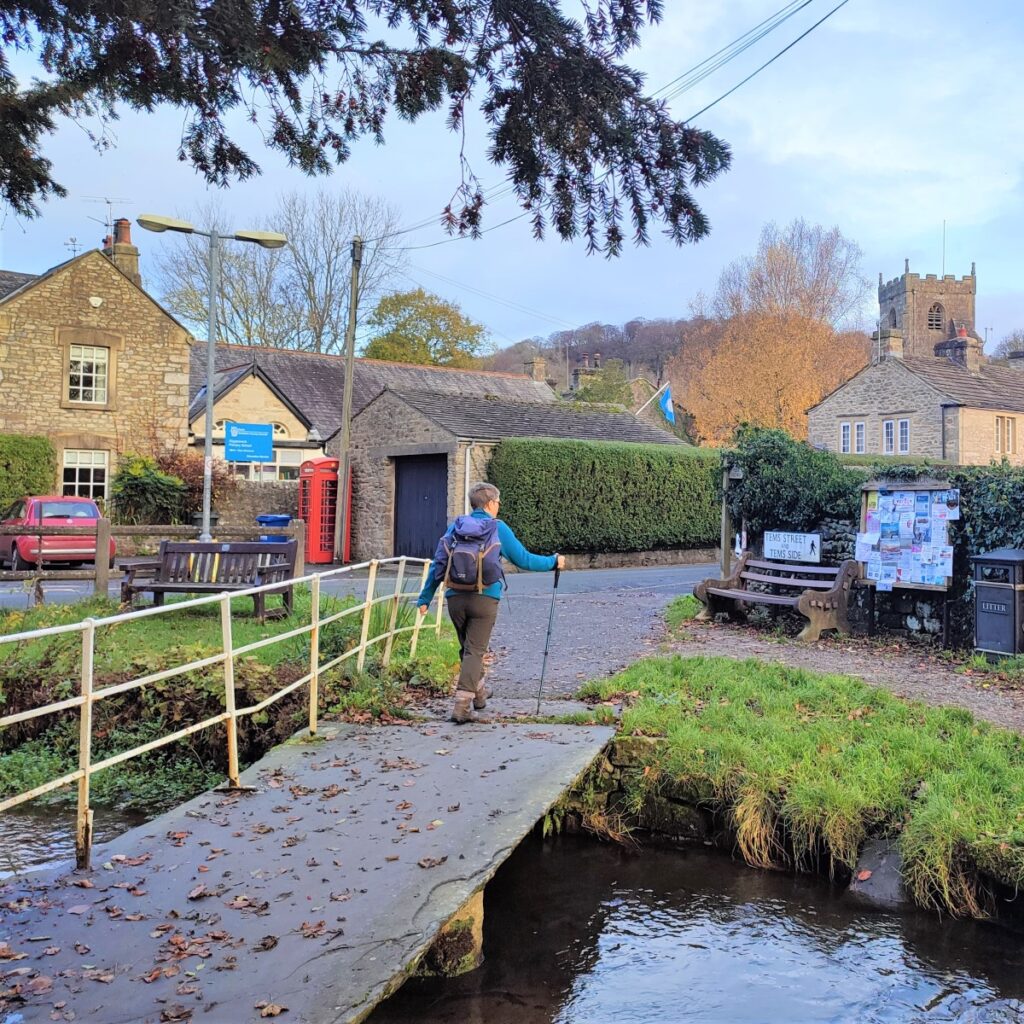
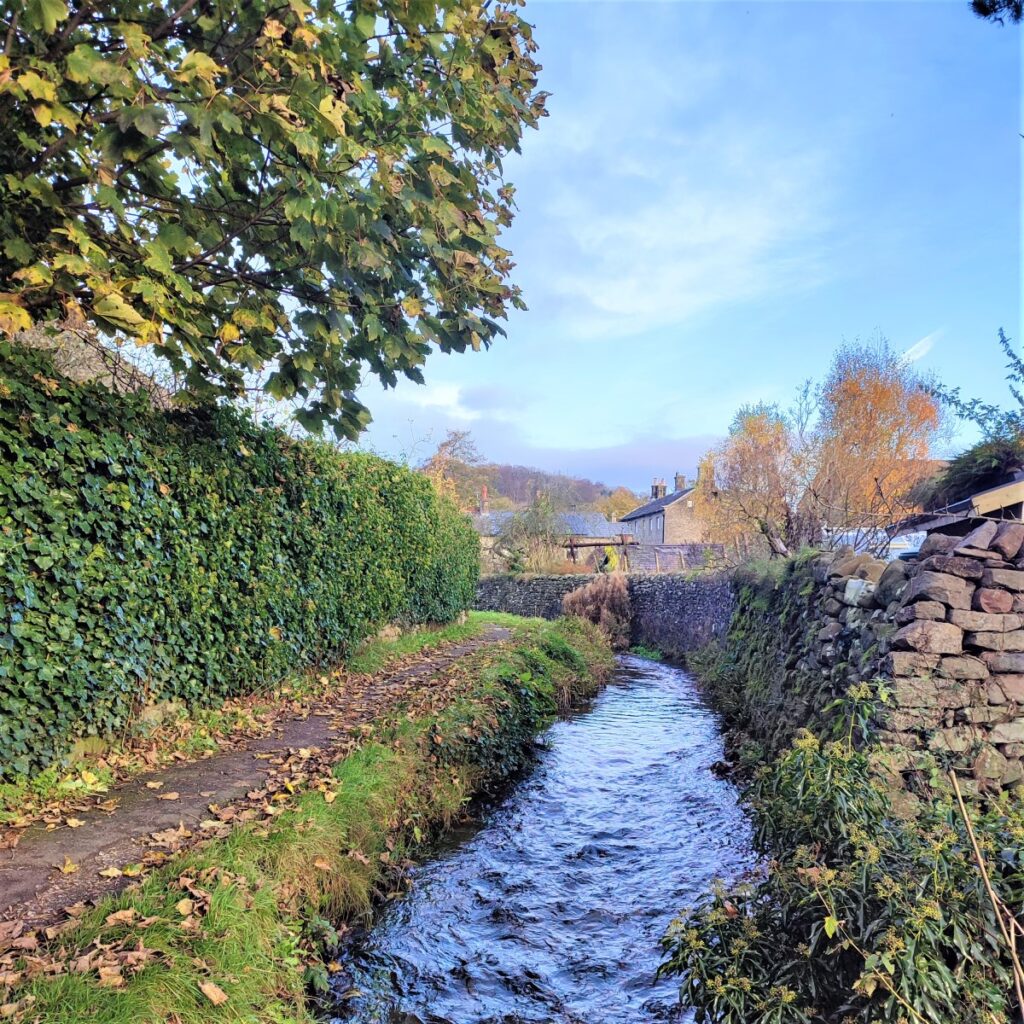
Having parked, look for the footpath sign at the edge of the playing fields and take the path down toward the Tems Beck, then follow the path right along the edge of the playing fields with the stream on your left.
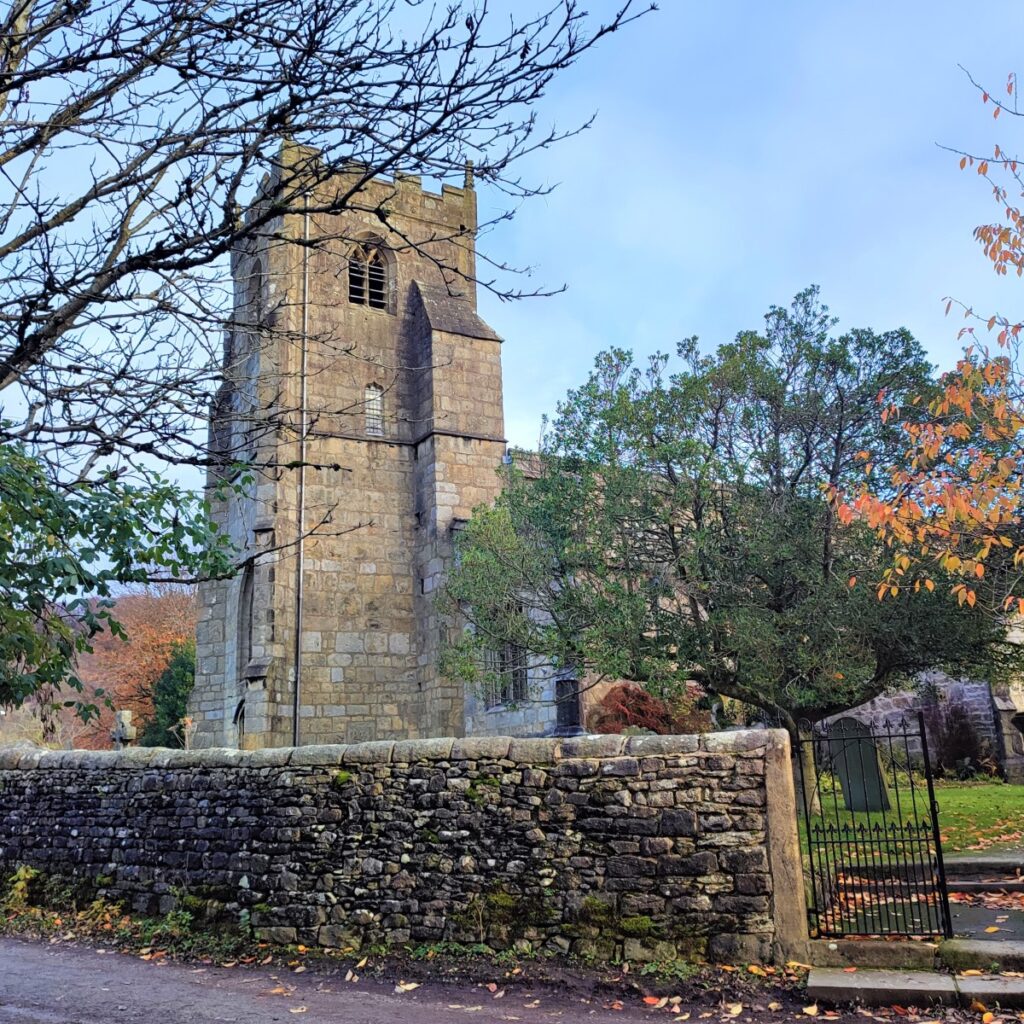
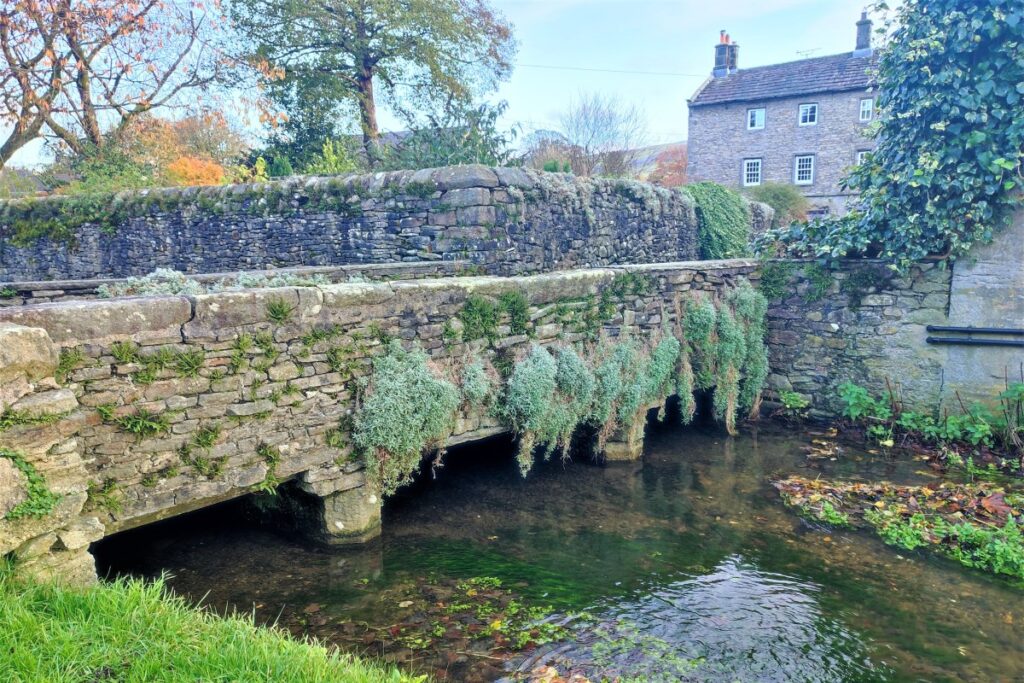
As you approach the corner of the field, you will see a small stone bridge crossing the beck, take this then continue to the right along the lane at the side of the Beck. Follow this to the end where it meets the main road, and you will see the church of St Alkelda opposite and on the right. There are only 2 churches in the UK dedicated to St Alkelda – the other being at Middleham in North Yorkshire.
St Alkelda was a Saxon Princess and the name Alkelda, is believed to derive from either Alchild or Halig Keld – the latter has an association with holy springs. Although no longer visible, such a spring once existed in Giggleswick, being the source of the now drained Giggleswick Tarn.
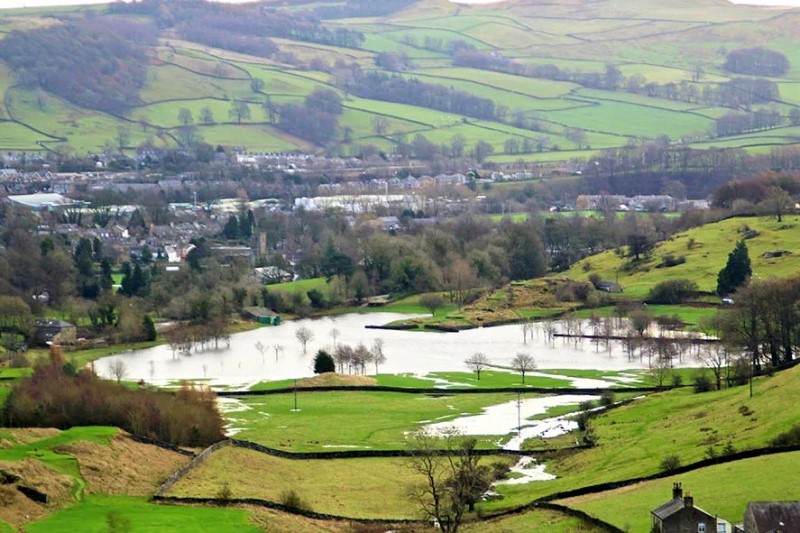
The site of the drained tarn –the site of Settle Golf Course – does flood from time to time, effectively recreating the tarn for a few days – as this picture from 2015 shows. The tarn was large and permanent at one stage though, because a well preserved carved log boat dating from the 14th century was discovered during drainage works in 1863. The boat has been preserved and stabilised and is in the care of Leeds Museums and Galleries.
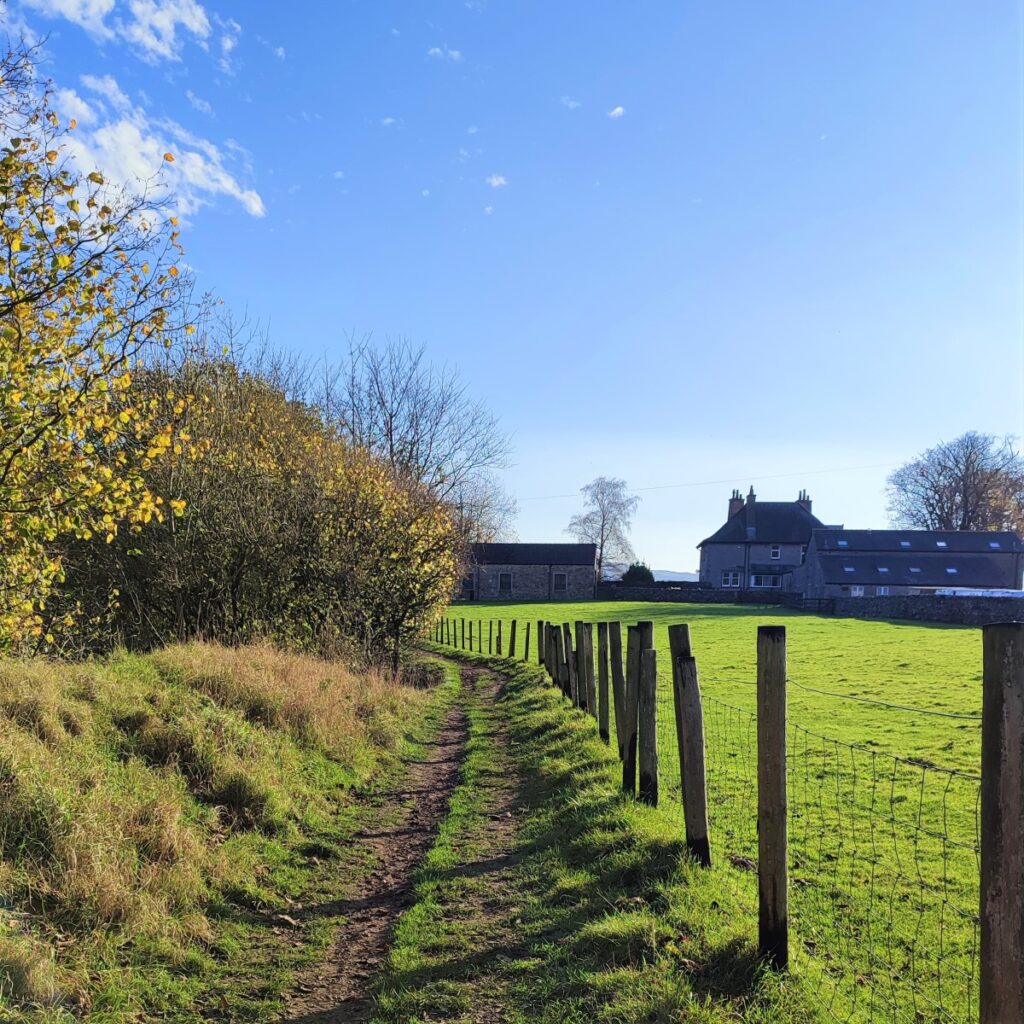
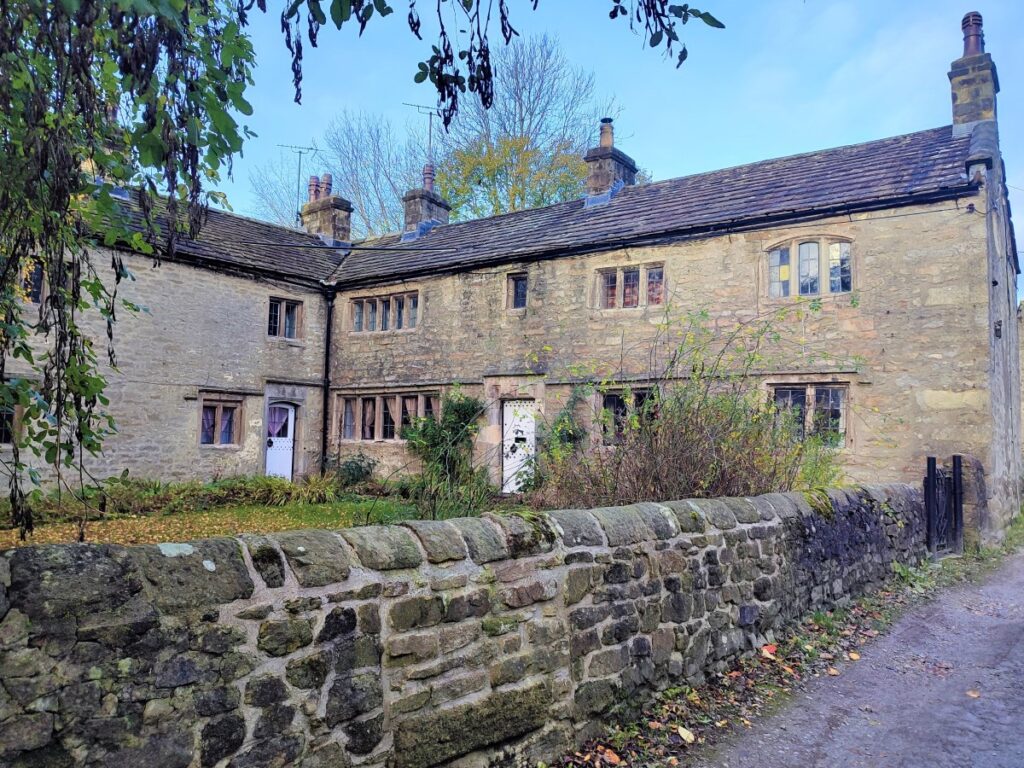
We take the path round the back of St Alkelda’ s and head uphill toward the main road. Take care here because the squeeze stile at the top of the path is directly onto the road. Almost directly opposite, and just to the left, is another squeeze stile leading to a steep but well-made path up the hill opposite. We follow this round, between houses, until we arrive at The Mains – an attractive residential road.
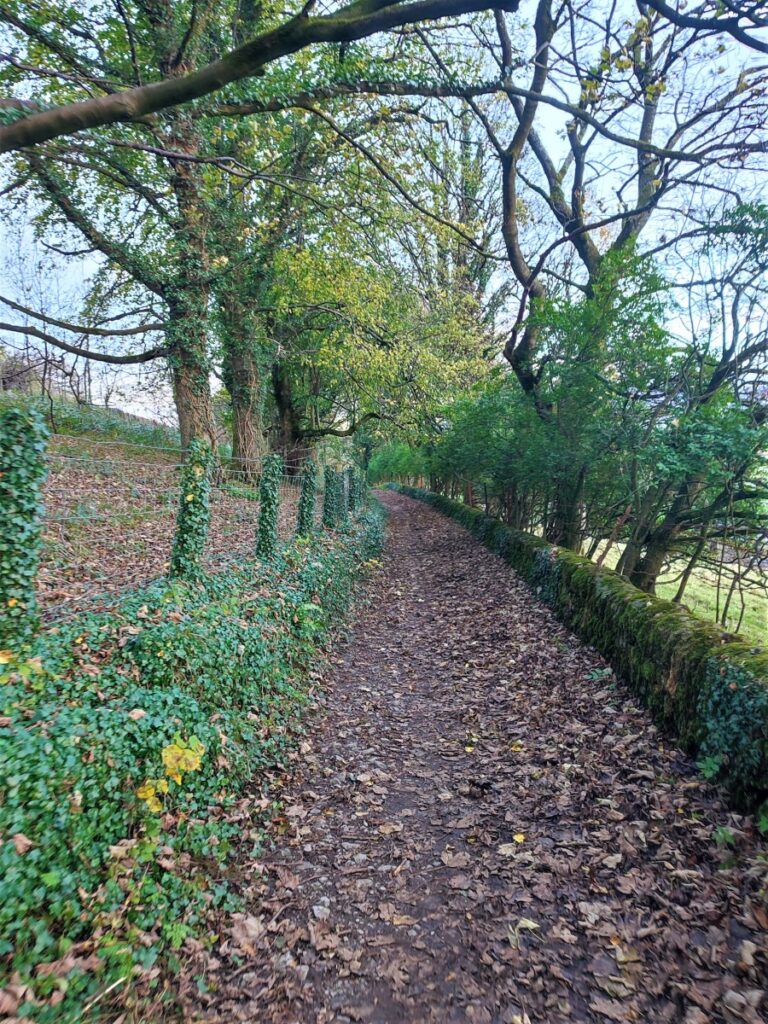
We turn left here and head to the top of The Mains where we see a drive to a large house on the left and a lane around the bottom of Lord’s Wood on the right: We take the path on the right.
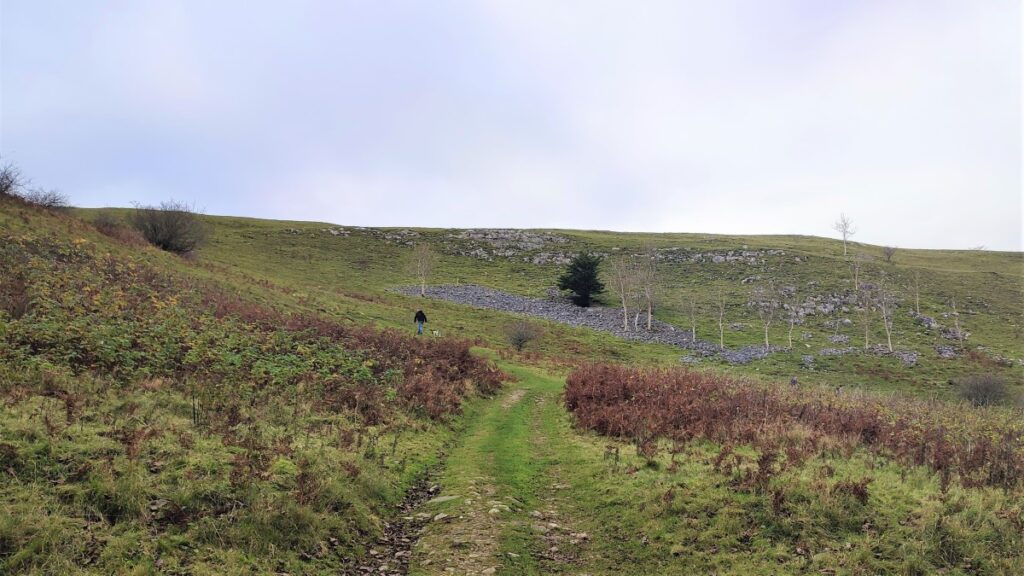
The path continues along the bottom of the wood – we see a number of paths leading off down toward the Ribble – ignore all of these and carry on until we start to climb steeply and approach a metal gate. Beyond the gate, we enter a more open landscape, with a steep climb up to the rim of the quarry directly ahead – we may also notice that there is a clear path to the right – ignore this.
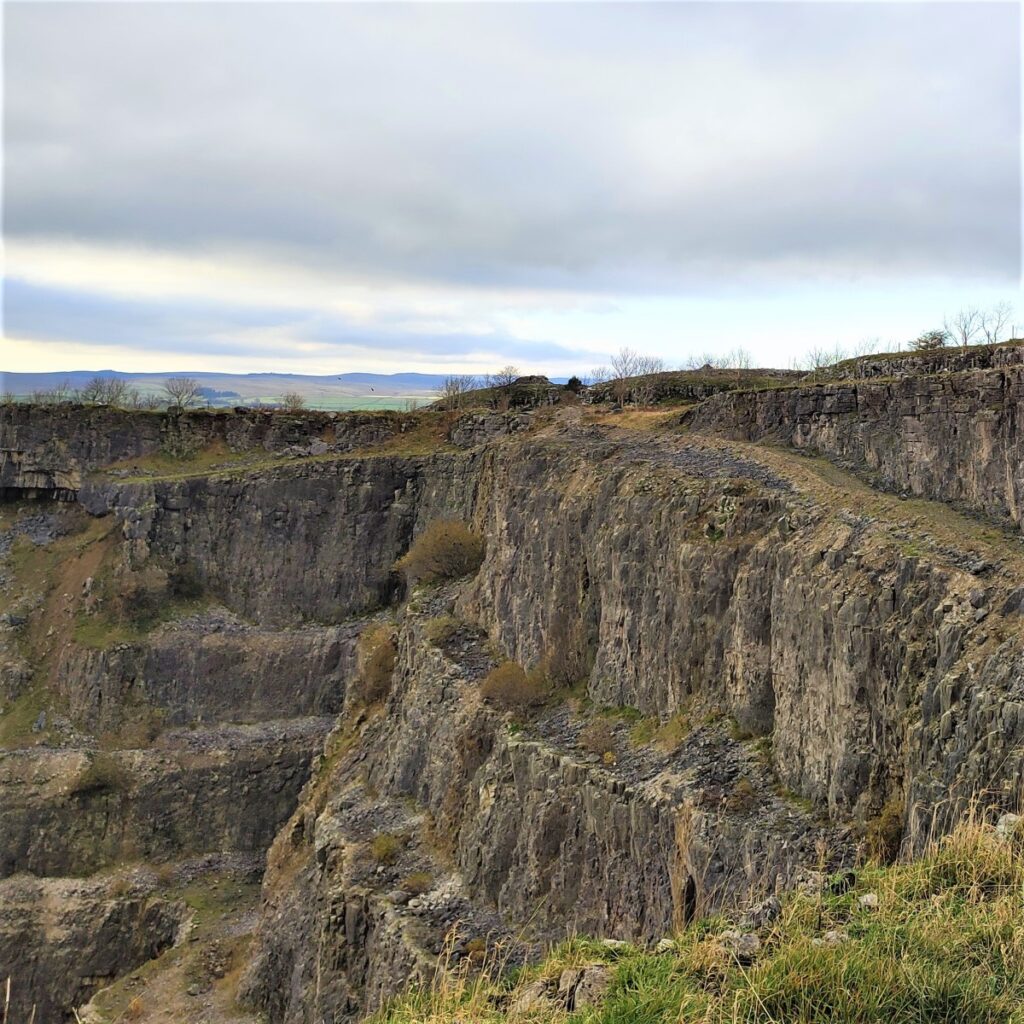
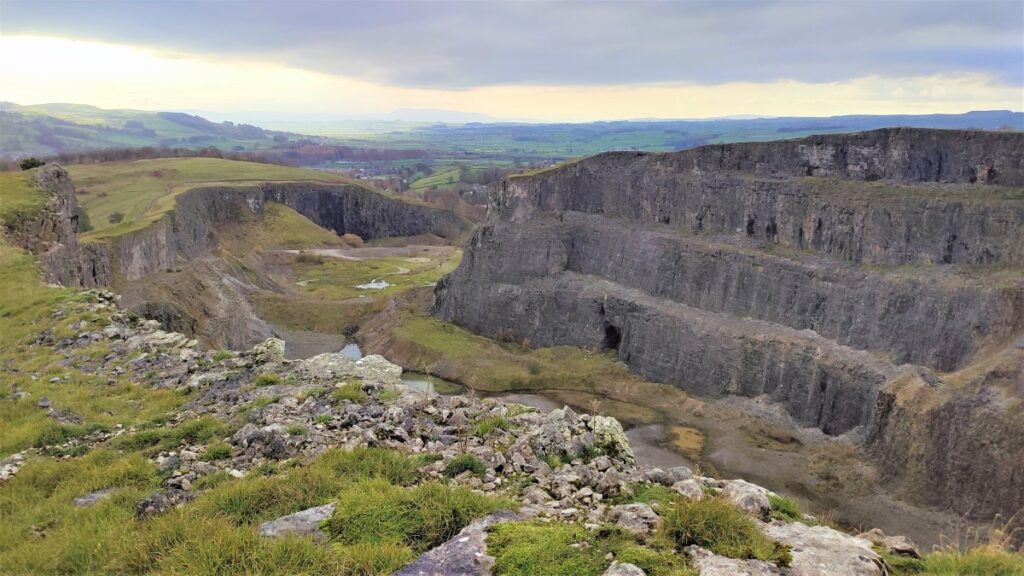
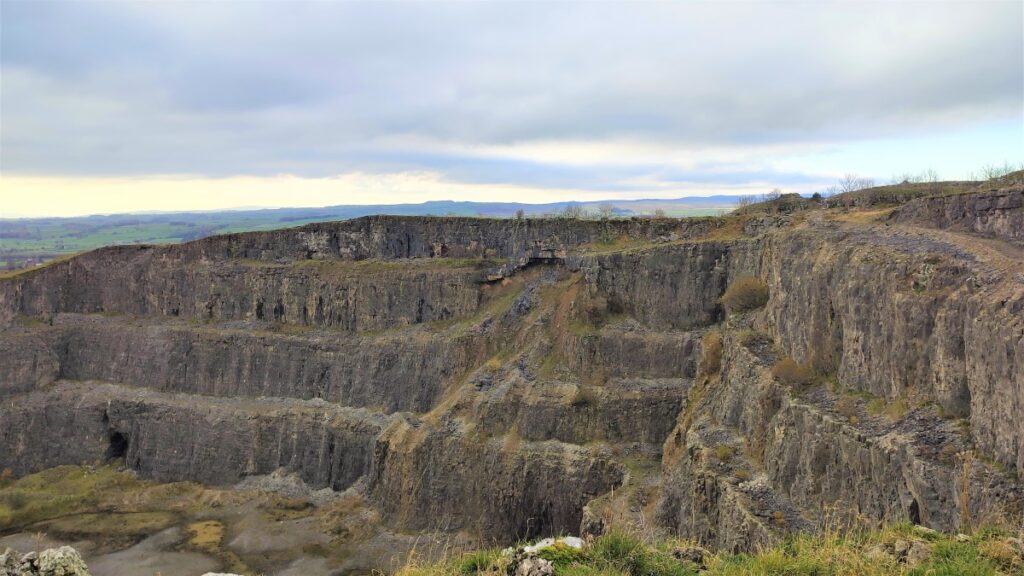
Giggleswick Quarry, which closed as recently as 2006, extracted limestone from the southern end of Giggleswick Scar. At the moment, the site is unused, but plans have been suggested from time to time to place light industrial units inside the worked out space, effectively allowing an industrial estate to be present without being particularly visible.
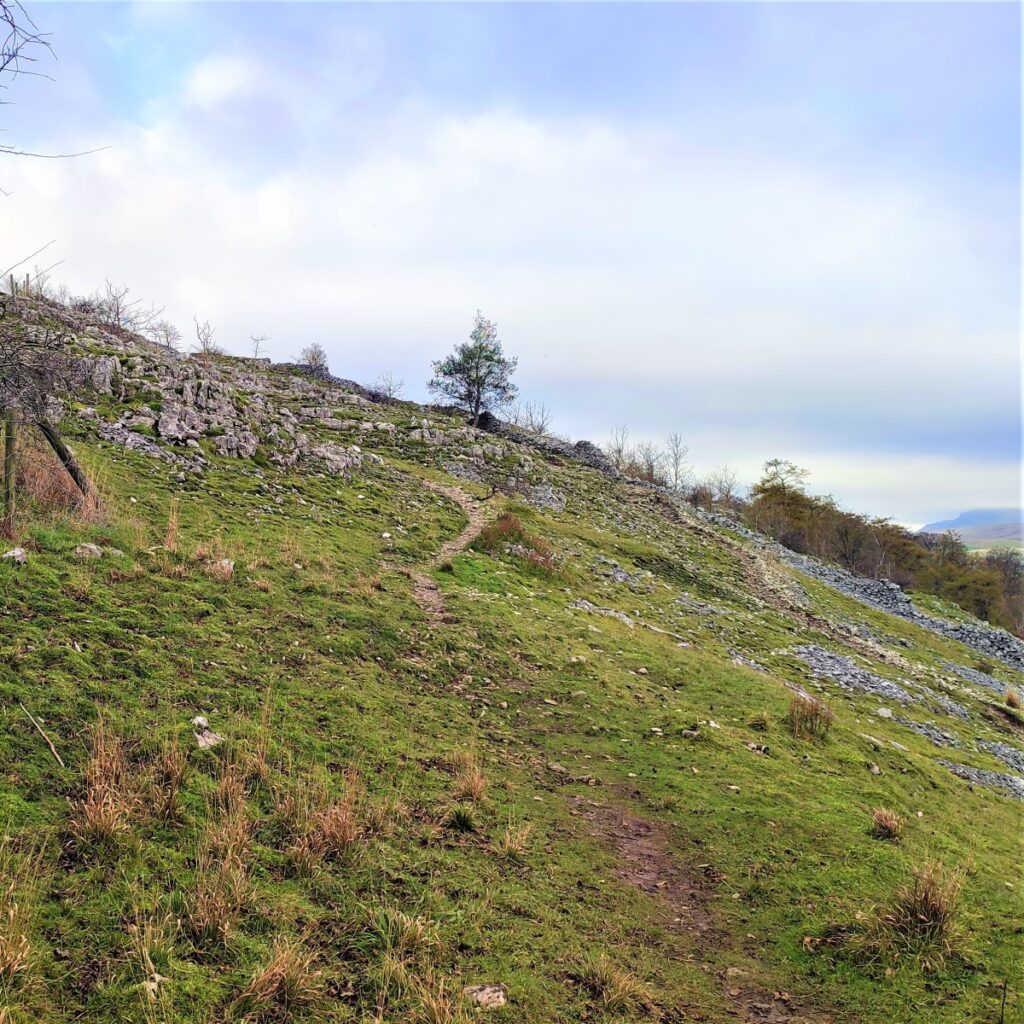
Once you have climbed the winding path up to the edge of the quarry, follow the safety fence round to the right and uphill. You will not be able to see much of the quarry at first, but don’t be tempted to climb the fence, as a good view presents itself further round.
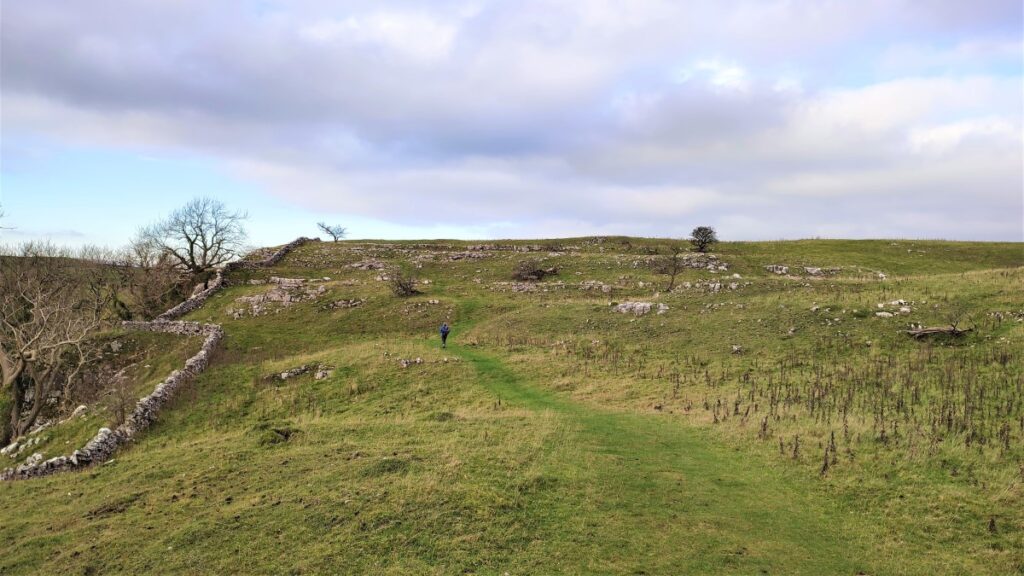
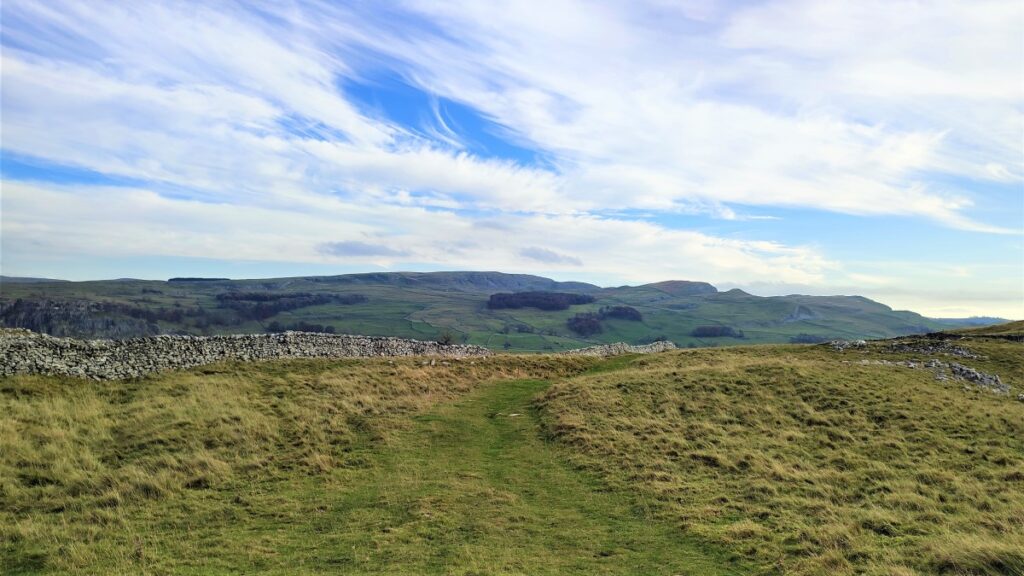
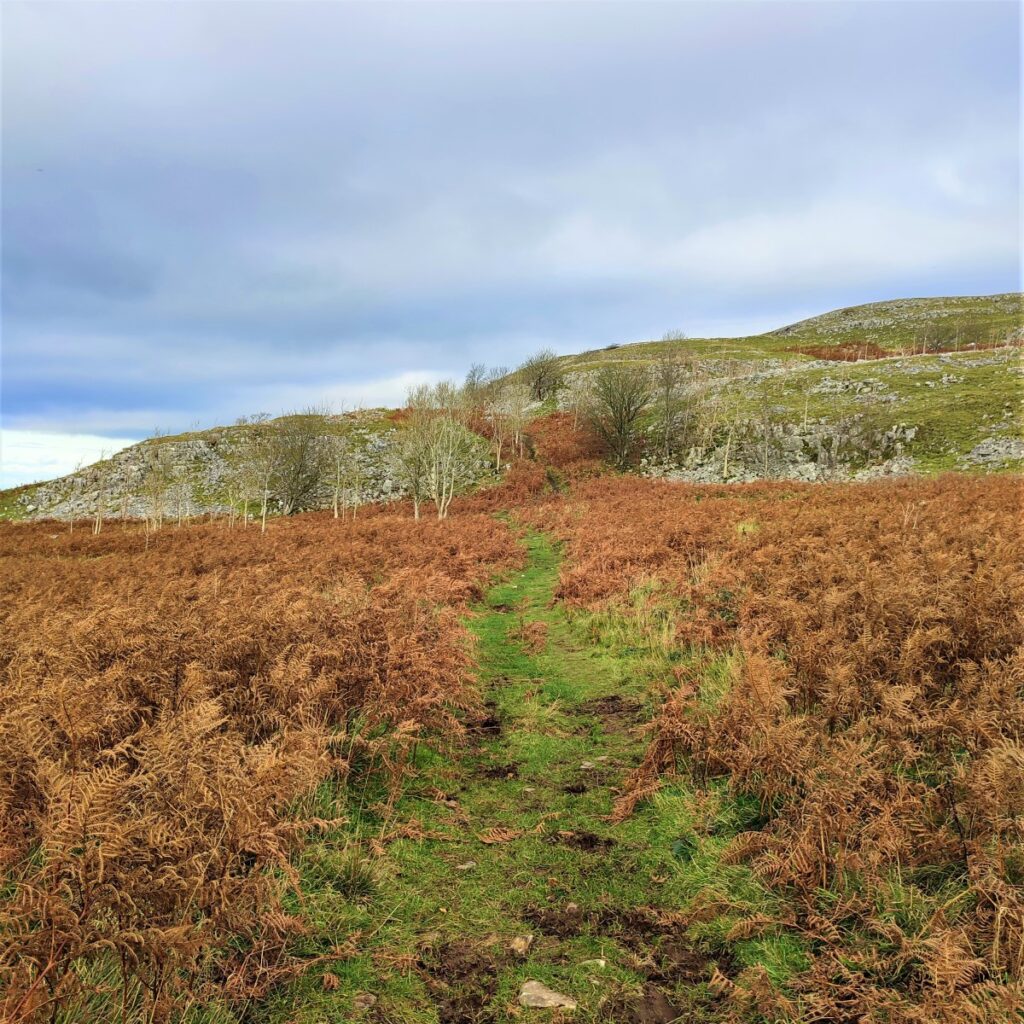
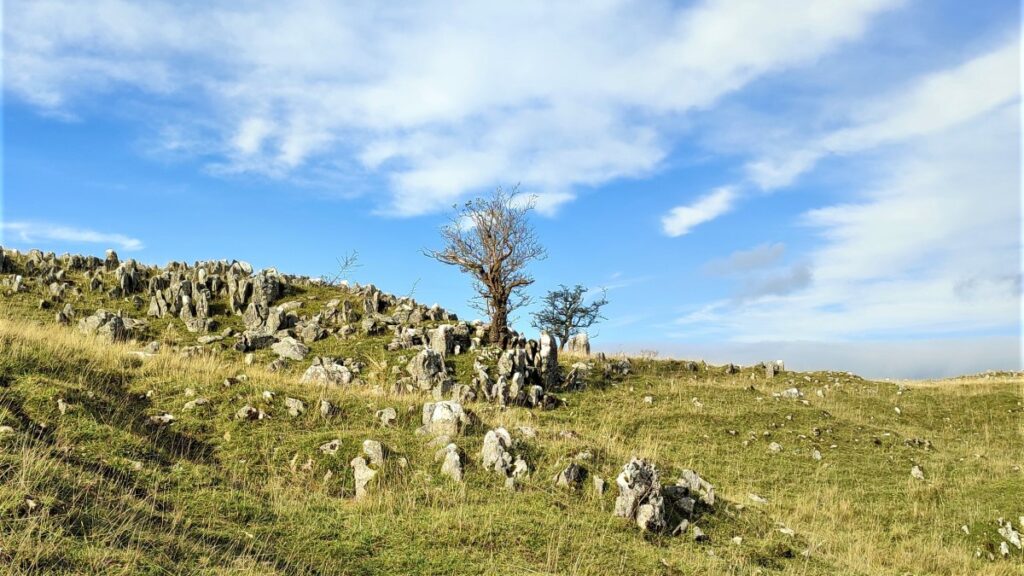
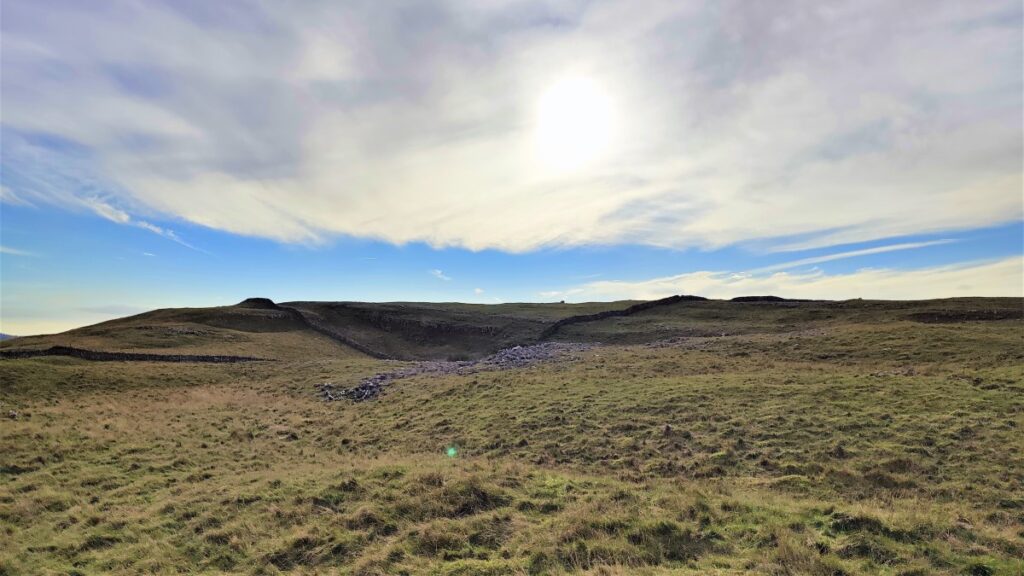
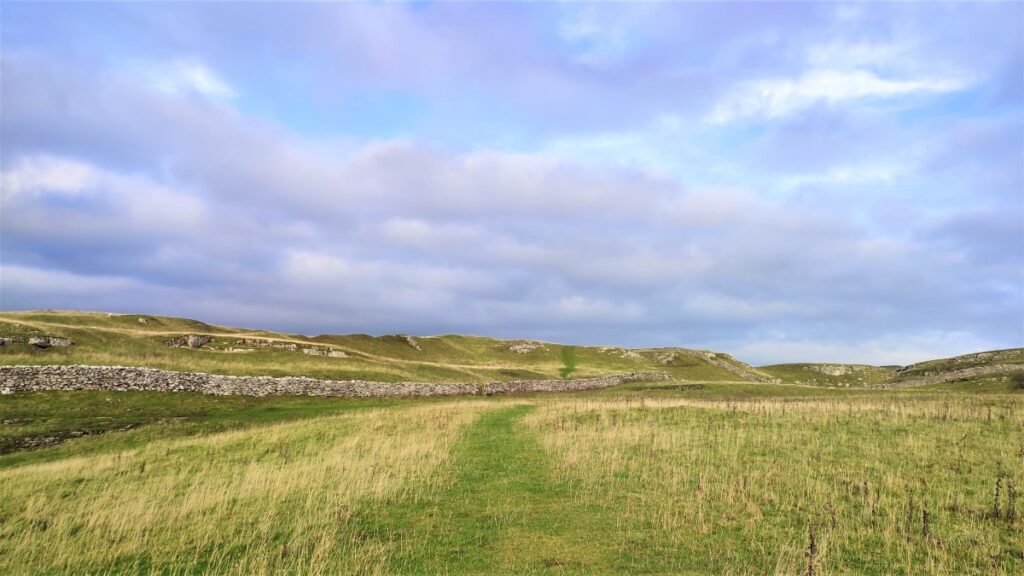
The path loops round the edge of the quarry and climbs quite steeply. Once you pass the viewing point though, it levels off and we find ourselves on an area of limestone pavement.
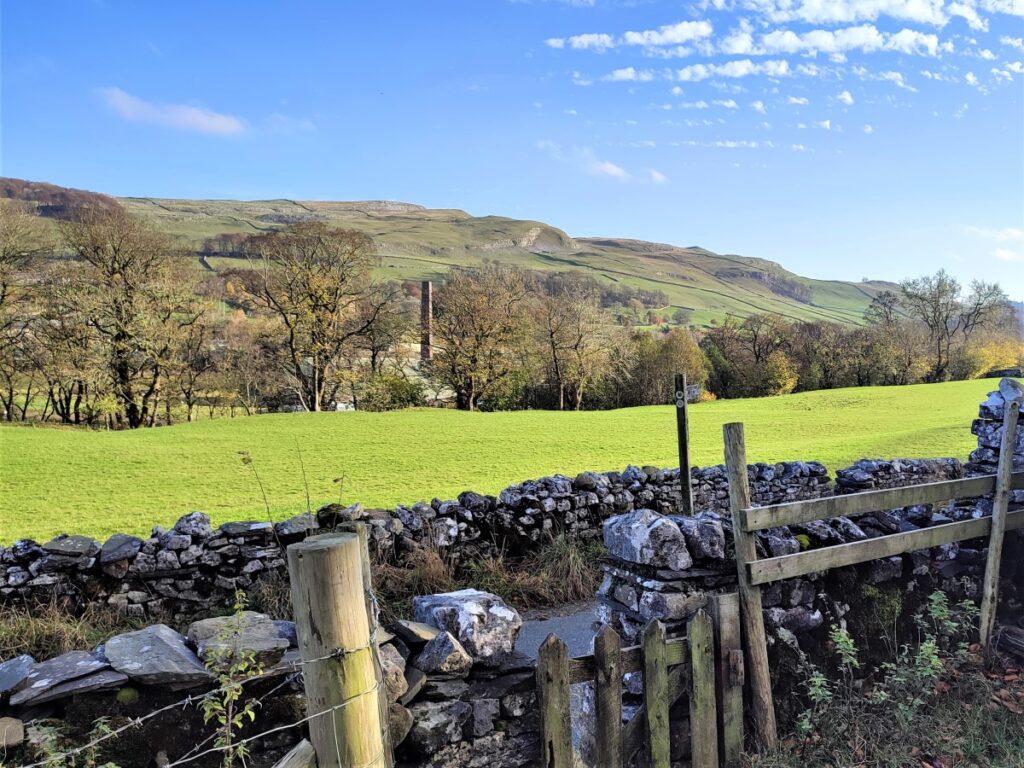
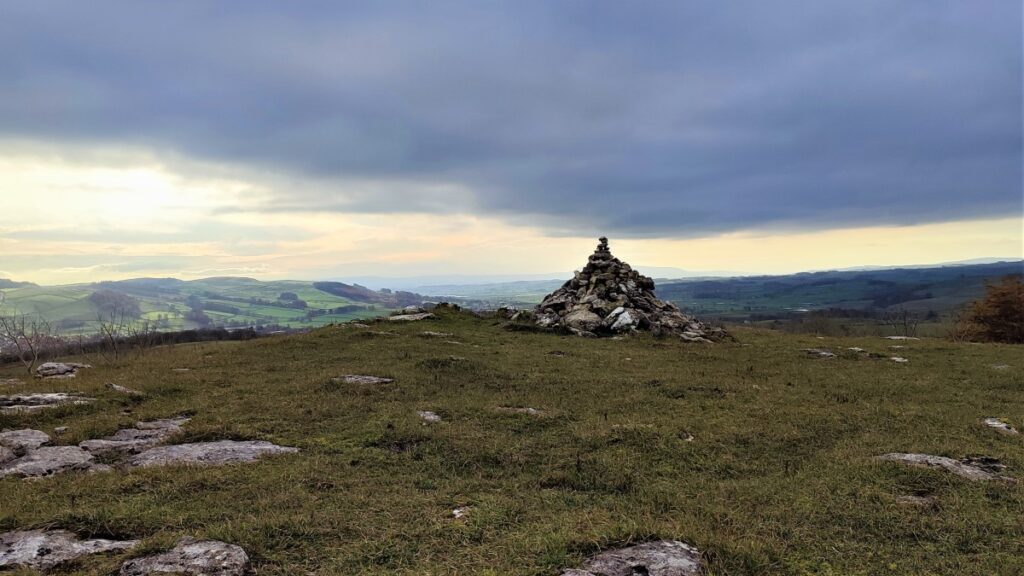
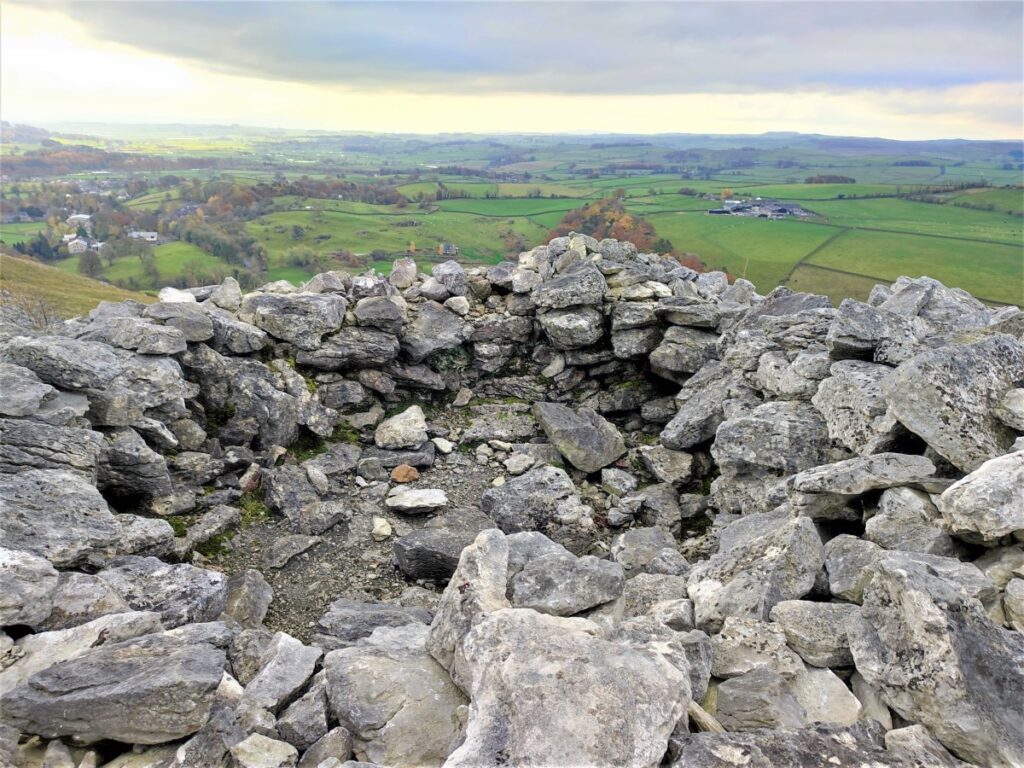
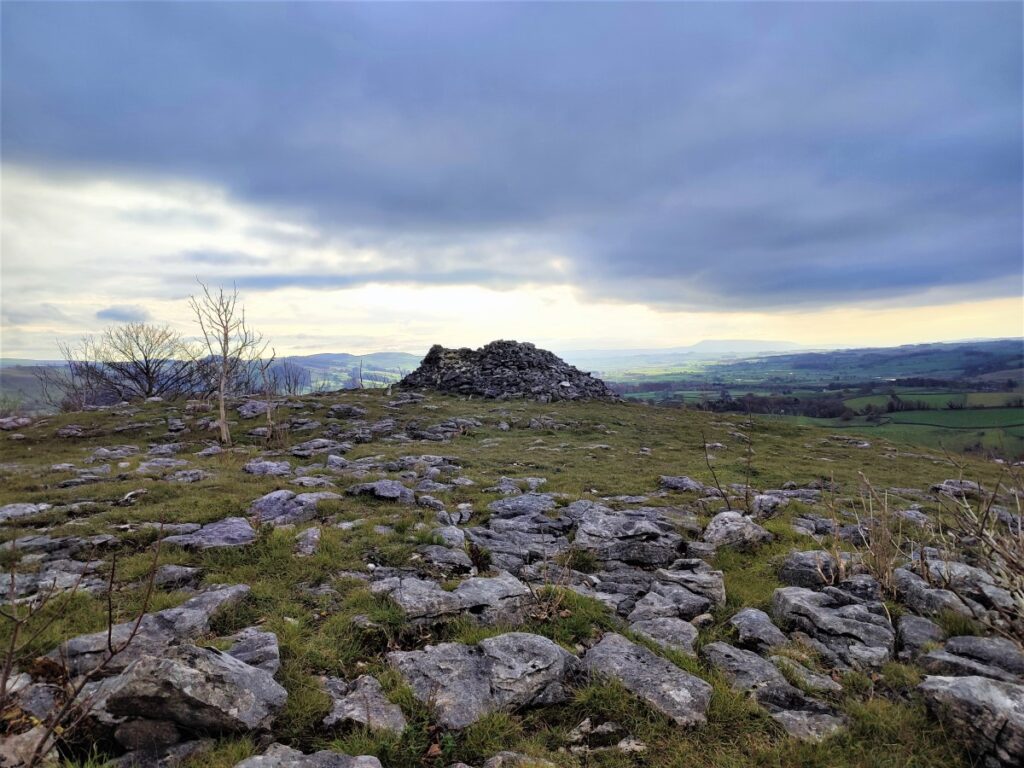
We now look to the left to see the remains of Schoolboy Tower at the top of the scar.
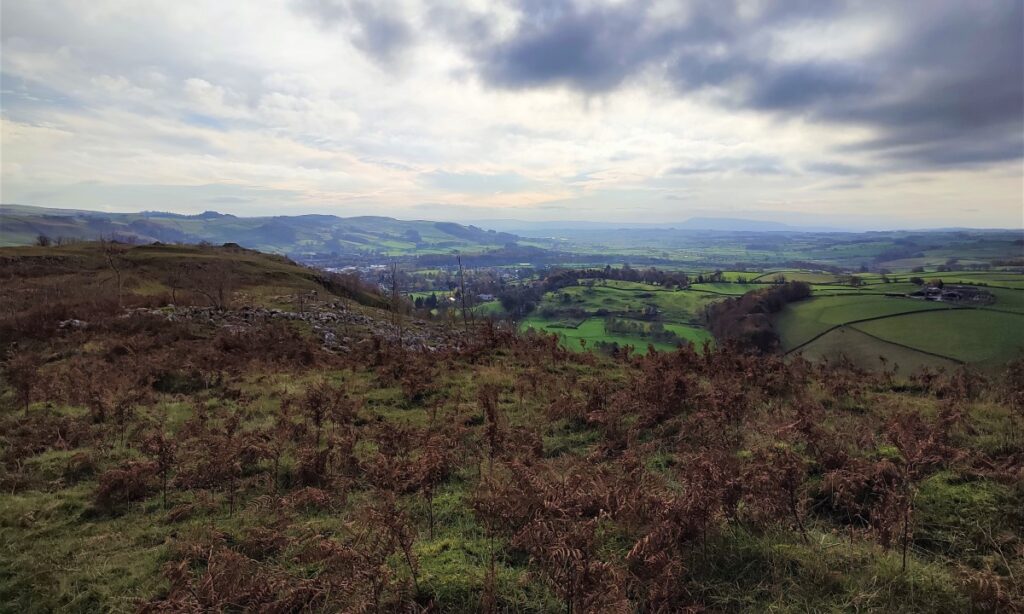
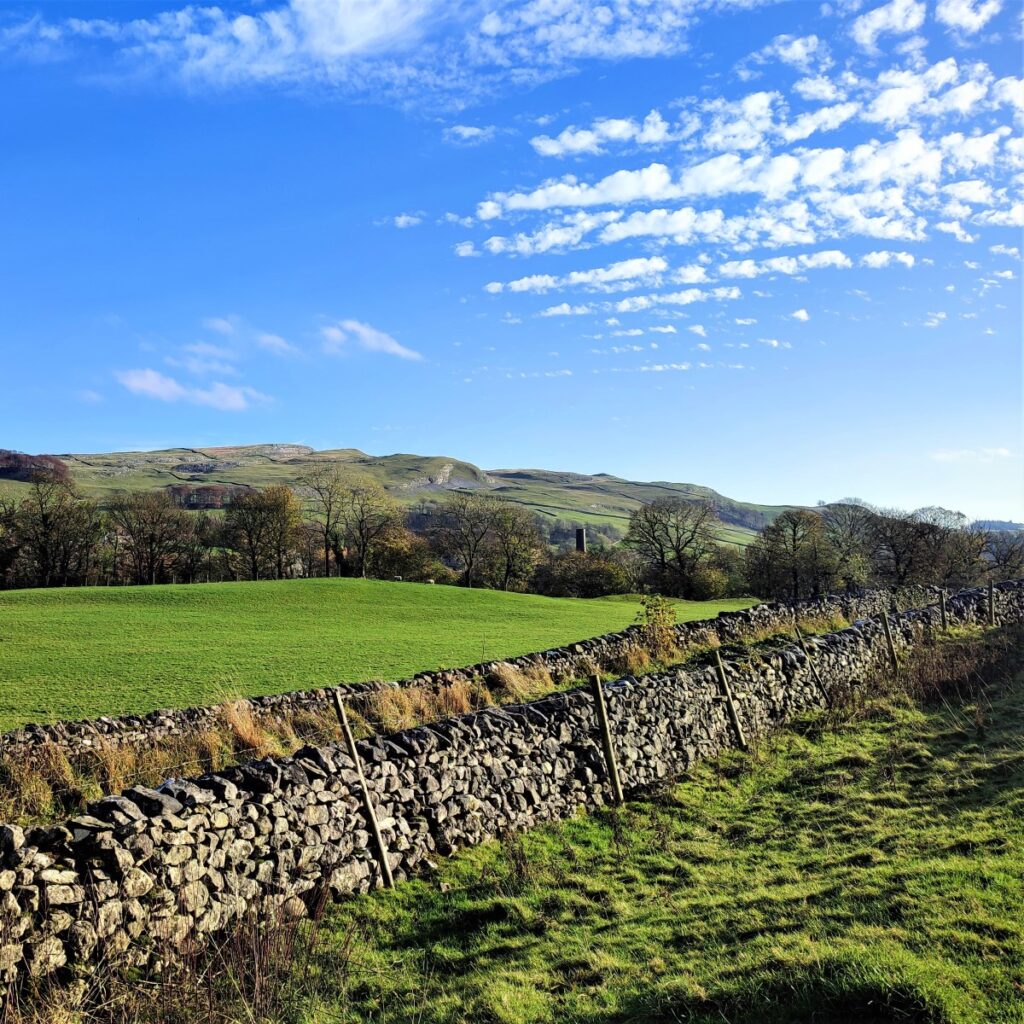
In practice the tower is nothing more than a large cairn, but it does have a circular plan, and there is a gap in the middle (be careful if you climb to verify this) so it may have been a short tower at one time. The odd name is said to reflect the suggestion that matriculating students of Giggleswick School each place a rock on the tower to mark the end of their schooldays. Just below the tower, but not visited on this walk is Schoolboy Cave, one of several caves which can be found on Giggleswick Scar. Schoolboy tower is a good place to enjoy the views over the flood plains at Long Preston, and most of the climbing is now done, so this may be a good place to take a breather.
Over to the right we can see the steep hill of Buck Haw Brow. Up until 1988 this was the A65 through Settle and Giggleswick, though since the construction of the by-pass it is now reclassified as a B road. There is a wonderful pice of early cine film dating from 1902 that shows artillery being moved in an odd carnival atmsophere. Click here to see it.
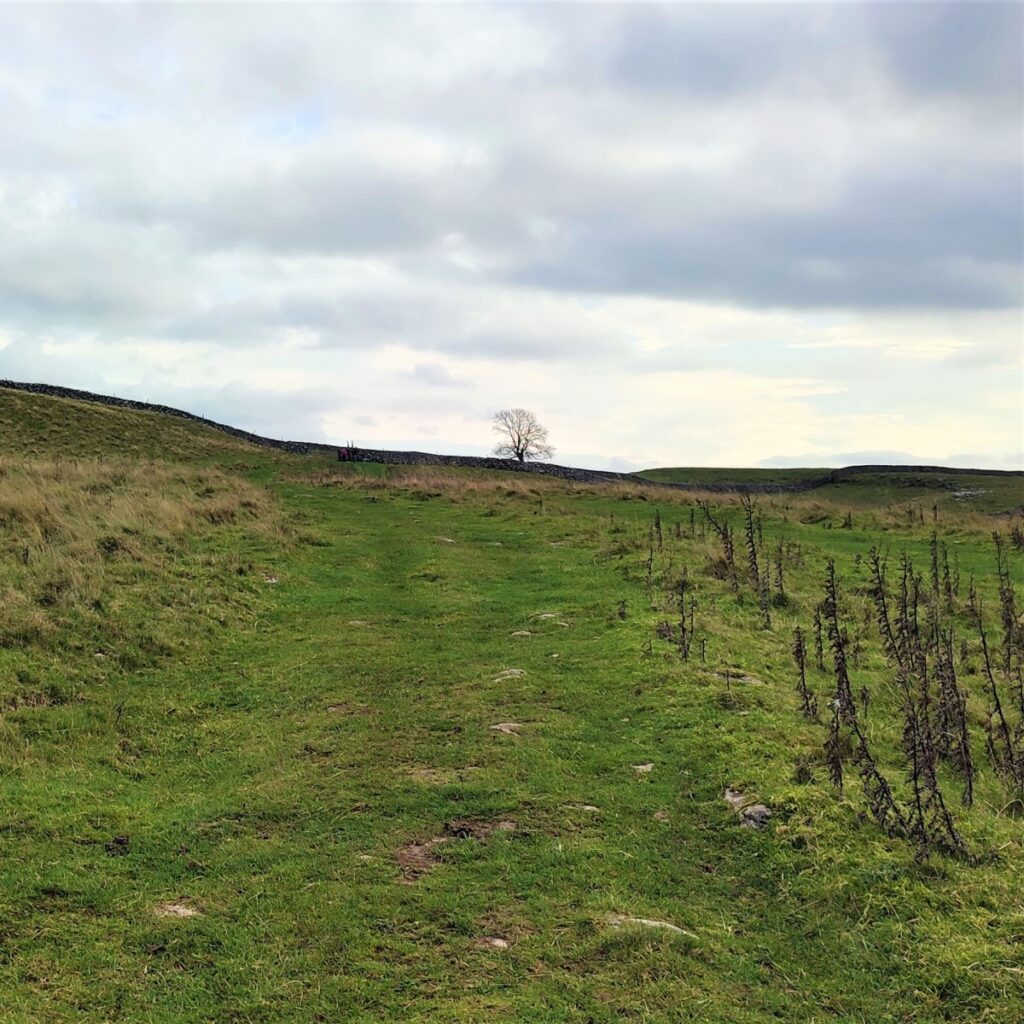
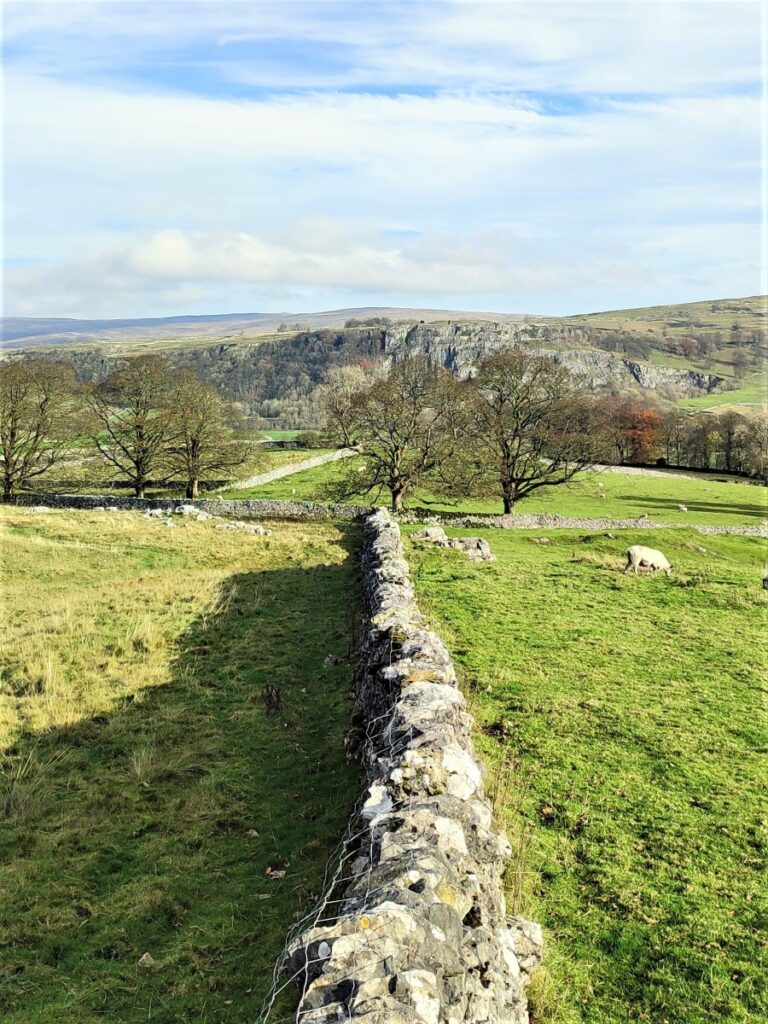
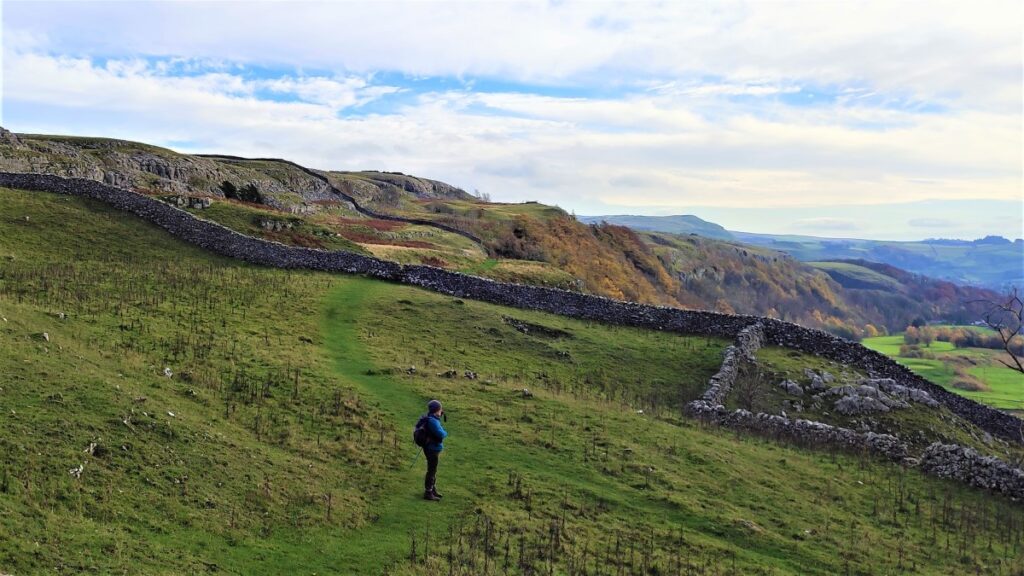
From the Schoolboy Tower we take the path along the top of the scar following the route of the road below – the path is never close to the edge of the scar, and for most of the way the road is out of sight.
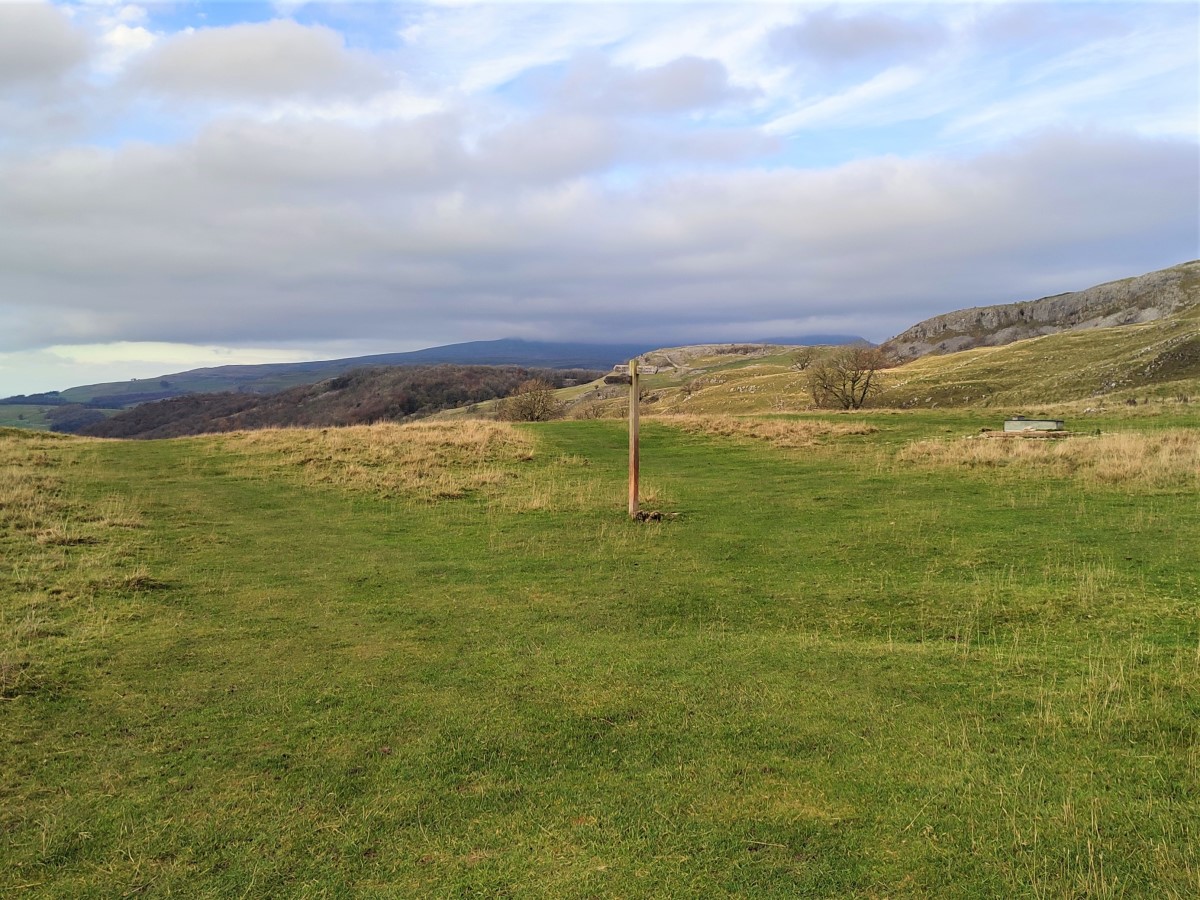
We cross a couple of stiles as we head Northwest for a while. After the second stile the track climbs and meets a path coming up from the road at Scar Top Garage, and we head right here through a gate and then North along a clear broad grass path toward Feizor Thwaite.
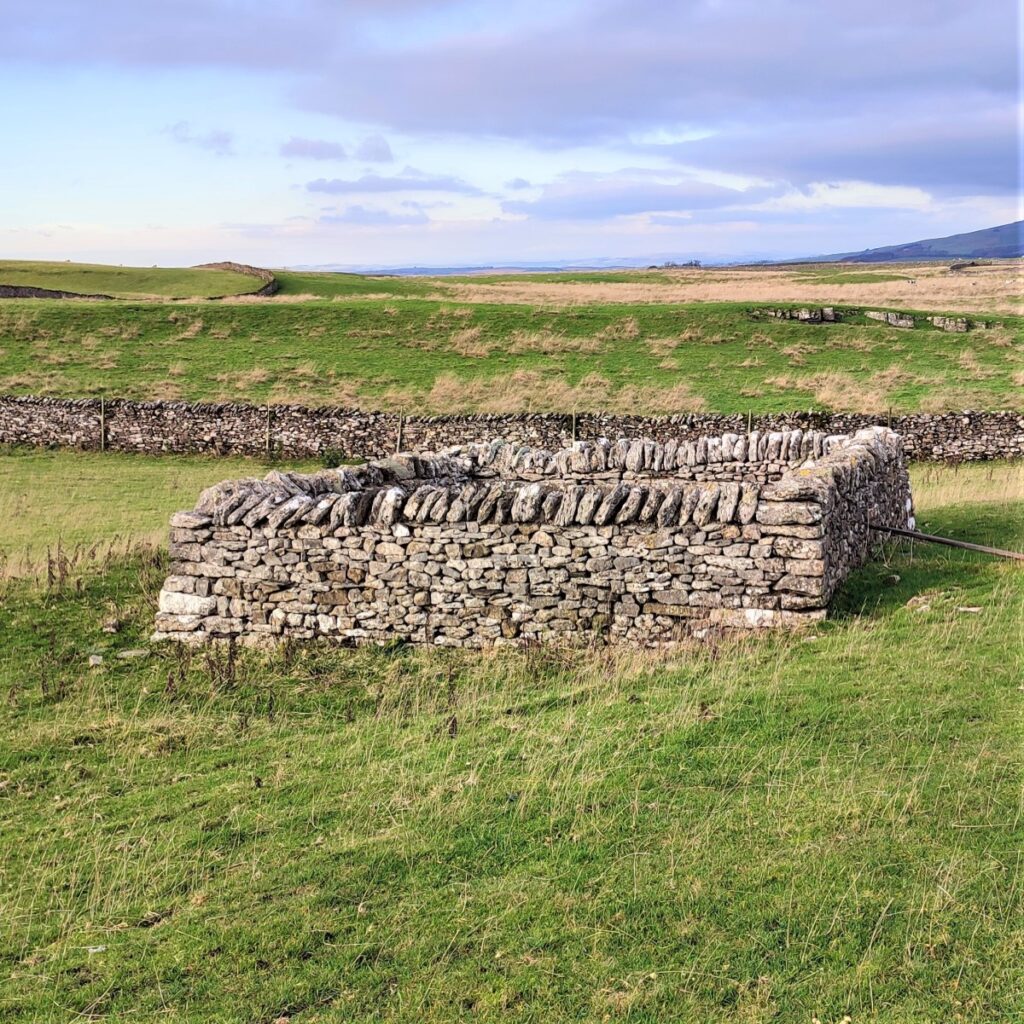
We take a gate through the drystone wall and ahead of we see curious square stone enclosure. This is now disused but was once a small water storage reservoir for farm use.
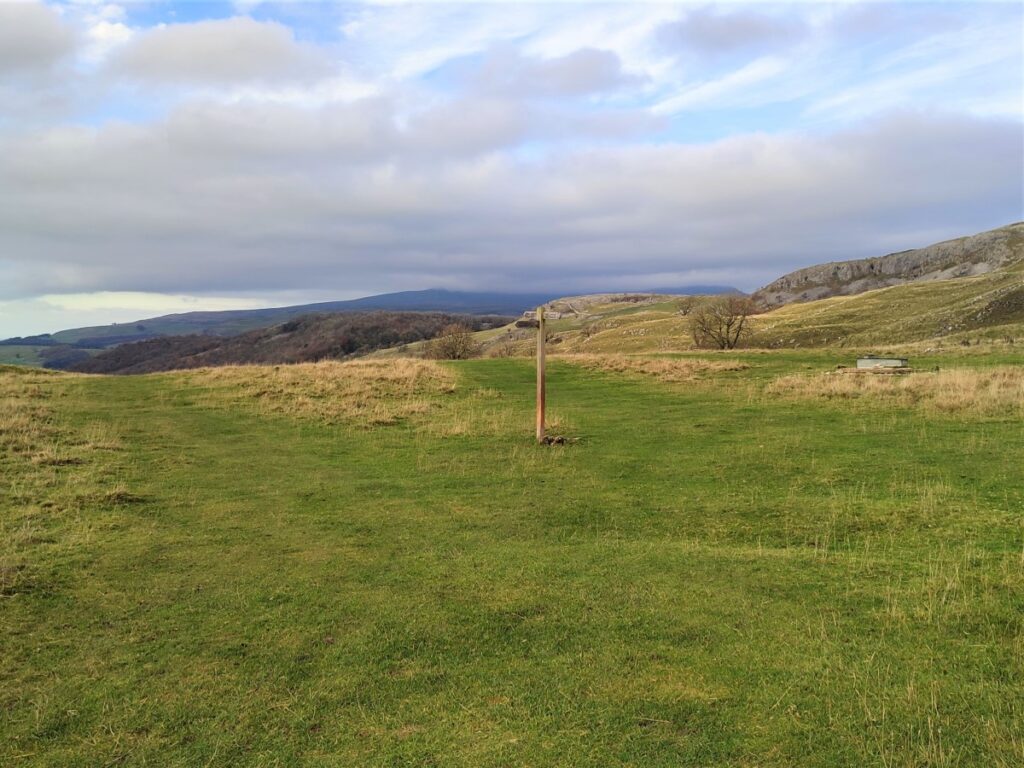
Just beyond this is another gate, and from there we continue North aiming for the corner where the next drystone wall changes direction.
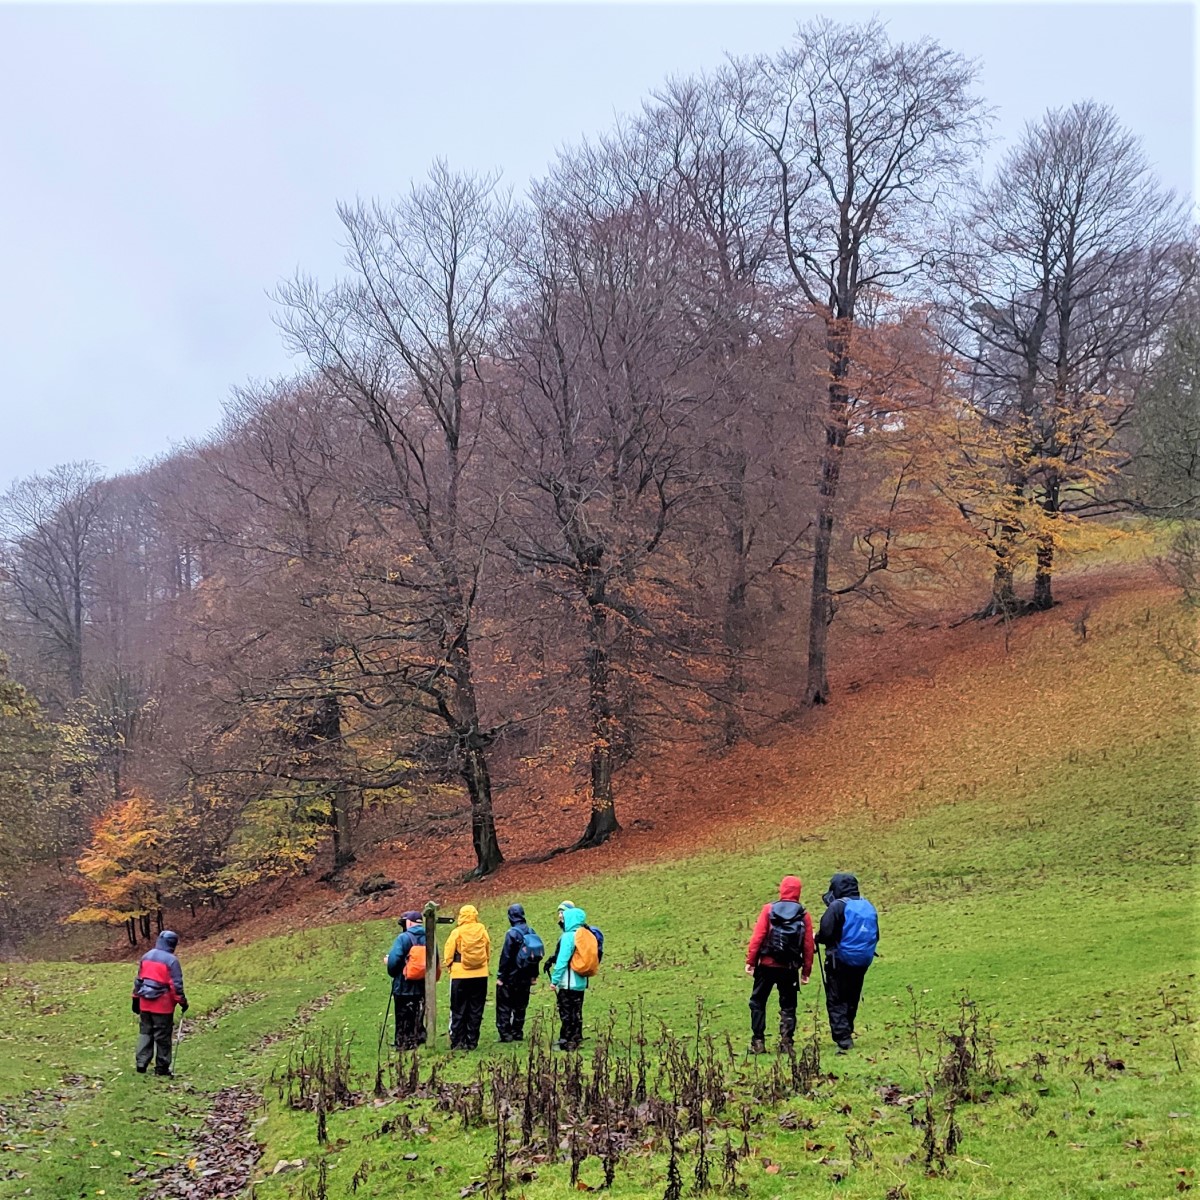
We then follow the wall and through a gate to see a finger post ahead of us. At the finger post, a number of paths come together, and our route is the Pennine Journey path to the right – in fact we almost reverse our direction of travel here.
If you are a fan of Elaine’s Tea Rooms in Feizor – and it has much to recommend it – feel free to go left down to Feizor before coming back to this point. That diversion will add about a mile to the route.
We now head uphill again toward a gate into an L shaped enclosure, where we carry on – picking up the line of the drystone wall at the far end, before passing through another gate. We are still on the Pennine Journey path at this stage, and so the route will be well used and quite clear.
We carry on to the next gate, go through. At this point some care is needed – our path goes through another gate just along the wall to the right, but you will see two clear paths ahead – these head to Little Stainforth and that’s not our destination right now.
Having made sure we are on the right path, and heading South East, we continue with the Pennine Journey path. A glance at the map will show that we are now running parallel with our earlier route along the top of Giggleswick scar and are separated from it by only a small ridge.
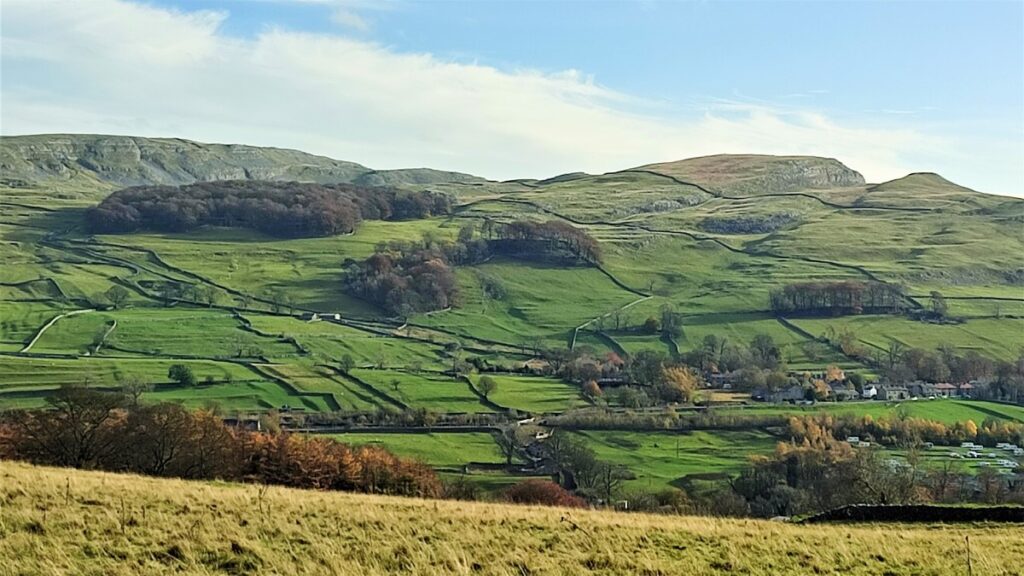
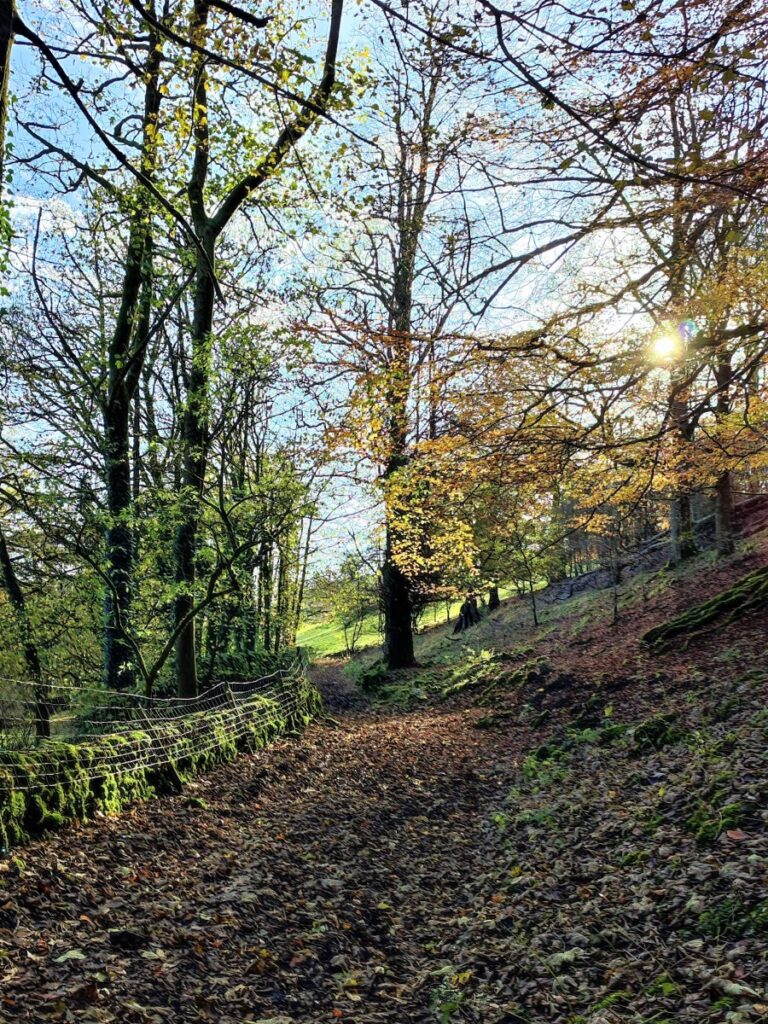
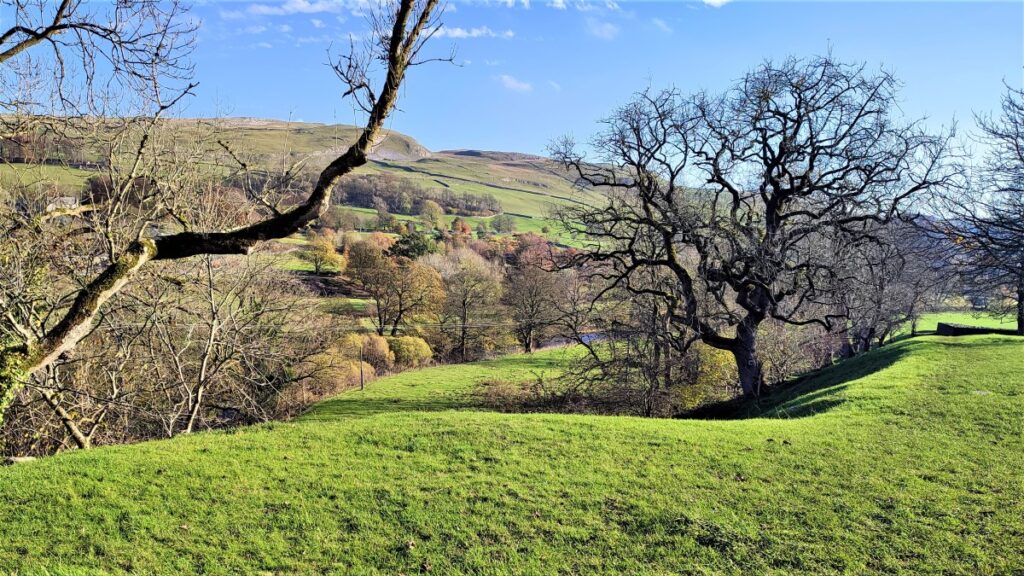
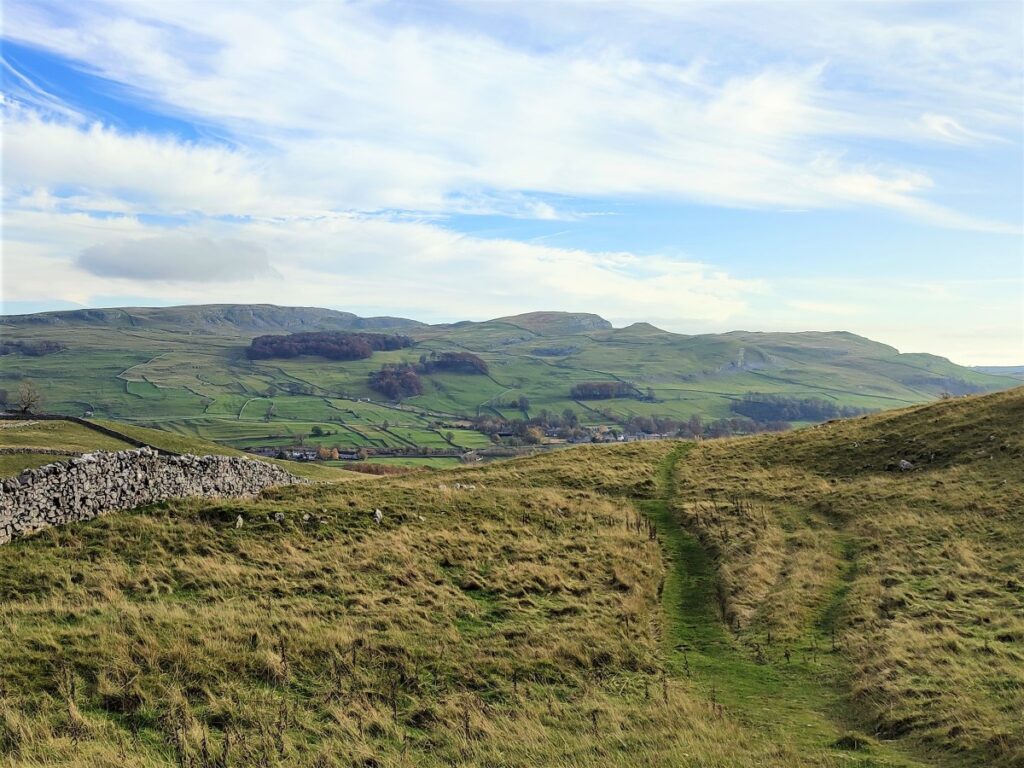
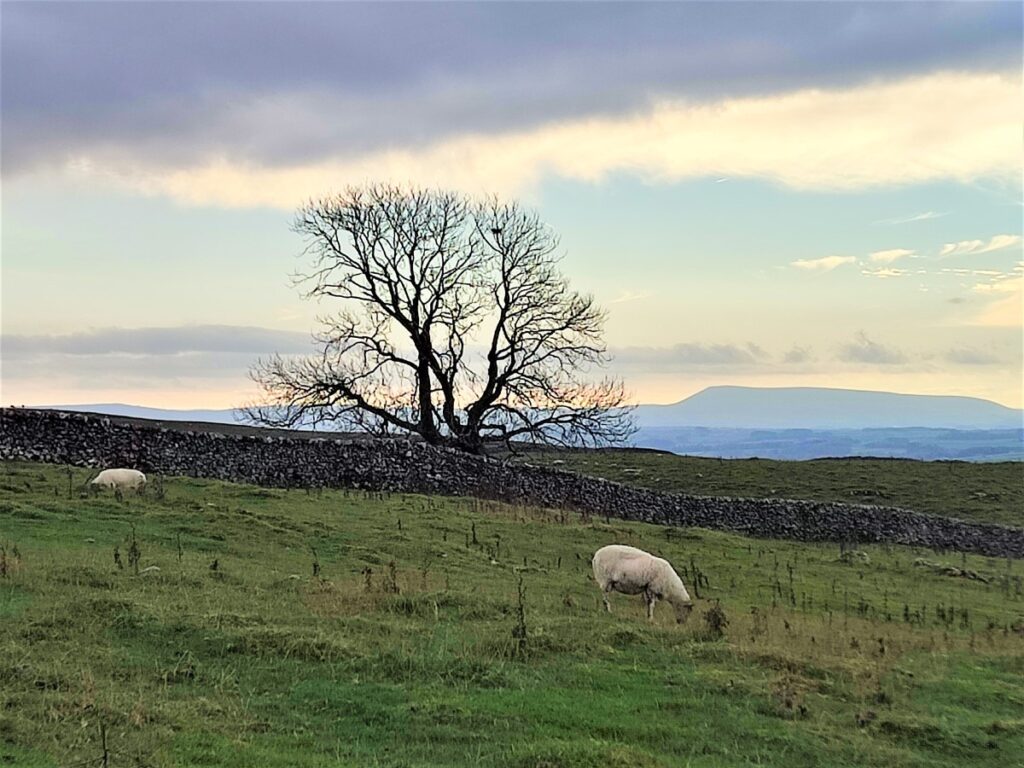
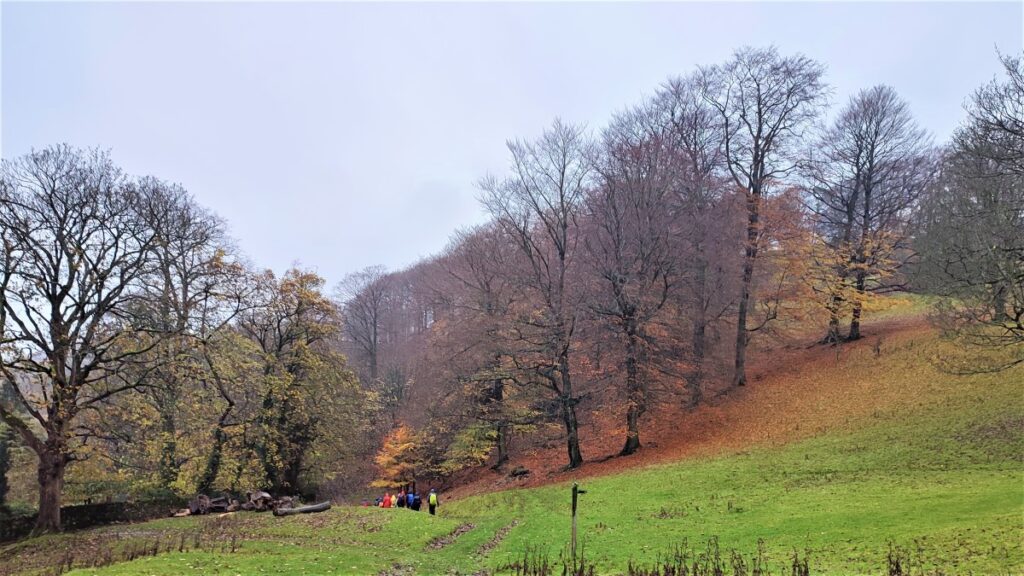
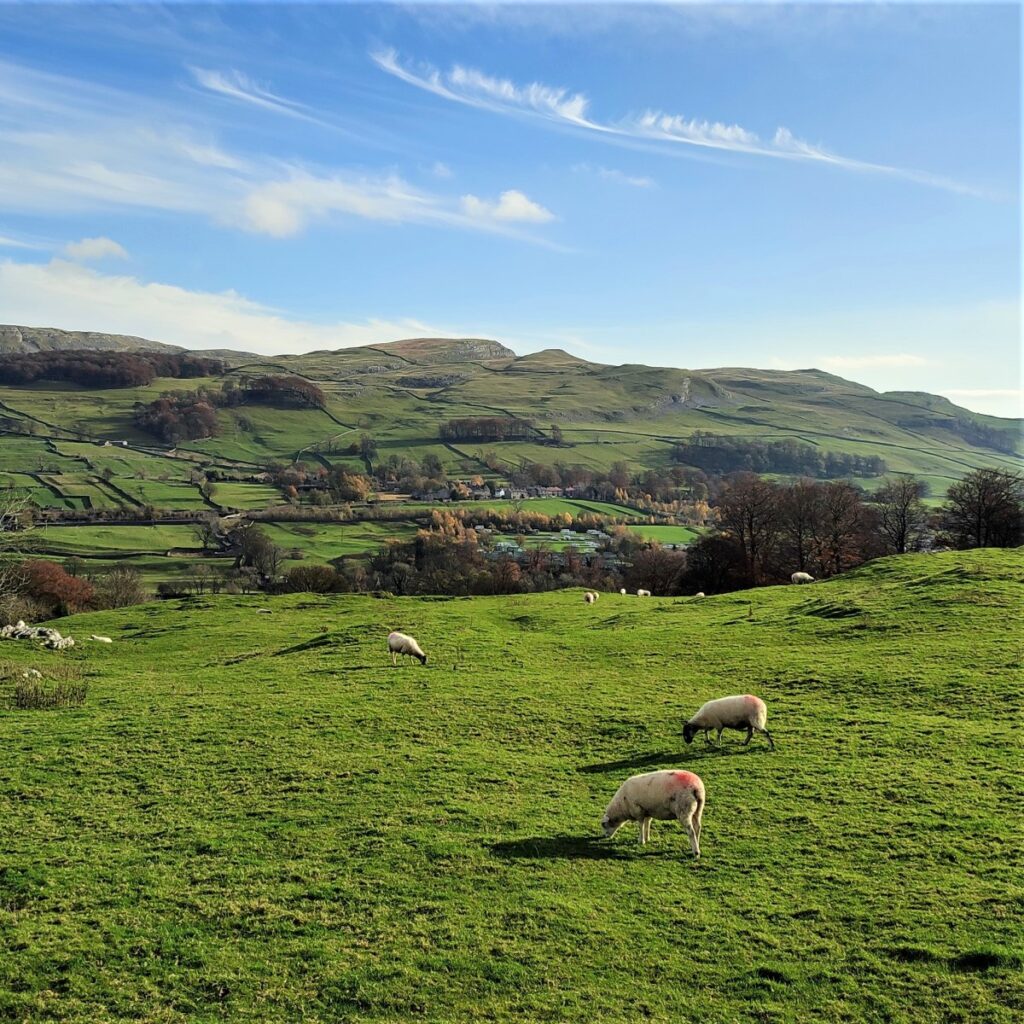
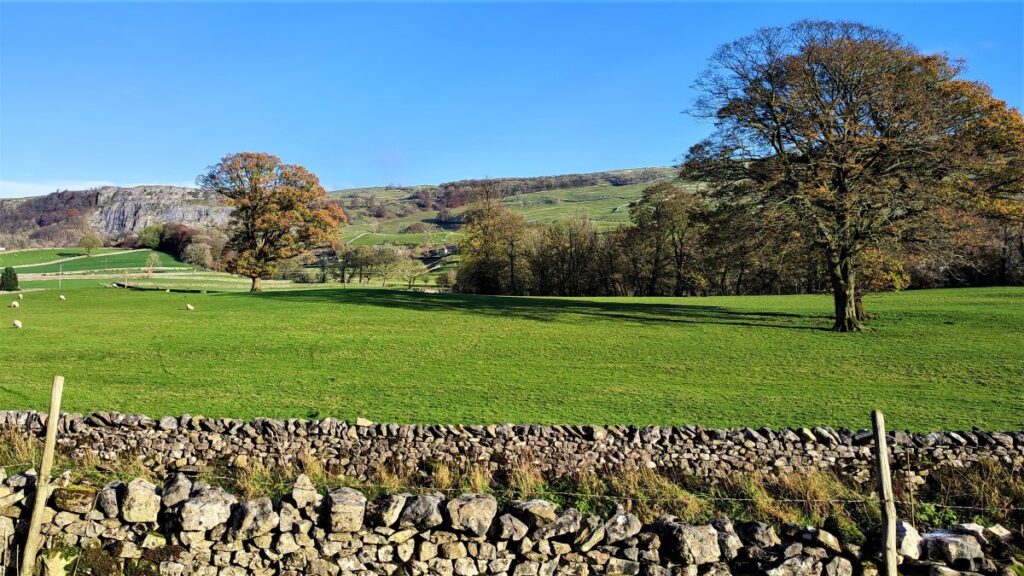
After one field boundary, the path heads down to the corner where a further gate takes us though to an open pasture with some woodland ahead. As we cross the field, we notice that there two stiles in the drystone wall ahead of us. Aim for the one to the left and take the path downhill toward Stackhouse. The fields here are sheltered and if the weather is fine offer good views up and across the Ribble Valley – so this might be a good place to stop for lunch.
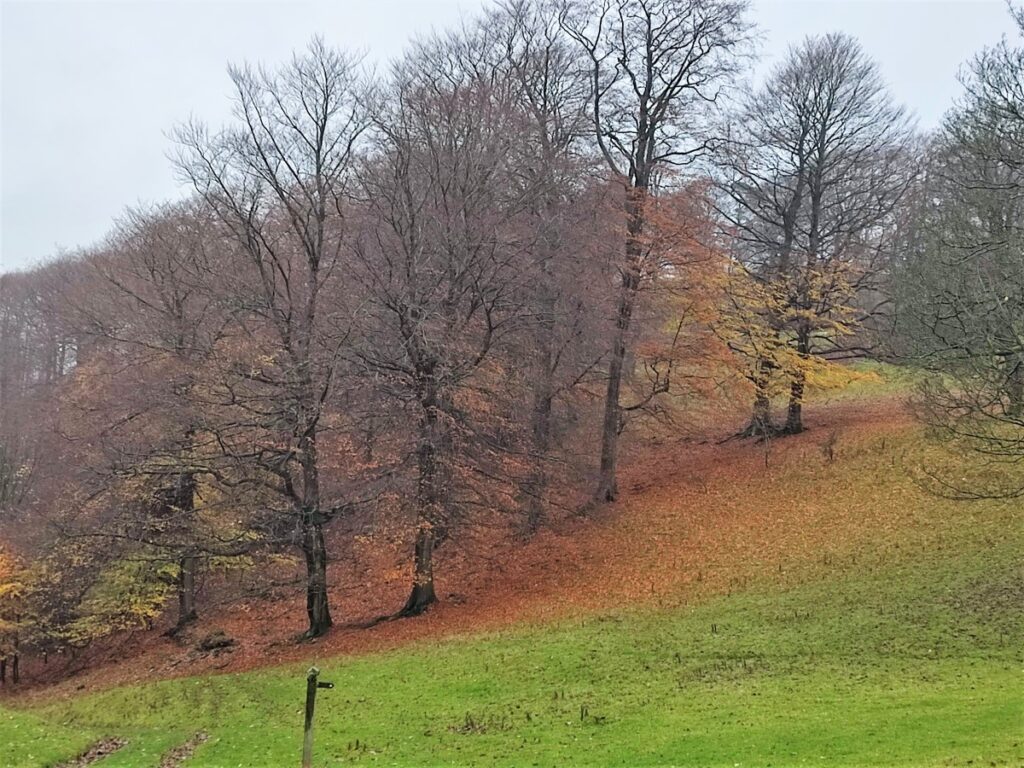
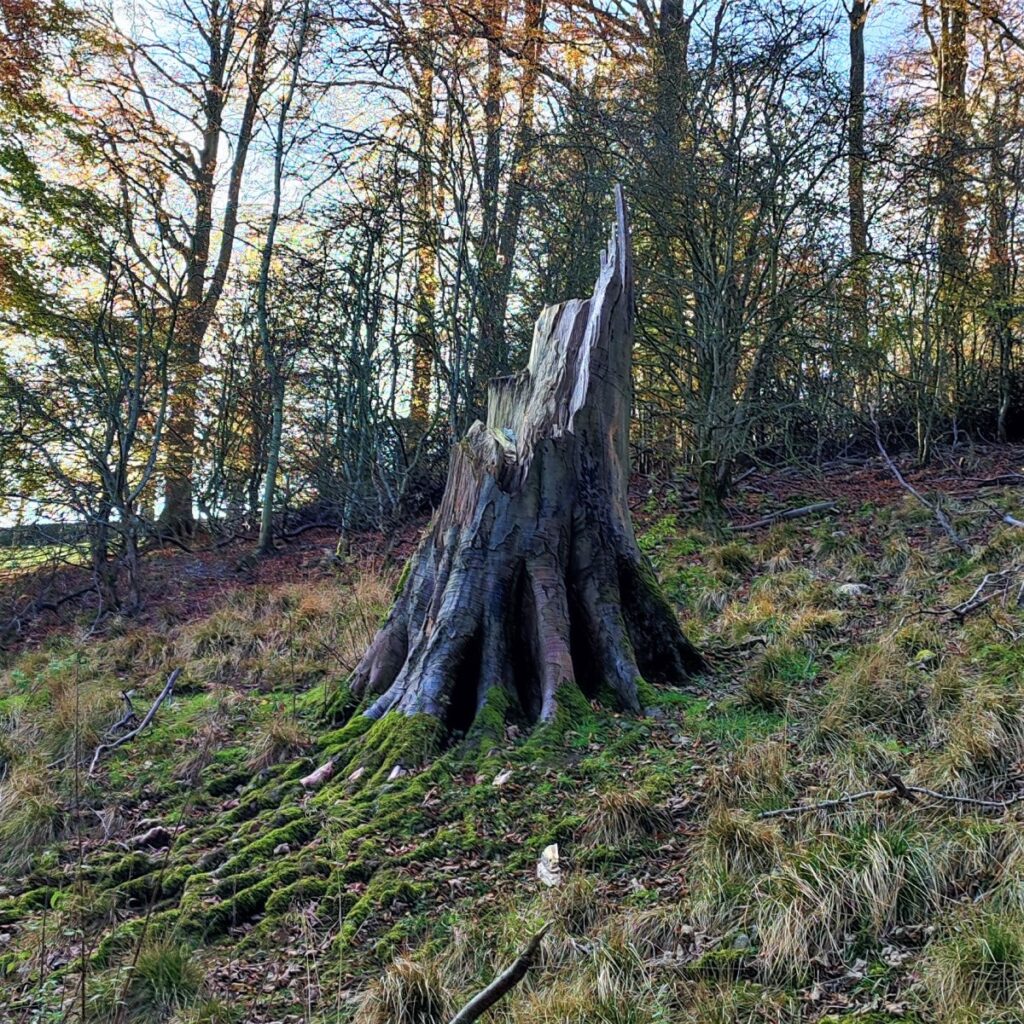
The path now heads steeply downhill – toward the bottom of the woodland – and care is needed here in wet weather as the ground is quite slippery.
As we approach the bottom of the woodland, we see a finger post and a lane along the back of the houses at Stackhouse. We follow this until we again enter open fields.
Ignore a gate onto the Stackhouse Road at the end of the woodland track; we walk within the field above the road until we find a stile in the far corner.
Here a choice presents itself. The route we recommend crosses the road and continues diagonally along a very clear path toward the Ribble. The alternative stays on the same side of the road at the bottom of the fields and returns to The Mains.
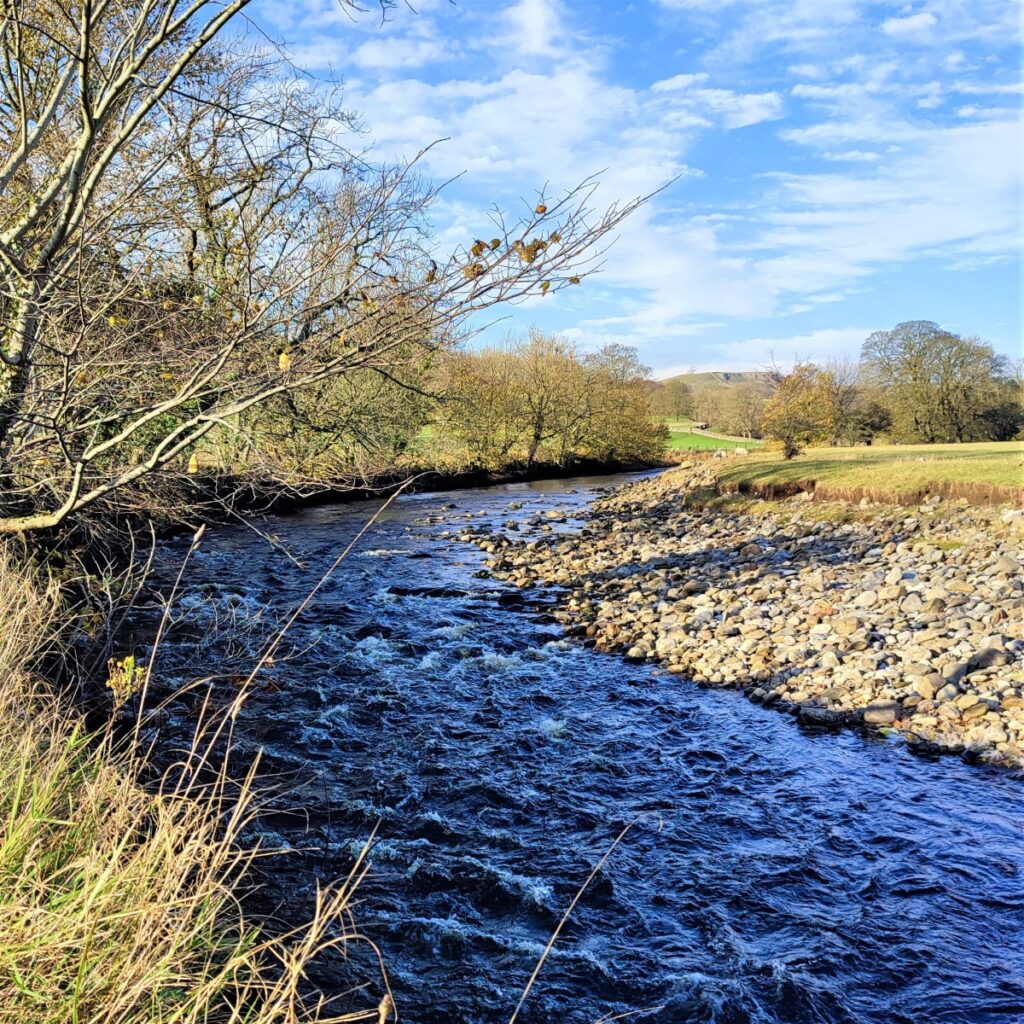
On the far side of the river, we see the mill complex at Langcliffe and to the left of that Langcliffe Scar. We follow the path (now the Ribble Way) down toward Settle until we get to the edge of the playing fields. At that point the path heads away from the river, skirts the football pitch and arrives at the main road just by the bridge over the Ribble.
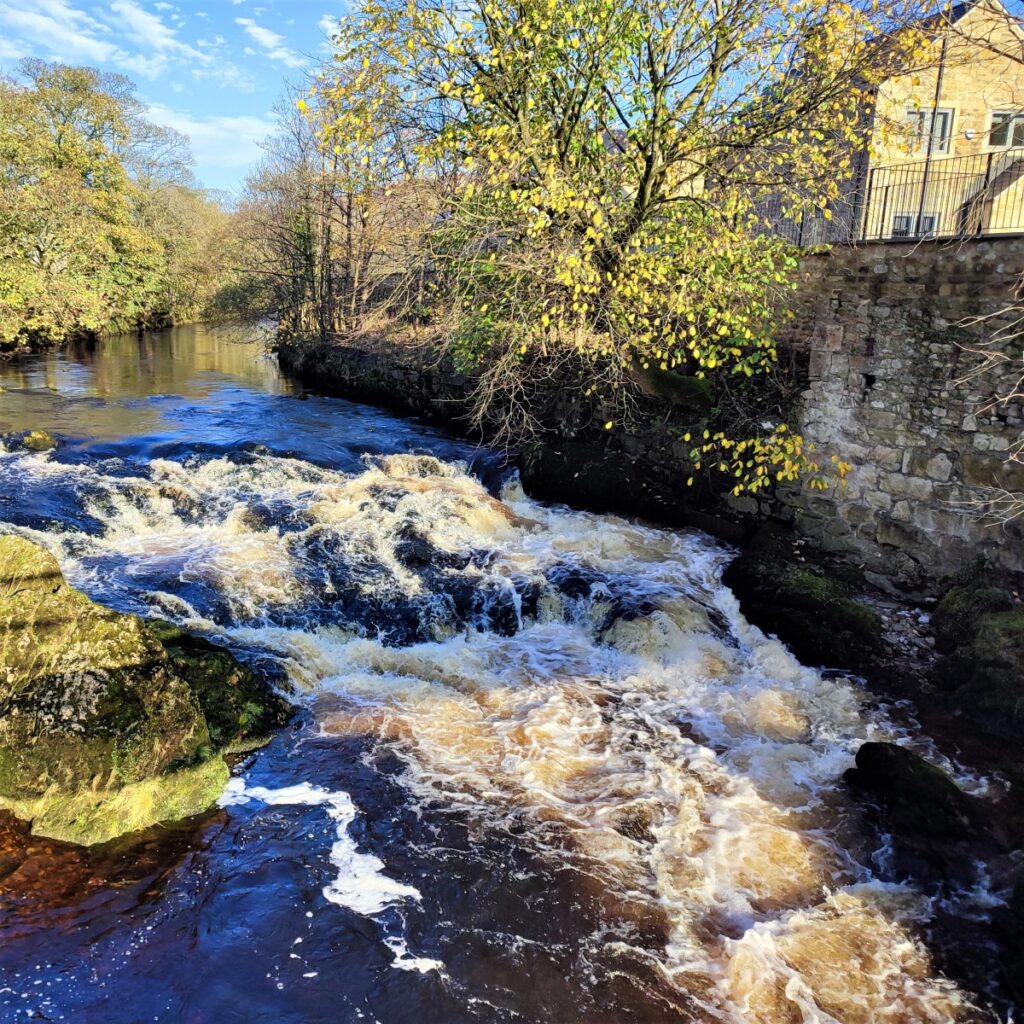
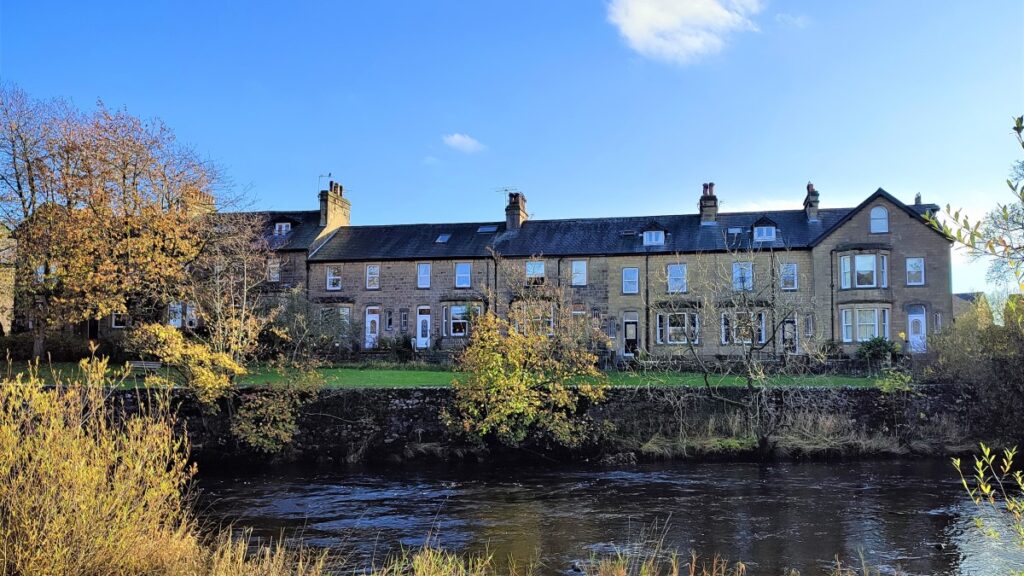
We cross the road and pick up the riverside path along the Ribble in front of the lovely Ribble Terrace and continue until we arrive at the Giggleswick Memorial Bridge at Kings Mill. This offers good views of the river – particularly upstream, where, in October, salmon may be seen leaping the falls.
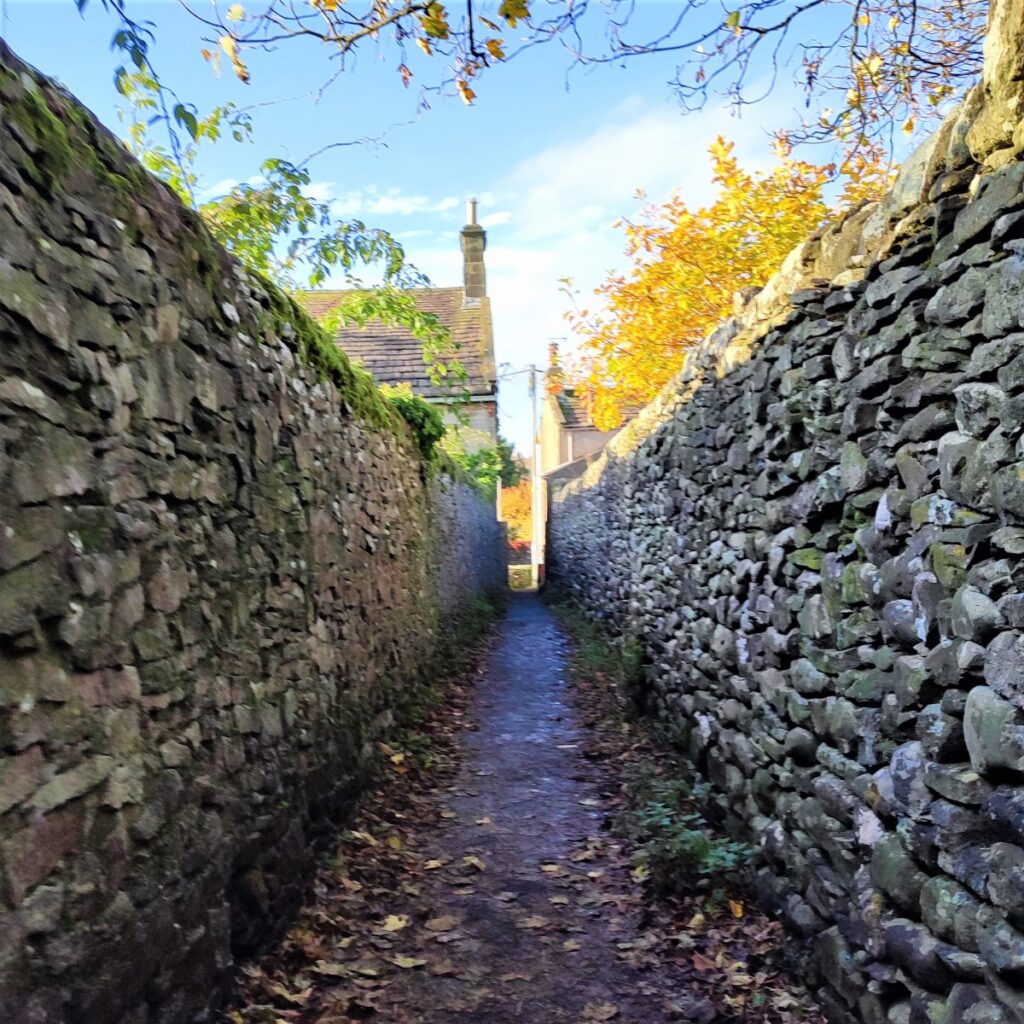
Back on the Giggleswick side of the river we see a fork in the path, and we take a right, uphill, and through an alley which takes us back into Giggleswick village.
We take a right at the end of the alley and then follow the road round to the left where we see the entrance to the park. From here we follow the path round the playing fields and back our cars.