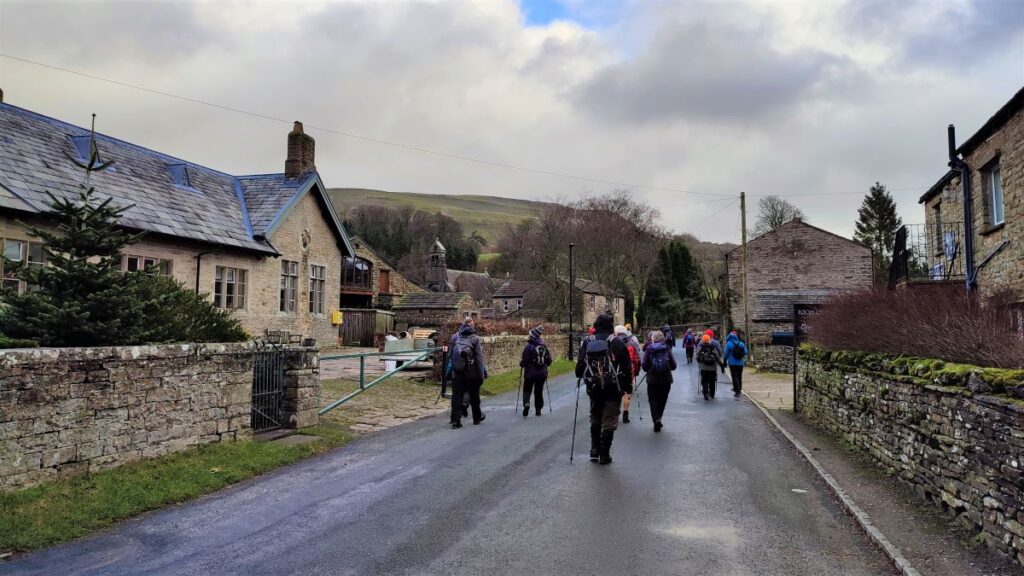
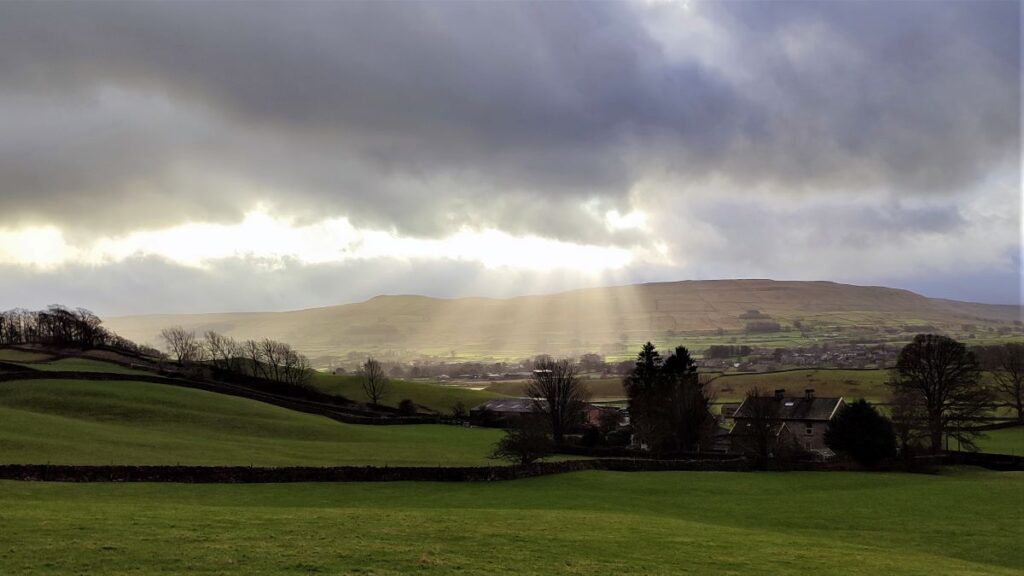
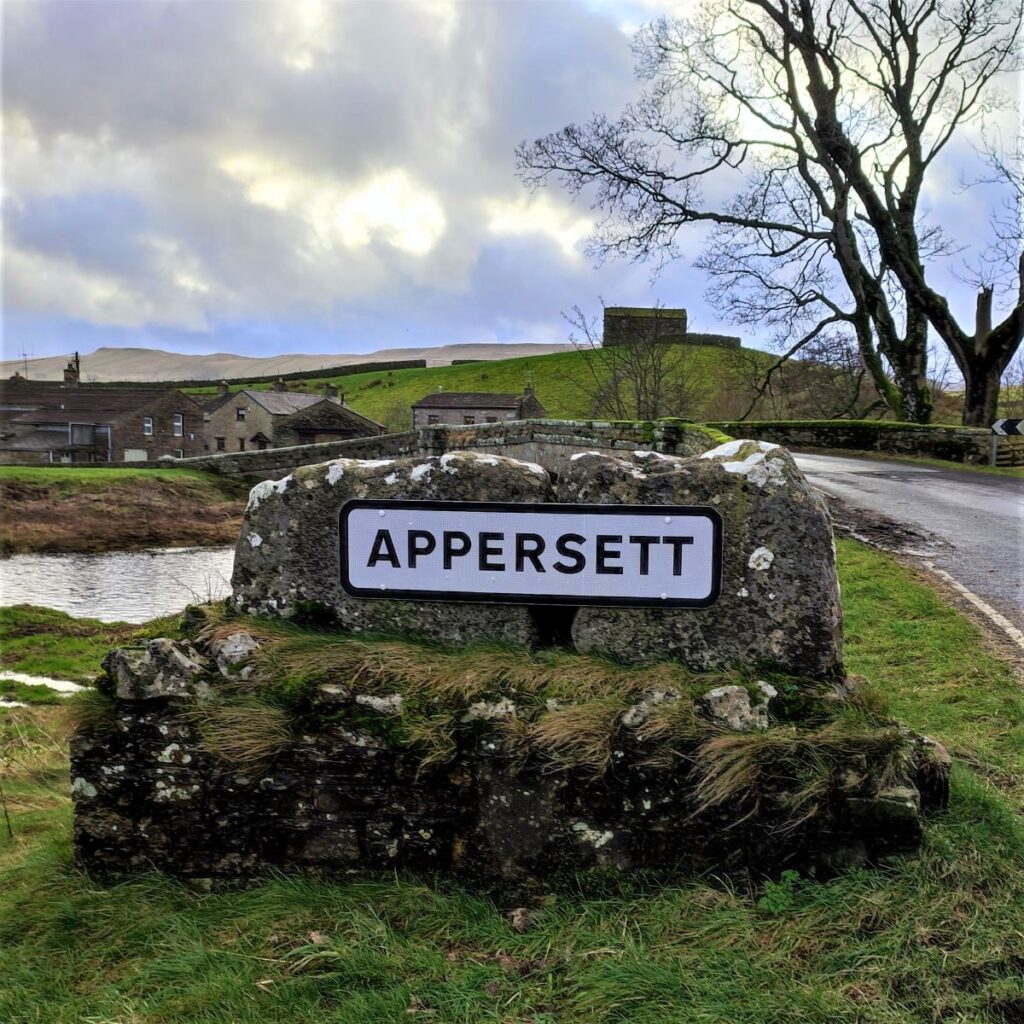
A number of Bentham footpath Group walks start at Appersett – it gives direct access to Wensleydale without getting involved in the bustle of Hawes where parking can be problematic.
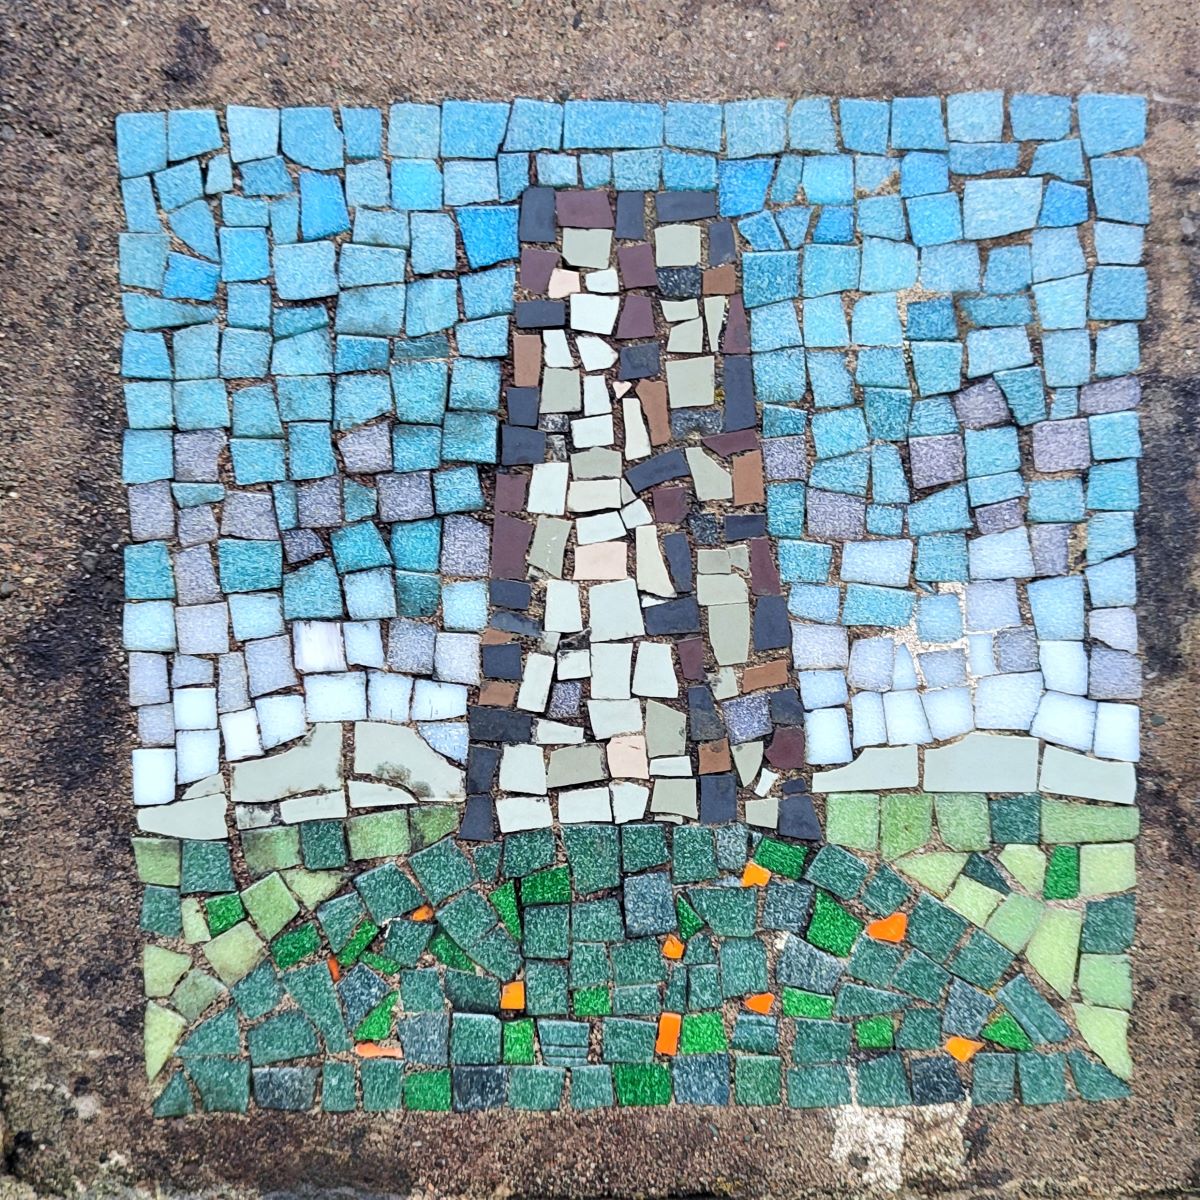
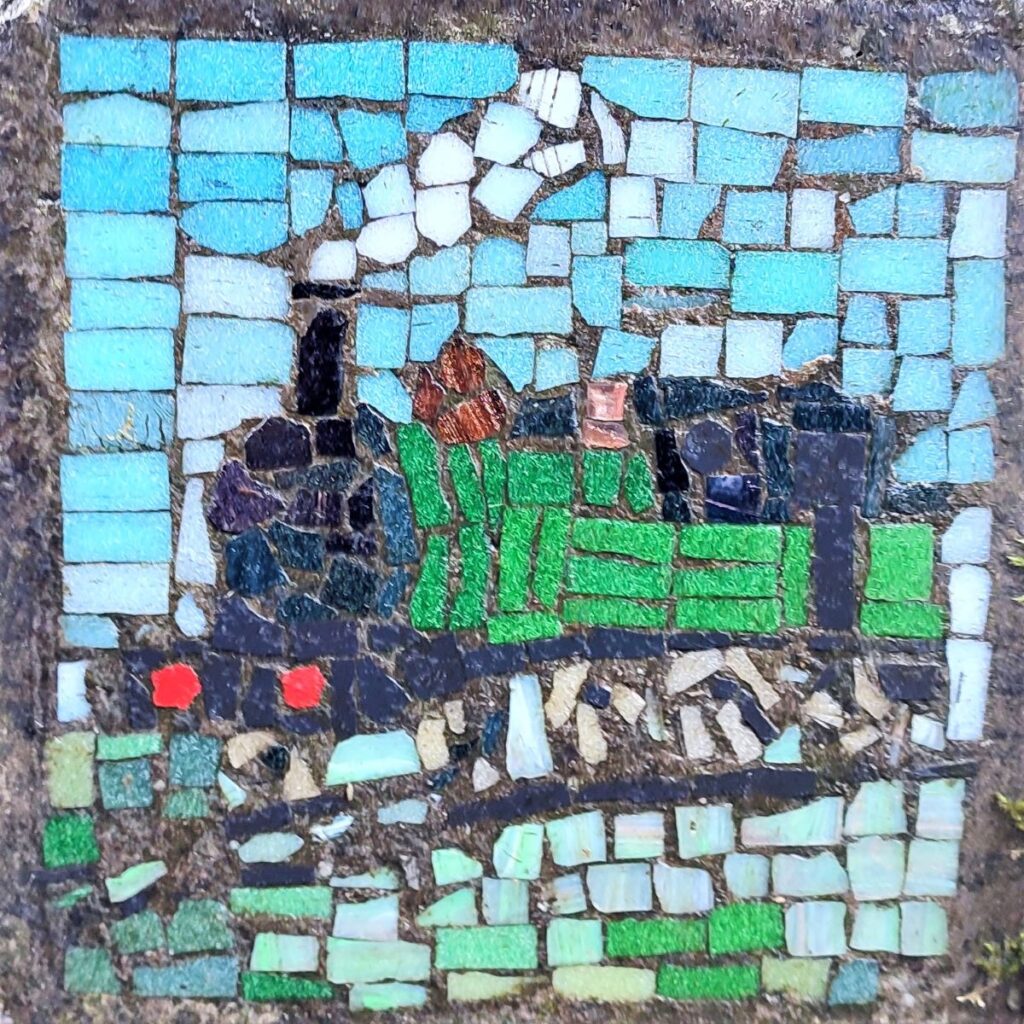
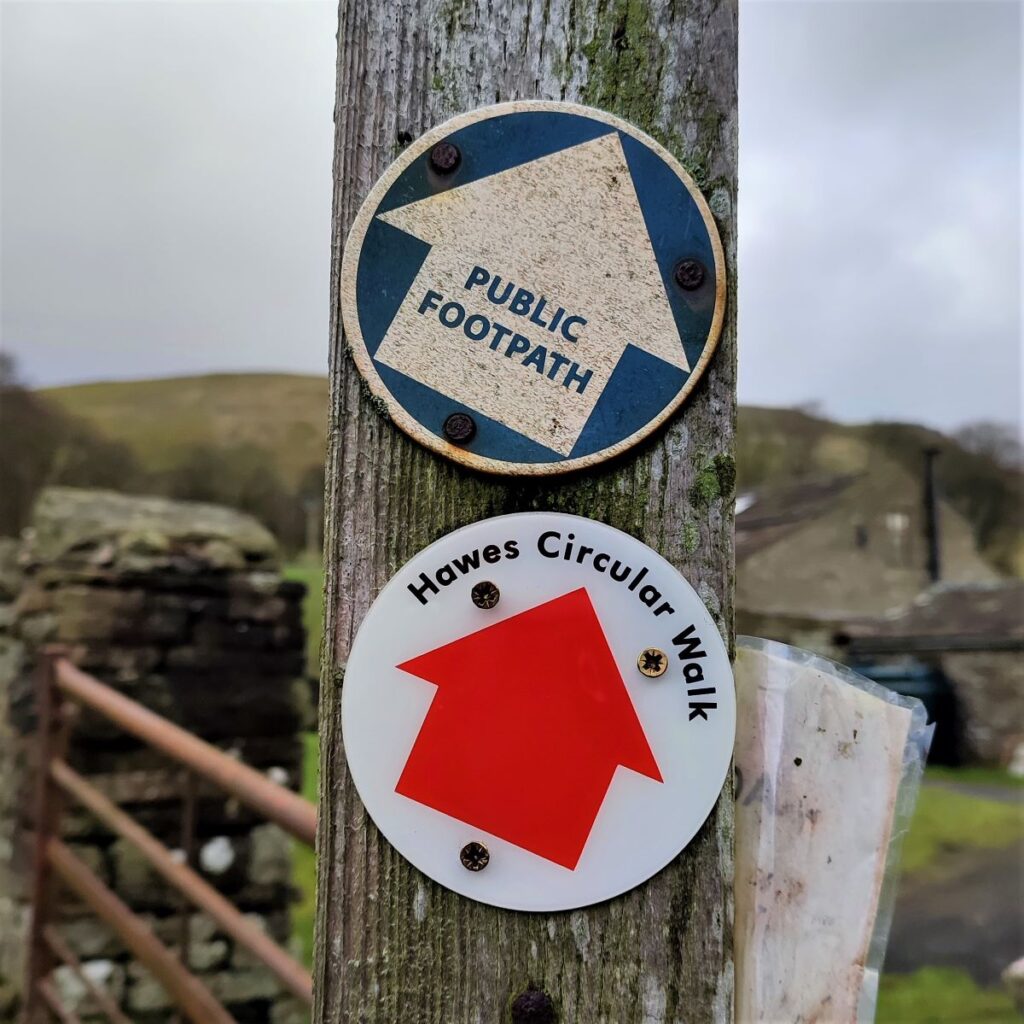
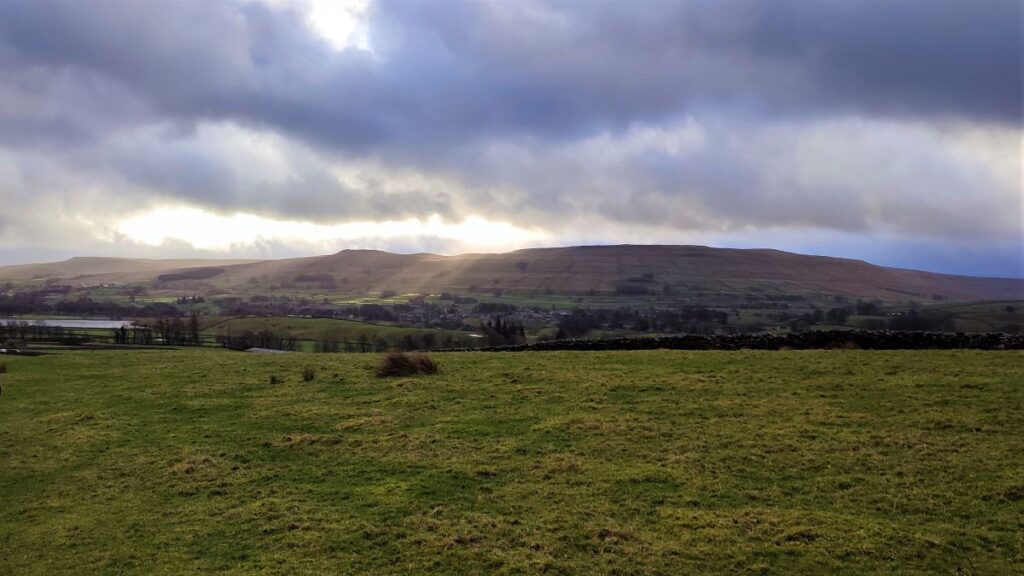
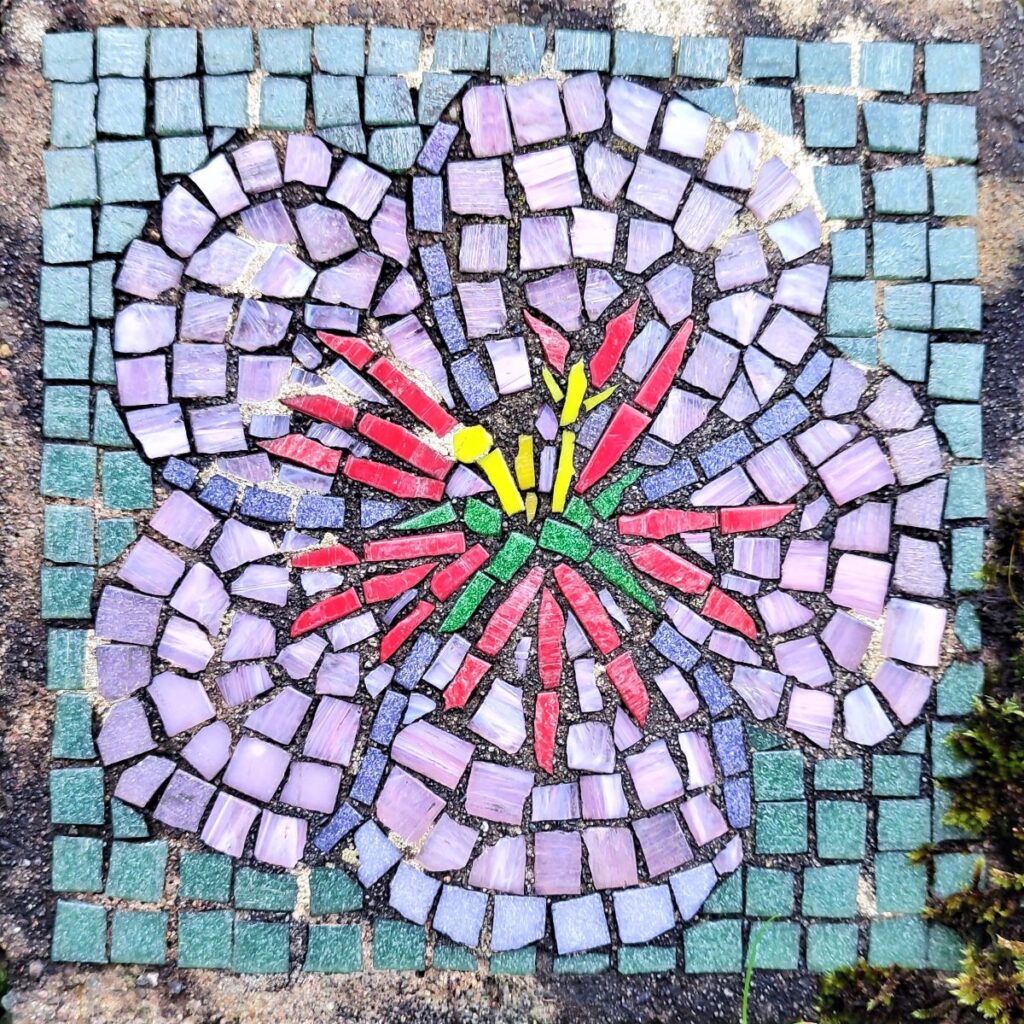
This easy walk offers great views and includes a number of the Millennium Mosaics placed around Hawes in 2000.
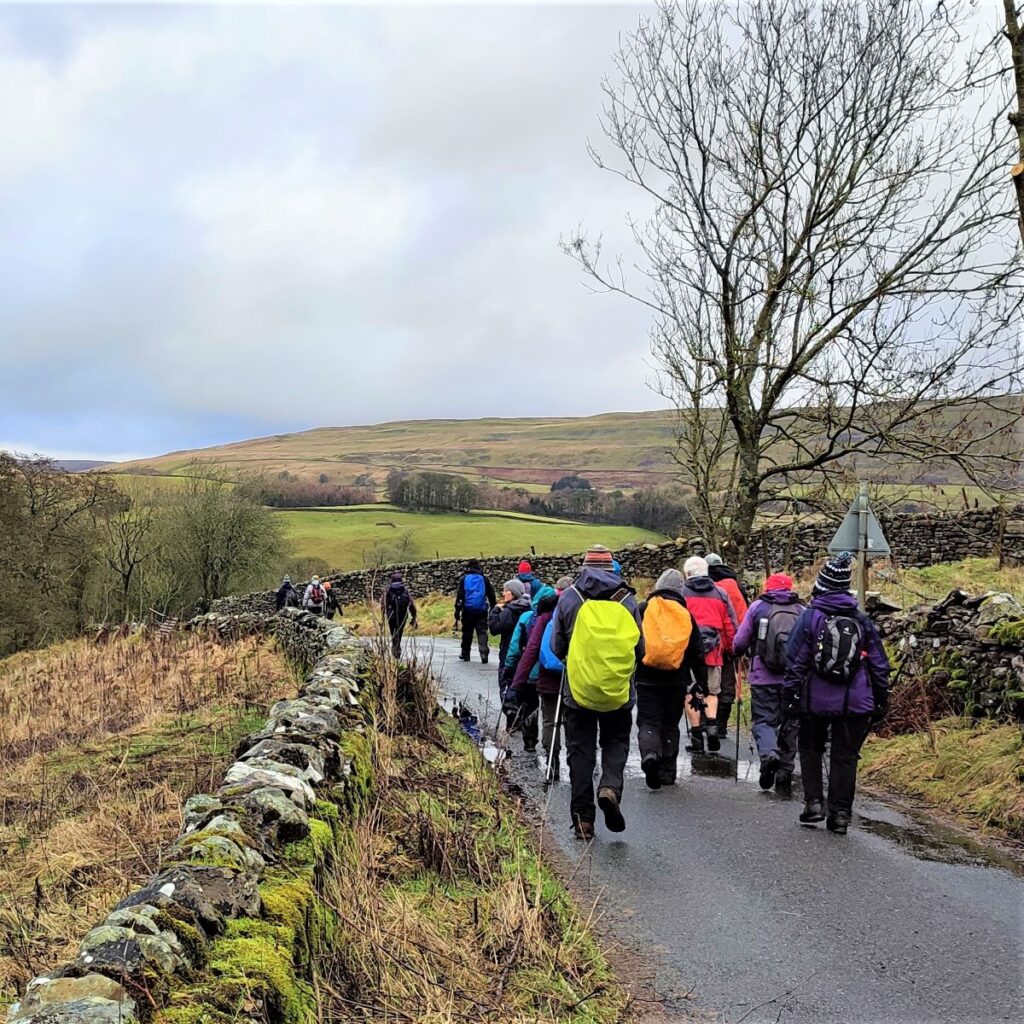
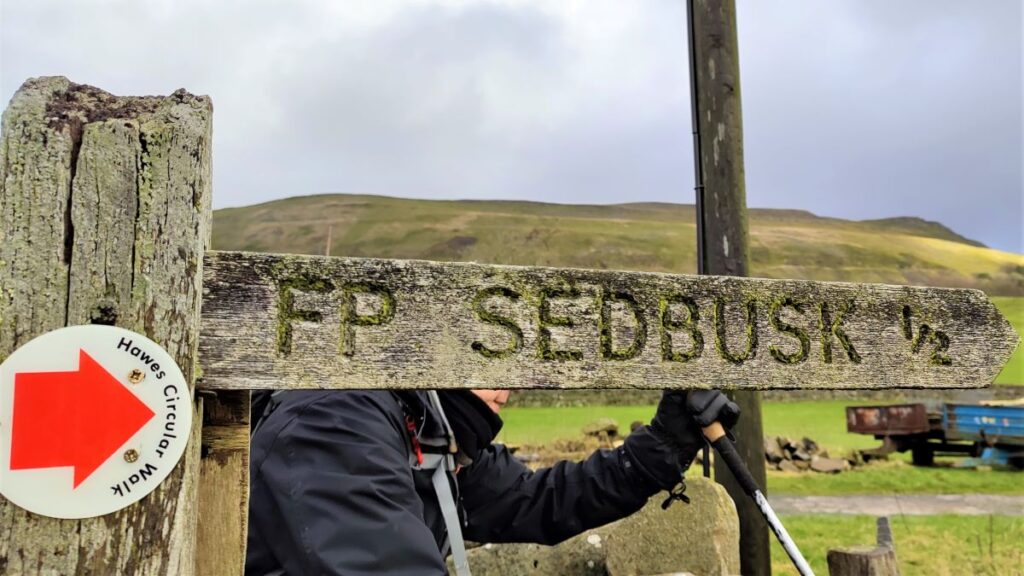
The route starts by crossing the Widdale Beck, then the River Ure before climbing up to Hardraw. From there we go to Simonstone and take a path along the fellside into Sedbusk Village. We start back on the Sedbusk lane, but soon divert left to head down to the River Ure at Haylands Bridge.
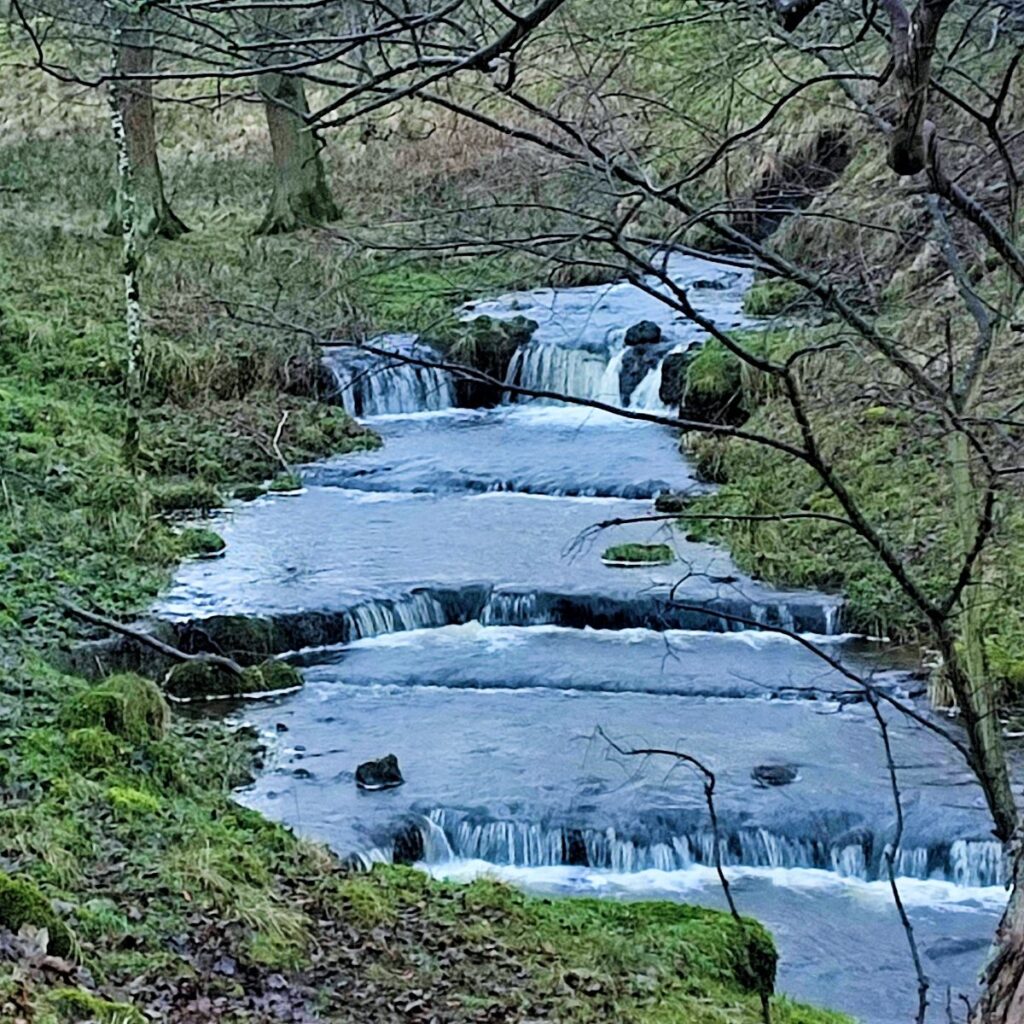
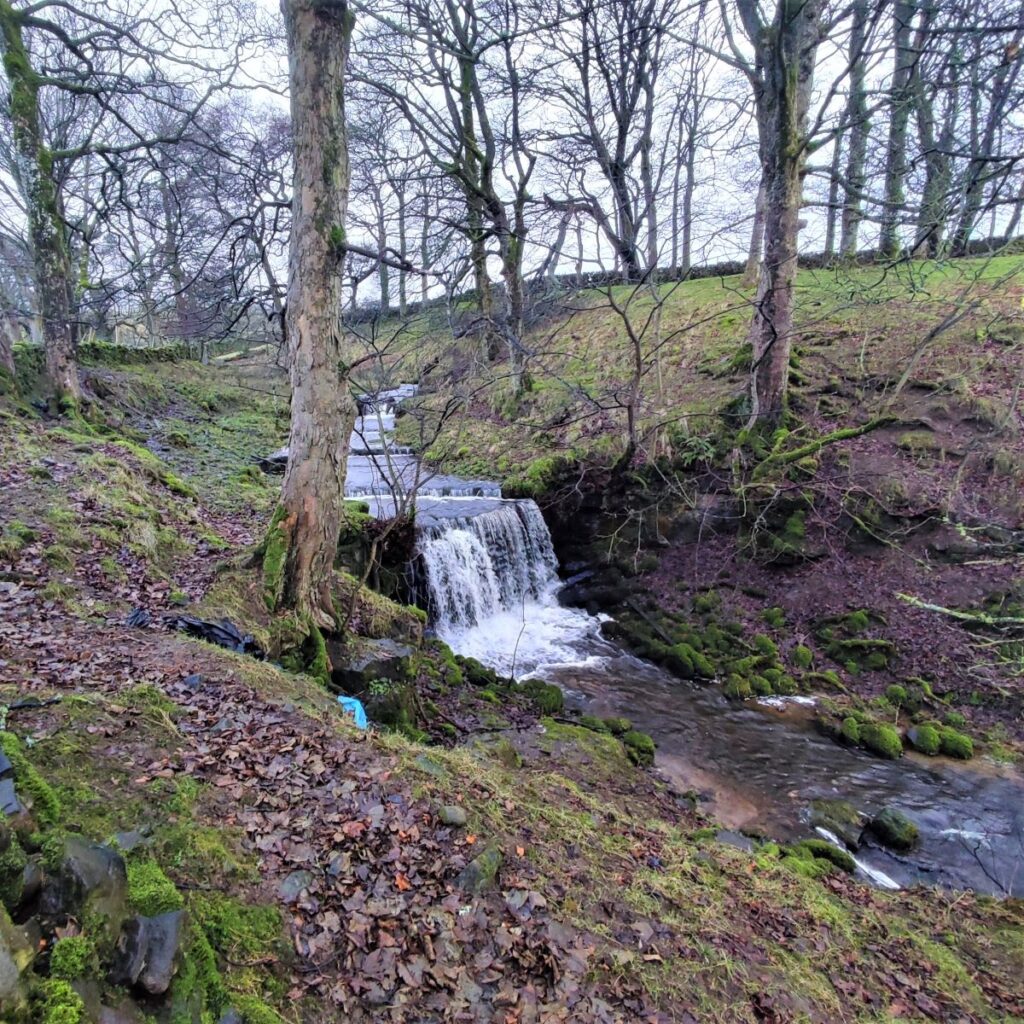
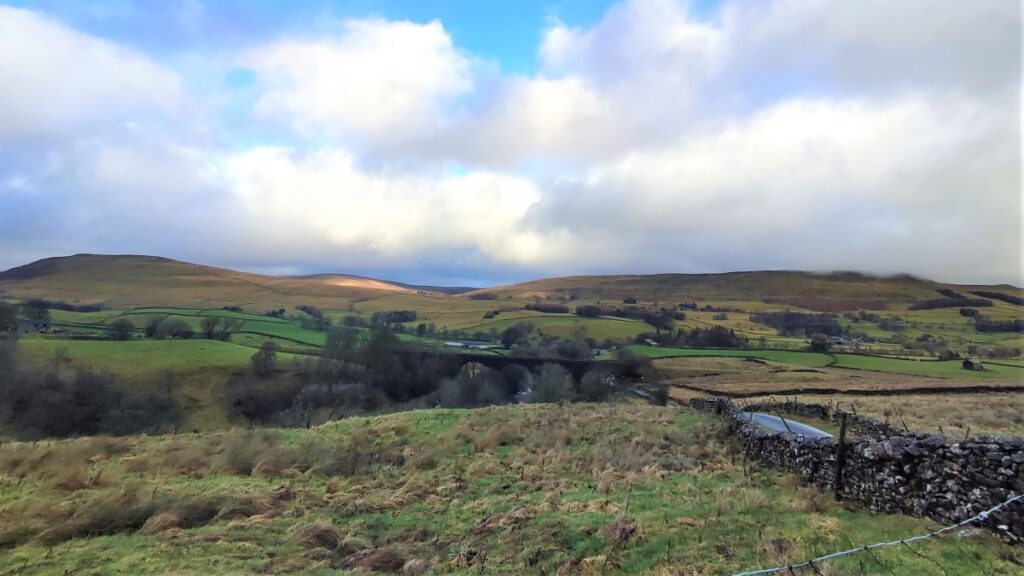
We then follow the river upstream until we meet the A684 where we walk left along the road for a very brief spell before heading up onto the fells again at Thorns. A path along Spillain Green Sike offers good views of cascading waterfalls before we head back down to a minor road at Appersett Viaduct. From there we follow the road downhill back to the cars. On route we see eight of the twenty two mosaics.
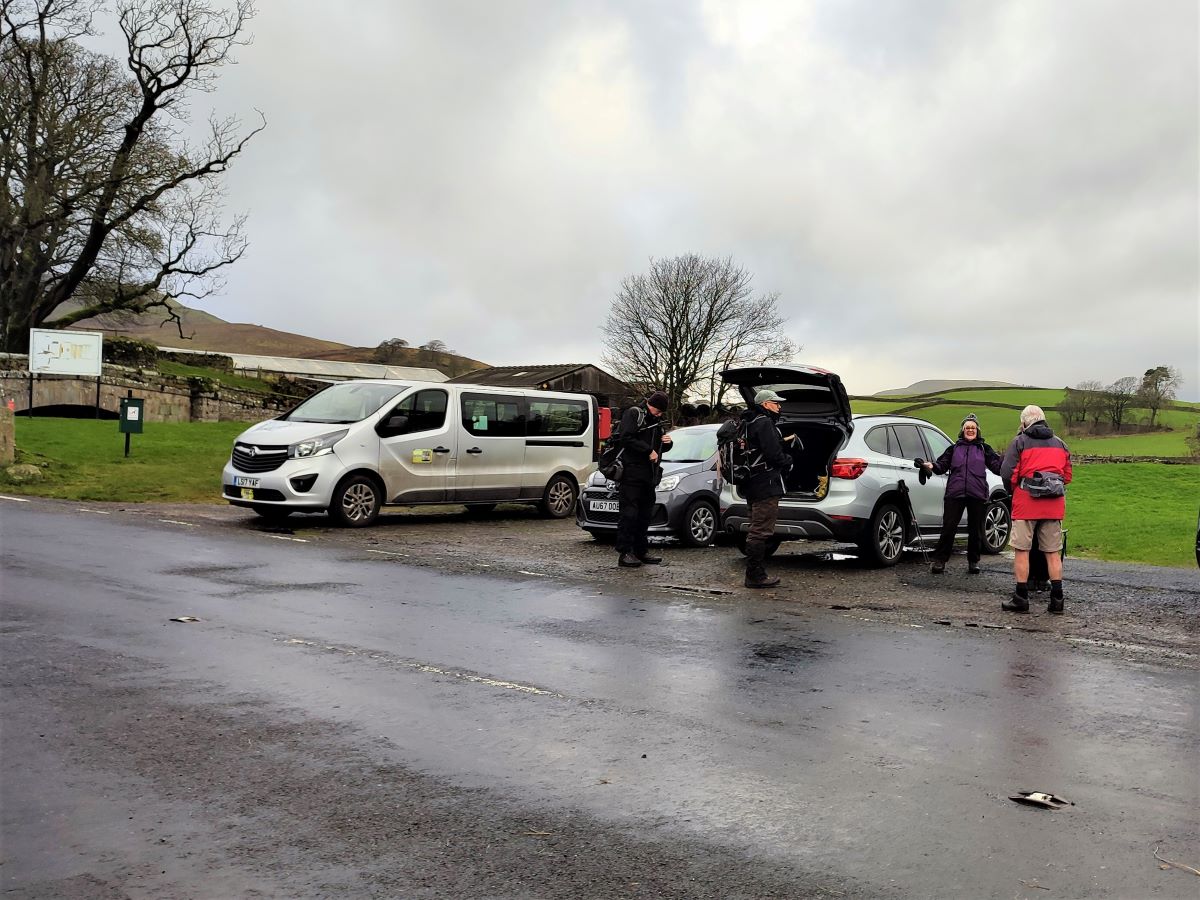
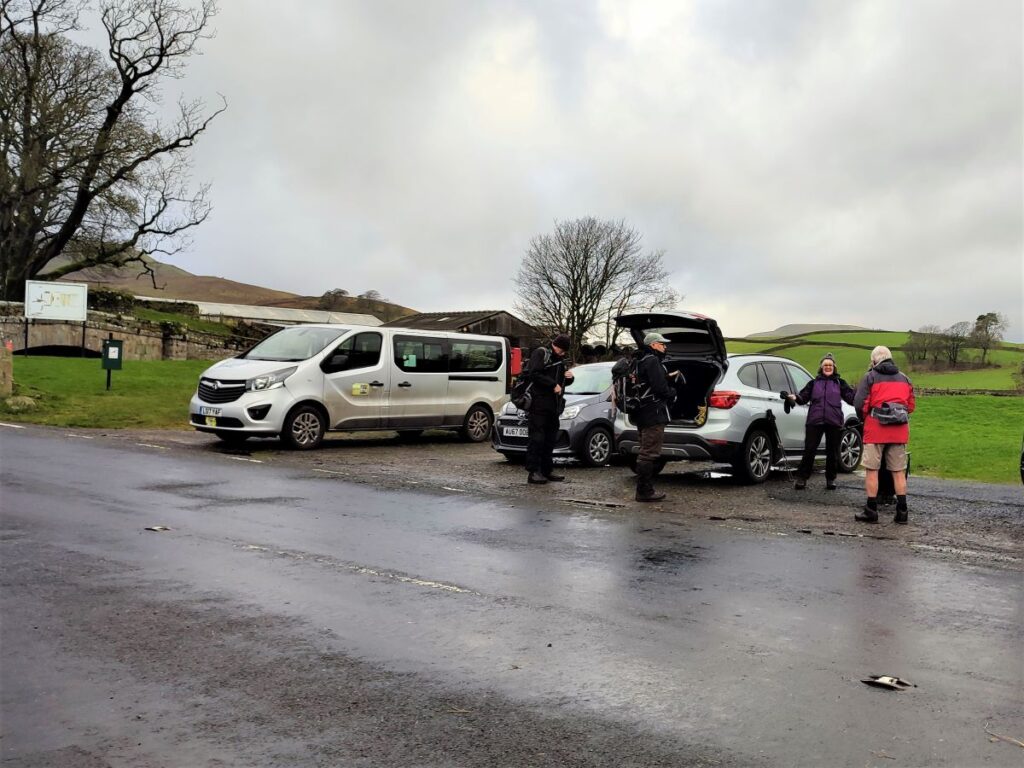
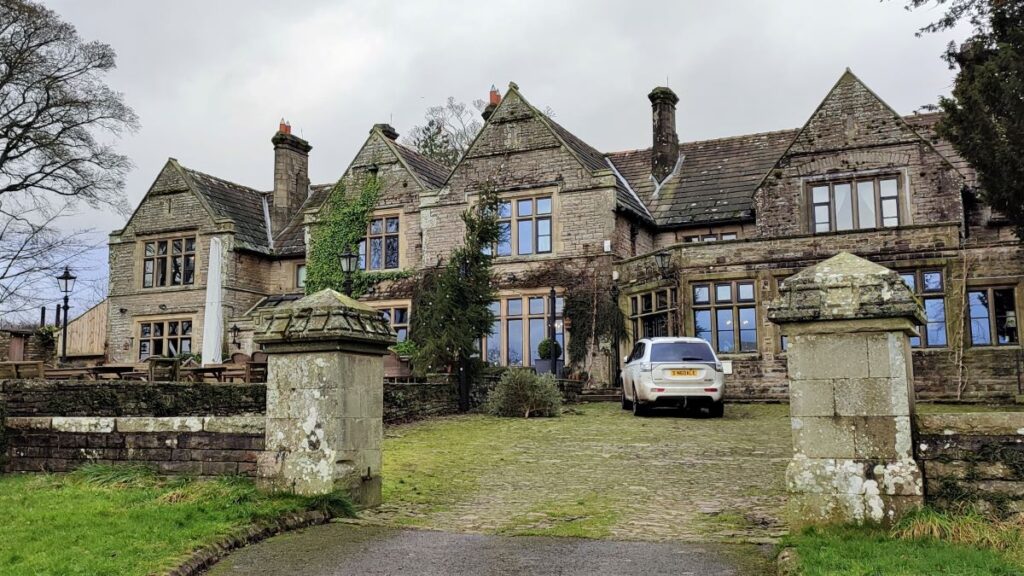
Appersett is on the A684 out of Hawes, heading West toward Garsdale. Parking is generally available at the roadside before the bridge over the Widdale Beck – parking before the (larger) bridge at the River Ure is not recommended.
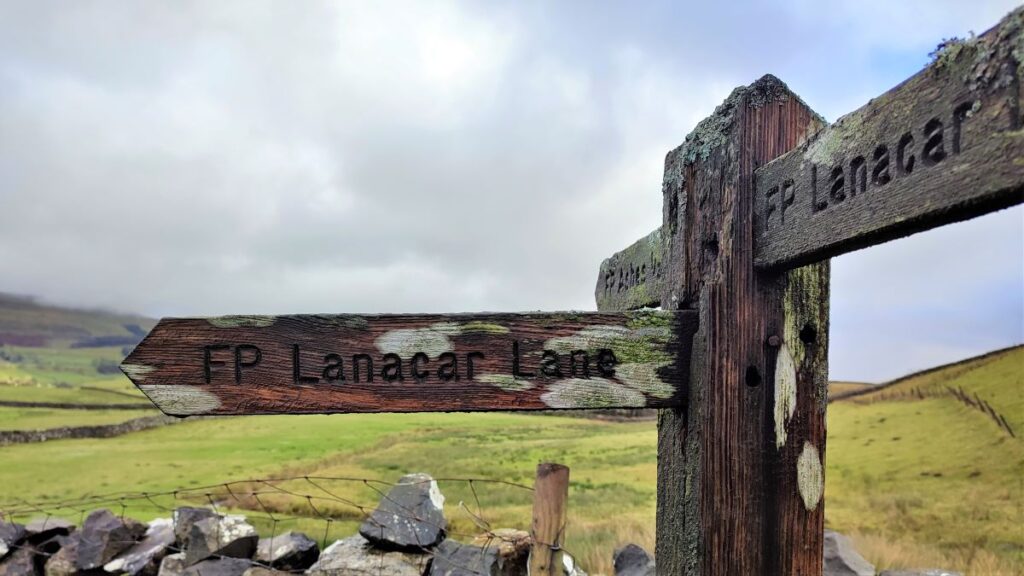
If you are using a paper map to get to the start of this walk, then the grid reference is SD85839069. If you prefer What-3-Words, then the tag headlines.custard.flagged pinpoints the parking area, and if you are relying on satnav then postcode DL8 3LN covers the general area, or you might try Lanacar Lane as a destination – this is the road that we use right at the end of the route.
During the course of the walk we pass a number of the Mosaics created to celebrate the Millennium – there are twenty two such mosaics scattered around Hawes, and this walk includes (at least) eight of them.
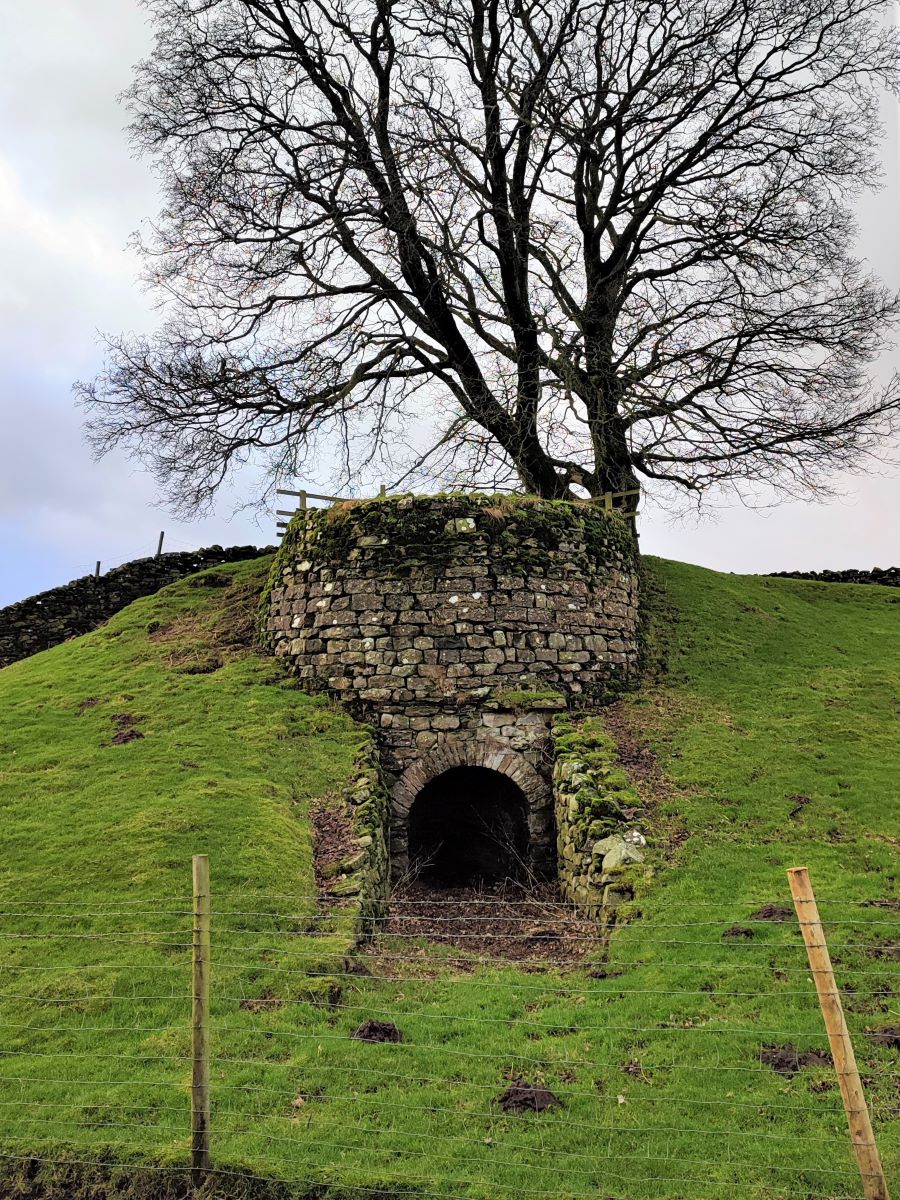
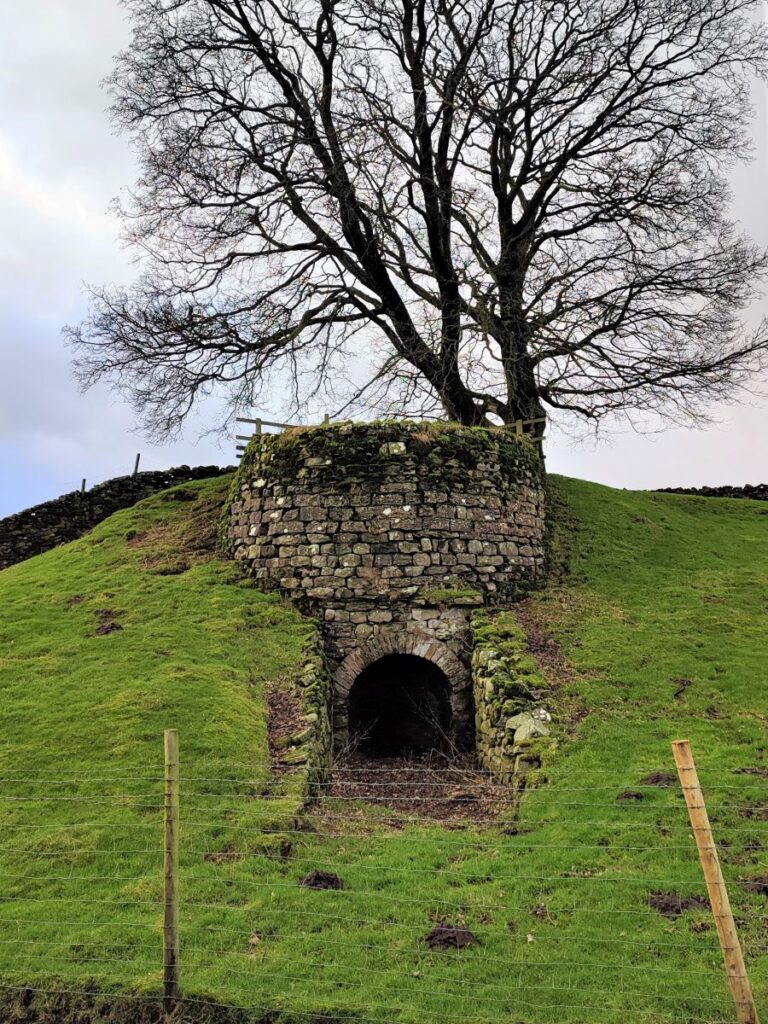
We start by heading west on the A684, crossing the bridge over the Widdale Beck, noticing a limekiln on the left just before the bridge – this is adjacent to a right of way, so feel free to take a closer look before coming back to the road and continuing.
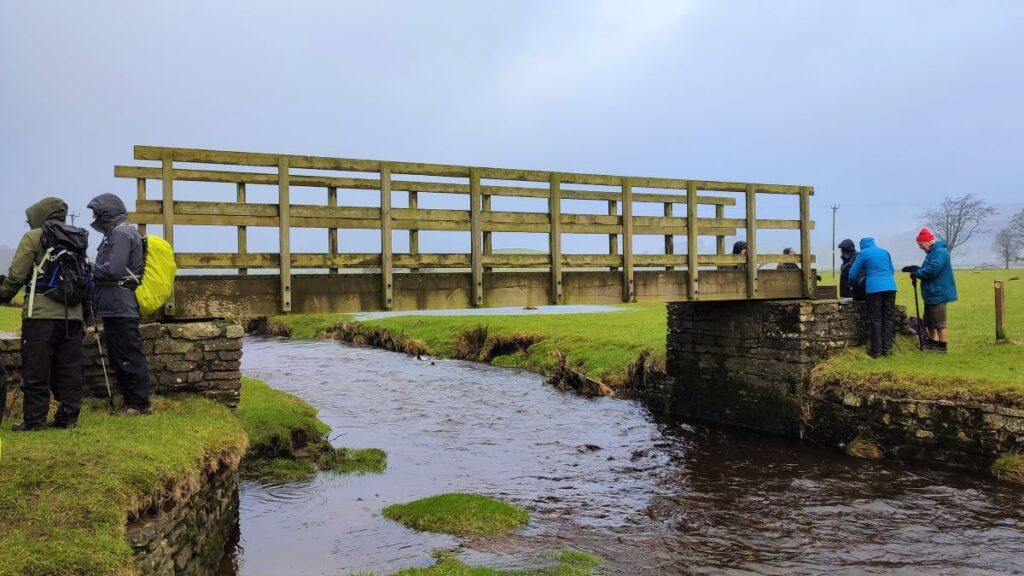
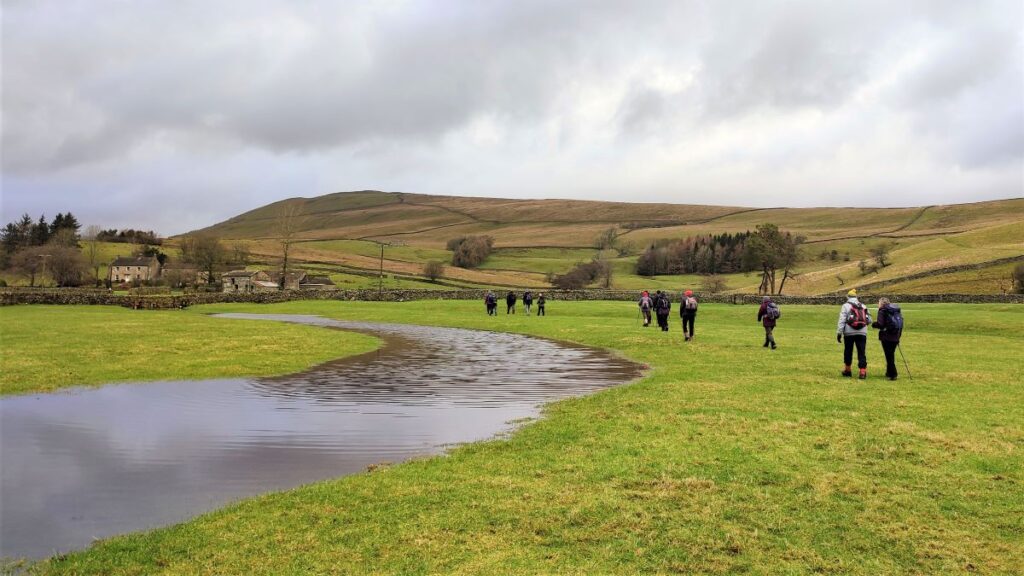
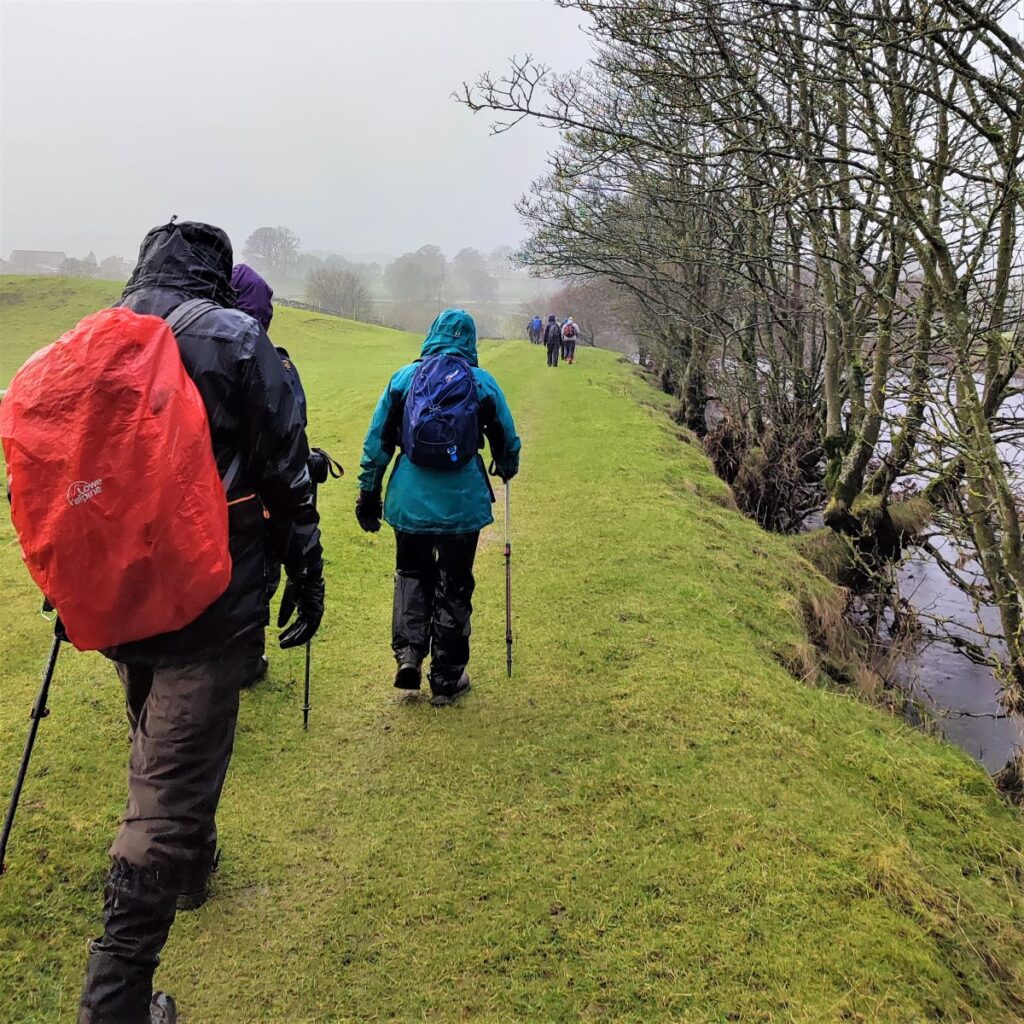
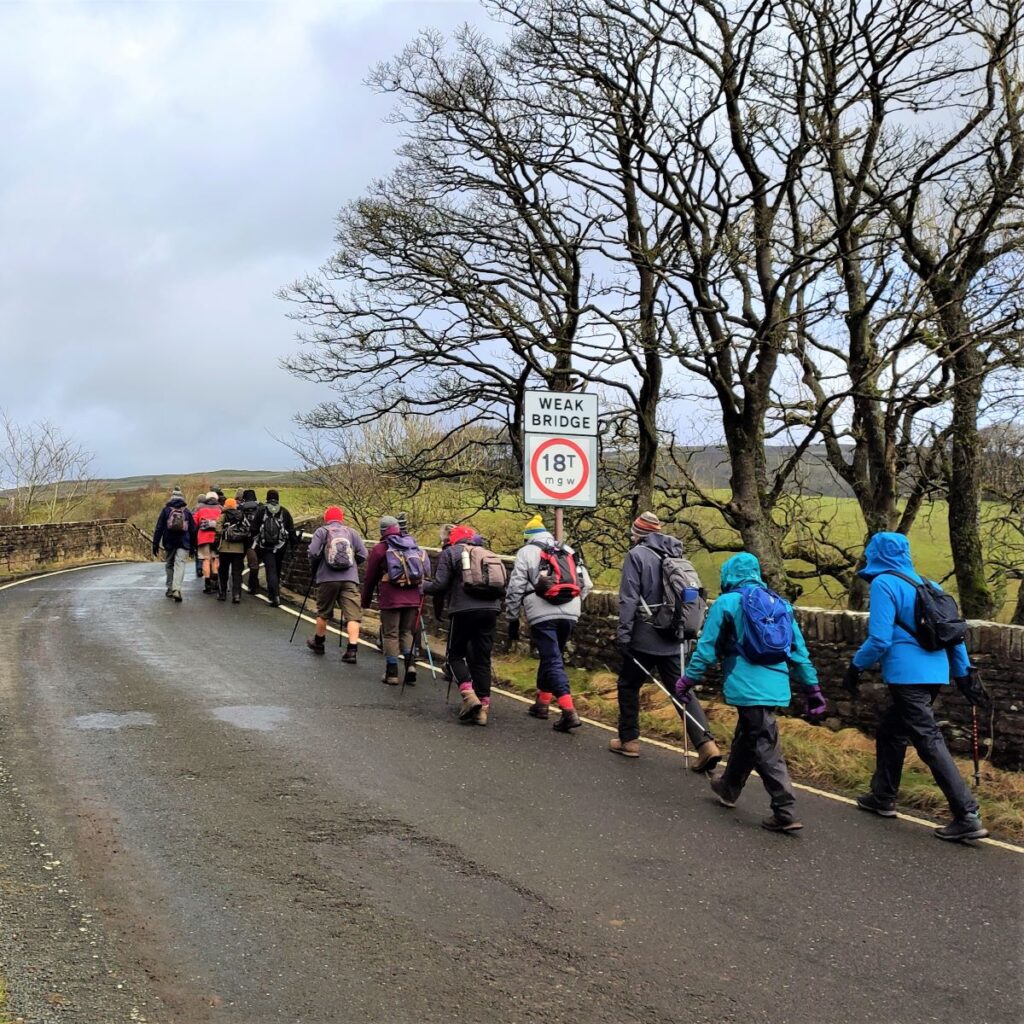
We now head along the A684 toward the next bridge – over the River Ure this time. Under typical weather conditions, the safest way to do this is to take the path into the field on the left by the farm gate, and then walking inside the field until the exit gate just before the river bridge. You might notice from the GPX that we stayed on the road – this was simply because the field was flooded.
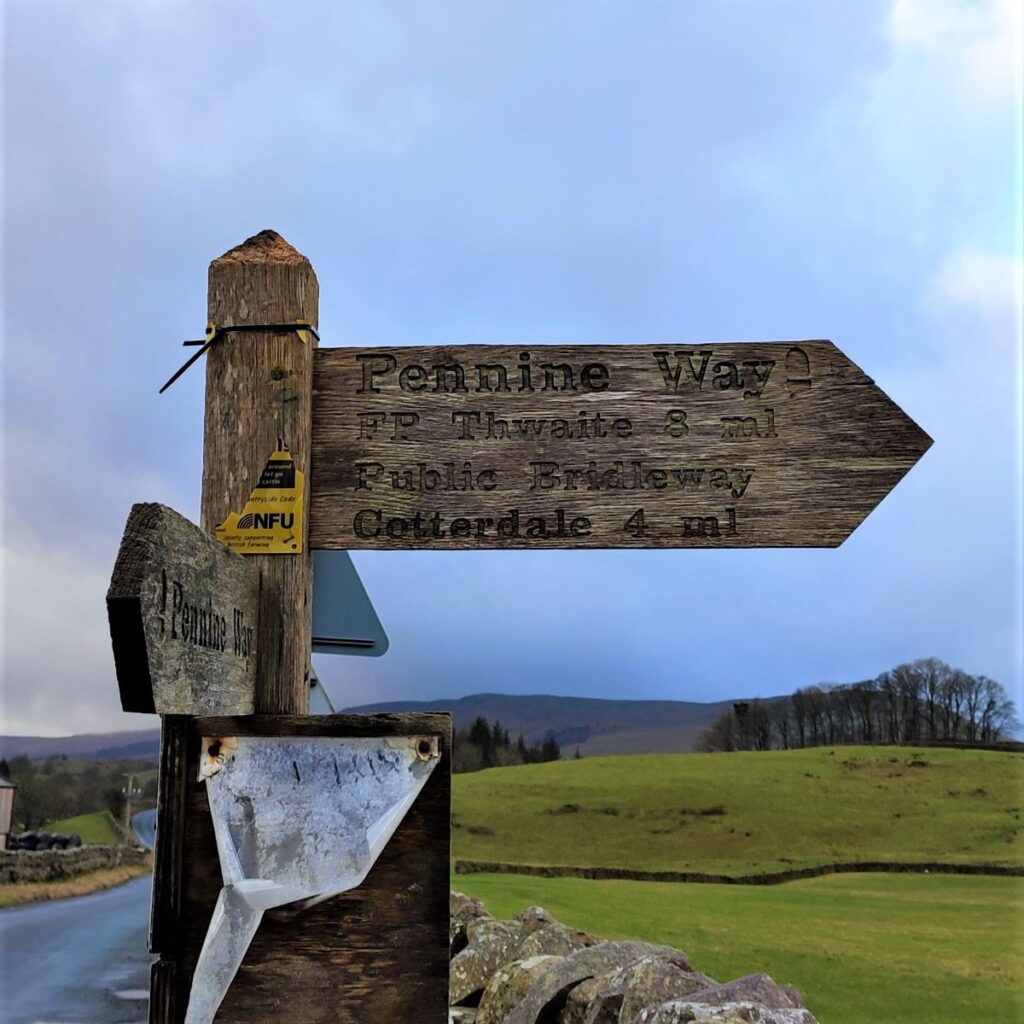
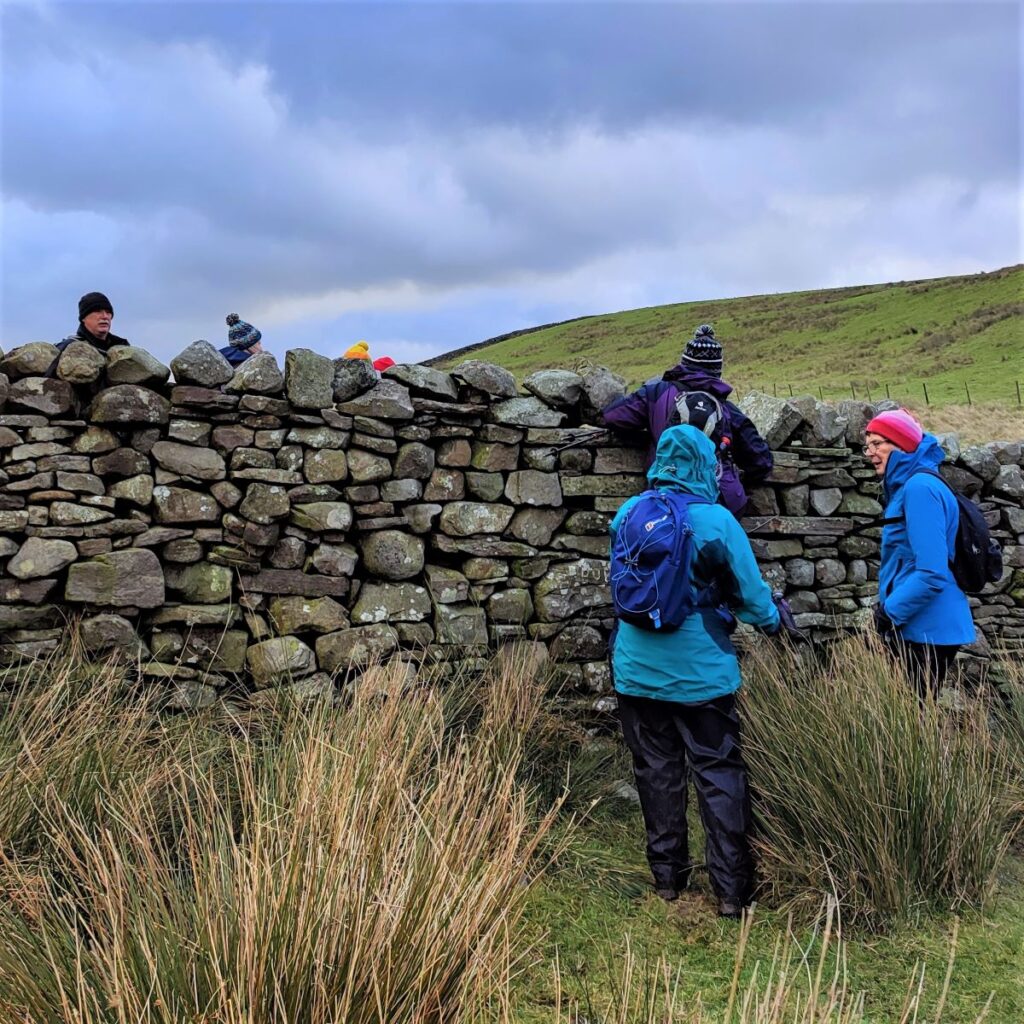
Take care crossing the bridge and then follow the road round to the left where a junction will be visible – the minor road on the right leads to Hardraw. This is where we are heading, but our route is away from the road.
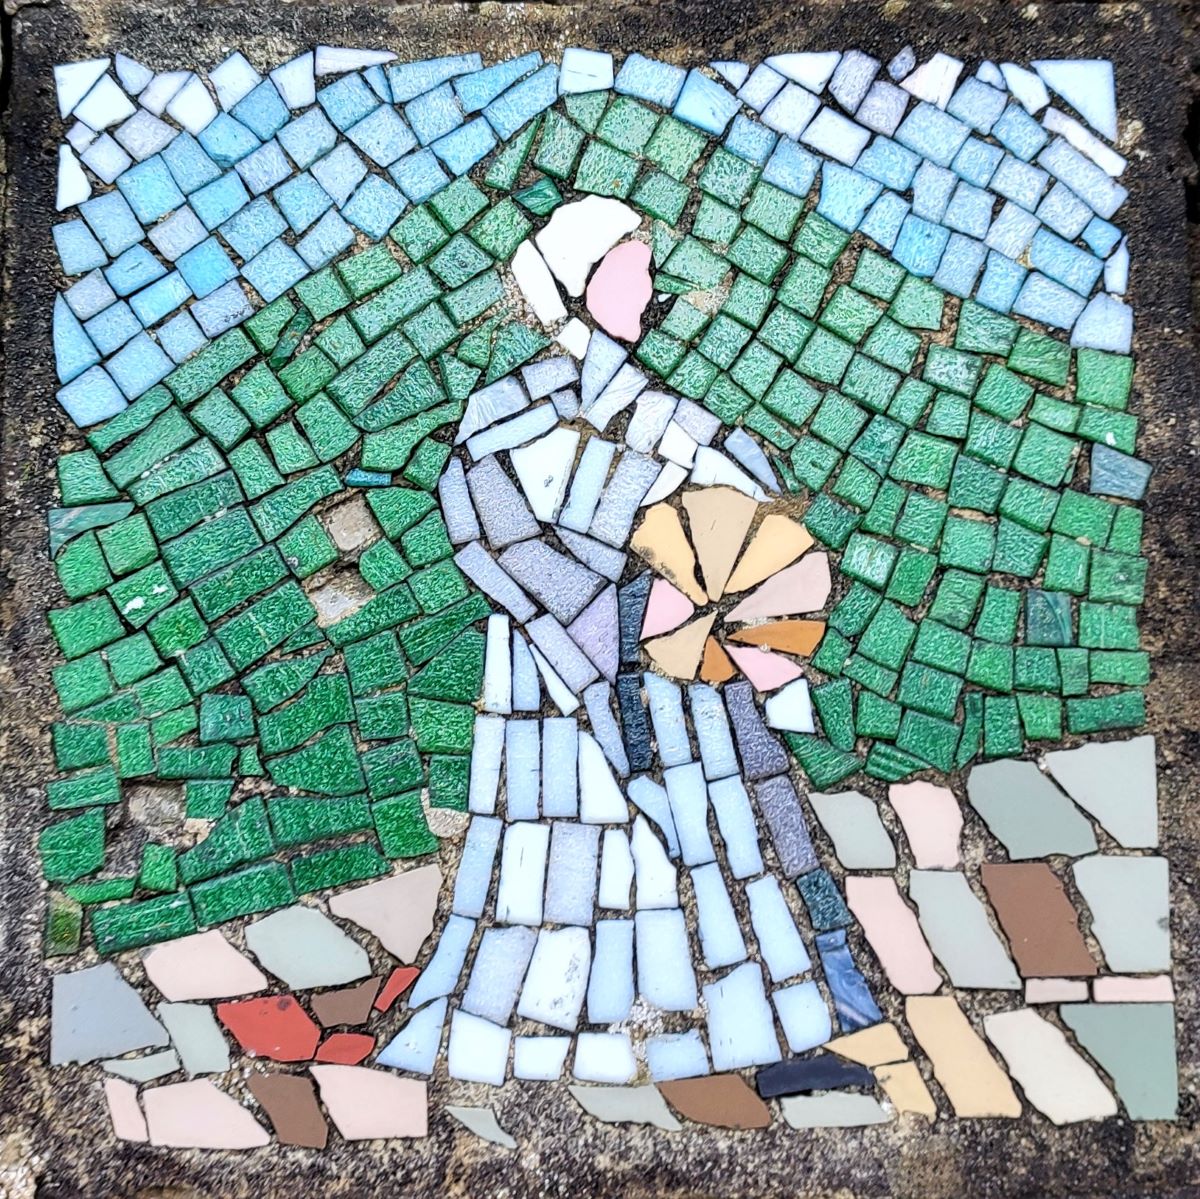
At the junction, we find the first of the mosaics on this route – we assumed it depicts a tower, possibly a church tower, maybe even St Mary’s & St Johns in Hardraw, although the “official” leaflet suggests a limekiln.
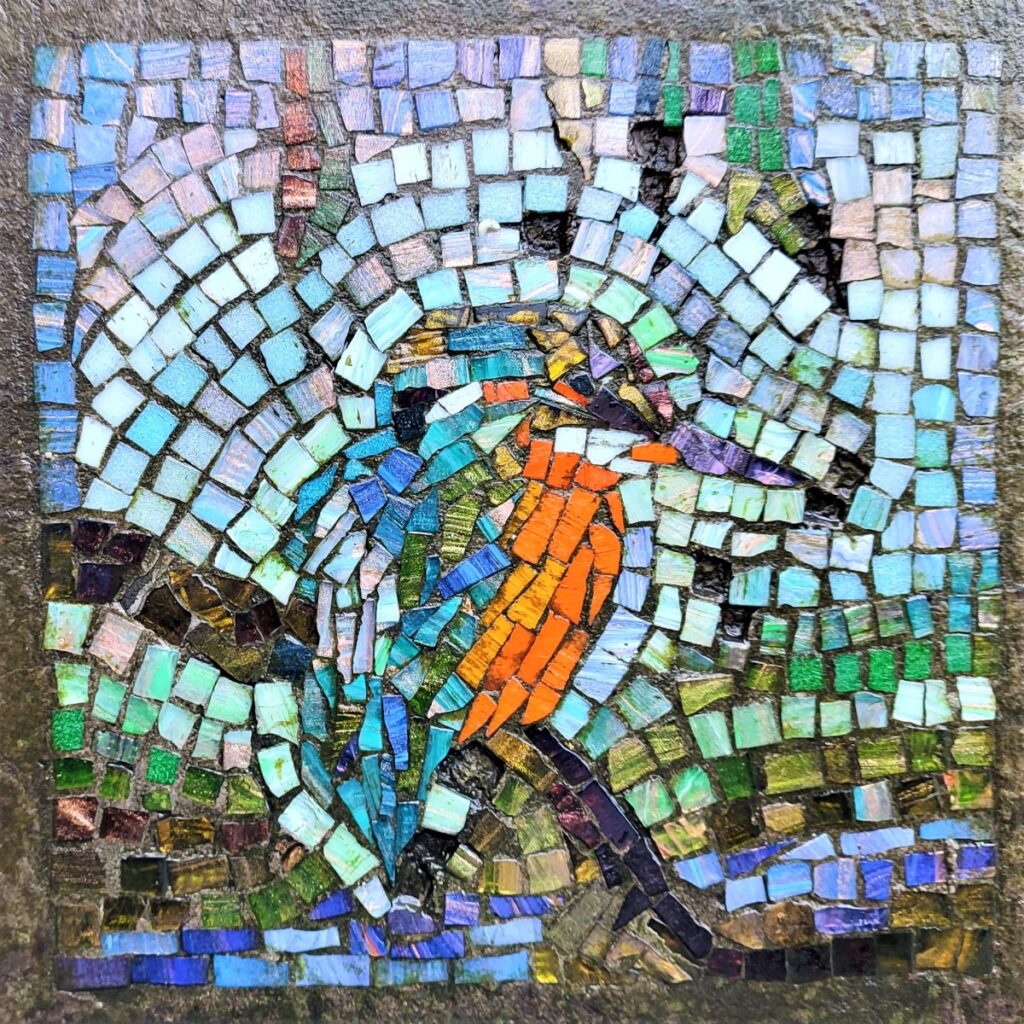
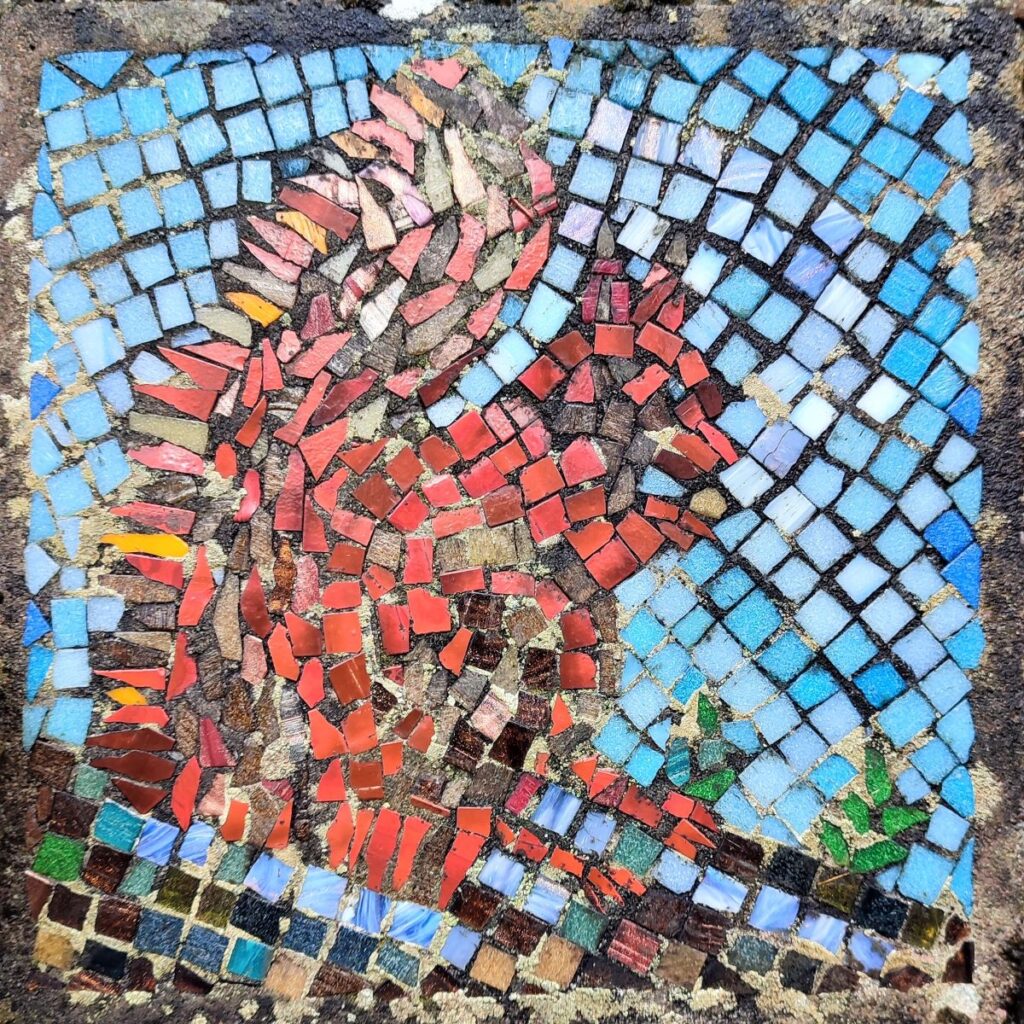
Note that all the mosaics on this route are to a similar style, and of a similar size – about 30cm square. Given that some moss growth has occurred in the two decades since they were installed, they are easily overlooked so keep an eagle eye open.
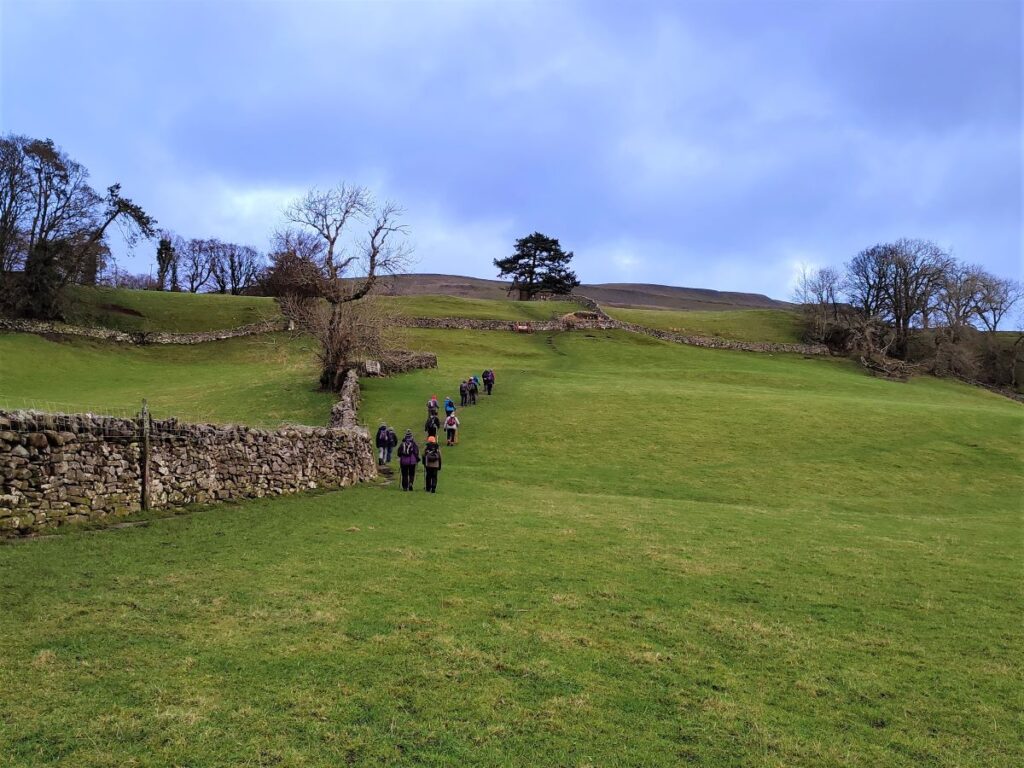
Opposite the mosaic there is a fingerpost indicating a footpath into the flatish fields at the bottom of the fells. This is the direction we take toward Hardraw. The path crosses the field and a stream (Broad Carr Sike) before heading left and uphill through a gate. From here we contour around Bearsett Hill until we see a branch in the path. Straight ahead (North) we see a ladder stile on the path that heads up Bluebell Hill to join the Pennine way – however we take a right turn (east) and cross the drystone wall on our right to head along flattish ground toward Hardraw.
It would be easy to miss this turn – the route up to the Pennine way is very popular, so the path is more apparent, and if you are drawn that way, don’t worry, when you reach the Pennine way just turn right and head downhill toward Hardraw where you re-join the intended route.
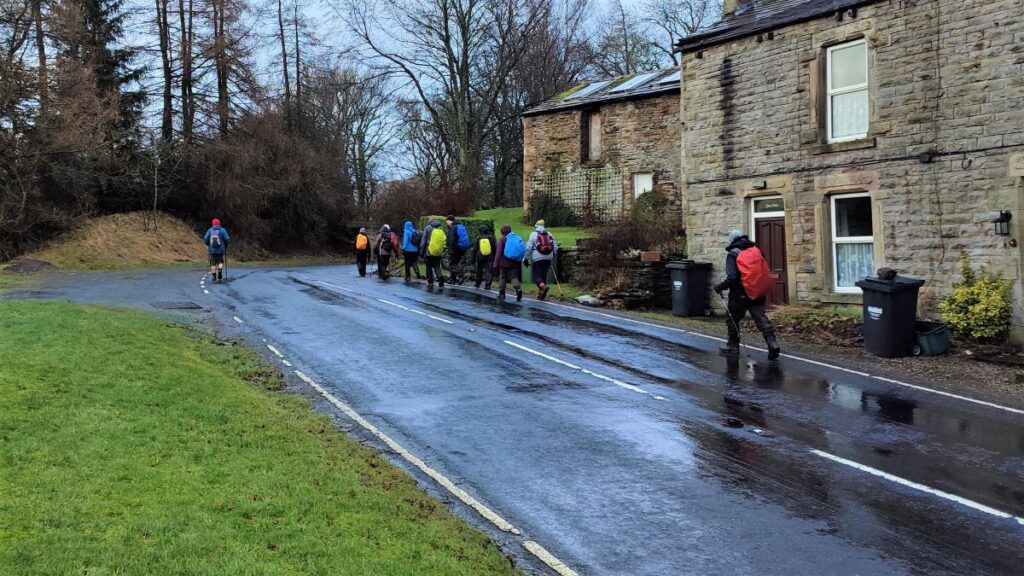
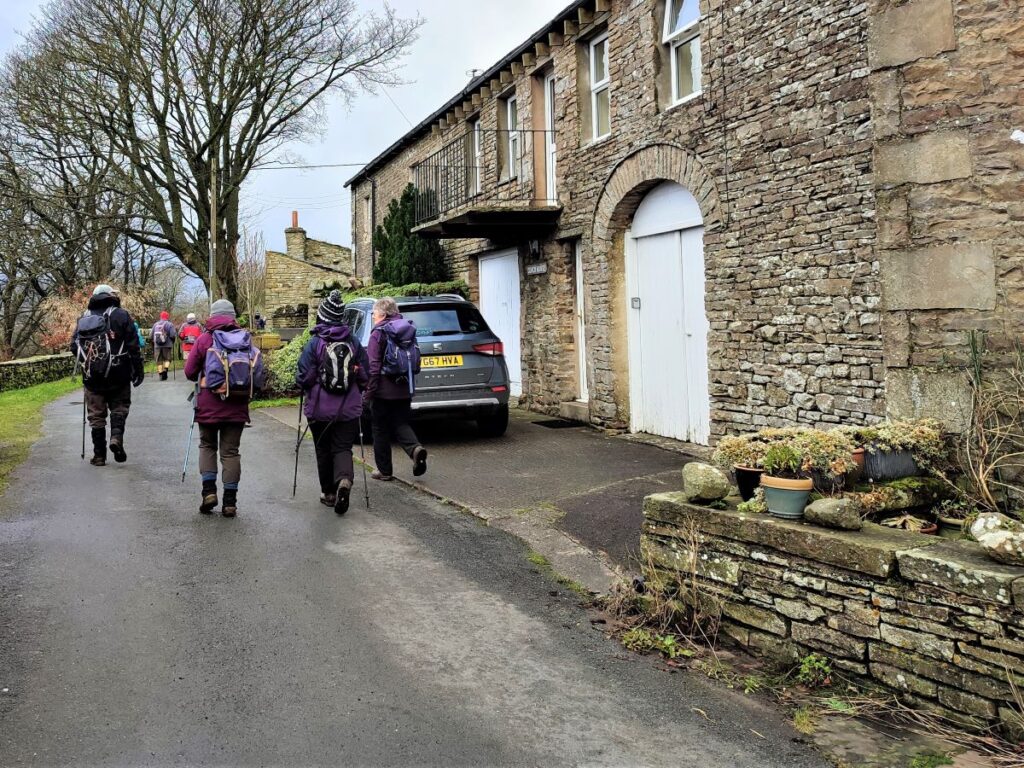
As we approach Hardraw, the footpath joins a wide lane where we turn right and head down to the main road through the village where we turn left. That lane is part of the Pennine Way, so if you missed the turn earlier, welcome back.
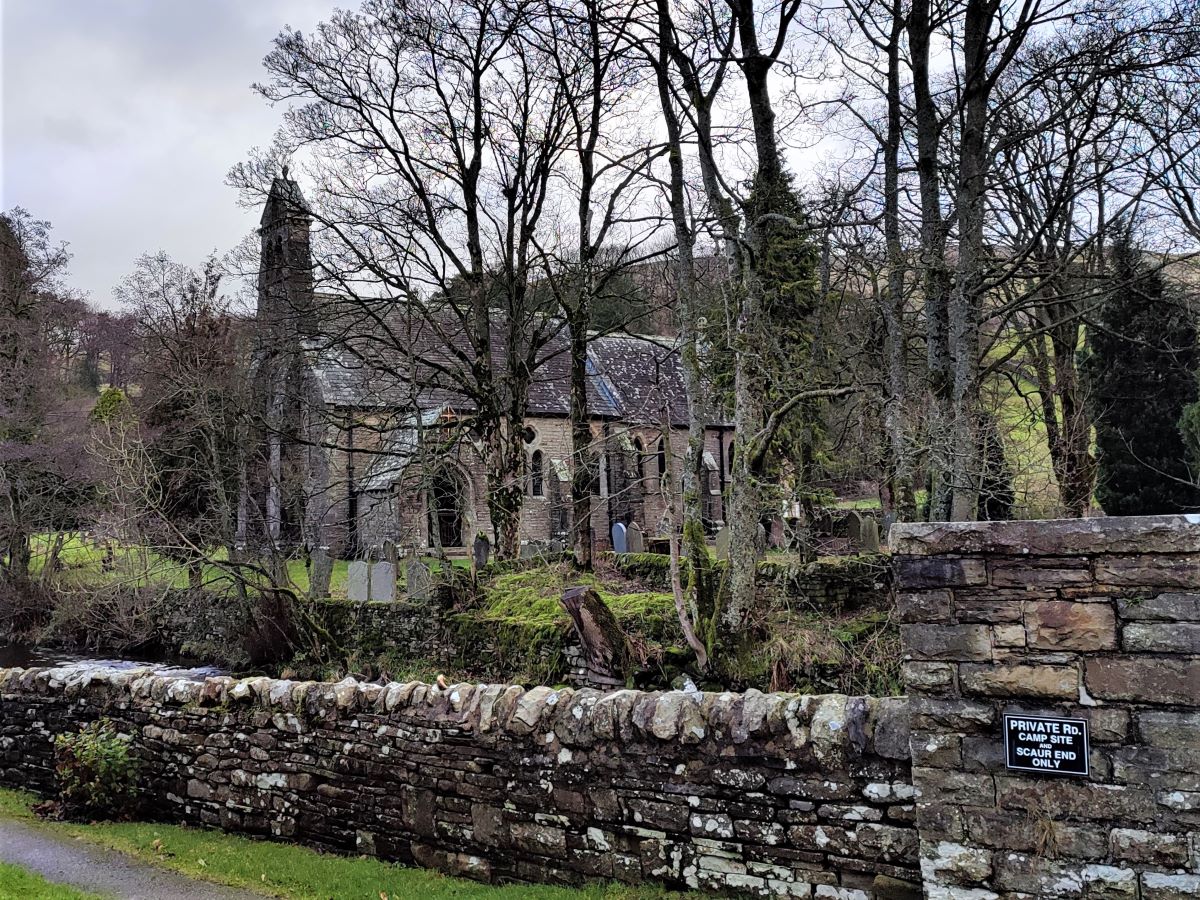
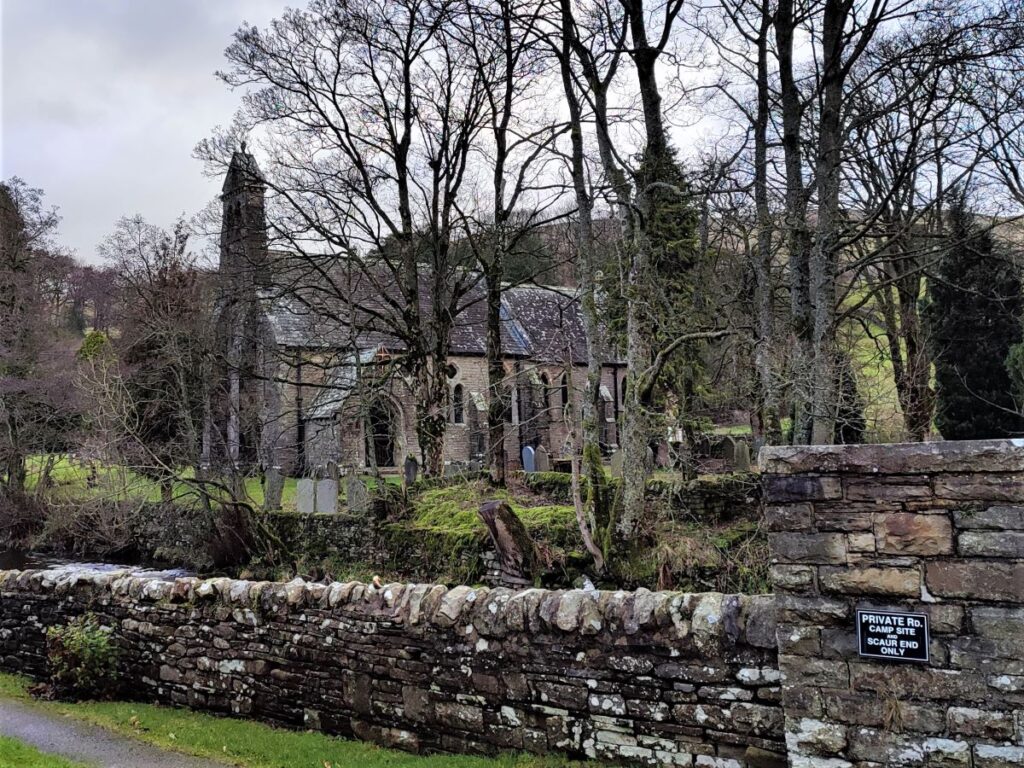
We walk along the main road through the village – noting St Mary and St Johns on the left adjacent to the Hardraw Beck. This 1880 church was the location for “Darrowby church” in the popular TV series All Creatures Great and Small.
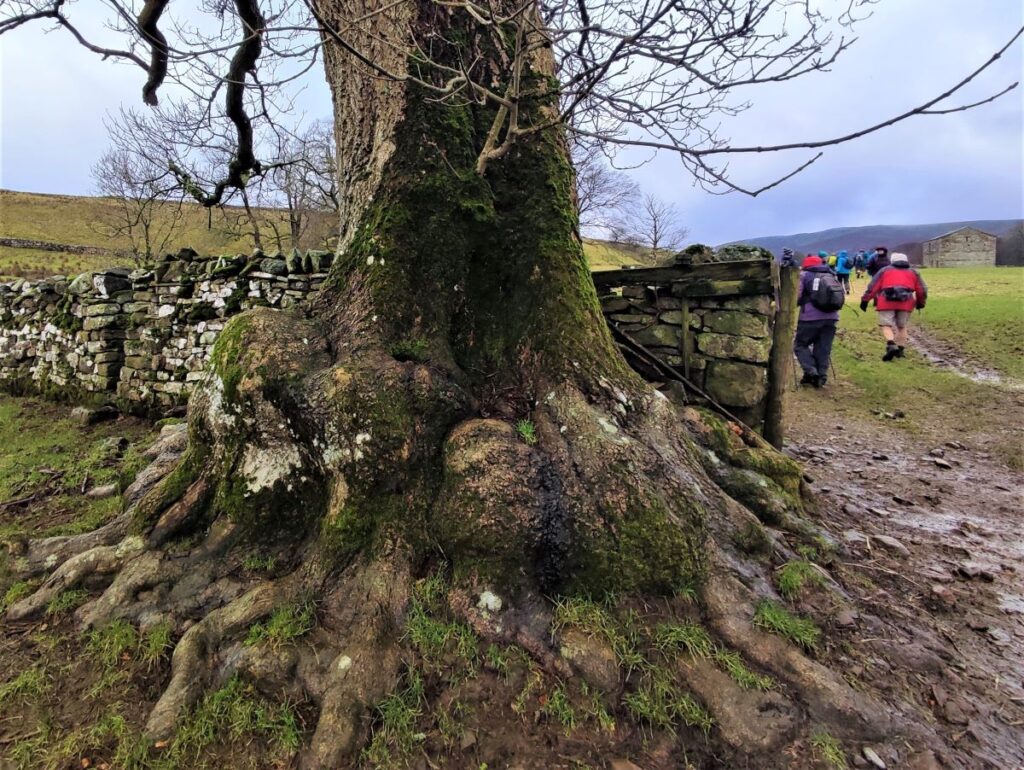
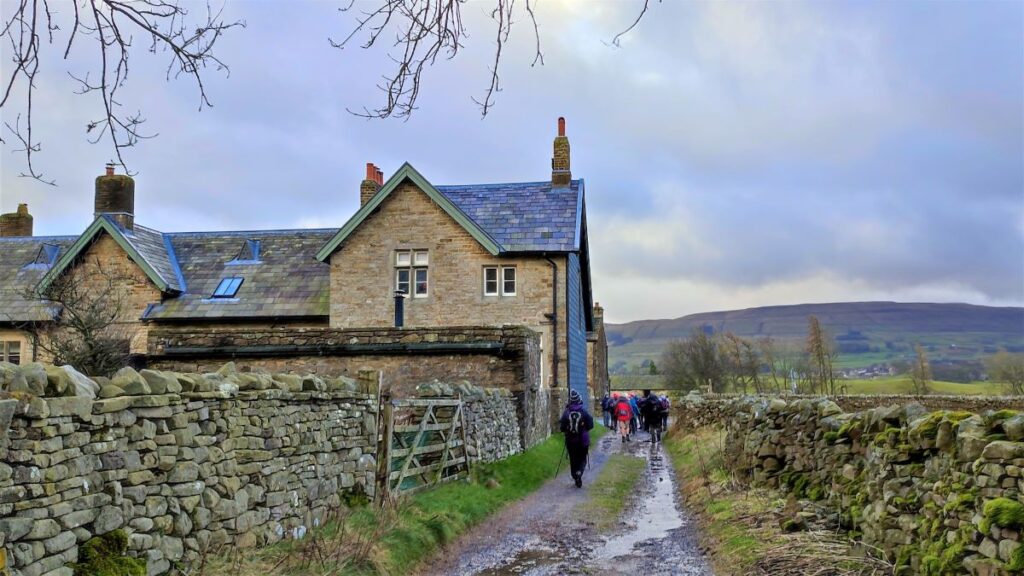
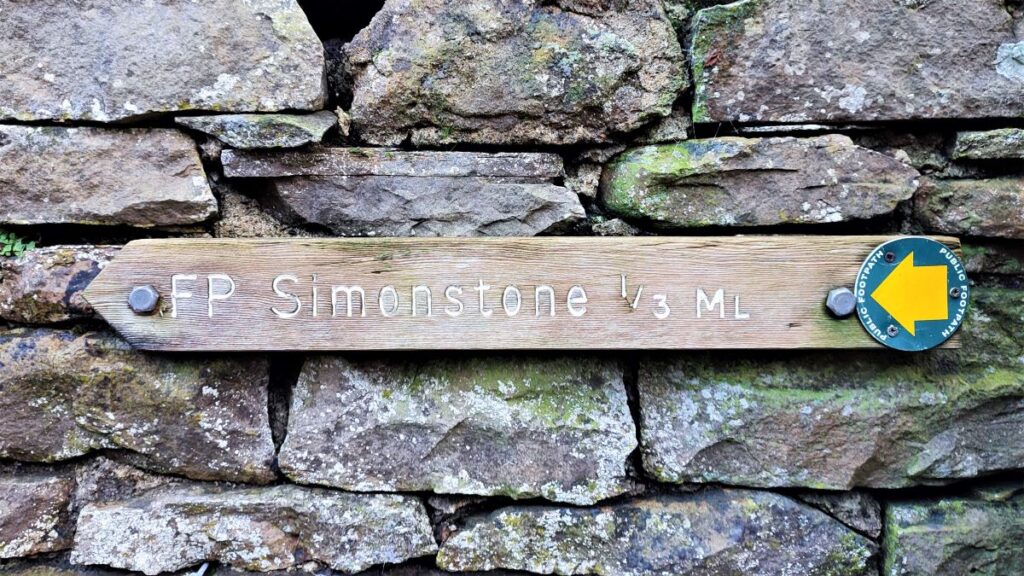
After the church look for the Green Dragon pub on the left and turn left immediately after the pub to take a well signposted path (Simonstone 1/3) through the yard of a house and then up a field with a drystone wall on our left.
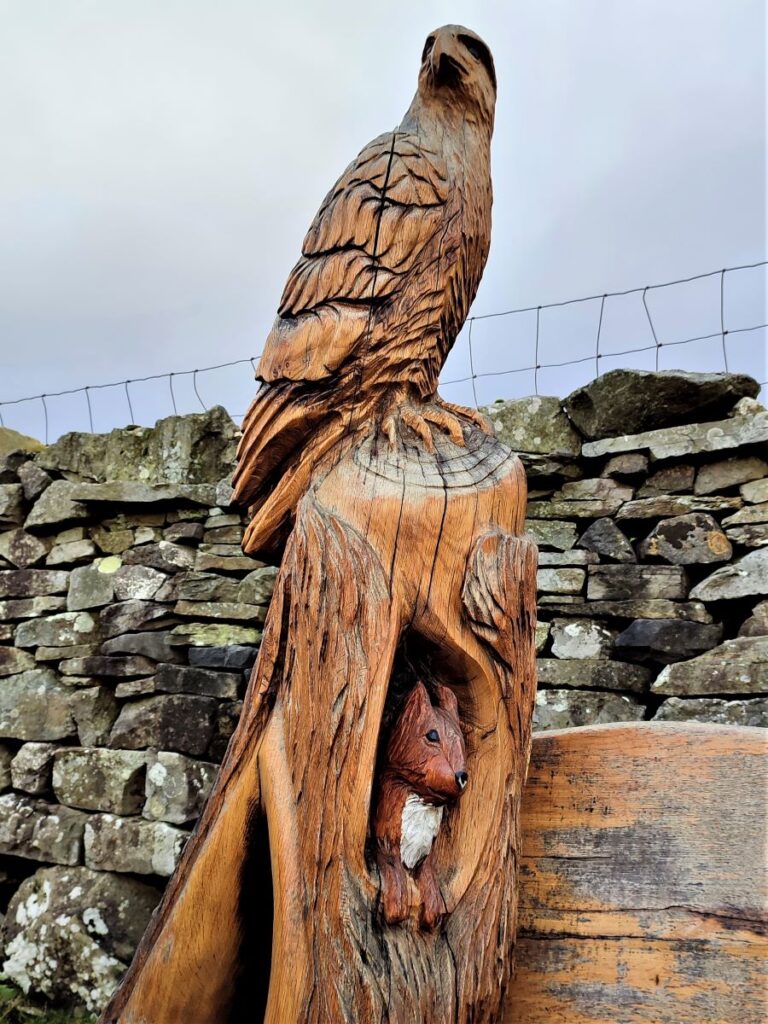
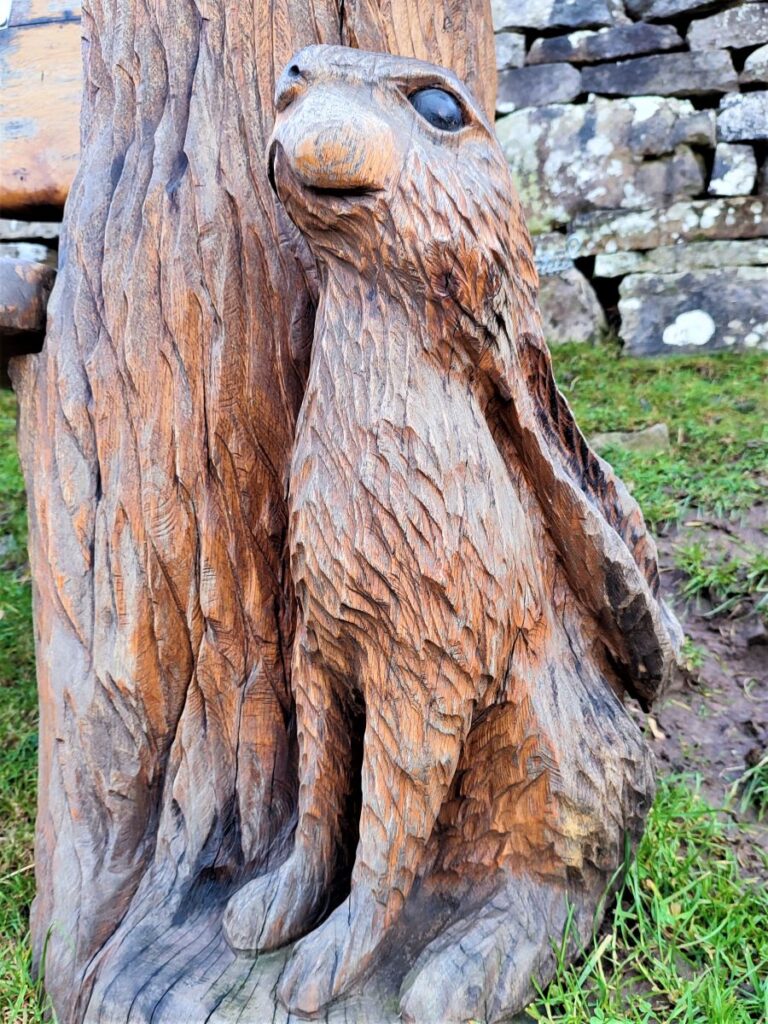
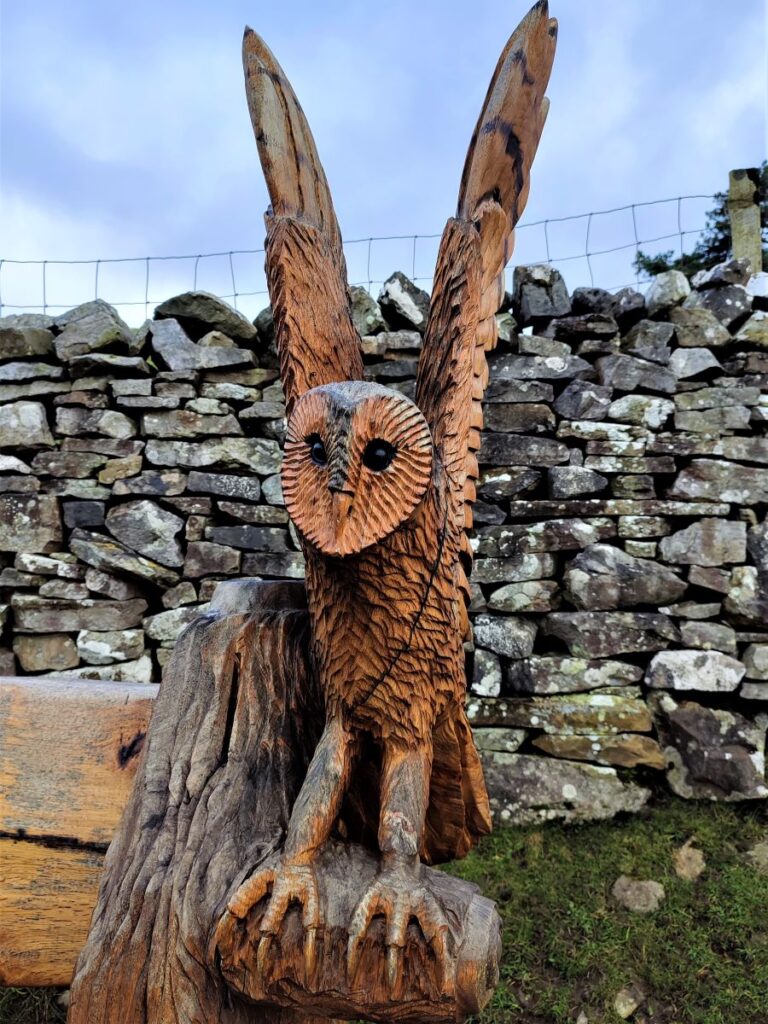
Ahead of us, up quite a steep climb we see a bench, and as we get closer, we notice that it houses some rather attractive wooden carving and the second of our mosaics – a monk.
The climb to here is steep, so the bench makes a great place to enjoy a rest before pressing on.
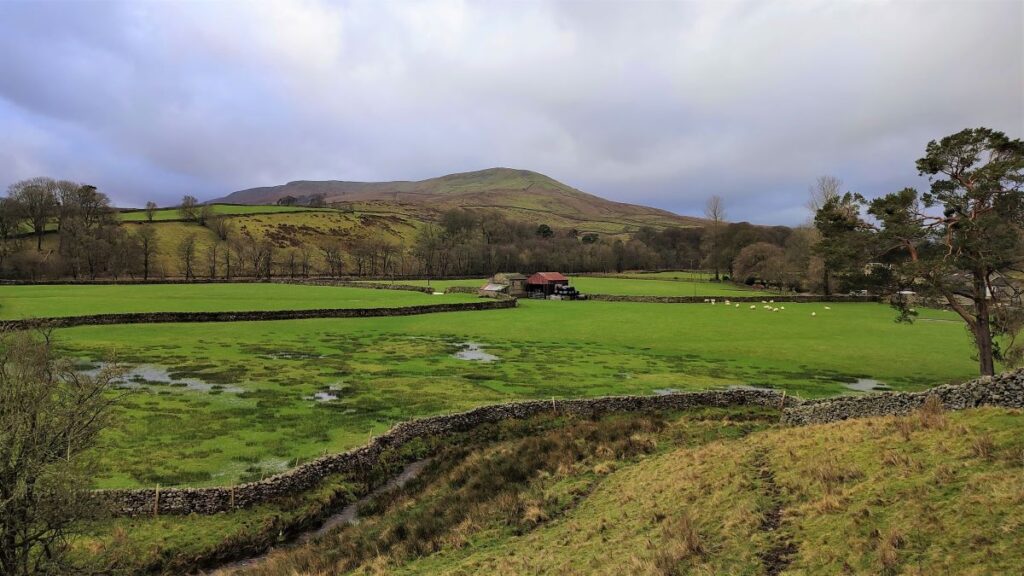
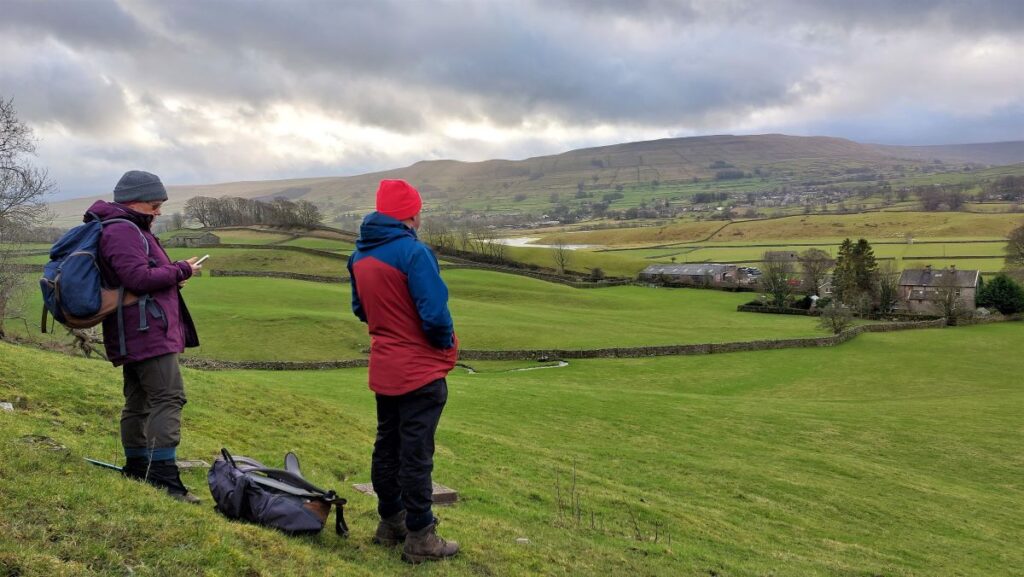
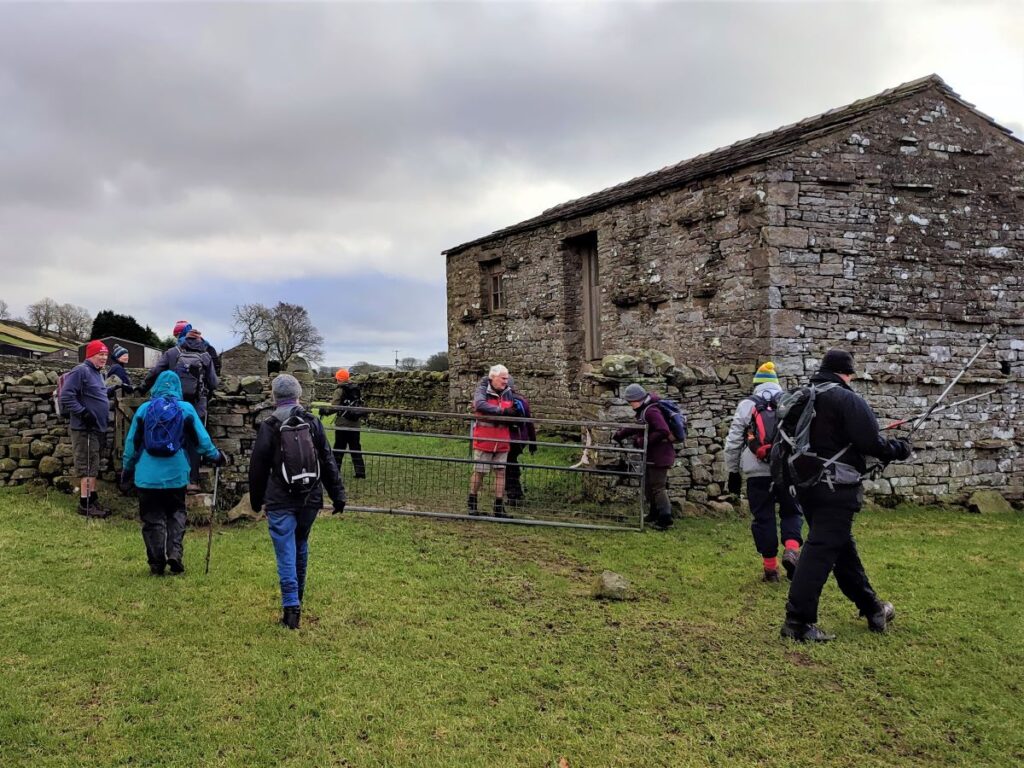
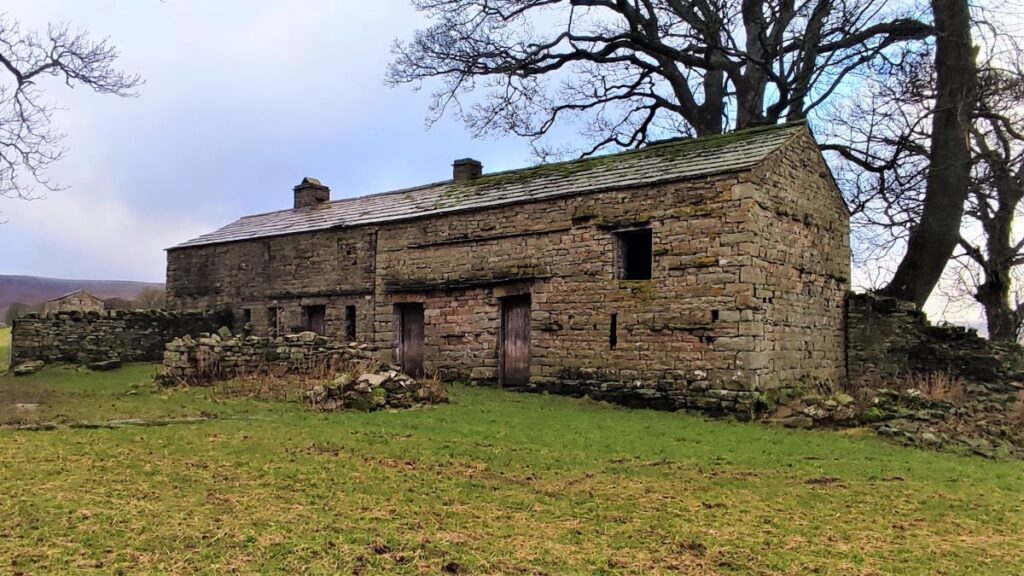
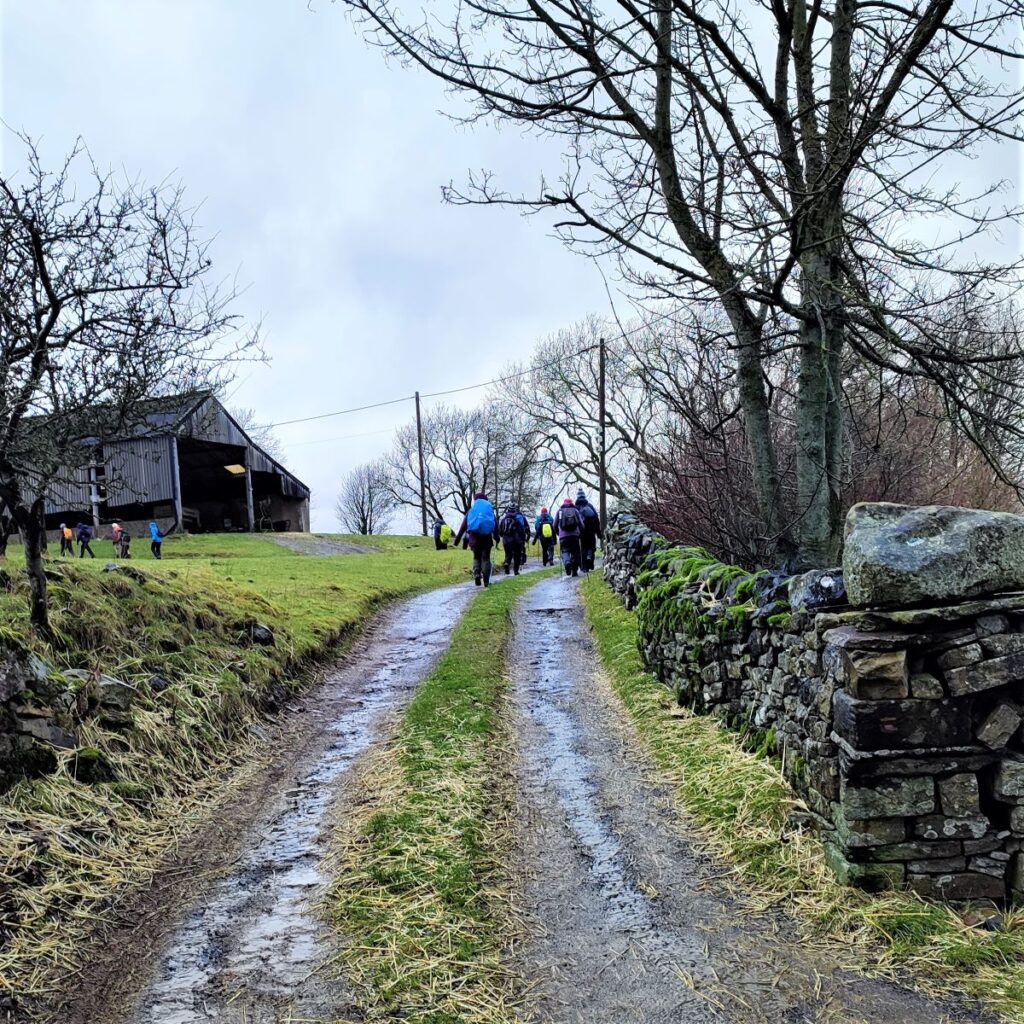
We now head up through a gate and across the field heading North toward a building where we cross the drystone wall and head West toward Simonstone, where we see the Simonstone Hotel.
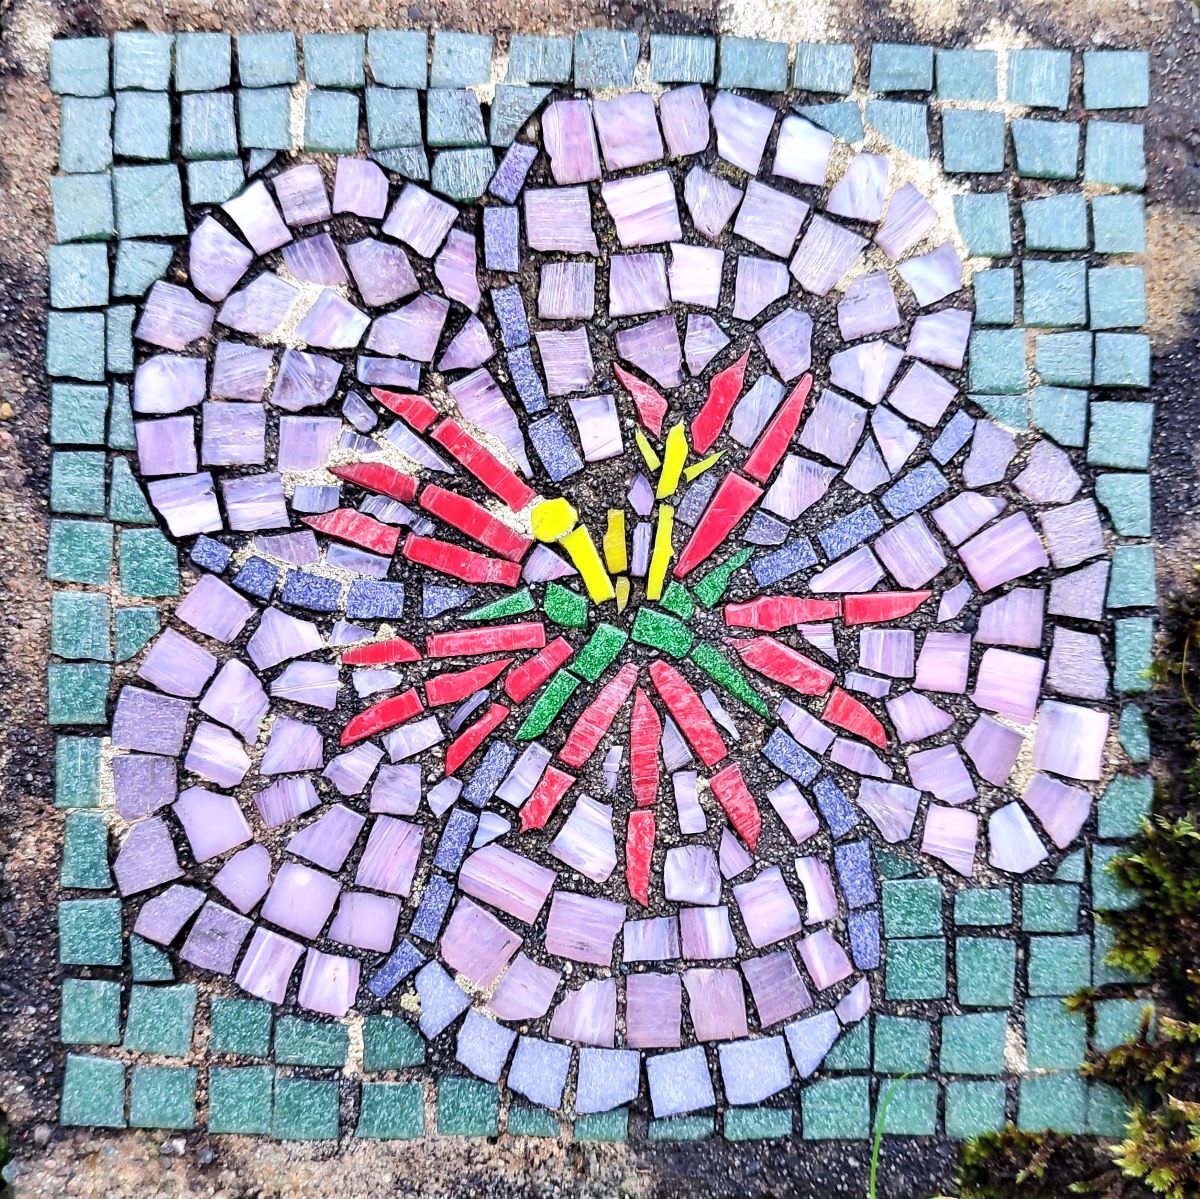
The path joins a lane behind the hotel, and we take this to meet the main road which we briefly take to the left. Note that this road becomes the Buttertubs Pass over to Muker and Swaledale, but we follow it for no more 20m to find a stile on the right, site of the next mosaic – this time a flower.
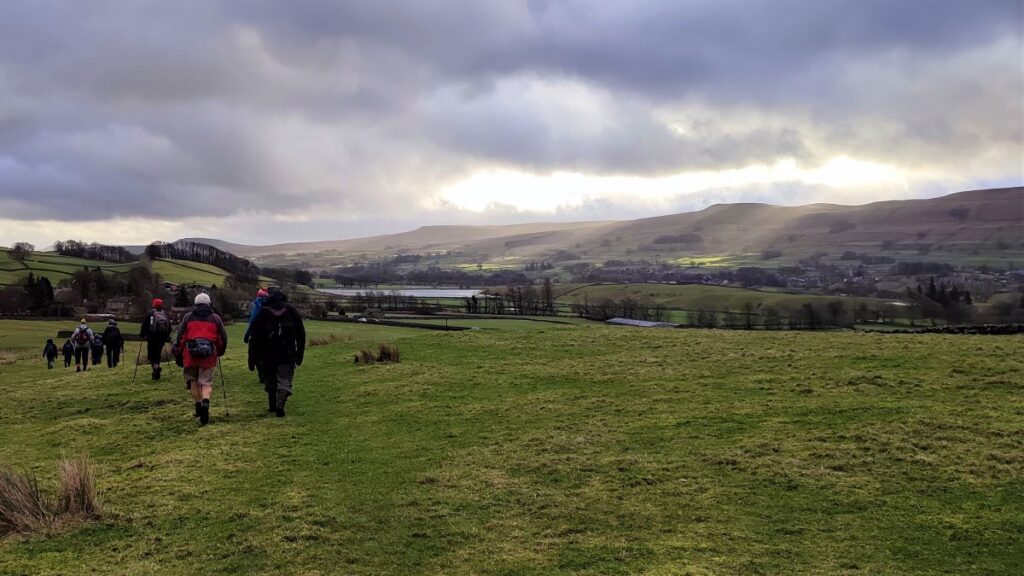
The stile gives us access to a path which tracks along the side of the fell above the Sedbusk lane. We follow this path for a while now, crossing a number of stiles / gates until we arrive at the tiny hamlet of Sedbusk. The name of the hamlet derives from the Old Norse Saetr buskr, which means ‘the bush by the shieling’. In 1280, it was recorded as setebuskste. The word Shieling itself may need some translation – it is a Middle English word for a summer dwelling on a seasonal high pasture.
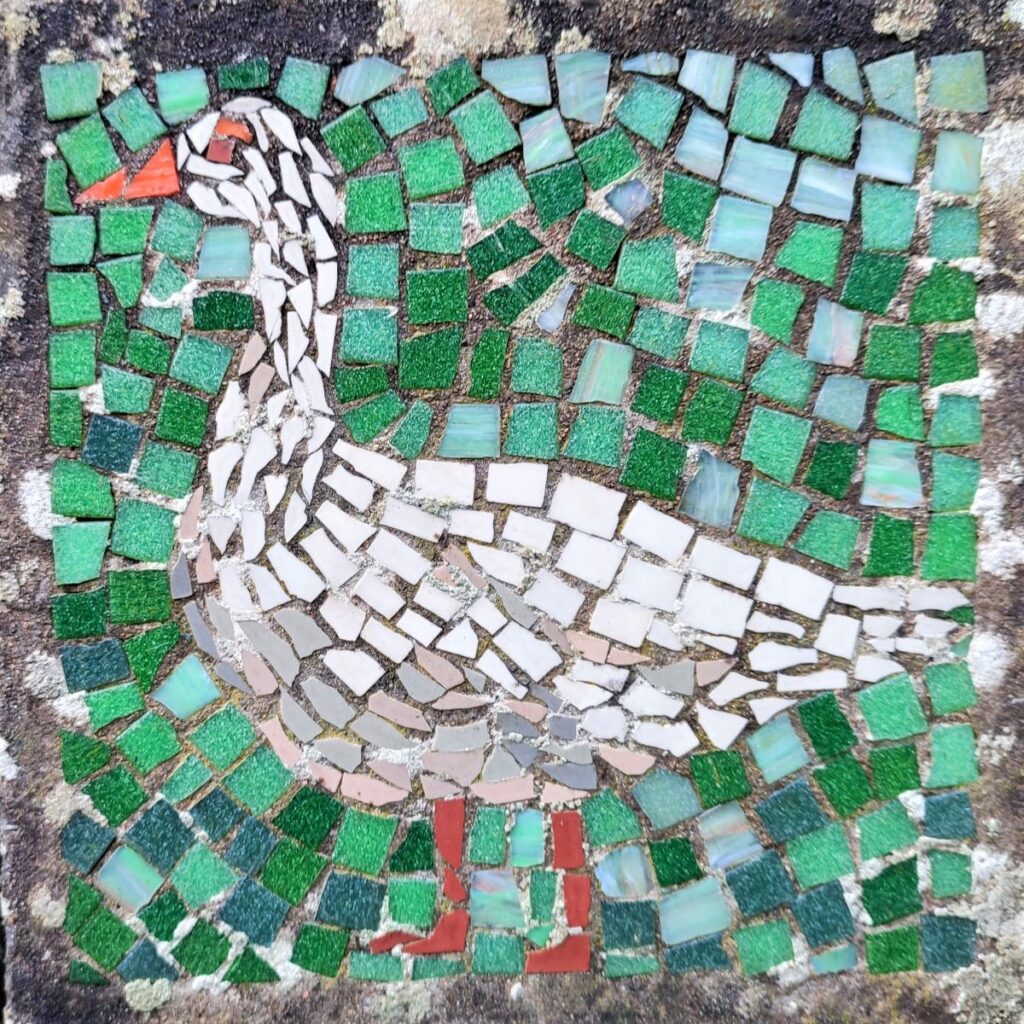
At Sedbusk, the path enters the hamlet between a couple of houses, where we see the next of our mosaics – a goose.
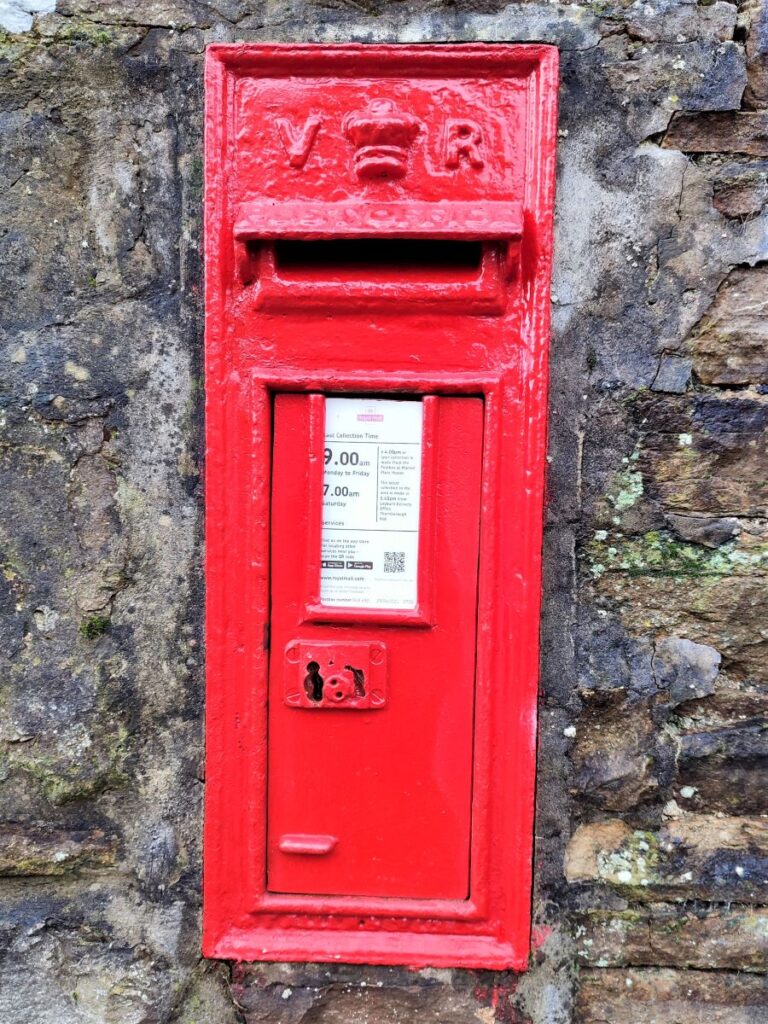
At the minor road we turn right and head downhill until we see the post-box set in a wall. We are now on Sedbusk Lane, and we turn right here to head back toward Simonstone.
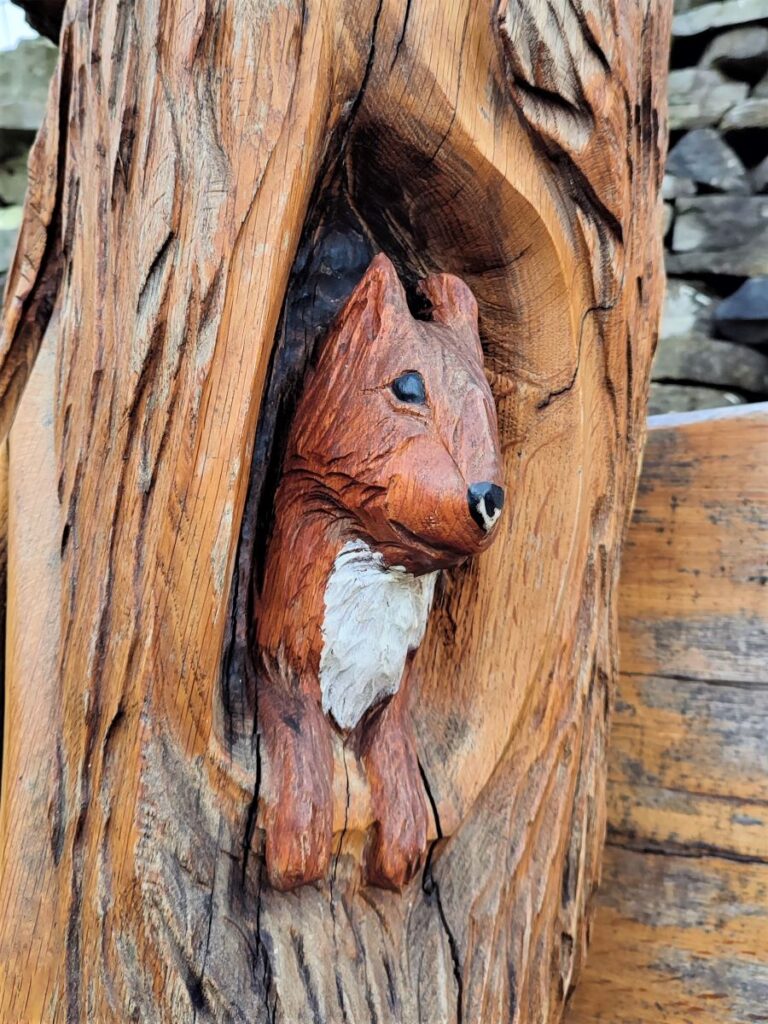
We stay on Sedbusk lane for just a short while though: We see a footpath indicated on the left, heading down toward the river Ure and Haylands Bridge. Before we take that path though note that the next Mosaic is set in the drystone wall to the right – clearly a red squirrel.
We now head downhill – taking care because the slope is steep and the ground potentially very wet.
The path is clear, crossing stiles until we arrive at the road back into Hardraw. Here we cross and continue along a stone flagged path down toward the river. Before we do that though, notice the next mosaic in the wall at the roadside: a kingfisher.
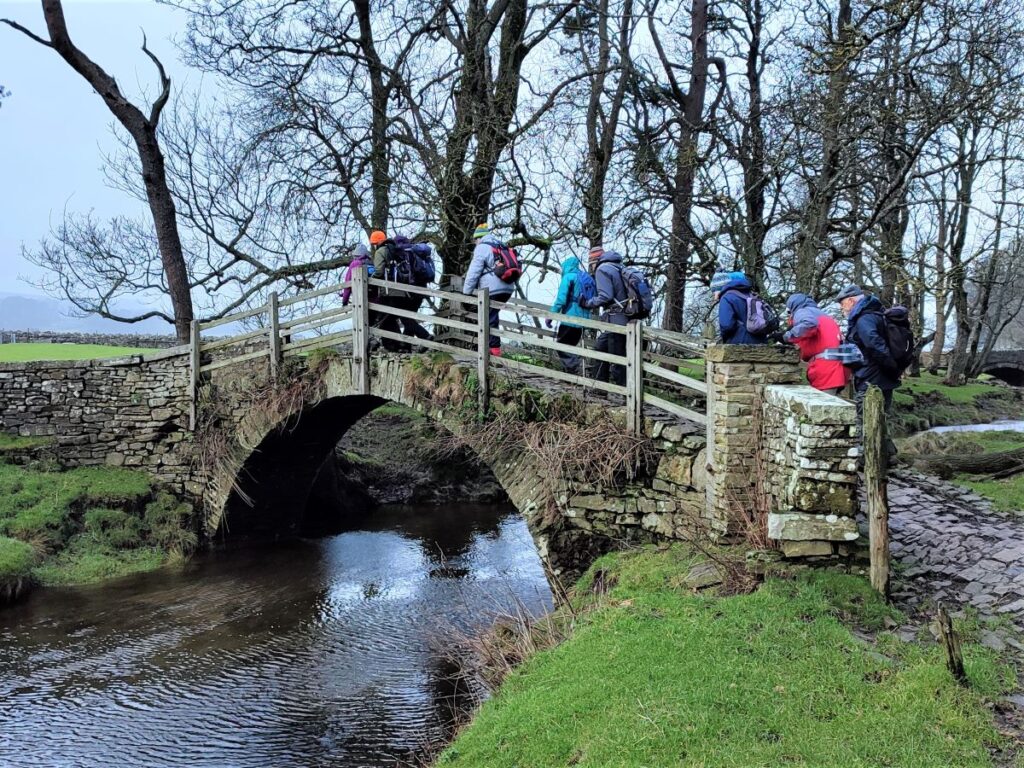
The direction of the path is now clear and we head down toward a delightful footbridge over a small beck before we meet the road into Hawes.
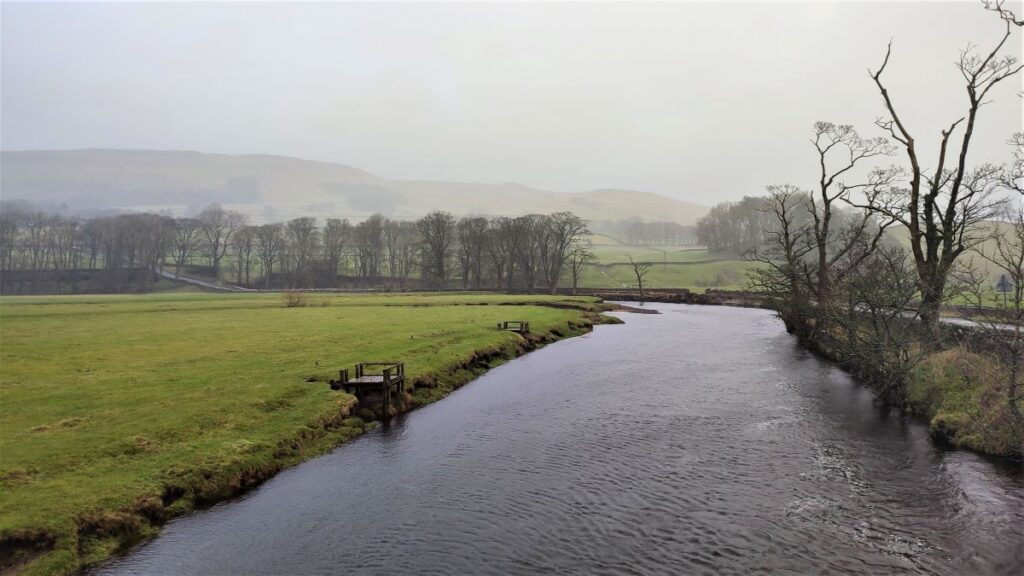
At the road we turn left and follow the road (carefully) across the Haylands Bridge – a late 18th century grade II listed structure.
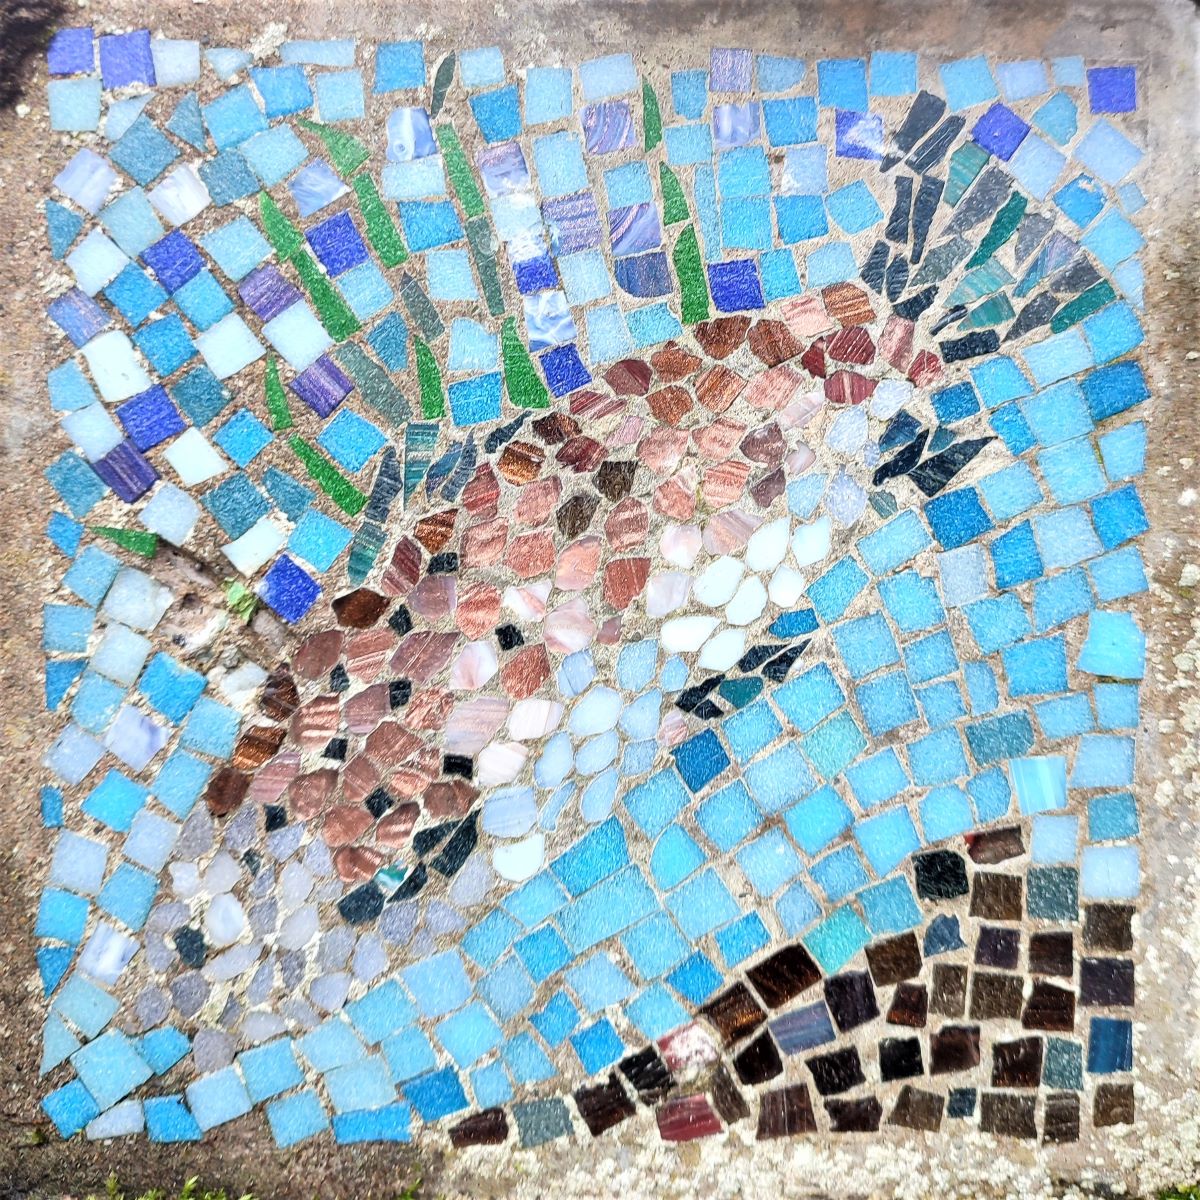
Just beyond the bridge we see a clear path on the right heading to a wooden footbridge. We do head there, but just before we do so, notice a stile on the left giving access to a path along the riverbank downstream of the Haylands bridge. We take this for about 100m to find the next mosaic – a fish, possibly a trout.
This is on the far side of the road so take care.
We now turn round and return to the Haylands bridge, and take the path to the wooden footbridge – a pleasant place to take lunch.
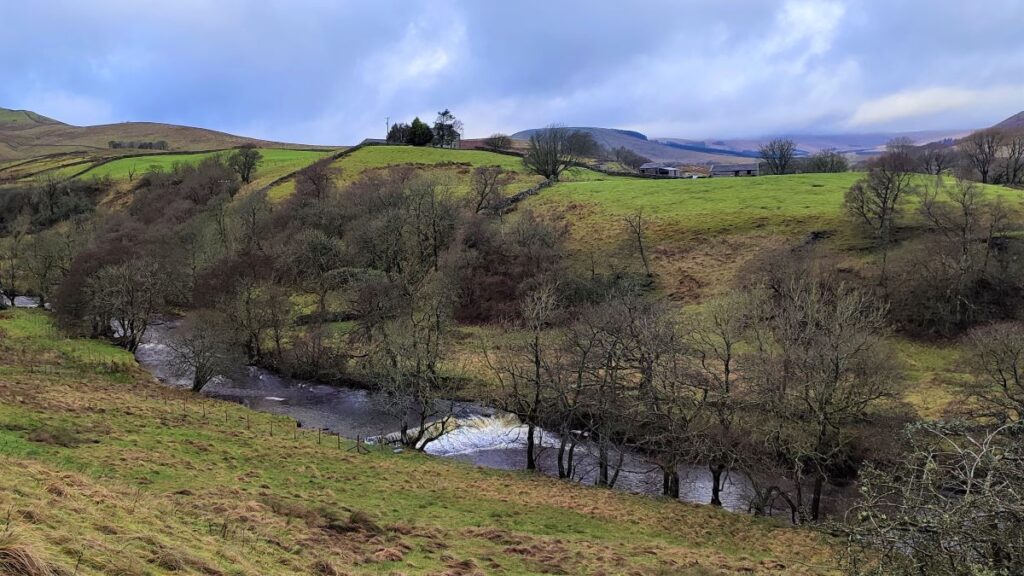
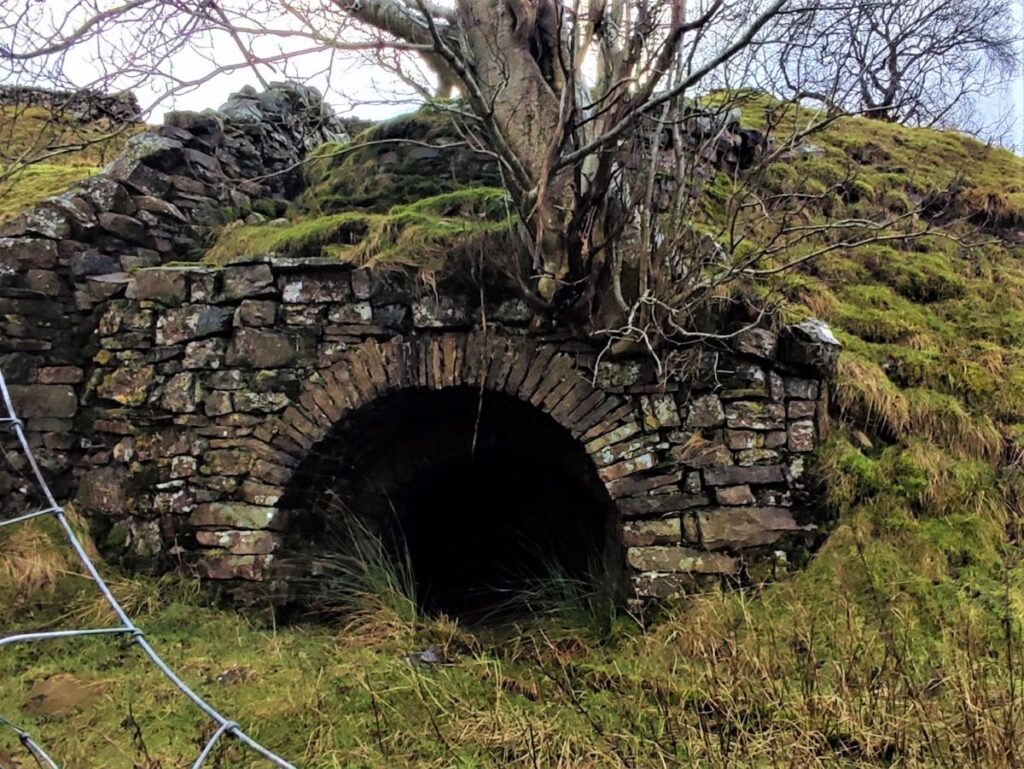
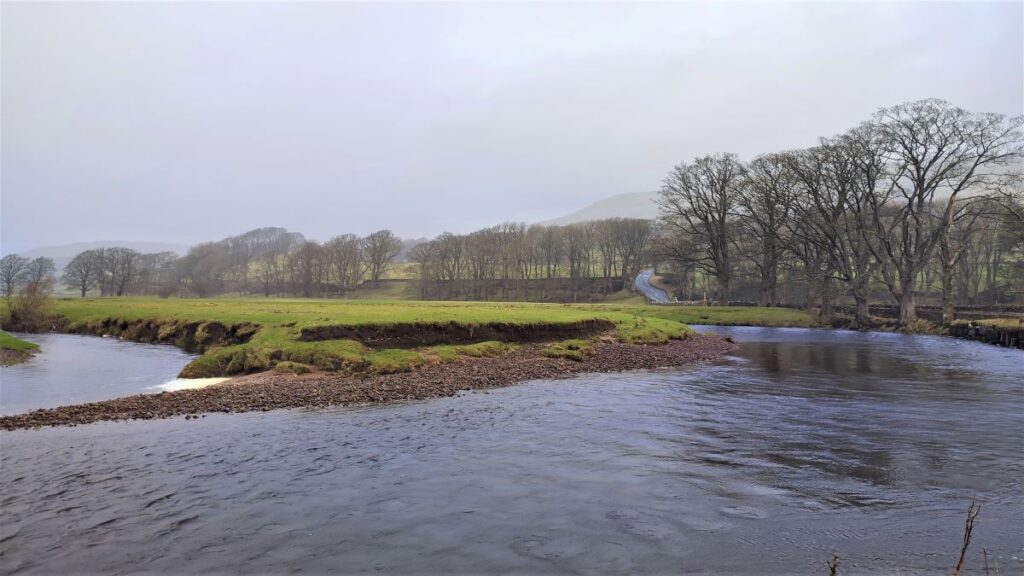
From here, the path heads over to the banks of the Ure, and we follow it upstream for a while, noting that the route of the abandoned Midland Railway line to Garsdale is clearly visible ahead on an embankment with numerous access tunnels allowing farmers access to their fields next to the river.
After a while, the river heads sharp right and the path continues up to the A684, where we turn left and walk with care toward Hawes. We cross the route of the railway and look for a signposted footpath on the right just beyond a caravan park on the left – we are on the main road for no more than 200m.
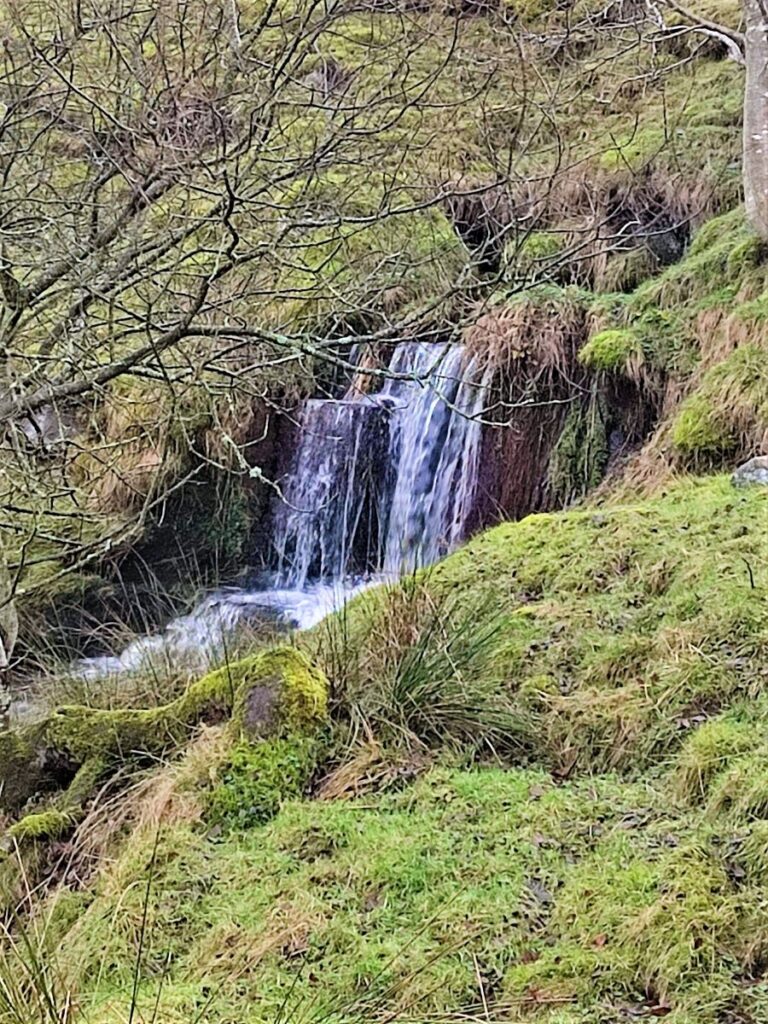
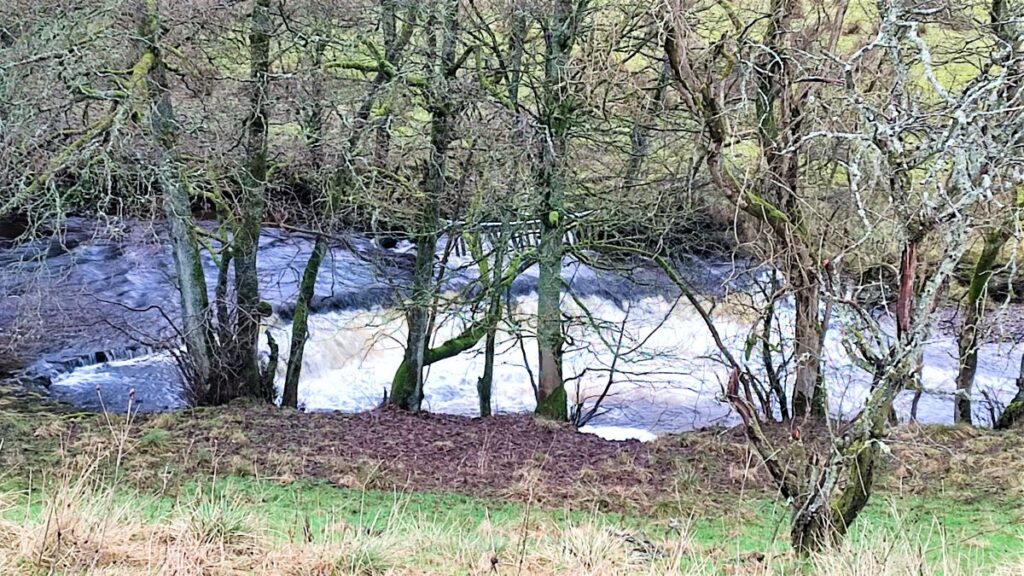
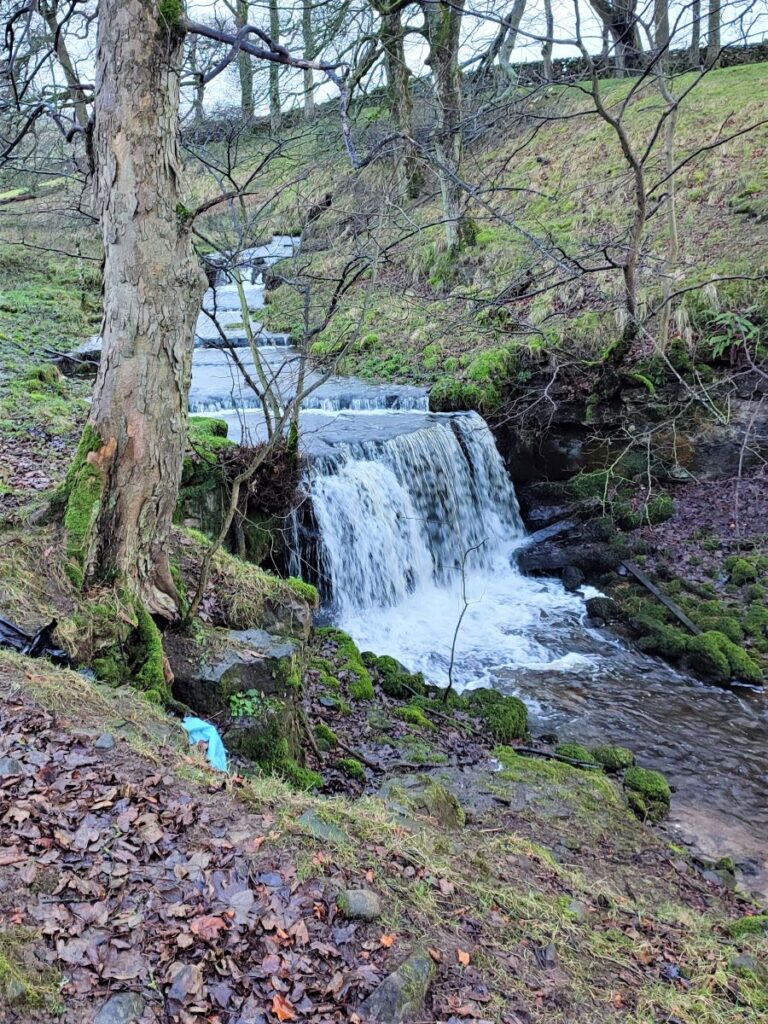
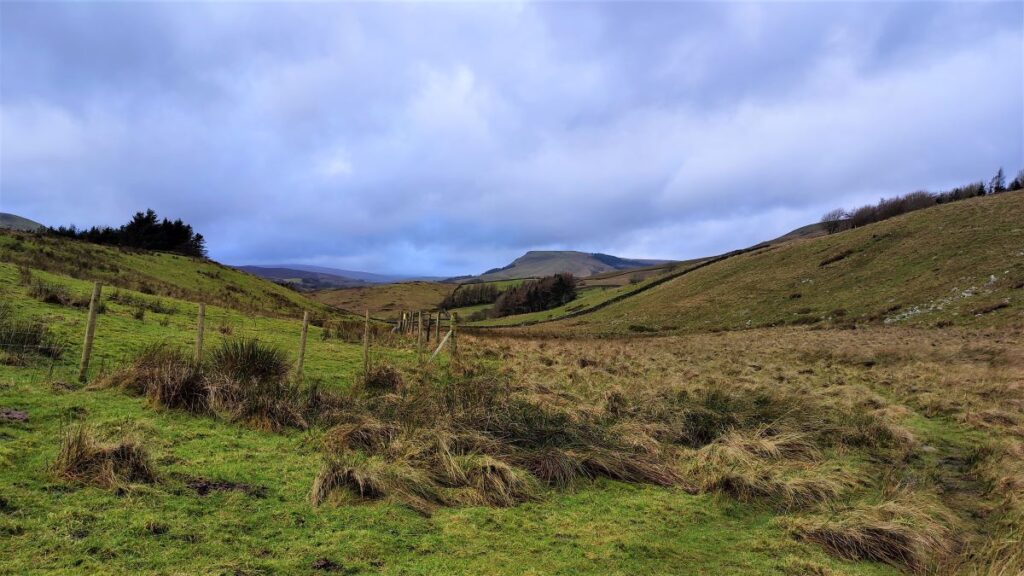
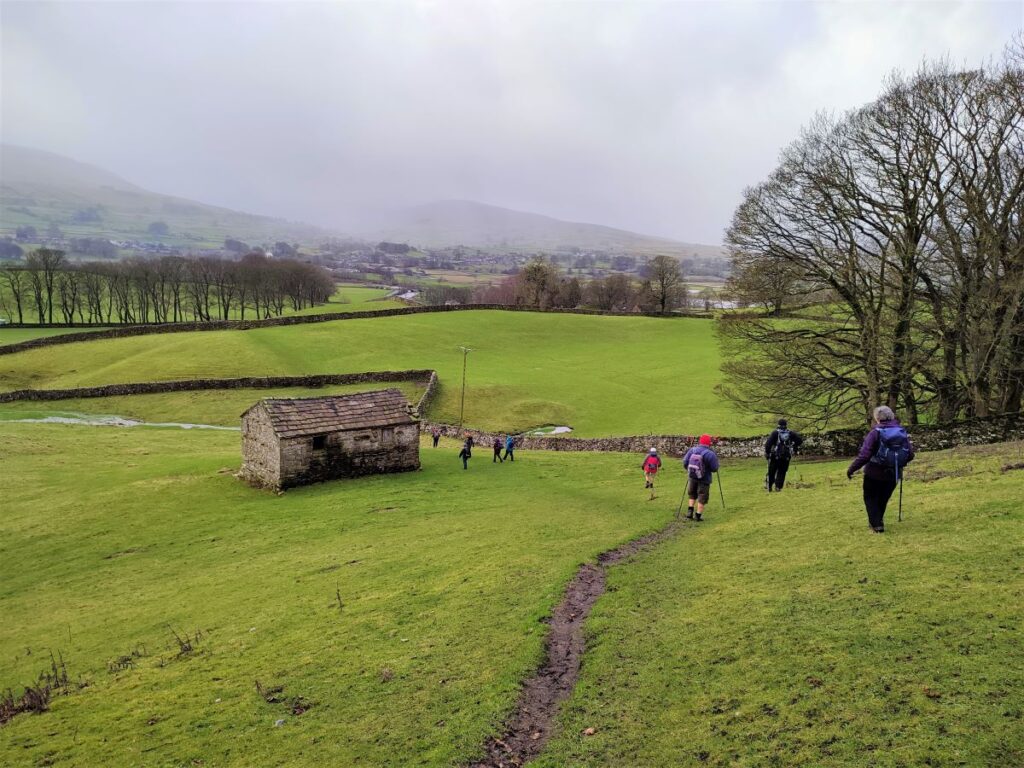
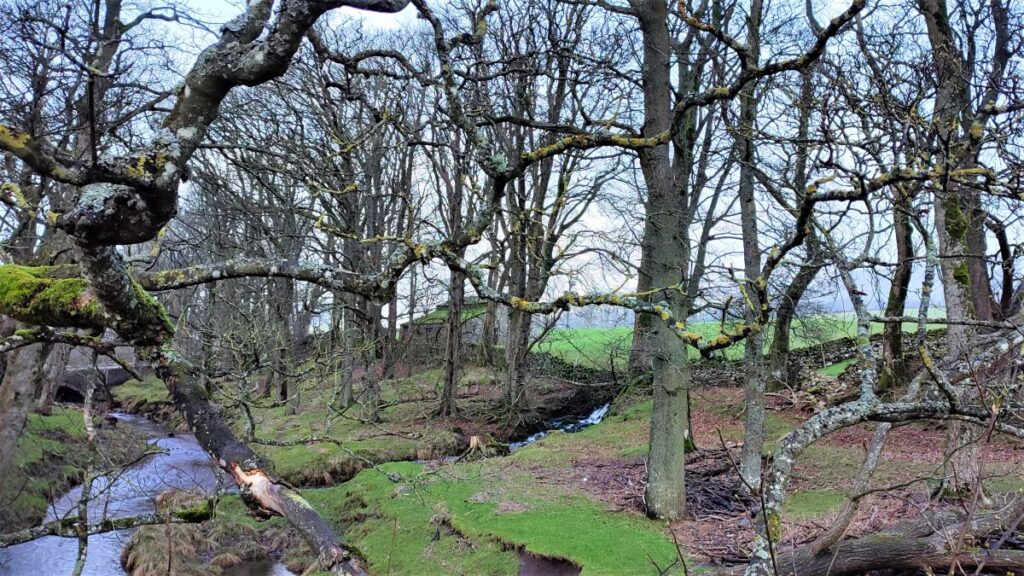
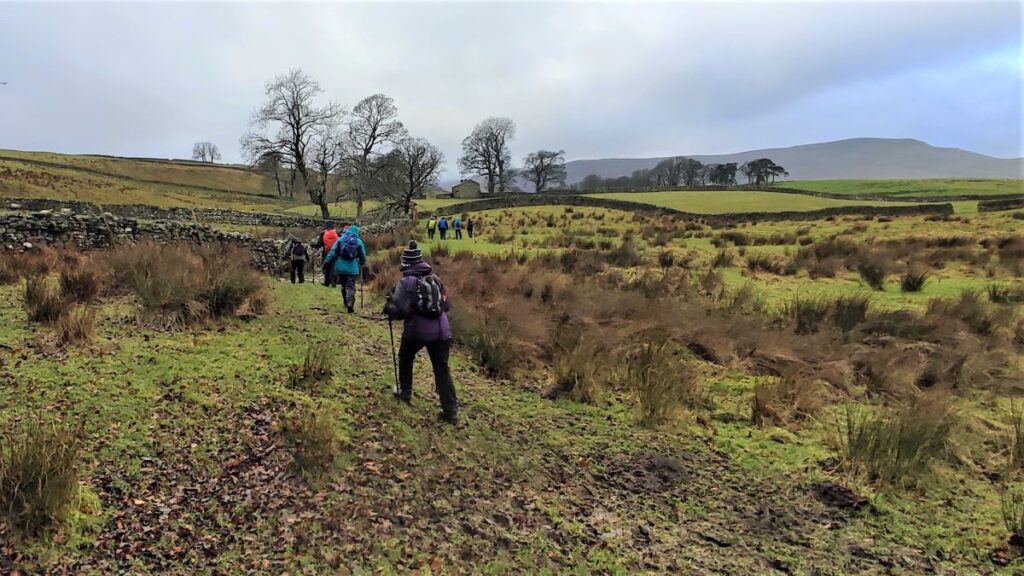
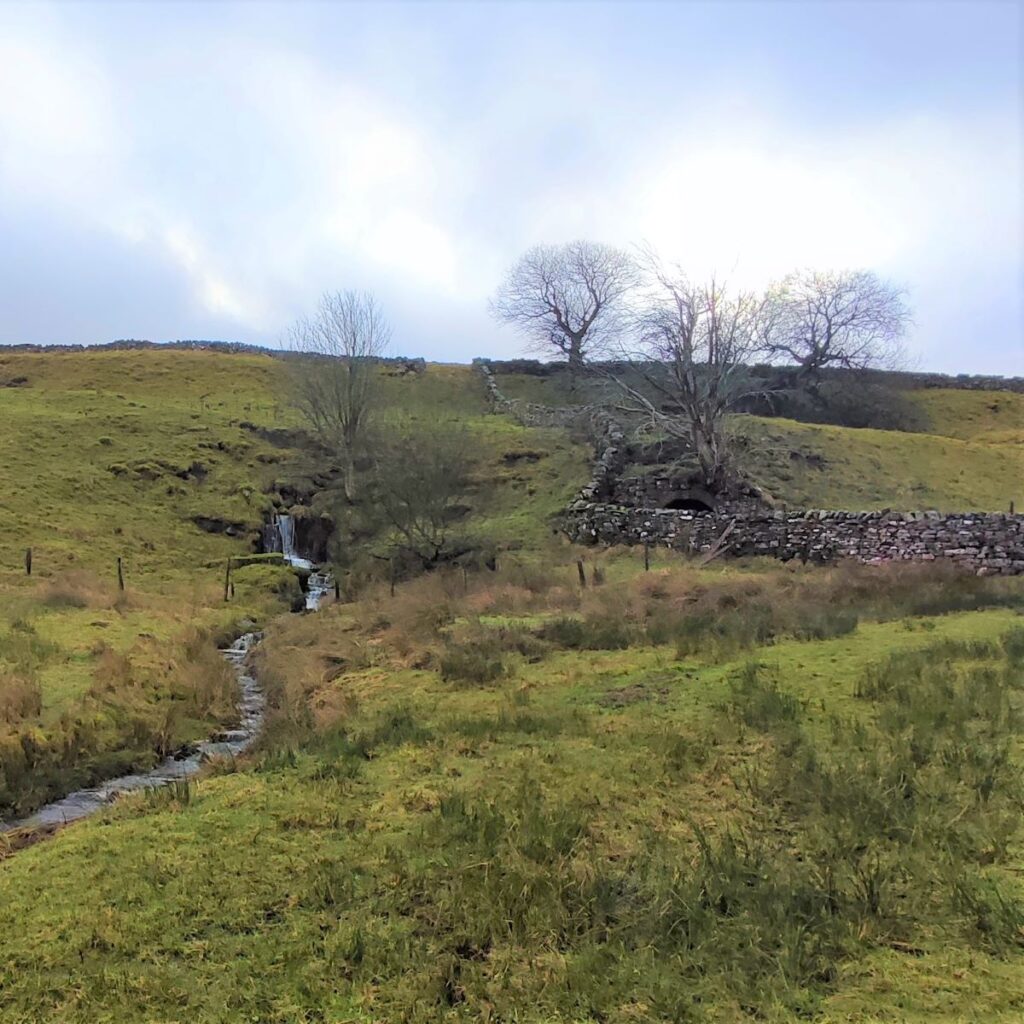
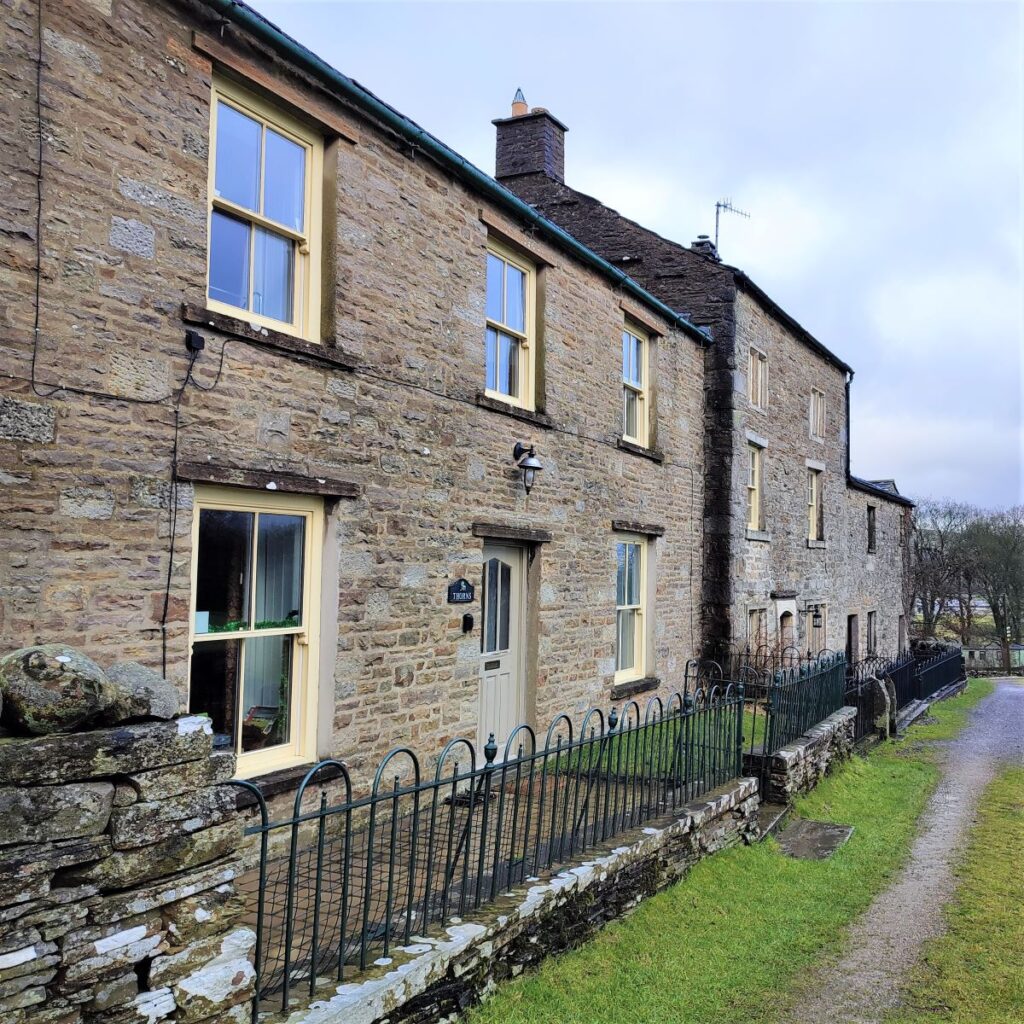
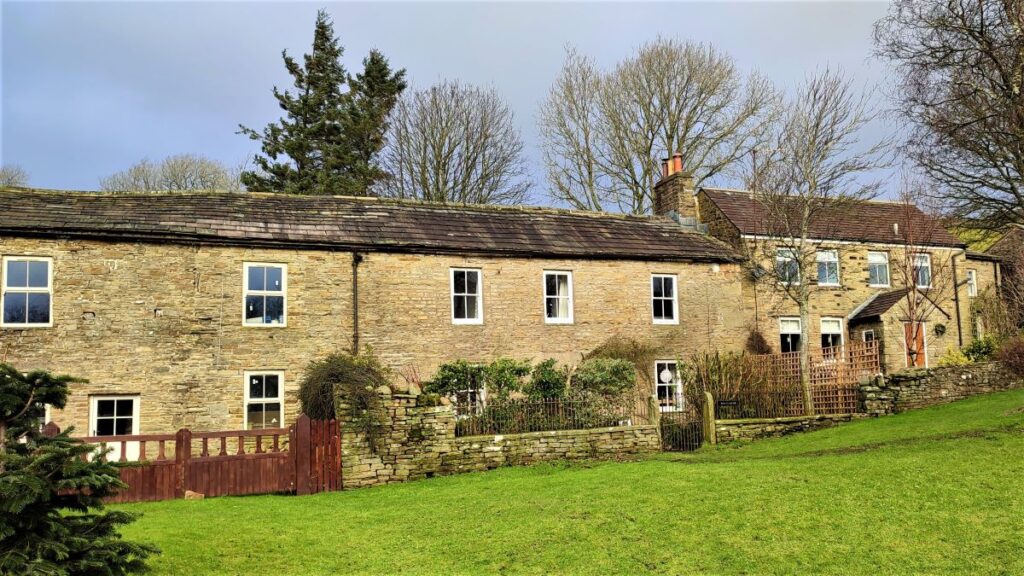
The path heads back up a track toward farm buildings at Thorns, and just beyond these are some very attractive cottages, Head to the end of these and follow the path across the field toward the waterfall in Spillian Green Sike.
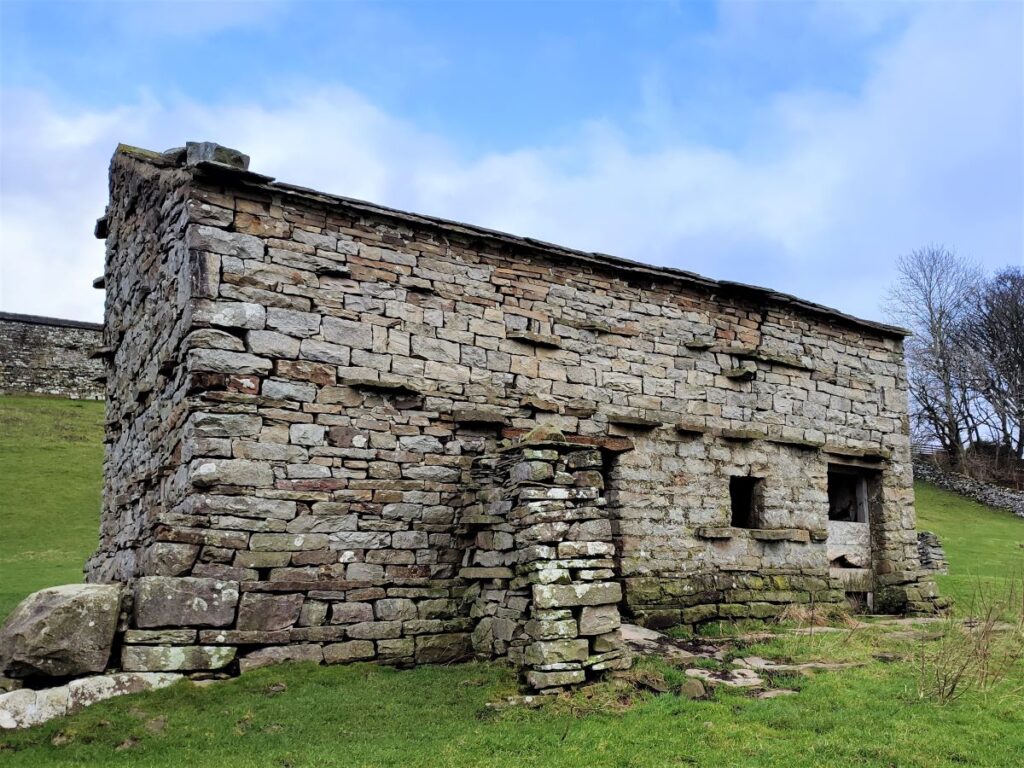
From here we take a stile into a field where see the path fork – we ignore the first path to the right and head to the far (Southwest) corner of the field where we take a path westward across flat and rather boggy fields. We pass a rather impressive Lime Kiln before we arrive at a way marker offering two different routes to Lanacar Lane – this is the minor road under the Appersett viaduct. We take the lower route – in effect a right turn relative to how we arrived – but clearly it would not matter if you take the other route – it’s just further to walk down Lanacar lane.
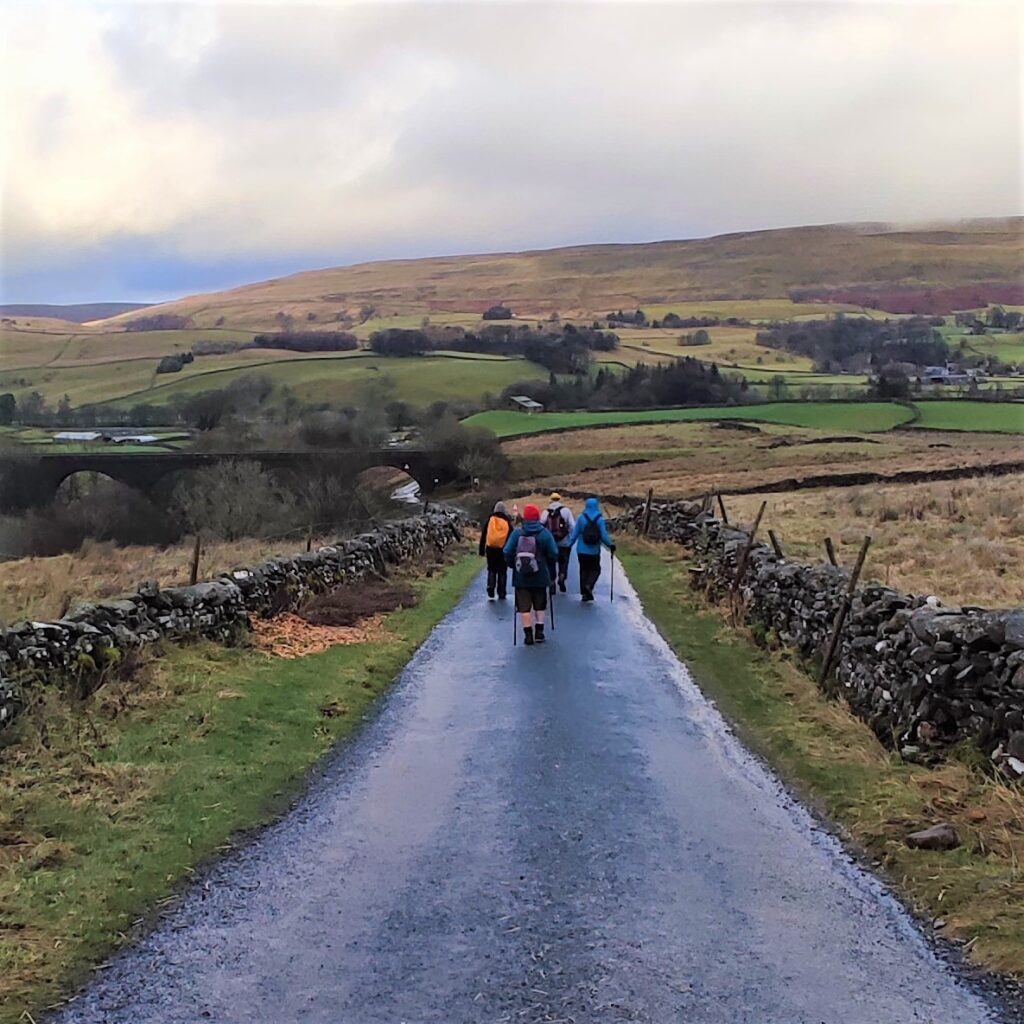
Our path crests a small hill with a couple of curiously marked stones and then heads down to Lanacar Lane where we turn right and head downhill.
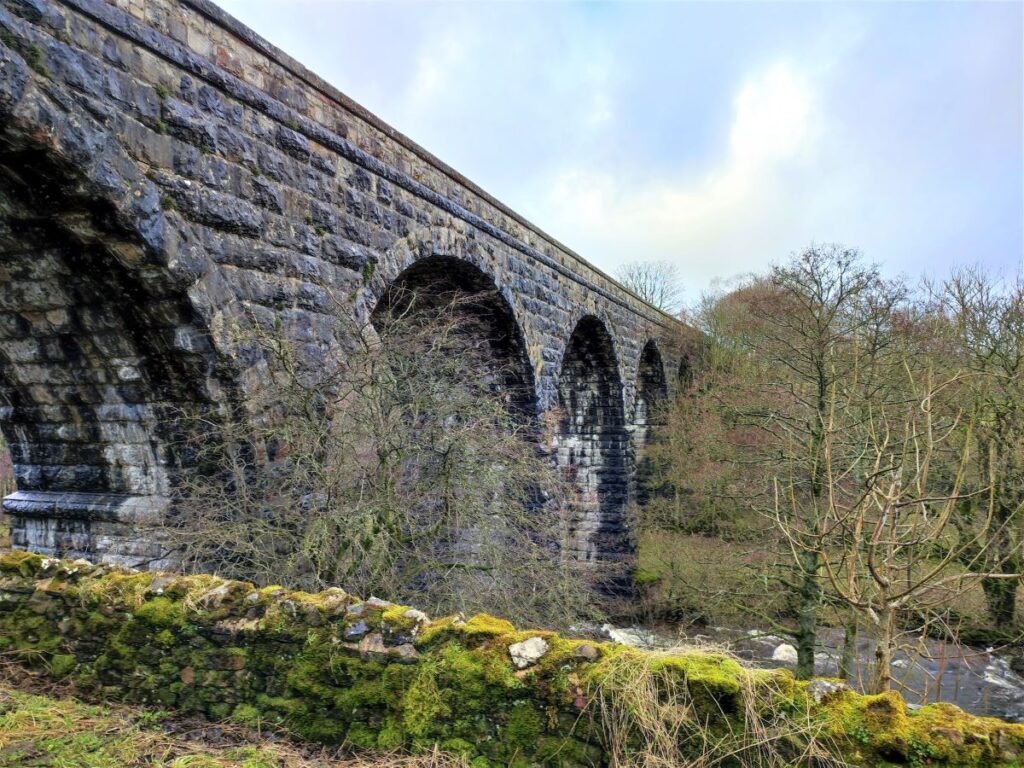
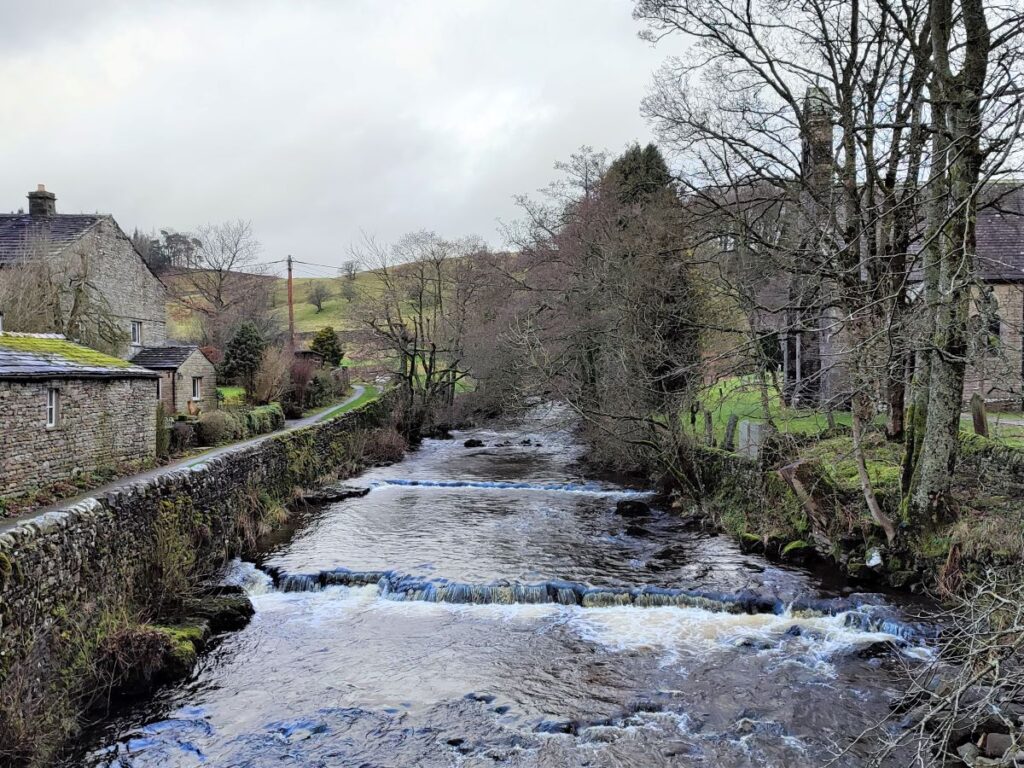
We walk under the rather impressive Appersett Viaduct; This five arch sone structure was built in 1873 and is now Grade II listed. It is here that we find the last of our mosaics – naturally this is a steam engine.
To our left we can see Widdale Beck which boasts some rather fine waterfalls, and we follow the beck downstream on Lanacar Lane until we arrive back in Appersett.